1. Introduktion
Thank you for choosing the acer Ergonomic Wireless Vertical Mouse OCC314. This manual provides essential information for setting up, operating, and maintaining your new mouse. Designed for comfort and efficiency, this vertical mouse helps reduce wrist and arm strain during extended use.

Figure 1: acer Ergonomic Wireless Vertical Mouse OCC314
2. Nøglefunktioner
- 58° Ergonomic Vertical Design: Naturally contours to your right hand, reducing wrist and arm pressure.
- 2.4 GHz trådløs forbindelse: Provides a fast and stable connection via the included USB-A receiver with a reliable range of up to 10 meters. (Note: This is NOT a Bluetooth connection.)
- Genopladeligt batteri med høj kapacitet: Equipped with a 500mAh rechargeable battery for long-term convenience. Charges via USB-C.
- 3 DPI Settings: Customizable DPI levels (800/1200/1600) for optimal precision. An intuitive visual indicator flashes to confirm your selected DPI setting.
- Quick Navigation Side Buttons: Dedicated forward and backward buttons for rapid browsing and folder navigation. (Note: Side buttons do not work on Mac operating systems.)
- Auto-sleep funktion: Enters sleep mode after 10 minutes of inactivity to conserve battery. Wake with a double click.

Figure 2: 58° Ergonomic Vertical Design for reduced wrist pressure.

Figure 3: Adjustable DPI settings for precision control.
3. Opsætningsvejledning
- Find USB-modtageren: The USB-A receiver is stored inside the mouse, accessible by removing the small cover on the bottom.
- Tilslut modtageren: Plug the USB-A receiver into an available USB-A port on your computer (laptop, PC, or desktop).
- Tænd musen: Tænd for musen ved hjælp af afbryderknappen i bunden.
- Automatisk forbindelse: The mouse should automatically connect to your computer. No additional drivers are typically required for plug-and-play functionality.

Figure 4: Visual guide for initial setup.
4. Betjeningsvejledning
4.1 Hand Position
Rest your palm naturally against the mouse's contour. The 58° vertical tilt is designed to align your wrist in a more natural handshake position, reducing strain.
4.2 Justering af DPI
Press the DPI button (located near the scroll wheel) to cycle through the 800, 1200, and 1600 DPI settings. The indicator light will flash to confirm the selected setting.
4.3 Using Side Buttons
Use the dedicated forward and backward buttons on the side of the mouse for quick navigation in web browsere og file opdagelsesrejsende. (Note: These buttons are not functional on Mac operating systems.)
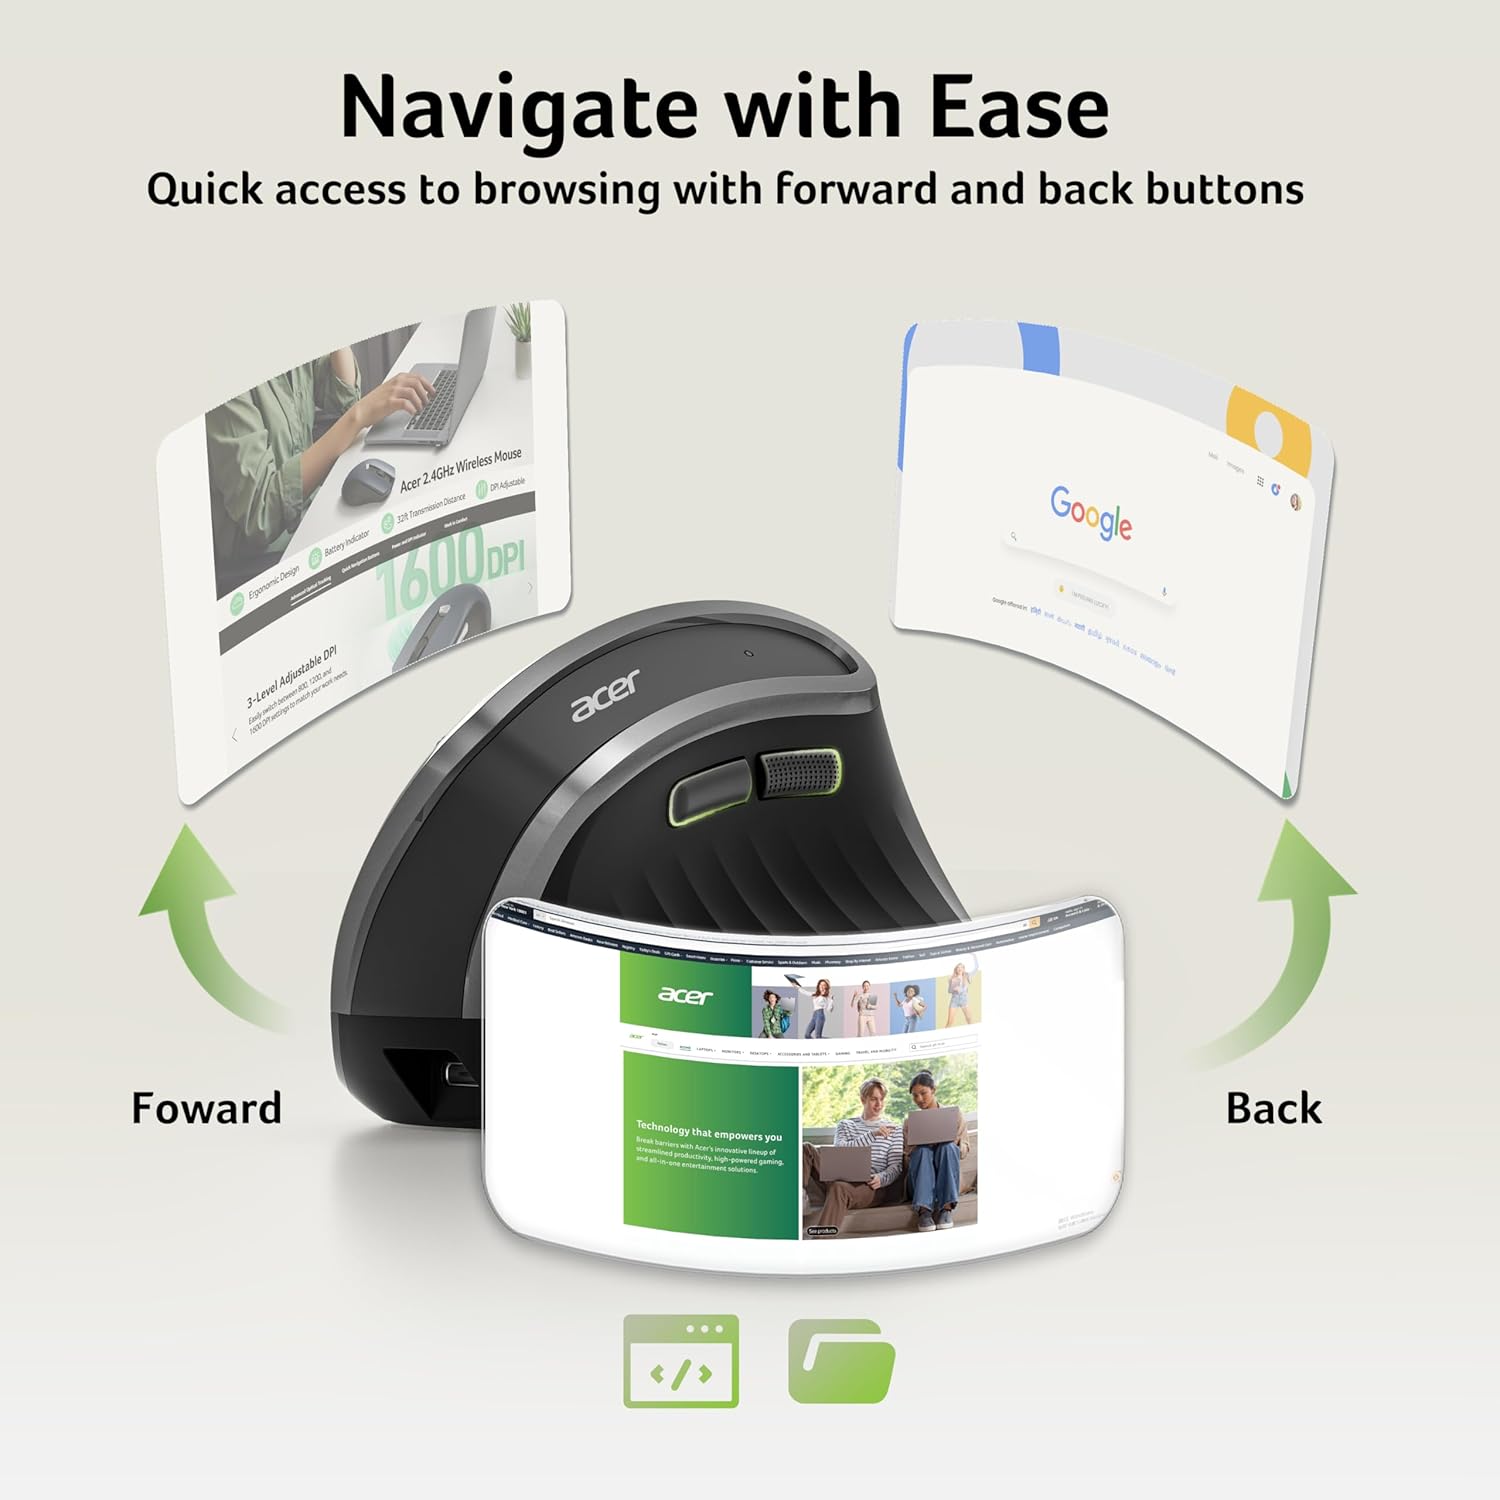
Figure 5: Side buttons for efficient navigation.
5. Vedligeholdelse
5.1 Opladning af musen
When the indicator light flashes rapidly, it signifies a low battery. Connect the included USB-C cable to the charging port on the front of the mouse and to a USB power source. A full charge takes approximately 90 minutes.
5.2 Rengøring
To clean the mouse, use a soft, dry cloth. Avoid using harsh chemicals or abrasive materials that could damage the surface.
6. Fejlfinding
- Mouse Malfunction/Re-pairing: If the mouse malfunctions or loses connection, press and hold the Left Button, Right Button, and Scroll Wheel simultaneously for a few seconds to re-pair it with the USB receiver.
- Side Buttons on Mac: The forward and backward side buttons are not supported on Mac operating systems. This is a design limitation.
- Mouse Not Waking Up: If the mouse is in auto-sleep mode, double-click any button to wake it up. Ensure the battery is charged.
- Forbindelsesproblemer: Ensure the USB-A receiver is securely plugged into a working USB port. Try a different USB port if necessary.
7. Specifikationer
| Feature | Detalje |
|---|---|
| Modelnummer | OCC314 |
| Produktdimensioner | 4.84 x 3.23 x 0.1 tommer |
| Varens vægt | 6.3 ounce |
| Forbindelsesteknologi | 2.4 GHz trådløs (USB-A-modtager) |
| Bevægelsesdetektion | Optisk |
| DPI-indstillinger | 800/1200/1600 |
| Batterikapacitet | 500mAh (genopladeligt) |
| Opladningsport | USB-C |
| Kompatibilitet | Windows, macOS, Linux, ChromeOS, Android (USB-A port required) |

Figur 6: Overview of mouse buttons and components.
8. Garanti og support
For warranty information and customer support, please refer to the documentation included with your product or visit the official acer support webwebsted. Gem din købskvittering for garantikrav.


