1. Introduktion
The GEOID CC600 is a color screen bike/cycling computer designed for comprehensive ride tracking and navigation. It features route navigation with re-route planning, WiFi and Bluetooth connectivity, and fast GPS positioning. This manual provides detailed instructions for setup, operation, and maintenance of your CC600 cycling computer.
Hvad er der i æsken

The complete package includes the CC600 Bike Computer, CS600 Cadence/Speed Sensor, and BM05 Bike Computer Mount.
- CC600 Bike Computer
- CS600 Cadence/Speed Sensor
- BM05 Bike Computer Mount
- Type-C opladerkabel
- Rem
- Replacement Base of Bike Computer Rack
- Gummibånd (x4)
- Instruktionsmanual
2. Opsætning og indledende konfiguration
Bike Computer Installation
The CC600 can be installed on your bike's handlebar using the provided mount. Ensure the mount is securely fastened and the computer is facing upwards for optimal GPS signal reception.

The CC600 mounted on a bike handlebar, ready for navigation.

Securely attach the mount to your handlebar using the provided rubber bands or screws, depending on the mount type.
For a visual guide on installation and initial setup, please refer to the official product video below:
Official GEOID video demonstrating the installation and operation of the CC600 cycling computer.
Initial Configuration and App Pairing
To fully utilize your CC600, download and log in to the OnelapFit APP on your smartphone. Use the app to scan the QR code on the device to complete pairing and activation. This allows for automatic synchronization of ride records and firmware updates.
After logging in, complete your personal information in the app. Tap the bike computer icon in the top right corner, then select "My Bike Computer" to add your device. Follow the prompts to connect and bind the bike computer. The app will automatically search for and connect to the bike computer each time you open it, checking for new ride records and syncing data.
3. Operating the CC600
Knap funktioner
- Top Button (A): Long press to turn on/off, black screen, or return. During cycling, click to count laps; long press to black the screen.
- Lower Left Button (B): Click to switch data pages. Long press to enter settings.
- Lower Right Button (C): Click to start or pause a ride. Long press to end the ride.
GPS-positionering
For accurate tracking, ensure your CC600 is in an open outdoor area, free from tall buildings, trees, or viaducts, when turning it on for positioning. The positioning icon in the upper left corner of the screen will flash during acquisition and remain solid after successful positioning.
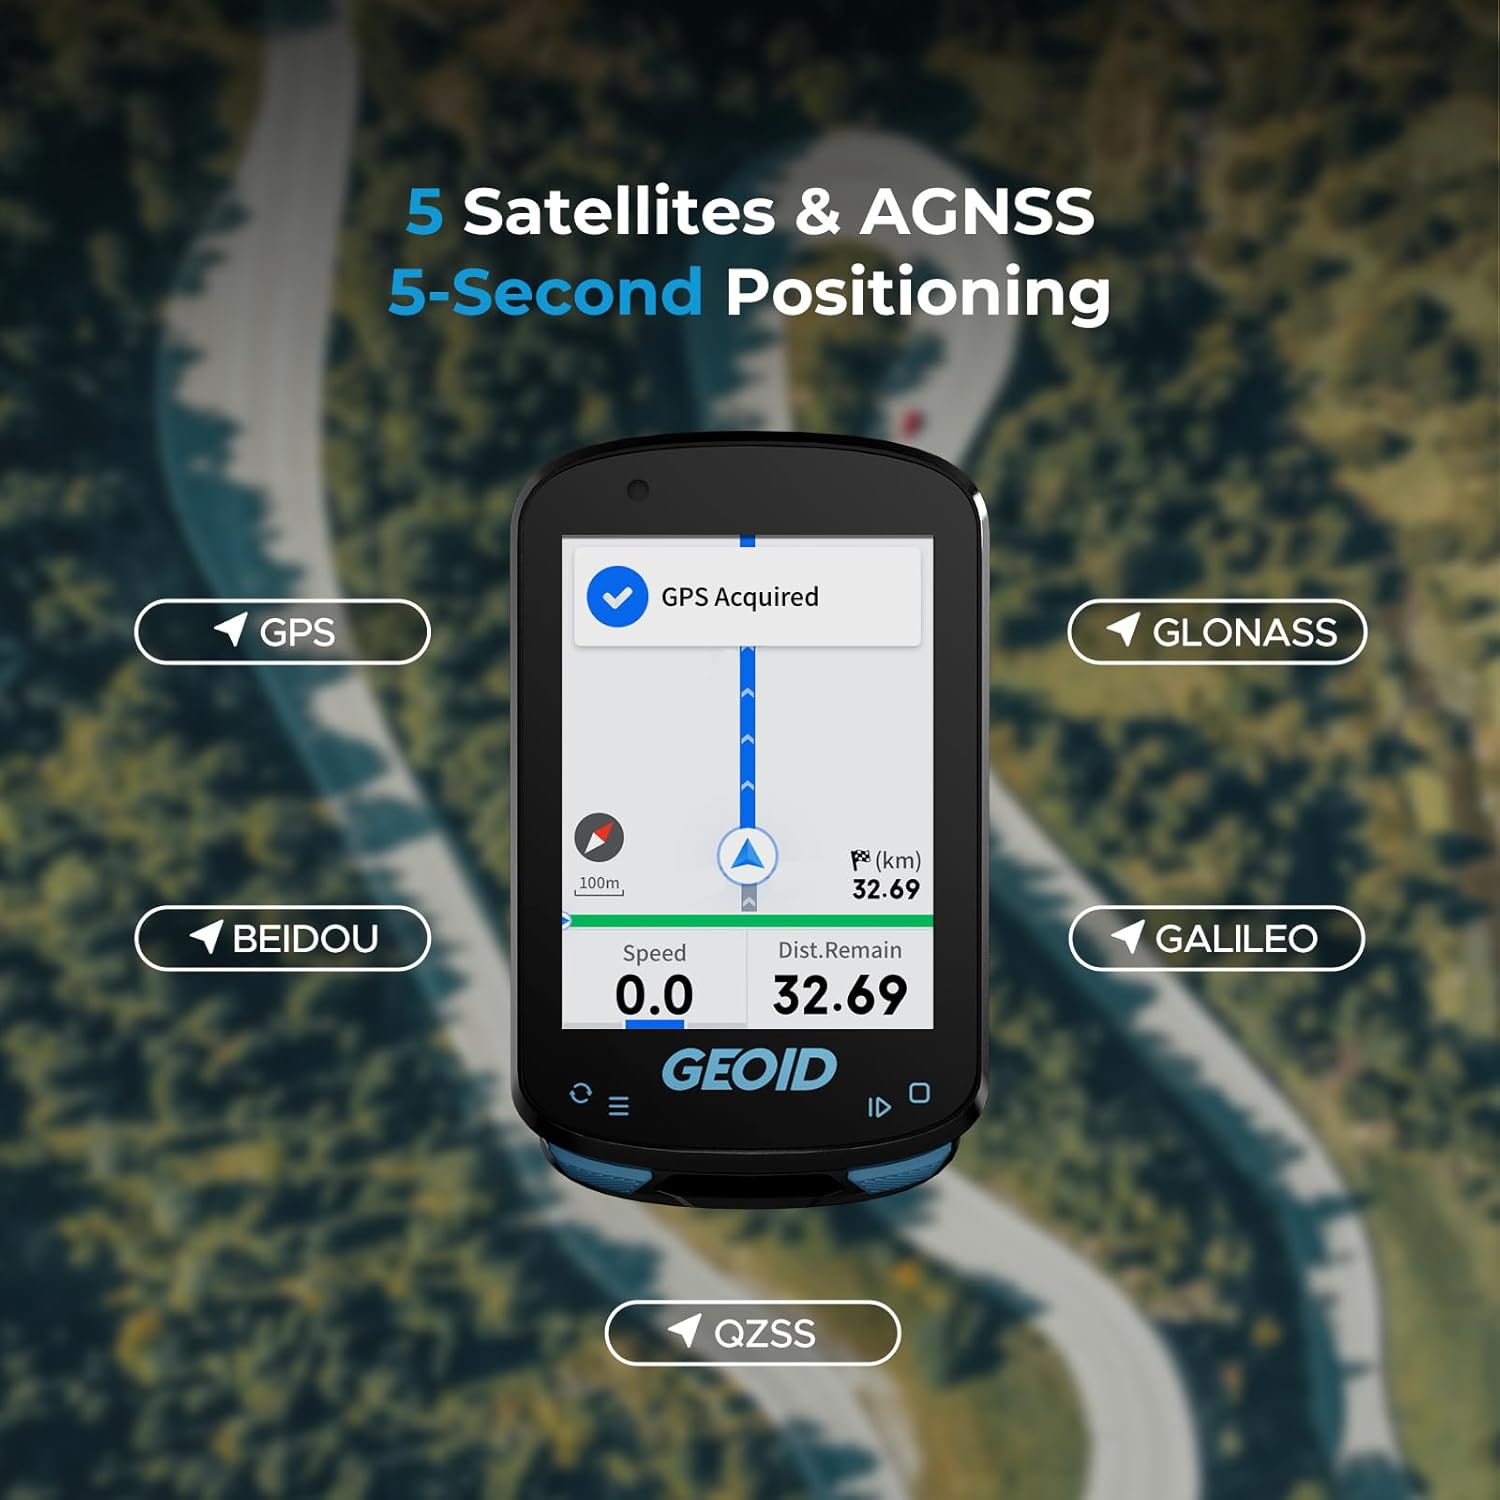
The CC600 utilizes 5 satellite systems (GPS, BEIDOU, GLONASS, QZSS, GALILEO) for fast 5-second positioning.
Starting and Managing a Ride
After turning on the bike computer and acquiring GPS, it will display the default home page. You can click 'Start' to enter the riding page. During a ride, the device supports auto-pause and auto-resume based on speed thresholds.
Long press the lower left button (B) to access the operation menu, where you can choose navigation routes, add sensors, and adjust brightness and other settings.
4. Sensortilslutning
The CC600 supports connection and binding of various external sensors via ANT+ and Bluetooth protocols. This includes speed sensors, cadence sensors, speed & cadence sensors, heart rate monitors, power meters, smart trainers, radar tail lights, smart tail lights, and electronic shifting.

The CC600 supports Bluetooth and ANT+ protocols, allowing seamless connection with up to 9 types of devices for enhanced cycling data.
To configure sensors, navigate to the 'Settings' page on your CC600 (long press B button), select the '[Sensor]' module, and then select '[Add Sensor]'. The CC600 can memorize multiple sensors of the same type and will automatically try to connect all memorized sensors after turning on. You can also configure sensors via the OnelapFit app. After connecting, you can view the corresponding data on the data page of your bike computer.
5. Indoor Training
The CC600 supports indoor training when connected to a smart trainer. This allows you to customize your power training by setting desired power targets, resistance levels, and gradients. This feature helps you focus entirely on improving your performance without external factors like weather or road conditions affecting your training pace.

The CC600 offers various indoor training modes to help you achieve your fitness goals.
To access indoor training, select 'Training' from the settings page on the bike computer. You can then connect to sensors such as a smart trainer, heart rate monitor, or power meter. It supports three training modes: Target Power, Resistance Level, and Gradient. After setting up your preferred training parameters, select 'Start' to begin your training session. You can adjust the intensity in all three modes, but you cannot switch modes during the ride.
6. Datastyring
The OnelapFit APP allows for convenient data retransmission without worrying about data duplication. When connected to the OnelapFit app, all data stored in the bike computer will be automatically synchronized. If part of the data has already been uploaded, it will be automatically overwritten, ensuring data integrity.

Seamless and rapid data transfers via WiFi and Bluetooth allow you to focus on your ride.
After finishing a ride, the bike computer will automatically sync and save the ride records when connected to the OnelapFit app. You can view detailed data of this ride within the app. The app also supports sharing or uploading data to third-party platforms like Strava and TrainingPeaks.
7. Systemindstillinger
You can manage various system settings directly on your CC600 bike computer. This includes adjusting display brightness, managing key tones and prompt tones, and checking firmware version.

The CC600 supports 11 languages and offers extensive graphic data field customization.
In the settings page, select 'System' to view system information such as remaining storage and firmware version. You can also change the language and restore factory settings. The CC600 supports 11 languages including English, Italian, Japanese, Spanish, Korean, Portuguese, German, French, Polish, Traditional Chinese, and Russian.
8. Fejlfinding (FAQ)
Here are some frequently asked questions and their solutions for the GEOID CC600:

Common questions and answers regarding the CC600's features and usage.
- Q: Does the bike computer support map navigation, and how many routes can be loaded?
A: It does not support map features or display nearby streets; navigation is based on GPX files. Routes up to 300 km in length can be loaded, and up to 4 routes can be stored simultaneously. - Q: Is it compatible with Komoot?
A: Not officially. Plan route on Komoot, export GPX, import to bike computer, ride. After, download FIT file, upload to Komoot. - Q: Why can't road fork information be displayed?
A: Due to map resource maintenance issues, some roads are missing, causing certain intersections to lack fork information during navigation. - Q: Why does my bike computer show inaccurate data after installing a speed sensor?
A: The bike computer prioritizes speed sensor data (wheel circumference × rotations) over GPS. For accurate data, manually set the correct wheel circumference in the app. The CC600 does not auto-calculate wheel diameter. - Q: Is the CC600 Smart GPS Bike Computer hard to use?
A: Not at all. It's easy to use, and if you have any trouble—like setting up your account or pairing your phone—please contact us first for support.
9. Specifikationer
| Feature | Detalje |
|---|---|
| Mærke | GEOID |
| Modelnummer | CC600+CS600+BM05 |
| Farve | Sort |
| Forbindelsesteknologi | ANT, Bluetooth, USB, Wi-Fi |
| Battericellesammensætning | Lithium polymer |
| Monteringstype | Styrmontering |
| Varens vægt | 10.6 ounce |
| Pakkedimensioner | 6.3 x 4.72 x 3.94 tommer |
| Batterier | 1 Ikke-standard batterier påkrævet. (inkluderet) |
10. Garanti og support
The GEOID CC600 comes with a 1-Year Warranty from the manufacturer.
For technical support, troubleshooting assistance, or warranty claims, please contact GEOID customer service through their official website or the OnelapFit APP's help and support section. Ensure you have your product model number and purchase details ready for faster service.


