1. Introduktion
This manual provides detailed instructions for the setup, operation, and maintenance of your ATTACK SHARK X8 Ultra Wireless Gaming Mouse. Designed for high-performance gaming, the X8 Ultra features a lightweight design, multiple connectivity options, and advanced sensor technology.

Billede 1.1: Top view of the ATTACK SHARK X8 Ultra Wireless Gaming Mouse.
2. Pakkens indhold
Bekræft at alle varer er til stede i din pakke:
- ATTACK SHARK X8 Ultra Wireless Gaming Mouse
- 8K USB-C Receiver
- USB-A to USB-C Charging Cable (Paracord)
- Replacement Mouse Feet Skates
- Grip Tape
- Brugervejledning (dette dokument)
3. Mouse Layout and Features
Familiarize yourself with the key components and features of your X8 Ultra mouse.

Billede 3.1: Overview of the X8 Ultra's internal components and external features.
- Venstre/højre klikknapper: Equipped with Omron micro switches for tactile feedback and durability.
- Scrollhjul: Provides smooth scrolling with subtle tactile bumps.
- Sideknapper: Programmable buttons located on the left side for additional functions.
- DPI knap: Located on the underside of the mouse, allows cycling through preset DPI levels.
- Connectivity Switch: Located on the underside, allows switching between 2.4GHz wireless, Bluetooth, and wired modes.
- PAW3950MAX Sensor: High-precision optical sensor for accurate tracking.
- Nordisk 52840 MCU: Advanced microcontroller for efficient performance and low latency.
- Nano-Ice Coating: Surface treatment designed to keep grip cool during extended use.
4. Opsætningsvejledning
4.1 Opladning af musen
- Tilslut USB-C-enden af opladningskablet til musen.
- Tilslut USB-A-enden af opladningskablet til en ledig USB-port på din computer eller en USB-vægadapter.
- The mouse LED indicator will show charging status. A full charge provides up to 300 hours of intermittent use.
4.2 Tilslutning af musen
The X8 Ultra supports three connection modes: 2.4GHz Wireless, Bluetooth, and Wired USB.
2.4 GHz trådløs tilstand:
- Locate the 8K USB-C receiver.
- Sæt modtageren i en ledig USB-port på din computer.
- Set the connectivity switch on the underside of the mouse to the "2.4G" position.
- Musen burde oprette forbindelse automatisk.

Image 4.1: The 8K USB-C receiver for 2.4GHz wireless connection.
Bluetooth-tilstand:
- Set the connectivity switch on the underside of the mouse to the "BT" position.
- Åbn Bluetooth-indstillingerne på din computer, og søg efter nye enheder.
- Select "ATTACK SHARK X8 Ultra" from the list of available devices to pair.
Kabelført USB-tilstand:
- Tilslut USB-C-enden af opladningskablet til musen.
- Tilslut USB-A-enden af opladningskablet til en ledig USB-port på din computer.
- Set the connectivity switch on the underside of the mouse to the "Wired" position.
- Musen fungerer som en kablet enhed og oplades samtidigt.
5. Betjeningsvejledning
5.1 DPI-justering
The X8 Ultra features a PixArt PAW3950MAX sensor with adjustable DPI from 50 to 42,000. To change DPI settings:
- Press the DPI button on the underside of the mouse to cycle through preset DPI levels.
- The LED indicator on the mouse will change color to indicate the current DPI setting.
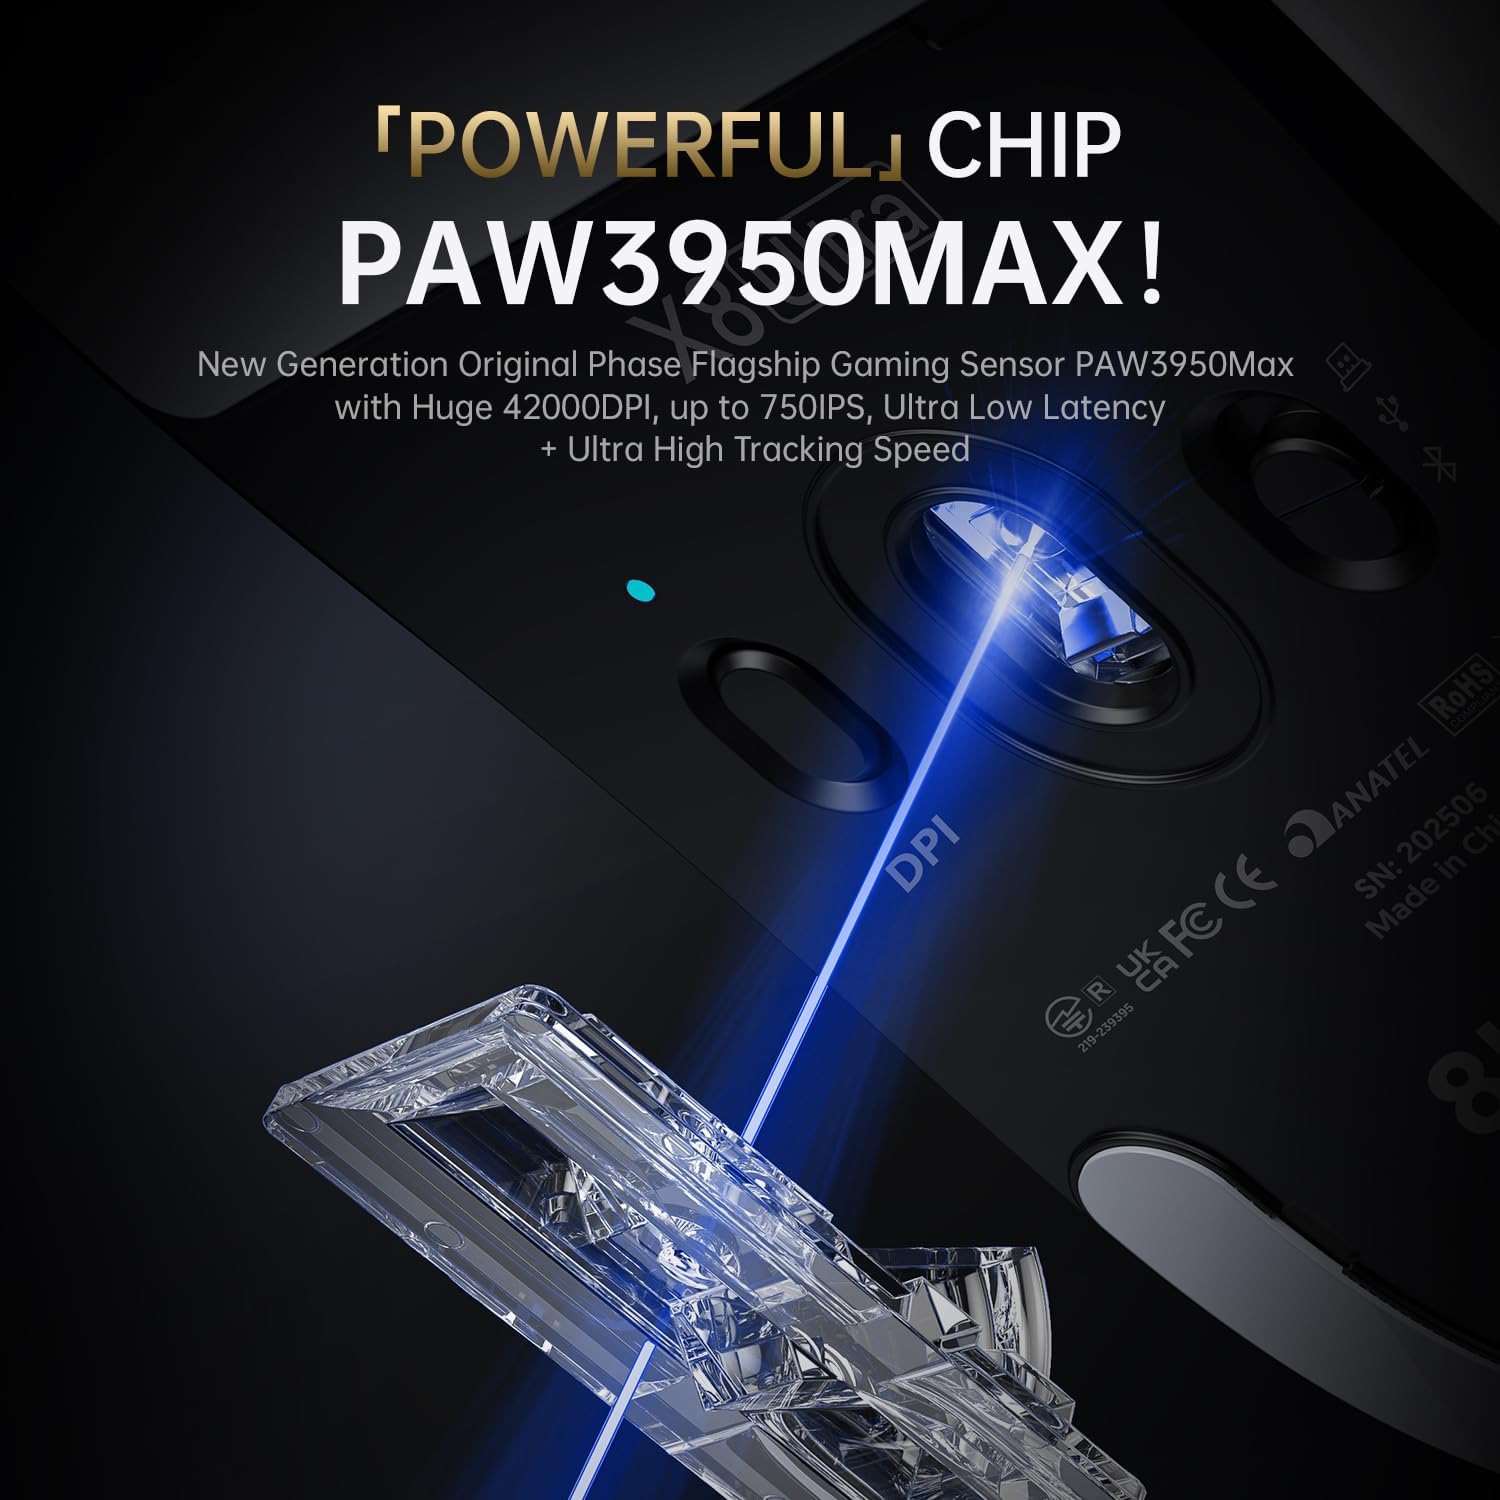
Image 5.1: The PixArt PAW3950MAX sensor for precise tracking.
5.2 Cloud Driver Software
For advanced customization, including DPI adjustment, polling rate, button remapping, macro recording, and competitive mode settings, use the web-based Cloud Driver software.
- Ensure your mouse is connected to your computer (preferably via 2.4GHz wireless or wired mode for full functionality).
- Åbn din web browser and navigate to the official ATTACK SHARK webwebsted (f.eks. www.attackshark.pro).
- Locate the Cloud Driver section for the X8 Ultra model.
- Follow the on-screen instructions to customize your mouse settings. Settings are saved directly to the mouse's memory.

Image 5.2: The Cloud Driver interface for advanced mouse configuration.
5.3 Afstemningsprocent
The X8 Ultra supports an 8KHz wireless polling rate for ultra-low latency and faster response. In wired mode, it operates at 1KHz. The polling rate can be adjusted via the Cloud Driver software.

Image 5.3: Explanation of 8K Polling Rate technology.
6. Vedligeholdelse
6.1 Rengøring
- Brug en blød, tør klud til at tørre musens overflade af.
- Til genstridigt snavs, let dampda kluden med vand eller en mild rengøringsopløsning.
- Avoid using harsh chemicals or abrasive materials that could damage the mouse's finish or sensor.
- Regularly clean the optical sensor area on the underside of the mouse with a cotton swab to ensure optimal tracking performance.
6.2 Pleje af batterier
- For at forlænge batteriets levetid bør du undgå at aflade musen helt ofte.
- Opbevar musen et køligt og tørt sted, når den ikke er i brug i længere perioder.
- If the mouse will not be used for a long time, charge it to about 50% before storage.
6.3 Replacing Mouse Feet Skates
The package includes replacement PTFE mouse feet skates for maintaining smooth glide. When the existing skates show significant wear:
- Carefully peel off the old mouse feet using a thin tool.
- Clean the surface where the skates were attached to remove any adhesive residue.
- Peel the backing from the new skates and carefully apply them to the corresponding areas on the mouse's underside.
- Tryk fast for at sikre korrekt vedhæftning.

Image 6.1: PTFE anti-slip footpads for smooth mouse movement.
7. Fejlfinding
| Problem | Mulig løsning |
|---|---|
| Musen reagerer ikke i trådløs tilstand. |
|
| Forsinket eller intermitterende forbindelse. |
|
| Inaccurate tracking. |
|
| Cloud Driver software not detecting mouse. |
|
8. Specifikationer
Key technical specifications for the ATTACK SHARK X8 Ultra Wireless Gaming Mouse:

Image 8.1: Detailed technical specifications for the X8 Ultra and other X8 series models.
| Feature | Detalje |
|---|---|
| Model | X8 Ultra |
| Sensor | PixArt PAW3950MAX |
| DPI rækkevidde | 50 - 42,000 dpi |
| Bevægelseshastighed | 750 IPS |
| Acceleration | 60G |
| Knap levetid | 100 millioner klik |
| Micro Switch | Omron Switch |
| Afstemningsfrekvens | Wireless 8000Hz / Wired 1000Hz |
| MCU | Nordic 52840 |
| Forbindelse | Wired / 2.4GHz Wireless / Bluetooth |
| Vægt | 55 g |
| Batterikapacitet | 500 mAh |
| Dimensioner | Cirka 125.5 x 63 x 40 mm (4.96 x 2.5 x 1.6 tommer) |
9. Garanti og support
ATTACK SHARK products are designed for reliability and performance. For warranty information, technical support, or service inquiries, please refer to the official ATTACK SHARK webhjemmeside eller kontakt deres kundeservice direkte.
Officiel Webwebsted: www.attackshark.pro
Mærkebutik: ATTACK SHARK Amazon Store
Gem venligst dit købsbevis for garantikrav.


