1. Introduktion
This manual provides detailed instructions for the installation, operation, and maintenance of your Blusafe Apollo 2.3 Electronic Smart Door Lock. Please read this manual thoroughly before installation and use to ensure proper function and safety.

Image 1.1: Blusafe Apollo 2.3 Smart Door Lock with multiple unlocking methods shown.
2. Produktet er slutview
The Blusafe Apollo 2.3 is an advanced electronic smart door lock designed for enhanced security and convenience. It offers multiple unlocking methods and smart features for modern households.
Nøglefunktioner:
- Childproof Interior Deadbolt: Provides additional security by preventing accidental or unauthorized exit by children and enhances resistance against forced entry.
- Multiple Unlocking Options: Access your door using fingerprint, passcode, IC card, the TTLock mobile application, or traditional mechanical keys.
- High Capacity Storage: Supports up to 100 fingerprints, 250 passcodes, and 1000 IC cards.
- App kontrol: Manage your lock remotely, generate temporary passcodes, and monitor access logs via the TTLock app (Wi-Fi bridge sold separately for remote access).
- Multipoint Lock Compatibility: Designed to fit 90% of lift-up handle multipoint locks, suitable for doors 40–90mm thick with a backset of ≥25mm.
- Holdbar og vejrbestandig: Constructed from stainless steel with an IP65 rating, resistant to rain, dust, and extreme temperatures (-4°F to 140°F).
- Nødstrøm og backup: Powered by 4 AAA batteries with low-battery alerts, Type-C emergency charging port, and two mechanical keys for backup.

Billede 2.1: Overview of Blusafe Apollo 2.3 Smart Lock features.
3. Pakkens indhold
Kontroller venligst, at alle komponenter er til stede og i god stand, før du fortsætter installationen.
- 1 x External Door Handle (with integrated keypad and fingerprint sensor)
- 1 x Internal Door Handle (with childproof deadbolt)
- Fixing Components (screws, spindle, etc.)
- 2 x Mekaniske nøgler
- IC-kort (antallet kan variere)
- Installationsskabelon
- Brugervejledning (dette dokument)
4. Specifikationer
| Feature | Specifikation |
|---|---|
| Mærke | Blusafe |
| Modelnavn | Blusafe Apollo 2.3 |
| Låsetype | Biometric Smart Lock |
| Oplåsningsmetoder | Fingerprint, Passcode, IC Card, TTLock App, Mechanical Key |
| Materiale | Rustfrit stål, zink |
| Farve | OSP Frosted Silver |
| Varedimensioner (L x B x H) | 3.73 x 14.75 x 5.4 tommer |
| Varens vægt | 5.36 pund |
| Dørtykkelseskompatibilitet | 40-90 mm |
| Backset-kompatibilitet | ≥25 mm |
| Driftstemperatur | -4°F til 140°F (-20°C til 60°C) |
| Vandtæt vurdering | IP65 |
| Strømkilde | 4 x AAA batterier (medfølger ikke) |
| Nødstrøm | Type-C USB-port |
| Forbindelse | Bluetooth (Wi-Fi med valgfri gateway) |
| Controller type | Amazon Alexa, Android, Google Assistant, TTLocks, iOS (with optional gateway) |

Billede 4.1: Produktmål og specifikationer.

Image 4.2: Technical drawing with measurements in millimeters.
5. Kompatibilitet
The Blusafe Apollo 2.3 is designed for broad compatibility with various door types and lock systems.
- Dørtykkelse: Compatible with doors ranging from 40mm to 90mm (1.57 to 3.54 inches).
- backset: Requires a backset of 25mm (0.98 inches) or greater.
- Dørtyper: Works seamlessly with PVC, wooden, and metal doors.
- Lock Systems: Primarily designed for lift-up handle multipoint locks. Also compatible with regular mortises, lift-to-lock, and quick-release locks.
- Vigtig bemærkning: Extra drilling might be required during installation for certain door configurations. Ensure a minimum installation width of 1.5 inches after closing the door.
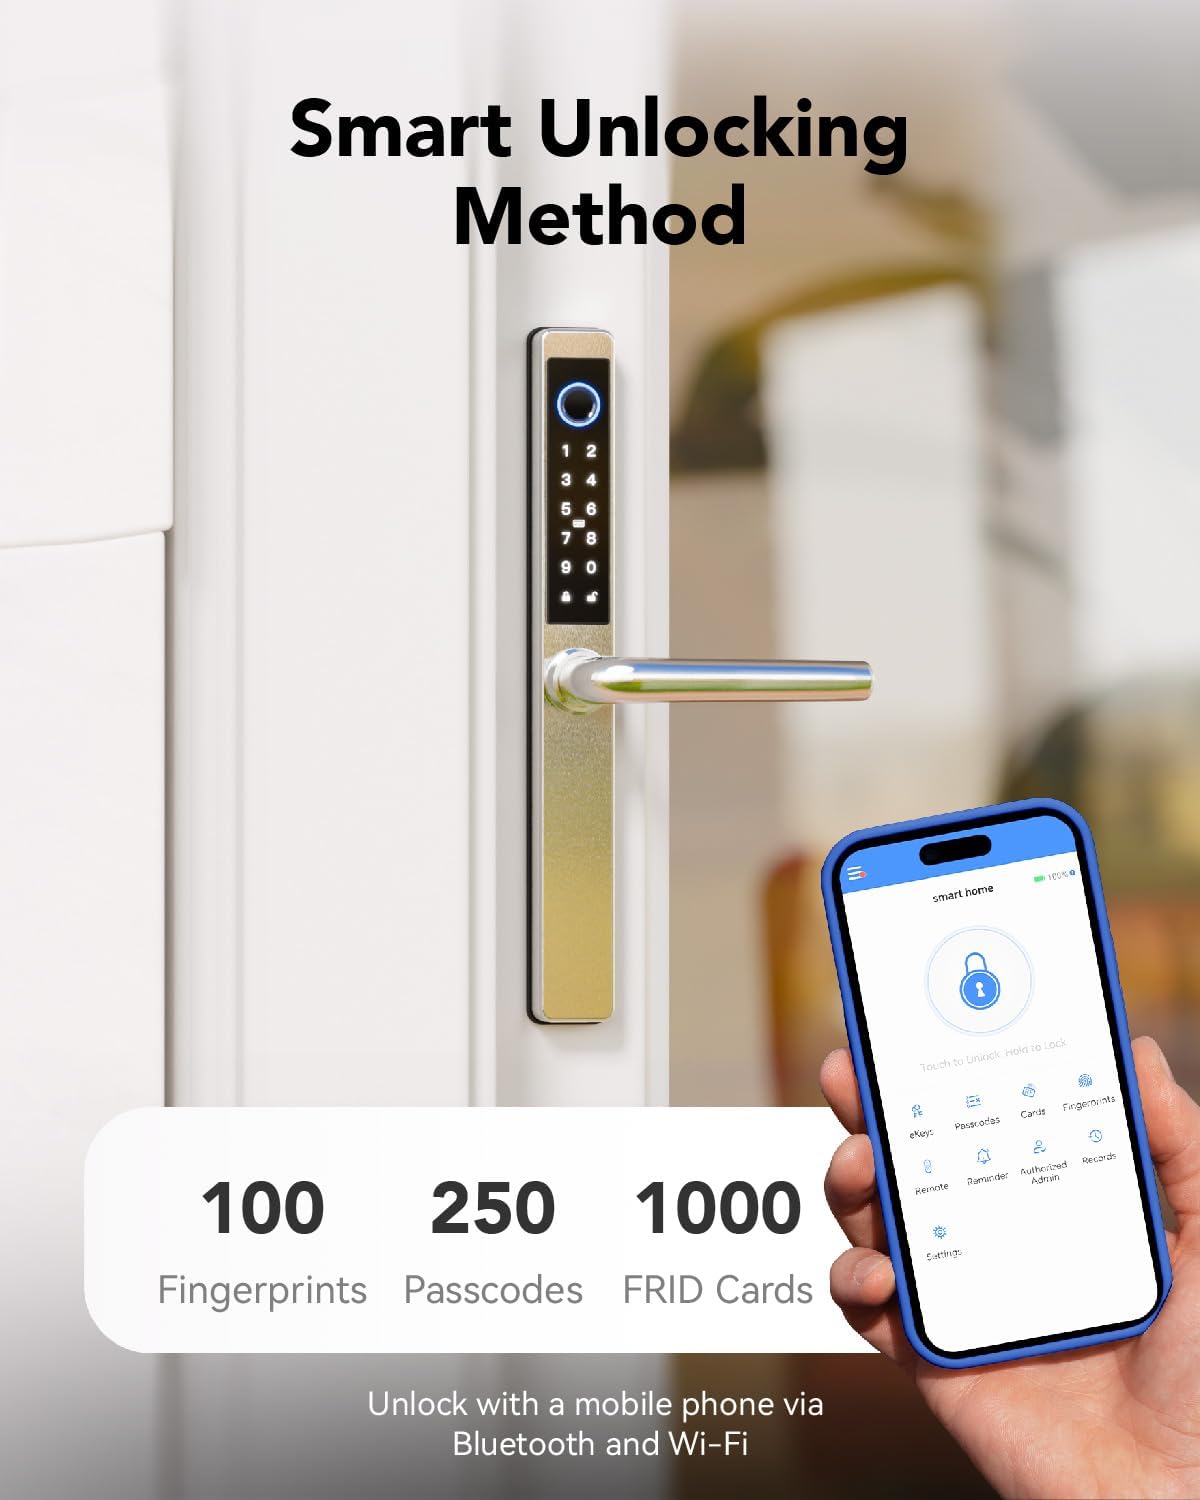
Image 5.1: Check compatibility before purchase.

Image 5.2: Compatibility with various door materials.
6. Installationsvejledning
The installation process for the Blusafe Apollo 2.3 is designed to be straightforward. For detailed step-by-step instructions, please refer to the included installation template and the full video guide (if available).
Generelle trin:
- Forbered døren: Ensure your door meets the compatibility requirements (thickness, backset). Use the provided template to mark and drill any necessary holes.
- Installer mortise-lås: Sæt indstikslåsen i dørkanten.
- Install Spindle and Posts: Attach the spindle and mounting posts to the mortise.
- Mount Exterior Handle: Secure the exterior handle assembly to the door, ensuring cables are routed correctly.
- Tilslut kabler: Connect the cables from the exterior handle to the interior handle.
- Mount Interior Handle: Secure the interior handle assembly to the door.
- Installer batterier: Insert 4 AAA batteries into the battery compartment of the interior handle.
- Test funktionalitet: Perform initial tests with the mechanical key and ensure the handle operates smoothly.
- App konfiguration: Download the TTLock app and follow the on-screen instructions to pair your lock and set up initial users.
Forsigtighed: Incorrect installation can affect the lock's performance and security. If you are unsure about any step, consult a professional locksmith.
7. Betjeningsvejledning
The Blusafe Apollo 2.3 offers multiple convenient ways to unlock your door.
7.1 Oplåsning med fingeraftryk
- Place your registered finger firmly on the fingerprint sensor located on the exterior handle.
- The lock will emit a confirmation sound and unlock.
- Drej håndtaget for at åbne døren.

Image 7.1: Fingerprint unlocking in action.
Tip: The lock features a built-in self-learning AI chip for 0.3-second recognition, improving speed and accuracy with each use. Fingerprint data is stored locally for maximum privacy.
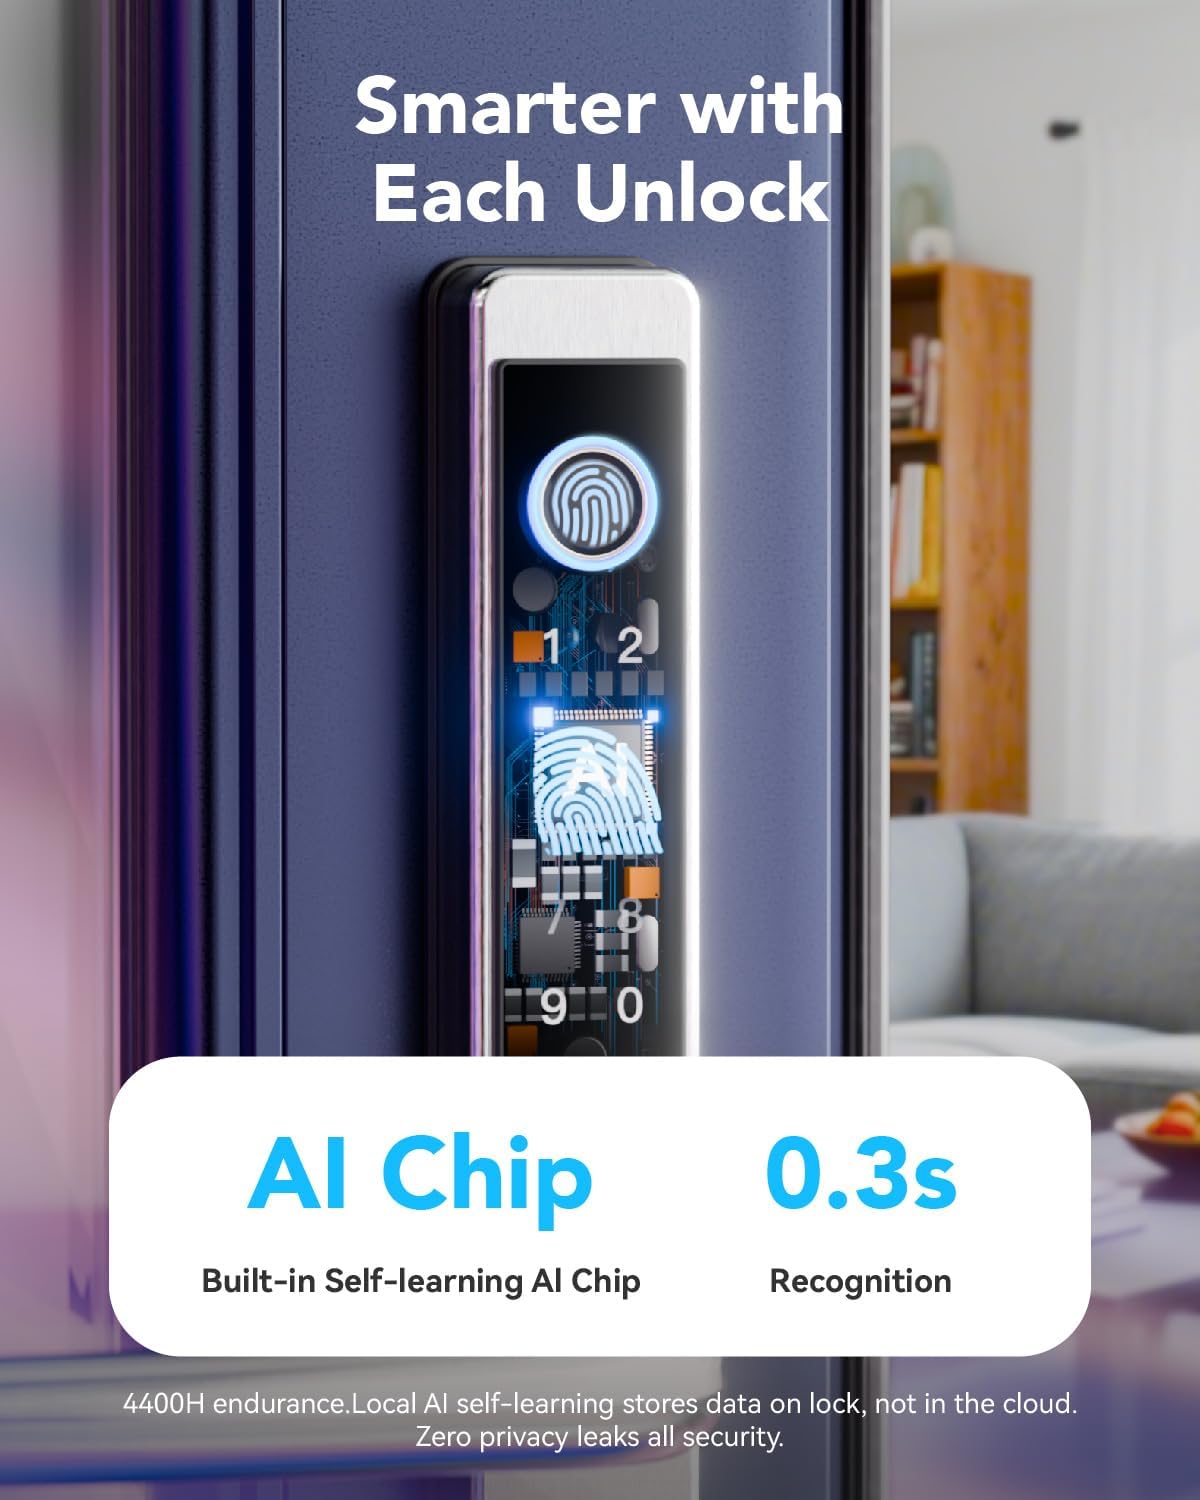
Image 7.2: AI chip for fast fingerprint recognition.
7.2 Passcode Unlocking
- Indtast din registrerede adgangskode på tastaturet.
- Tryk på '#'-tasten for at bekræfte.
- Låsen låses op.

Image 7.3: Passcode entry on the keypad.
7.3 IC Card Unlocking
- Tap your registered IC card against the designated card reader area on the exterior handle.
- The lock will emit a confirmation sound and unlock.

Image 7.4: Unlocking with an IC card.
7.4 Mechanical Key Unlocking
- Insert the mechanical key into the hidden keyhole.
- Drej nøglen for at låse døren op.
- This method is primarily for emergency backup.

Image 7.5: Using the mechanical key for backup.
7.5 Childproof Deadbolt Operation
The interior handle features a childproof deadbolt for added safety.
- To activate the child-safety mode, push the thumbturn on the interior handle upwards. This will prevent the handle from being depressed and disable unlocking from the inside.
- To deactivate, push the thumbturn downwards.

Image 7.6: Childproof deadbolt feature.
8. App Control (TTLock)
The TTLock app provides comprehensive control and management features for your Blusafe Apollo 2.3 Smart Lock.
8.1 Indledende opsætning
- Download the "TTLock" app from your smartphone's app store (iOS or Android).
- Opret en konto og log ind.
- Aktiver Bluetooth på din smartphone.
- In the app, tap "Add Lock" and select your Blusafe Apollo 2.3 from the list of nearby devices.
- Follow the on-screen prompts to pair the lock and set up the administrator.
8.2 App funktioner
- Lås op/lås: Directly lock and unlock your door via Bluetooth when within range.
- Generer adgangskoder: Create one-time, timed, recurring, or permanent passcodes for guests, family, or service personnel.
- Send e-Keys: Share digital keys with others, granting them access for specific periods.
- View Adgangslogfiler: Track who entered and when, providing a security record.
- Brugeradministration: Add, modify, or delete users (fingerprints, passcodes, IC cards).
- Remote Control (with Wi-Fi Gateway): Purchase and connect a TTLock Wi-Fi Gateway (sold separately) to control your lock from anywhere with an internet connection.
- Voice Control (with Wi-Fi Gateway): Integrate with Amazon Alexa or Google Assistant for voice commands (requires TTLock Wi-Fi Gateway).

Image 8.1: TTLock app interface for smart lock control.

Image 8.2: Remote control functionality with the app.

Billede 8.3: Integration af stemmestyring med smarte assistenter.
9. Vedligeholdelse
9.1 Udskiftning af batteri
The Blusafe Apollo 2.3 is powered by 4 AAA batteries (not included). Under normal usage, batteries can last up to 6+ months.
- The lock will provide low-battery alerts through the app and audible signals.
- To replace batteries, open the battery cover on the interior handle, remove old batteries, and insert new ones, ensuring correct polarity.

Image 9.1: Emergency Type-C charging port.

Image 9.2: Battery life and emergency charging.
9.2 Nødopladning
If the batteries completely drain, you can temporarily power the lock using a power bank connected to the Type-C USB port on the exterior handle. This will allow you to unlock the door using a registered method.
9.3 Rengøring
Tør låsens overflade af med en blød kludamp klud. Undgå at bruge slibende rengøringsmidler eller opløsningsmidler, der kan beskadige overfladen eller de elektroniske komponenter.

Image 9.3: IP65 waterproof and dustproof rating.

Image 9.4: Weather resistance details.
10. Fejlfinding
If you encounter issues with your Blusafe Apollo 2.3 Smart Lock, refer to the following common problems and solutions.
| Problem | Mulig årsag | Løsning |
|---|---|---|
| Låsen reagerer ikke på fingeraftryk/adgangskode. | Low batteries, unregistered user, incorrect entry, sensor dirty. | Replace batteries. Ensure fingerprint/passcode is registered. Clean sensor. Re-enter passcode carefully. |
| Cannot lock from the keypad. | Locking mechanism issue, specific locking procedure not followed. | Ensure the door is fully closed. For some multipoint locks, you may need to lift the handle to engage the locking mechanism before pressing the lock button. Refer to your specific door's locking procedure. |
| Appen kan ikke oprette forbindelse til låsen. | Bluetooth off, lock out of range, app glitch, Wi-Fi gateway issue. | Ensure Bluetooth is on and you are within range. Restart the app. Check Wi-Fi gateway connection if using remote access. |
| Mechanical key does not work. | Incorrect key, obstruction in keyhole. | Ensure you are using the correct key. Check for any debris in the keyhole. |
| Lock is completely unresponsive. | Døde batterier. | Use the Type-C emergency charging port with a power bank to temporarily power the lock, then replace batteries. Use the mechanical key as a backup. |
If the problem persists after trying these solutions, please contact Blusafe customer support.
11. Garanti og support
Your Blusafe Apollo 2.3 Electronic Smart Door Lock comes with a 1 års garanti fra købsdatoen.
Blusafe is committed to providing excellent customer service. If you have any questions, require technical assistance, or need support, please contact our professional customer support team.
- Garantidækning: Dækker fabrikationsfejl og funktionsfejl ved normal brug.
- Teknisk support: Available 24/7 for expert assistance.
- Kontaktoplysninger: Please refer to the Blusafe webwebstedet eller din købsdokumentation for at få de seneste kontaktoplysninger.
We aim to ensure a worry-free experience from installation to long-term use.


