Indledning
Welcome to the user manual for your new Auusda 14.1'' FHD Laptop. This guide provides essential information for setting up, operating, maintaining, and troubleshooting your device. Please read this manual thoroughly to ensure optimal performance and longevity of your laptop.
Produkt overview
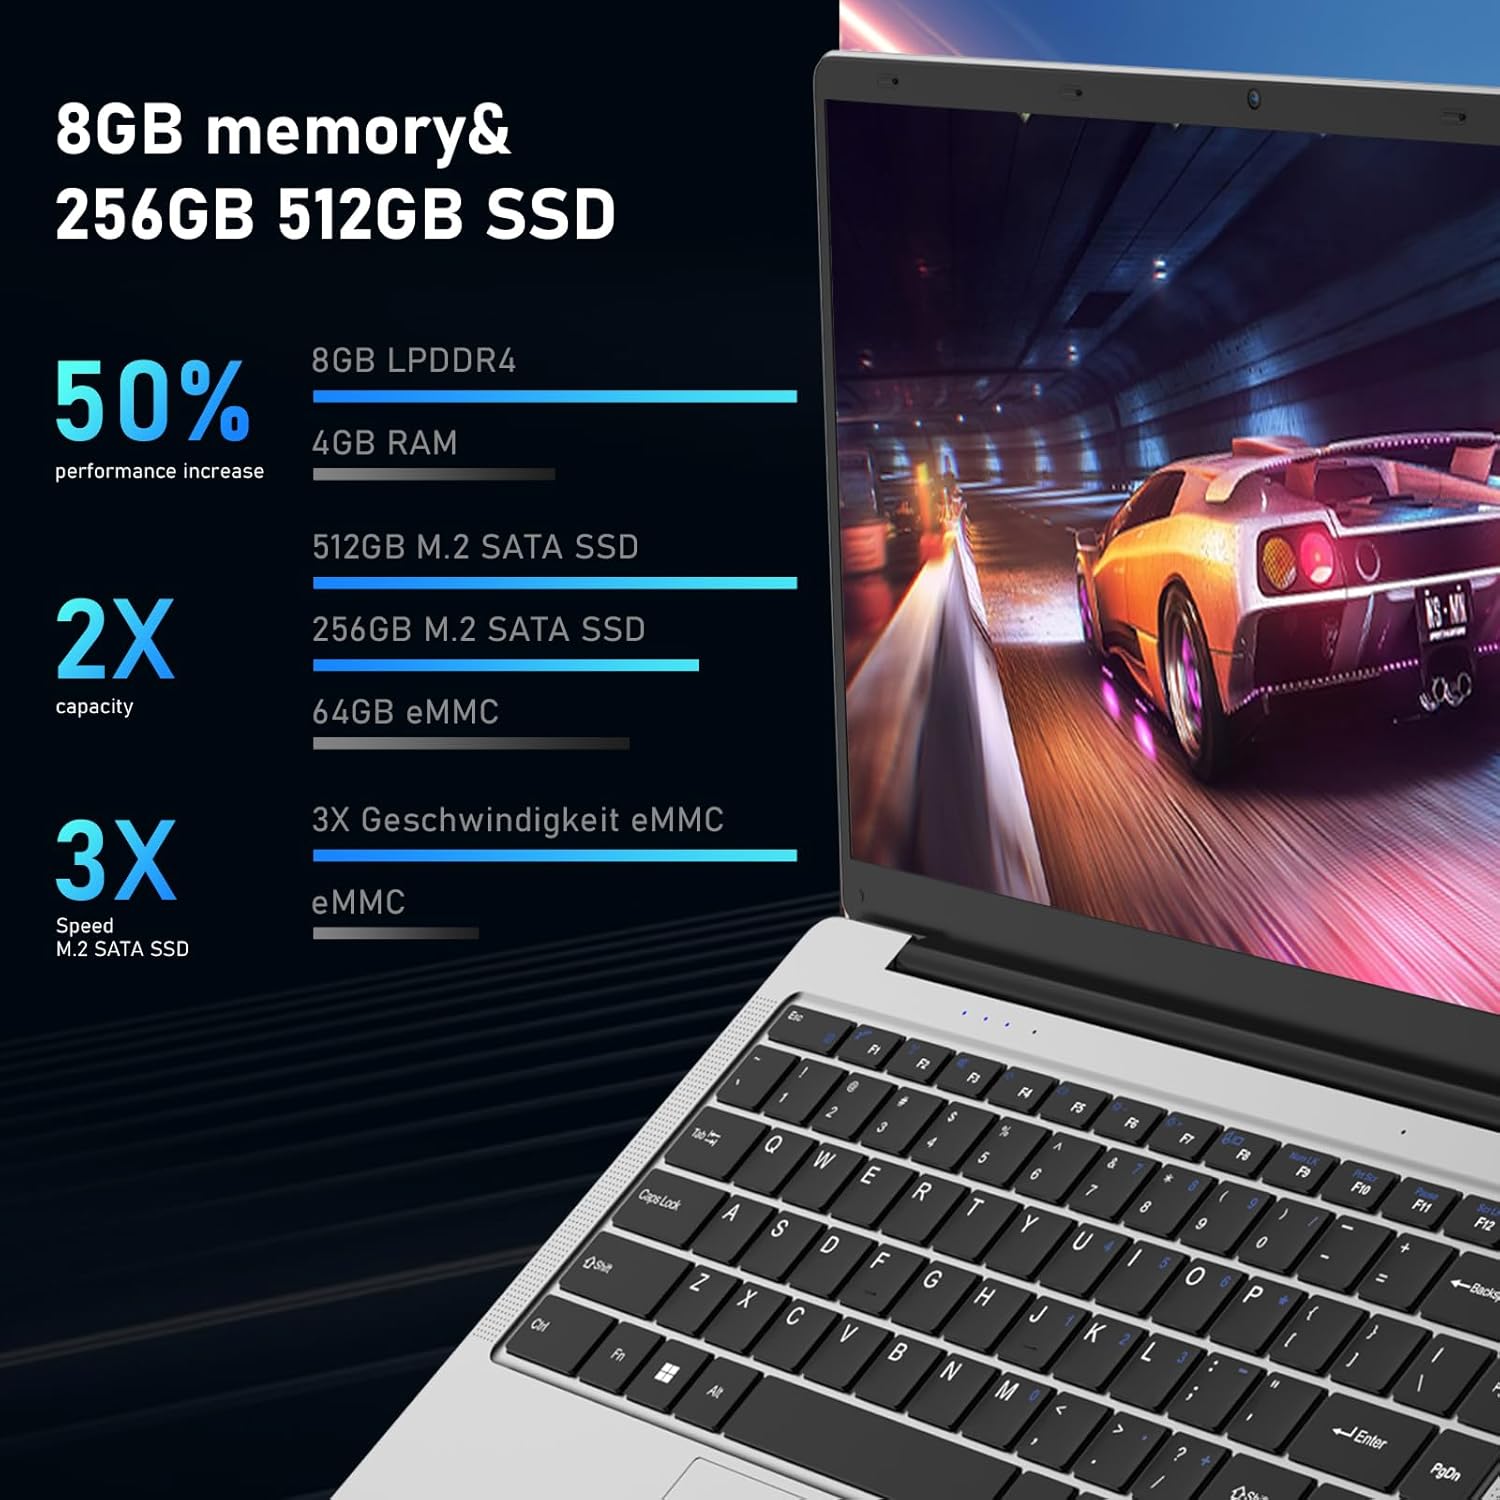
The Auusda 14.1'' FHD Laptop (Model A146G) is a lightweight and efficient notebook designed for everyday computing tasks, including work, study, and entertainment. It features a Celeron J4125 Quad-Core processor, 8GB of RAM, and a 256GB SSD for responsive performance.
Pakkens indhold
- Auusda 14.1'' FHD Laptop
- Strømadapter/oplader
- Brugermanual
- Keyboard Membrane (may include multiple language options)

Billede: Forside view of the Auusda 14.1 inch FHD Laptop, displaying its screen with specifications overlay including 14.1" size, 1080p Full HD, J4125 processor, 8GB RAM, and 256GB SSD.
Billede: En direkte front view of the Auusda laptop, showcasing its keyboard and touchpad.

Billede: Bagsiden view of the Auusda laptop, showing the hinge and the rear chassis design.
Komponenter og porte
Familiarize yourself with the various components and ports on your laptop.

Image: An overhead diagram of the laptop's sides, labeling the USB-A 2.0, Headphone Jack, Micro SD Card Slot, Charging Port, USB-A 3.0, and Mini HDMI ports.
- USB-A 2.0-port: Til tilslutning af USB-enheder såsom mus, tastaturer eller ekstern lagring.
- Hovedtelefonstik: Til tilslutning af hovedtelefoner eller eksterne højttalere.
- Micro SD -kortplads: For expanding storage or transferring data from Micro SD cards.
- Opladningsport: Til tilslutning af strømadapteren for at oplade den bærbare computer.
- USB-A 3.0-port: Til tilslutning af USB 3.0-enheder med høj hastighed.
- Mini HDMI-port: Til tilslutning til eksterne skærme eller projektorer.

Image: Close-up images of both sides of the laptop, detailing the location of the 3.5 mm DC charging port, USB 3.0, Mini HDMI, 3.5 mm headphone jack, and Micro SD slot.
Opsætning
Indledende opladning
Before first use, fully charge your laptop.
- Connect the power adapter to the charging port on the laptop.
- Sæt strømadapteren i en stikkontakt.
- The charging indicator light will illuminate. Allow the laptop to charge until the indicator shows a full charge.
Første gang tændes
- Åbn den bærbare computers låg.
- Tryk på tænd/sluk-knappen på tastaturet.
- Følg instruktionerne på skærmen for at fuldføre installationsprocessen for Windows 11 Pro, herunder valg af sprog, netværksforbindelse og oprettelse af brugerkonto.
Betjeningsvejledning
Grundlæggende betjening
- Tænd/sluk: Tryk på tænd/sluk-knappen for at tænde. For at slukke skal du klikke på Start-knappen, derefter på Tænd/sluk og vælge "Luk ned".
- Sove mode: Close the lid or press the power button briefly to enter sleep mode.
- Touchpad Usage: Use the touchpad for navigation. Tap to click, two-finger tap for right-click, and two-finger scroll for scrolling.
- Tastatur: The laptop features a full-sized keyboard. Function keys (F1-F12) can be accessed by pressing the Fn key in combination with the desired function key.
Opretter forbindelse til Wi-Fi
- Klik på Wi-Fi-ikonet i proceslinjen.
- Vælg det ønskede netværk fra listen.
- Indtast netværksadgangskoden, hvis du bliver bedt om det, og klik derefter på "Opret forbindelse".

Image: A visual representation of the laptop's wireless capabilities, showing icons for 2.4G+5G Wi-Fi and Bluetooth 5.1, along with an indication of two speakers.
Tilslutning af Bluetooth-enheder
- Gå til Indstillinger > Bluetooth og enheder.
- Sørg for, at Bluetooth er slået til On.
- Vælge Tilføj enhed og vælg Bluetooth.
- Vælg din enhed fra listen, og følg parringsvejledningen.
Using External Displays (Mini HDMI)
- Connect one end of a Mini HDMI cable to the laptop's Mini HDMI port.
- Connect the other end to the HDMI input of your external display.
- Trykke Windows-tasten + P to open the Project menu and select your desired display mode (e.g., Duplicate, Extend, Second screen only).
Opretholdelse
Rensning
- Brug en blød, fnugfri klud til at rengøre skærmen og kabinettet.
- Til genstridige mærker, dampRengør kluden let med vand eller en skærmrens.
- Undgå at bruge skrappe kemikalier eller slibende materialer.
Batteripleje
- For at forlænge batteriets levetid bør du undgå at aflade batteriet helt ofte.
- Opbevar den bærbare computer et køligt og tørt sted, når den ikke er i brug i længere perioder.
- If storing for a long time, charge the battery to about 50-60% before storage.
Softwareopdateringer
Opdater dit Windows-operativsystem og dine drivere regelmæssigt for at sikre optimal ydeevne og sikkerhed.
- Gå til Indstillinger > Windows Update.
- Klik Se efter opdateringer og installer alle tilgængelige opdateringer.
Lagerstyring
Ryd jævnligt op med unødvendige ting files to free up storage space and improve performance.

Image: An image illustrating the laptop's support for TF card and M.2 2280 SSD expansion, including a view of the laptop's bottom panel.

Image: A screenshot of the laptop's display showing a file explorer window, accompanied by text indicating the potential for storage upgrades.
Fejlfinding
Fælles problemer og løsninger
| Problem | Mulig årsag/løsning |
|---|---|
| Den bærbare computer tænder ikke. |
|
| Skærmen er blank eller sort. |
|
| Problemer med Wi-Fi-forbindelse. |
|
| Langsom ydeevne. |
|
Specifikationer
Detailed technical specifications for the Auusda 14.1'' FHD Laptop (Model A146G).

Image: A graphic detailing the Celeron J4125 processor, its 2.7 GHz maximum clock speed, and integrated UHD 600 graphics.

Image: A visual representation of the laptop's 14.1-inch IPS screen, highlighting its 1920x1080 resolution, 178-degree viewing angle, and 180-degree hinge flexibility.
| Feature | Detalje |
|---|---|
| Modelnavn | A146G (Series T141J) |
| Vise | 14.1 Inches FHD (1920x1080) IPS Display |
| Processor | Intel Celeron J4125 Quad-Core (up to 2.7 GHz) |
| VÆDDER | 8GB DDR4 |
| Opbevaring | 256GB SSD (M.2 2280) |
| Grafik | Integreret Intel UHD Graphics 600 |
| Operativsystem | Windows 11 Pro |
| Havne | 2x USB 3.0, 1x Mini HDMI, 1x Micro SD Card Slot, 1x 3.5mm Headphone Jack, 1x DC Charging Port |
| Trådløs forbindelse | Dual-Band Wi-Fi (2.4G+5G), Bluetooth 5.1 |
| Webcam | Ja |
| Lyd | Two Stereo Speakers, HD Audio |
| Batteri | 31920mWh (1x 9V battery included) |
| Dimensioner (LxBxH) | 12.6 x 8.3 x 0.7 tommer |
| Vægt | 2.9 lb (1.3 kg) / 3.99 pounds (product data) |
| Farve | Sølv |
Garanti og support
Garantioplysninger
Your Auusda laptop comes with a 2-year warranty. During this 24-month warranty period, Auusda will provide free repair or return/exchange services for the computer.
Kundesupport
For any questions, technical assistance, or warranty claims, please contact Auusda customer support.
- E-mail support: Send your order number and a video of the problem to Auusda.ltd@gmail.com
- Amazon Support: Log in to your Amazon account, navigate to "Your Orders", and select "Ask questions" for your purchase.

Image: A graphic outlining the available after-sale service channels, including Amazon's order support and direct email contact, along with warranty duration.