1. Introduktion
Welcome to the user manual for your suangrc K600GPS-A GPS Drone. This manual provides essential information for safe operation, setup, and maintenance of your drone. Please read it thoroughly before your first flight to ensure optimal performance and safety.
The K600GPS-A is a lightweight, foldable quadcopter equipped with a 1080P camera, 4.5-inch LCD screen remote control, and advanced GPS features such as Auto Return Home, Follow Me, Point of Interest, and Tap Fly. Weighing under 249g, it offers an accessible and enjoyable flight experience.
2. Sikkerhedsretningslinjer
Adhering to these safety guidelines is crucial for preventing accidents and ensuring a pleasant flight experience.
- Flyvemiljø: Fly in open, unobstructed areas, away from people, animals, buildings, and power lines. Avoid flying over private property without permission.
- Vejrforhold: Do not fly in strong winds, rain, snow, or fog. Optimal conditions are calm and clear.
- Batterisikkerhed: Use only the provided charger and battery. Do not overcharge or puncture batteries. Discontinue use if batteries are damaged or swollen.
- Synslinje: Always maintain visual line of sight with your drone during flight.
- Respekter privatlivets fred: Be mindful of others' privacy when operating the drone's camera.
- Aldersanbefaling: This drone is intended for adults and experienced users.
- FAA Regulations: This drone weighs under 249g, which typically exempts it from FAA registration requirements in the United States. However, always check local regulations before flying.
3. Pakkens indhold
Bekræft at alle varer er til stede i din pakke:
- Drone x 1
- Fjernbetjening x 1
- Batteri x 1
- Propeller x 4 (spare)
- Skruetrækker x 1
- USB-kabel x 1
- Bæretaske x 1
- SD Card (8GB) x 1

Image: Contents of the K600GPS-A drone package, neatly arranged with the drone, remote control, battery, spare propellers, screwdriver, USB cable, carrying case, and an 8GB SD card.
4. Produktet er slutview
Familiarize yourself with the drone and remote control components.

Image: The suangrc K600GPS-A drone in its unfolded state, positioned above its remote control. The drone features a front-facing camera, and the remote control has a large 4.5-inch LCD screen displaying a live feed.
Drone Components:
- Propeller: Four propellers for lift and movement.
- Brushless Motors: Provide efficient and stable flight.
- Kamera: Front-mounted 1080P HD camera with 90° electric adjustment.
- Batterirum: Located at the rear for the modular flight battery.
- Optical Flow Sensor: Bottom-mounted for stable hovering.
Remote Control Components:
- 4.5 tommer LCD-skærm: Displays real-time FPV feed and flight data.
- Kontrolpinde: For drone movement and altitude.
- Funktionsknapper: For one-key takeoff/landing, RTH, photo/video capture, speed adjustment, etc.
- Antenner: For stable signal transmission.

Image: A close-up of the drone's remote control, highlighting its 4.5-inch LCD screen which provides a clear, real-time first-person view (FPV) from the drone's camera, along with various control buttons and joysticks.
5. Opsætning
5.1. Batteriopladning
- Drone Batteri: Connect the drone's modular battery to the provided USB charging cable. Plug the USB cable into a 5V/2A USB adapter (not included). The charging indicator will show charging status and turn off when fully charged. Charging time is approximately 120-150 minutes for 22 minutes of flight.
- Fjernbetjenings batteri: The remote control uses internal rechargeable batteries. Charge it using the provided USB cable.

Image: A composite image showing the drone's brushless motor, the modular battery inserted into the drone, and the battery being charged via a USB cable plugged into a wall adapter. This illustrates the power components and charging process.
5.2. Propelinstallation
The drone's propellers are typically pre-installed. If replacement is necessary, use the included screwdriver to attach the spare propellers, ensuring they are correctly oriented (A and B types).
5.3. Indsættelse af SD-kort
Locate the SD card slot on the drone. Insert the included 8GB SD card (supports up to 32GB) into the slot until it clicks. This card is used for storing photos and videos directly from the drone's camera.

Image: A three-part image showing the drone's SD card slot, a hand inserting an SD card into a USB card reader, and the card reader connected to a laptop, demonstrating how to install the SD card and access its contents.
5.4. Pairing Drone and Remote Control
- Placer dronen på en flad, plan overflade.
- Power on the drone. The indicator lights will flash.
- Tænd for fjernbetjeningen.
- Push the left joystick up then down. The drone lights will become solid, indicating successful pairing.
- Wait for GPS signal acquisition. The drone lights will flash slowly once GPS is locked.
6. Betjeningsvejledning
6.1. Tjekliste før flyvning
- Sørg for, at batterierne til dronen og fjernbetjeningen er fuldt opladet.
- Kontroller propellerne for eventuelle skader, og sørg for, at de er sikkert fastgjort.
- Confirm the SD card is inserted correctly.
- Choose an open, safe flying area, free from obstacles and people.
- Wait for GPS signal lock before takeoff.
6.2. Start og landing
- Start med én knap: After pairing and GPS lock, press the one-key takeoff button on the remote control. The drone will automatically ascend and hover at a safe altitude.
- Manuel start: Push both control sticks down and outwards to start the motors, then gently push the left stick up to ascend.
- One-key landing: Press the one-key landing button. The drone will automatically descend and land.
- Manuel landing: Gently pull the left control stick down to descend.
6.3. Grundlæggende flyvekontrol
- Venstre pind (gas/drej): Op/Ned for højde, venstre/højre for rotation (drejning).
- Højre pind (Pitch/Roll): Up/Down for forward/backward movement (pitch), Left/Right for left/right movement (roll).
6.4. GPS Smart Flight Functions
The K600GPS-A drone offers several intelligent flight modes for enhanced control and creative possibilities.
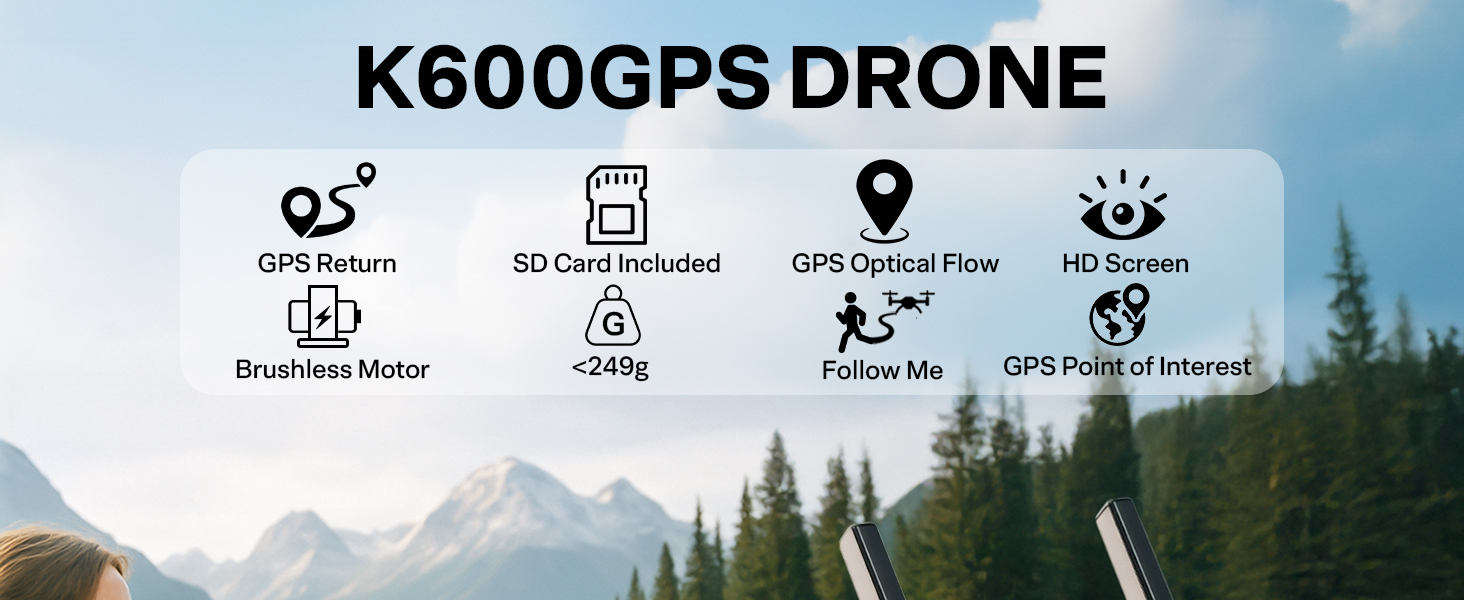
Image: A series of four illustrations depicting the GPS Smart Return features: One Key Return to Home (RTH), RTH due to signal loss, RTH due to low battery, and Failsafe RTH, all showing the drone returning to its launch point.
- Auto Return Home (RTH):
- One-Key RTH: Press the RTH button on the remote control, and the drone will automatically return to its takeoff point.
- Signal Loss RTH: If the drone loses connection with the remote control, it will automatically initiate RTH.
- Lavt batteri RTH: When the drone's battery is critically low, it will automatically return to its takeoff point.
- Følg mig tilstand:
In this mode, the drone will follow the remote control (and thus the pilot) at a set distance and altitude, capturing footage as you move.

Image: A drone flying behind a person skateboarding on a paved path, demonstrating the 'Follow Me' mode where the drone autonomously tracks the subject.
- Point of Interest (POI):
The drone will circle a designated point, maintaining a consistent radius and altitude, ideal for capturing orbital video shots.
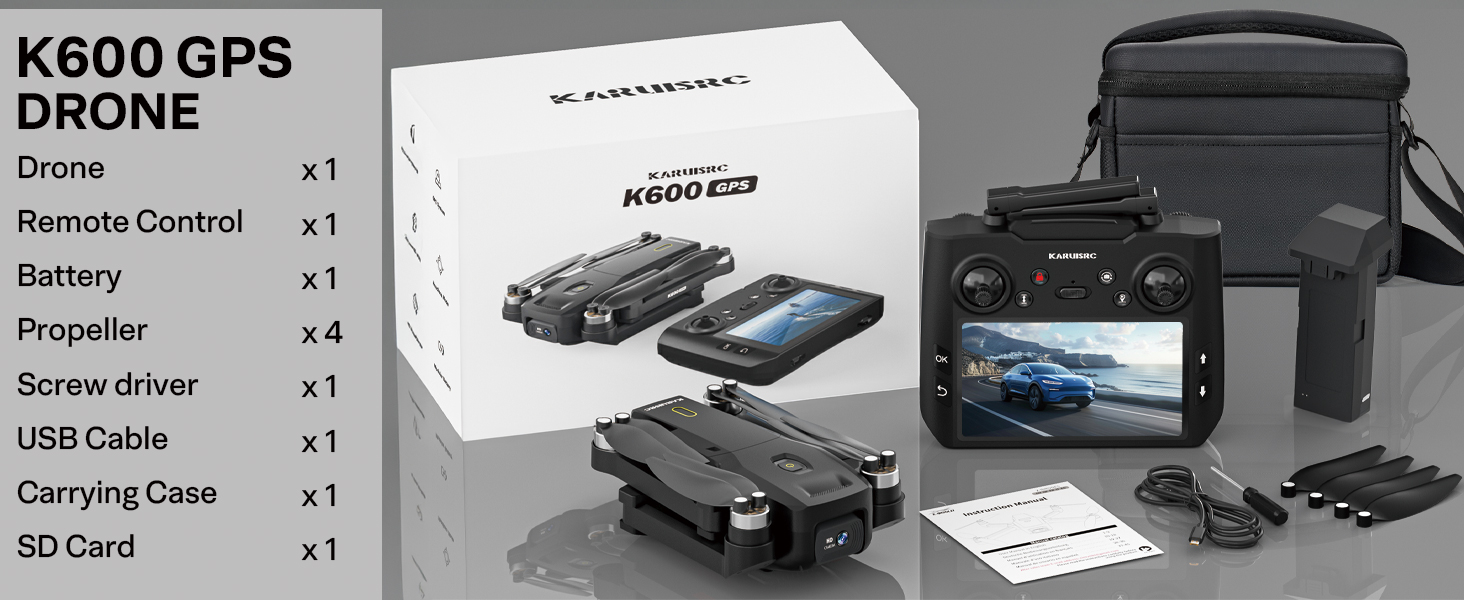
Image: A drone flying in a circular path around a person running on a mountain trail, illustrating the 'Point of Interest' flight mode for dynamic aerial videography.
- Tap Fly (Waypoint Flight):
Set a custom flight path by tapping points on the map within the connected smartphone app. The drone will then fly along this predetermined route.

Image: A drone flying above a city skyline with red pin markers indicating a pre-set flight path, demonstrating the 'Tap Fly' or waypoint navigation feature.
6.5. Hovedløs tilstand
In Headless Mode, the drone's orientation is irrelevant. It will move relative to the pilot's position, making it easier for beginners to control.
6.6. Hastighedsjustering
The drone offers multiple speed settings. Use lower speeds for beginners or indoor flight, and higher speeds for outdoor flight in open areas.
7. Kamerabetjening
The K600GPS-A is equipped with a 1080P HD camera for capturing aerial photos and videos.

Billede: En detaljeret view of the drone's 1080P HD camera, highlighting its 90-degree electric adjustable lens. Below, two comparison images show the clarity of a 1080P capture versus a blurry, unfocused image without proper camera function.
- Videoopløsning: 1080P (1920x1080) for video recording.
- Billedopløsning: 2 MP effective still resolution.
- Justerbart kamera: The camera lens can be adjusted electrically by 90° via the remote control to capture different angles.
- Indspilning: Press the dedicated video button on the remote control to start/stop video recording.
- Fotografering: Press the dedicated photo button on the remote control to take a still image.
- Opbevaring: All photos and videos are saved to the inserted SD card.
- Levende View: The 4.5-inch LCD screen on the remote control provides a real-time FPV feed. For higher resolution viewing or additional features, connect your smartphone to the drone's Wi-Fi and use the dedicated app.
8. Vedligeholdelse
- Rensning: Use a soft, dry cloth to clean the drone and remote control. Avoid using solvents or harsh chemicals.
- Propelinspektion: Regularly check propellers for cracks, bends, or damage. Replace any damaged propellers immediately using the provided spares.
- Batteripleje: Store batteries in a cool, dry place. Do not store fully charged or completely depleted batteries for extended periods. Charge them to about 50-60% for long-term storage.
- Opbevaring: When not in use, store the drone and its accessories in the provided carrying case to protect them from dust and physical damage.
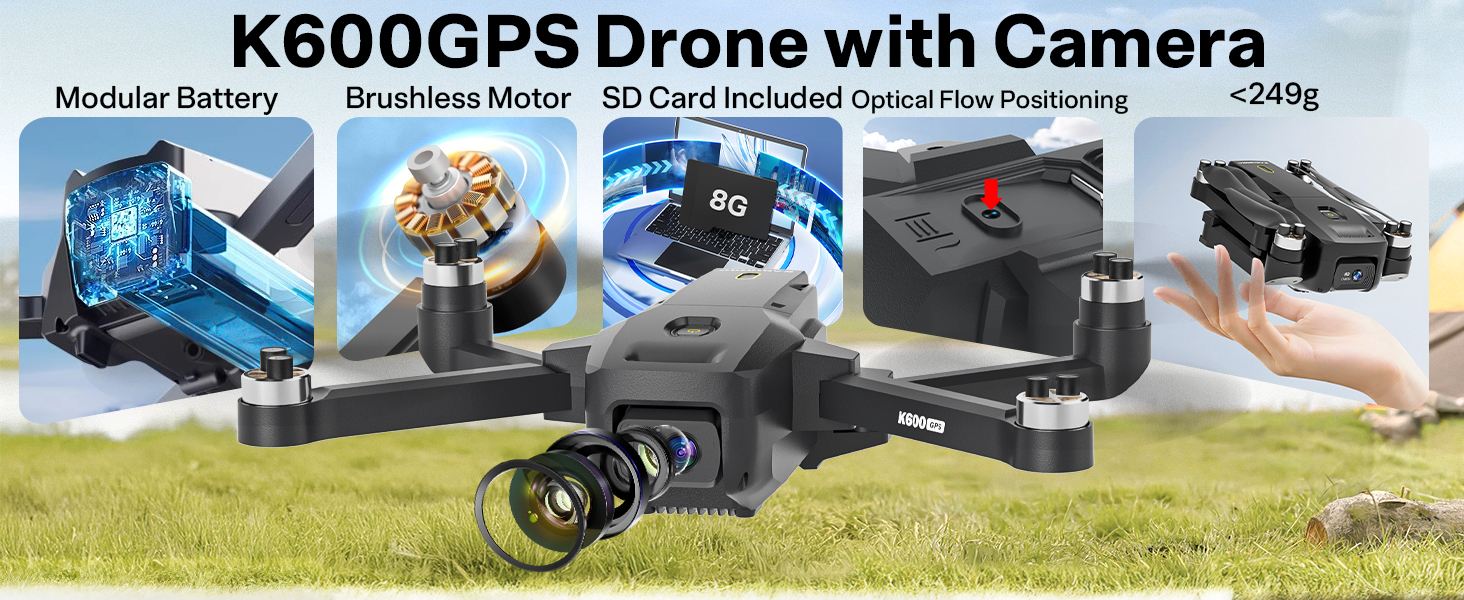
Image: The foldable drone and its compact carrying bag placed on a rocky outdoor terrain, emphasizing its portability and ease of storage for travel.
9. Fejlfinding
- Dronen tænder ikke: Ensure the battery is fully charged and correctly inserted. Check the power button.
- Remote control not connecting: Ensure both drone and remote are powered on and follow the pairing steps in Section 5.4.
- Ustabil flyvning: Calibrate the drone before flight. Ensure propellers are not damaged and are installed correctly. Fly in calm weather conditions.
- Intet GPS-signal: Flyv i et åbent udendørs område med klar view of the sky. Avoid areas with tall buildings or heavy interference.
- Camera not recording/taking photos: Ensure the SD card is inserted correctly and has sufficient free space. Check if the card is formatted.
- Poor FPV feed: Ensure you are within the drone's operating range. Avoid areas with strong Wi-Fi interference.
10. Specifikationer
| Feature | Specifikation |
|---|---|
| Mærke | suangrc |
| Modelnavn | K600 |
| Farve | Sort |
| Varens vægt | 205 gram (7.2 ounce) |
| Produktdimensioner | 8.8 cm L x 7.2 cm B x 2.1 cm H |
| Videooptagelsesopløsning | 1080p |
| Effektiv stillopløsning | 2 MP |
| Forbindelsesteknologi | Wi-Fi |
| Batterikapacitet | 2200 mioamp Timer |
| Flyvetid | Op til 22 minutter |
| Særlige funktioner | Adjustable Camera, Auto-Landing, Burst Mode, Foldable, Integrated GPS, Follow Me, Point of Interest, Tap Fly |
| Kontroltype | App-styring, fjernbetjening |
| Materiale | Plast |
| Optisk sensorteknologi | CMOS |
| SD-kort support | Op til 32 GB (8 GB inkluderet) |
11. Garanti og support
Your suangrc K600GPS-A drone comes with a standard manufacturer's warranty. For specific warranty details, please refer to the documentation included with your purchase or contact customer support.
For any technical support, inquiries about drone accessories, or assistance with flight issues, please reach out to our dedicated Support Team. Tutorial videos are also available to help you master flight quickly.
- E-mail support: suangrc@gmail.com

Image: A customer support representative wearing a headset, ready to assist with inquiries, symbolizing the available support for the product.


