1. Introduktion
This manual provides essential instructions for the safe and efficient operation of your Gevi 10-Cup Drip Coffee Maker with Built-in Burr Grinder. Please read all instructions carefully before first use and retain for future reference.
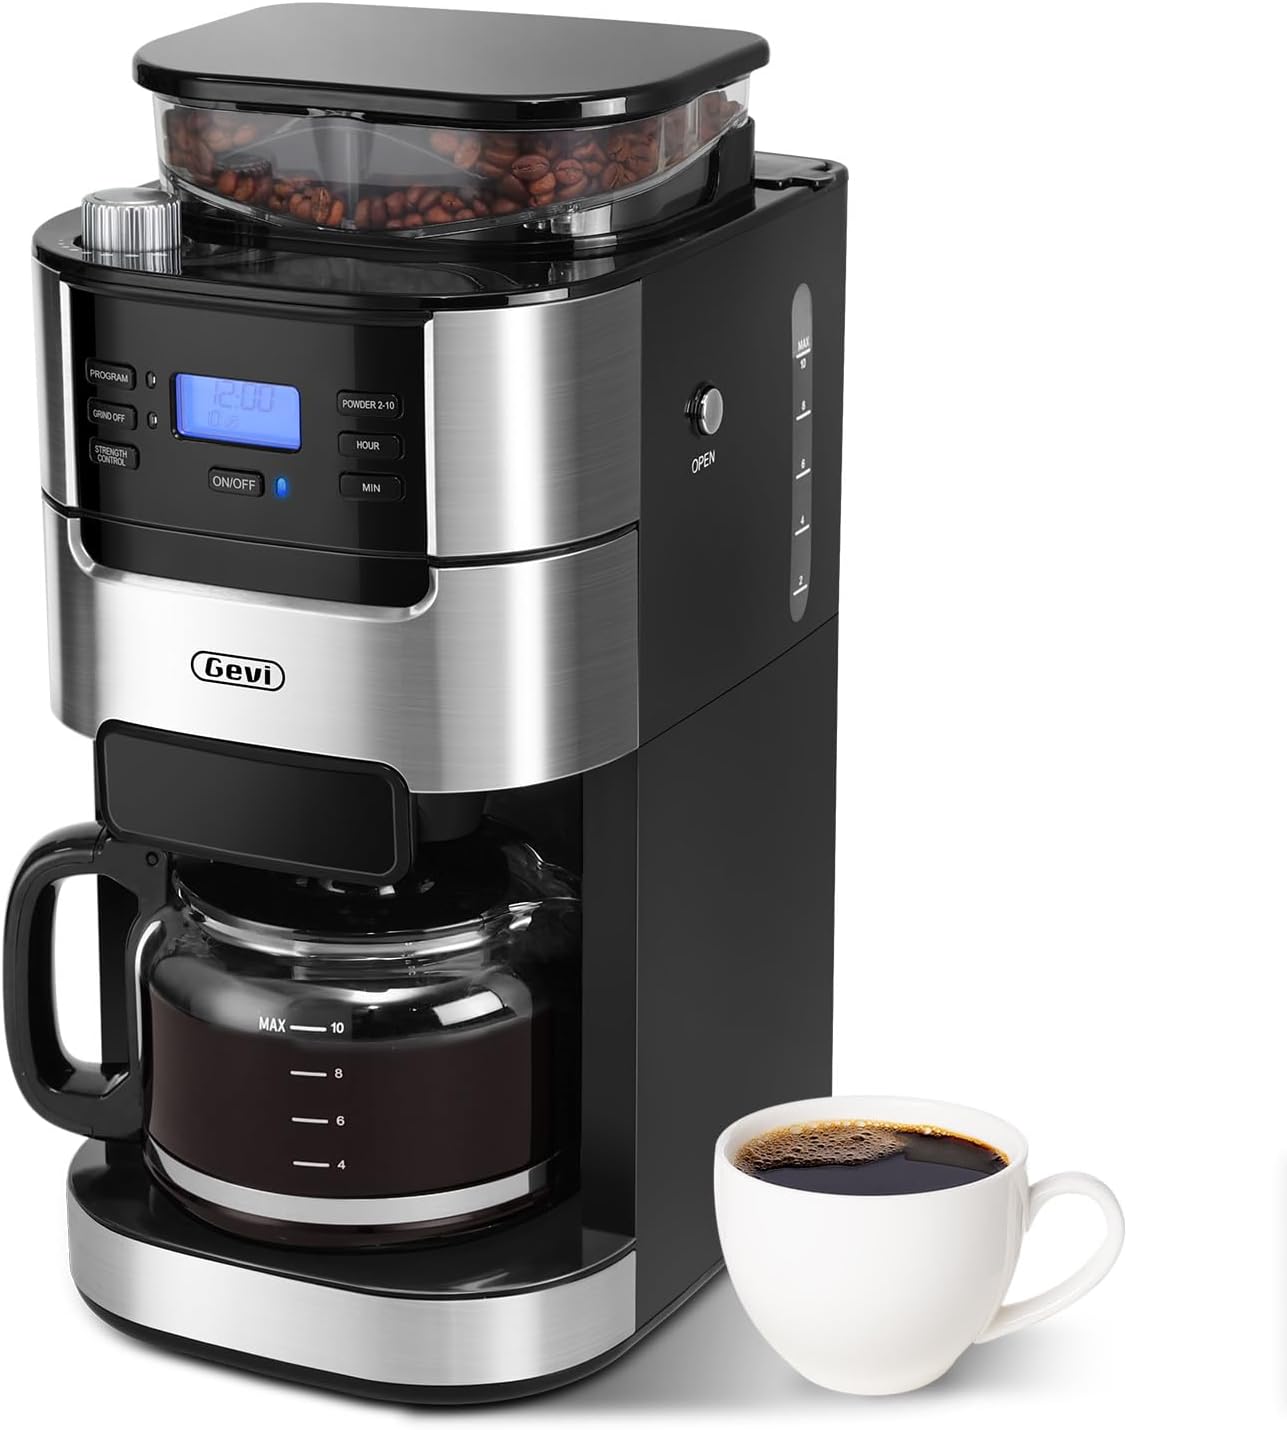
Image 1: Gevi 10-Cup Drip Coffee Maker, front view with a cup of coffee.
2. Vigtige sikkerhedsinstruktioner
Ved brug af elektriske apparater skal grundlæggende sikkerhedsforanstaltninger altid følges for at reducere risikoen for brand, elektrisk stød og/eller personskade, herunder følgende:
- Læs alle instruktioner.
- Rør ikke ved varme overflader. Brug håndtag eller knopper.
- For at beskytte mod brand, elektrisk stød og personskade må ledning, stik eller apparat ikke nedsænkes i vand eller anden væske.
- Tæt opsyn er nødvendigt, når et apparat bruges af eller i nærheden af børn.
- Træk stikket ud af stikkontakten, når det ikke er i brug, og før rengøring. Lad det køle af, før du sætter dele på eller af, og før du rengør apparatet.
- Betjen ikke noget apparat med en beskadiget ledning eller stik, eller efter at apparatet ikke fungerer korrekt eller er blevet beskadiget på nogen måde. Returner apparatet til det nærmeste autoriserede serviceværksted for undersøgelse, reparation eller justering.
- Brug af tilbehør, der ikke er anbefalet af apparatets producent, kan resultere i brand, elektrisk stød eller personskade.
- Må ikke bruges udendørs.
- Lad ikke ledningen hænge ud over kanten af bordet eller bordpladen eller røre ved varme overflader.
- Må ikke placeres på eller i nærheden af en varm gas- eller elektrisk brænder eller i en opvarmet ovn.
- Sæt altid stikket i apparatet først, og sæt derefter ledningen i stikkontakten. For at afbryde forbindelsen skal du slukke for en vilkårlig knap og derefter tage stikket ud af stikkontakten.
- Brug ikke apparatet til andet end tilsigtet brug.
- Skoldning kan forekomme, hvis låget fjernes under brygningscyklusserne.
- Kanden er designet til brug med dette apparat. Det må aldrig bruges på en range top.
- Placer ikke en varm kande på en kold eller våd overflade.
- Brug ikke en revnet kande eller en kande med et løst eller svækket håndtag.
- Rengør ikke karaffel med rensemidler, ståluldspuder eller andet slibende materiale.
- Ensure the water tank is filled with purified water and boiled at least one cycle before brewing coffee for the first time.
- To avoid damage to the grinder, no coffee powder or any liquid is allowed in the bean box.
- When the machine is finished making coffee, the coffee residue in the funnel and filter should be removed to avoid accumulation of coffee powder and clogging the grinding bean cavity.
3. Produktkomponenter
Familiarize yourself with the parts of your Gevi coffee maker:
- Hovedenhed med kontrolpanel
- Built-in Burr Grinder (Bean Box)
- 1.5L Water Tank (with MAX 10-cup indicator)
- Glaskaffekande (karaffel)
- Permanent filter
- Filterindsats med drypstop
- Scoop
- Rengøringsbørste
- Filterring

Image 2: Included accessories: Permanent Filter, Filter Insert with Drip Stop, Glass Coffee Pot, Scoop, Filter Ring.
4. Setup and First-Time Use
4.1 Udpakning og placering
- Carefully remove all packaging materials and the coffee maker from the box.
- Place the coffee maker on a stable, flat, and spacious surface. Ensure adequate clearance around the unit for proper ventilation.
- Tør kaffemaskinens ydre af med adamp klæde.
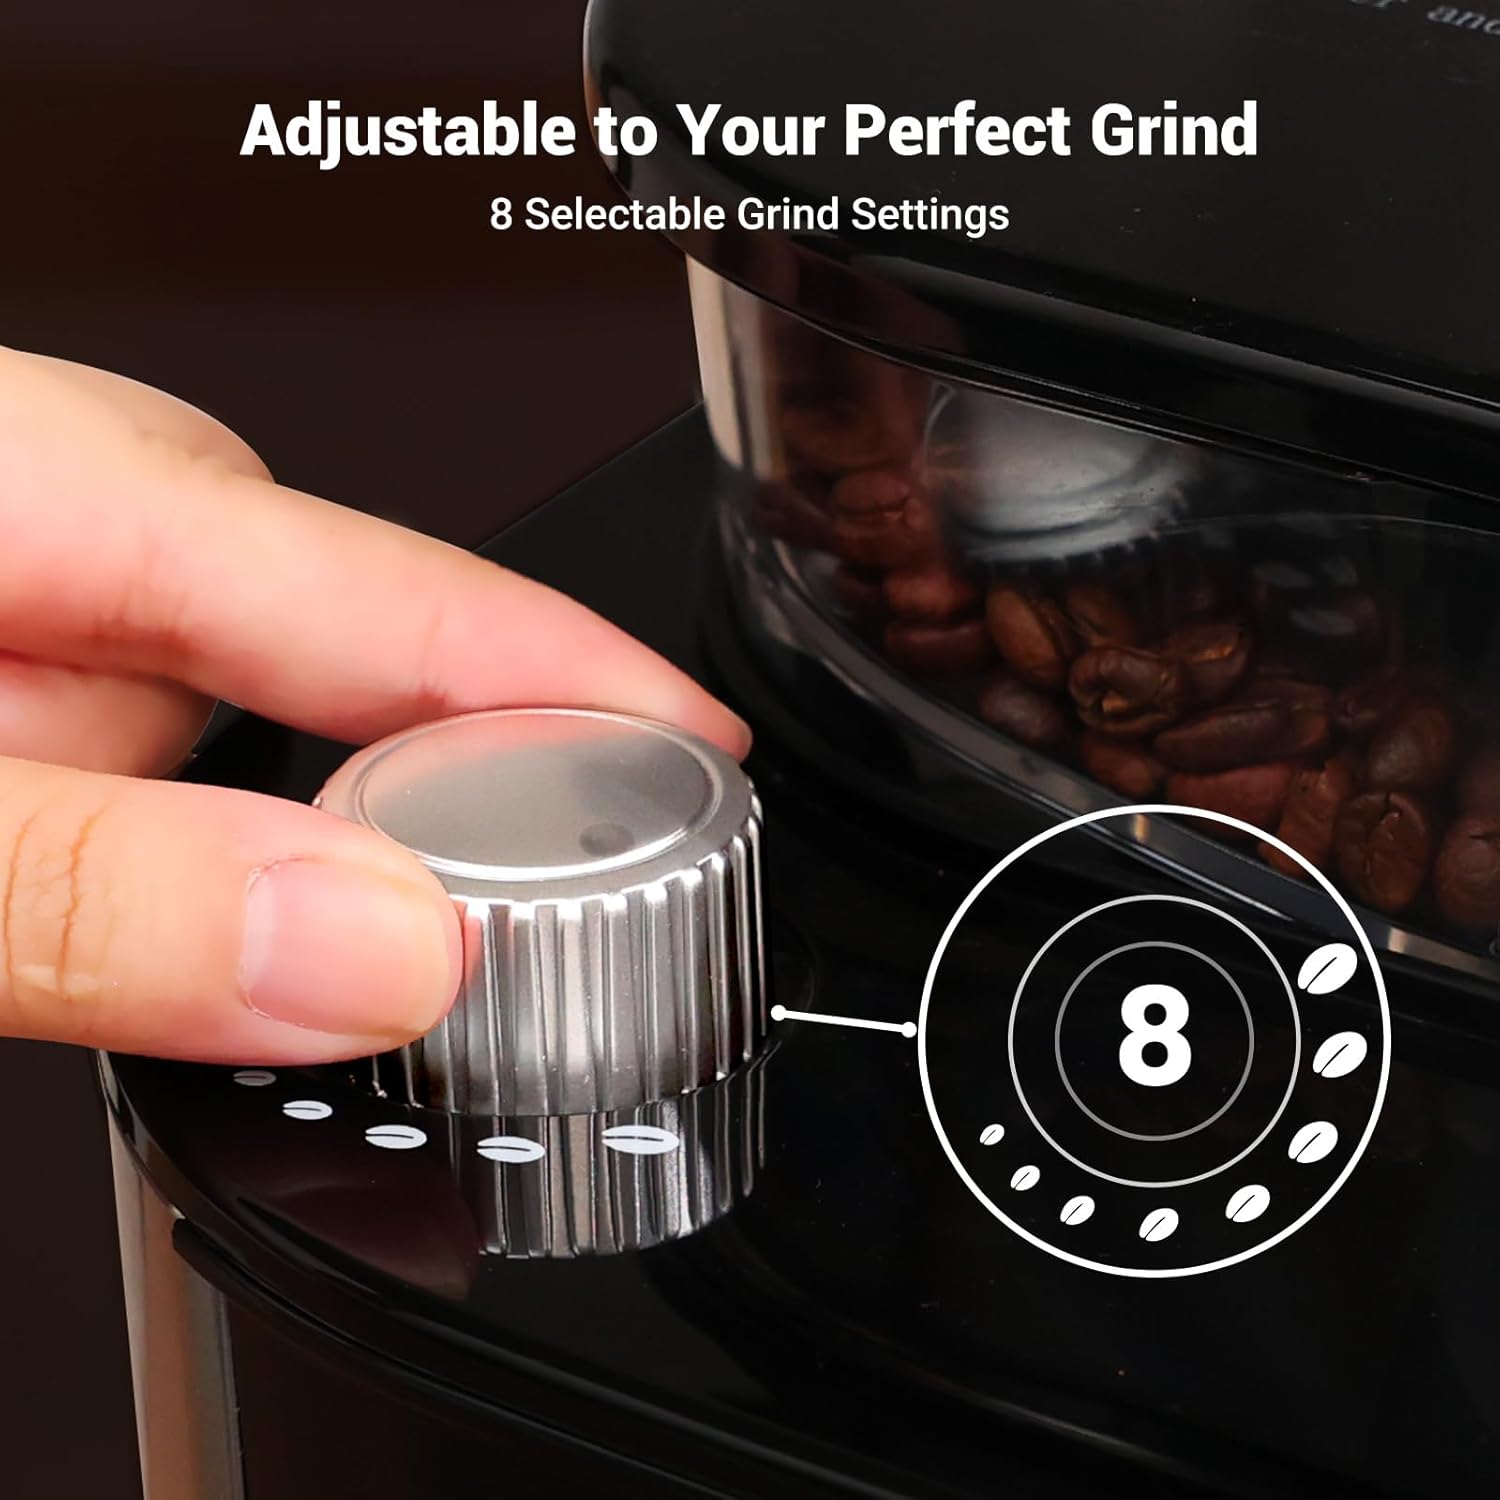
Image 3: The coffee maker's compact design fits well on countertops. Dimensions: 12.36" (D) × 8.38" (W) × 16.93" (H).
4.2 Indledende rengøringscyklus
Before brewing coffee for the first time, it is recommended to run at least one full cycle with clean water to remove any manufacturing residues.
- Fill the glass carafe with clean water up to the "MAX 10" line.
- Open the water tank lid and carefully pour the water from the carafe into the water tank. Close the lid securely.
- Ensure the permanent filter is correctly placed in the filter basket.
- Placer den tomme glaskande på varmepladen.
- Sæt strømkablet i en jordforbundet stikkontakt. Displayet lyser.
- Press the "ON/OFF" button to start the brewing cycle. The machine will run a full cycle, heating and dispensing all the water.
- Når cyklussen er færdig, hældes vandet ud af kanden. Din kaffemaskine er nu klar til brug.
5. Betjeningsvejledning
5.1 Adding Water and Coffee
- Fill the glass carafe with fresh, cold water to your desired number of cups (2-10).
- Open the water tank lid and pour the water into the tank. Ensure the water level does not exceed the "MAX 10" line.
- For whole beans: Open the bean box lid and add fresh coffee beans. Close the lid securely.
- For pre-ground coffee: Press the "GRIND OFF" button to disable the grinder. Open the filter basket and add your desired amount of pre-ground coffee into the permanent filter. Close the filter basket.

Image 4: Illustration of adding whole coffee beans to the grinder or pre-ground coffee to the filter basket.
5.2 Indstilling af malingsgrad og kaffestyrke
- Rotate the grind regulator knob on top of the machine to select your desired coffee grind size (8 settings from fine to coarse).
- Press the "STRENGTH CONTROL" button to cycle through the available coffee strength options (Mild, Medium, Strong).
- Press the "POWDER 2-10" button to select the number of cups you wish to brew.

Image 5: Close-up of the grind setting knob, indicating 8 selectable grind settings.
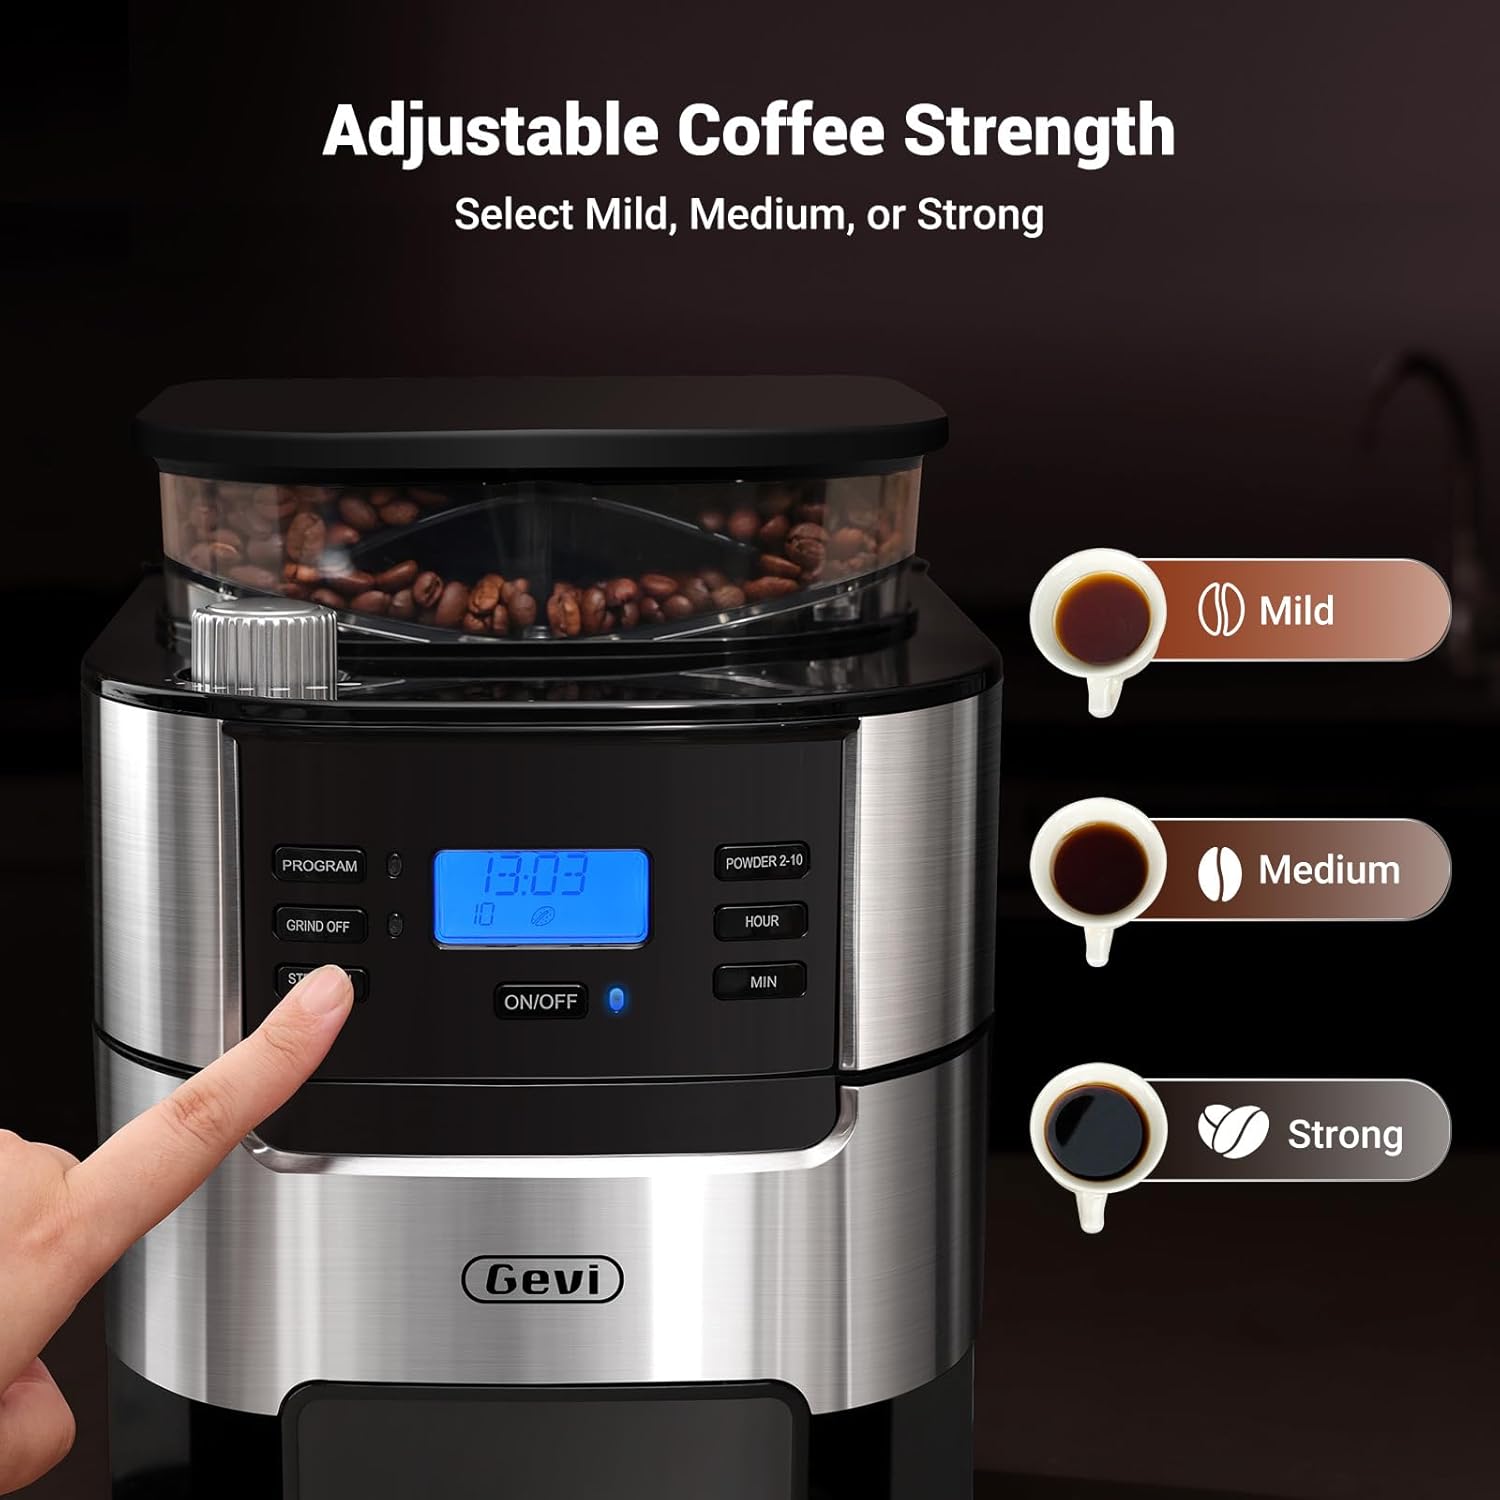
Image 6: The control panel highlighting the "STRENGTH CONTROL" button and the three brew strength options.
5.3 Programmering af timeren
The coffee maker features a 24-hour programmable timer for automatic brewing.
- Set the current time using the "HOUR" and "MIN" buttons.
- Tryk på knappen "PROGRAM". Displayet viser "PROGRAM", og tiden blinker.
- Use the "HOUR" and "MIN" buttons to set your desired brew start time.
- Press the "PROGRAM" button again to confirm. The display will show the current time, and the program indicator will remain lit.
- Kaffemaskinen starter automatisk brygning på det indstillede tidspunkt.

Image 7: Visual representation of setting the 24-hour programmable timer for automatic morning coffee.
5.4 Starting the Brew Cycle
After setting your preferences, press the "ON/OFF" button to start brewing immediately or to activate the programmed brew cycle.
Image 8: Step-by-step visual guide for one-touch brewing, from adding water to enjoying coffee.
5.5 Keep-Warm Function
The coffee maker automatically keeps coffee warm at 167°F+ for up to 2 hours after brewing. You can adjust the warming time from 0-120 minutes in 15-minute intervals.
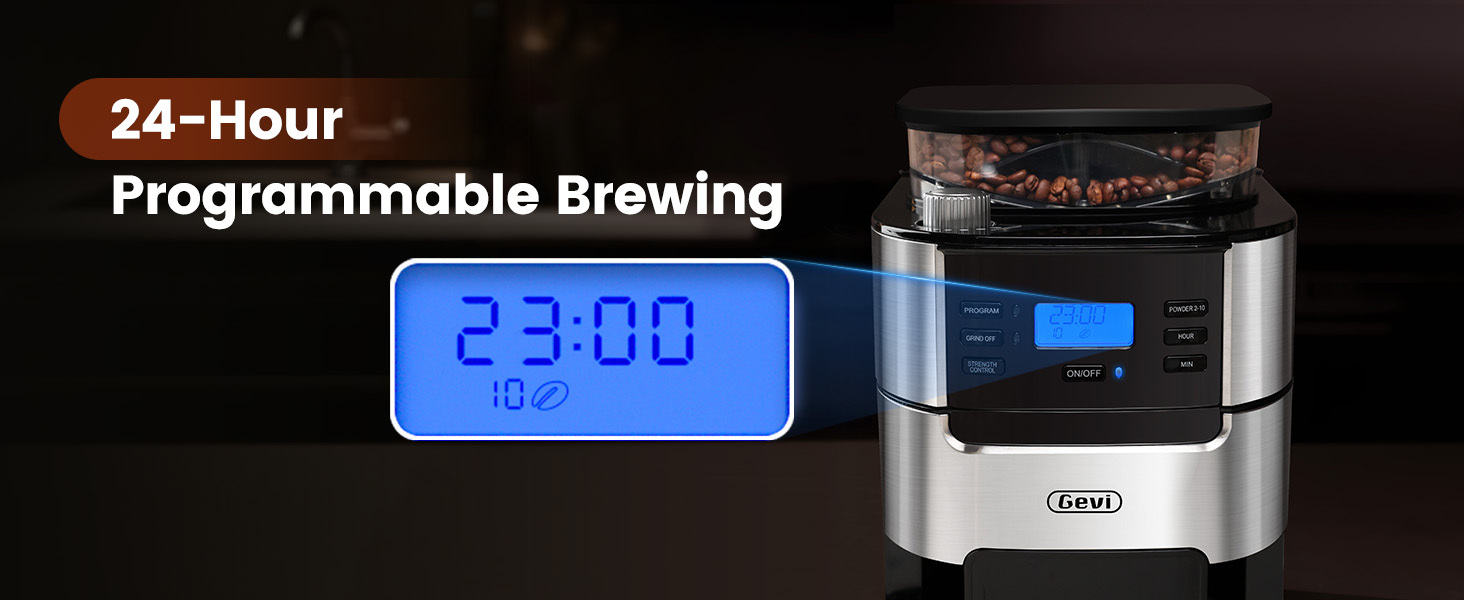
Image 9: The coffee maker's warming plate maintaining the temperature of brewed coffee.
6. Vedligeholdelse og rengøring
Regelmæssig rengøring sikrer optimal ydeevne og levetid for din kaffemaskine.
6.1 Daglig rengøring
- After each use, press the "OPEN" button to remove the filter basket.
- Discard used coffee grounds from the permanent filter.
- Rinse the permanent filter and filter ring under running water. Use the provided cleaning brush to remove any stubborn coffee residue.
- Tør maskinens ydre af med adamp Sørg for, at alle dele er tørre, inden de samles igen.
6.2 Vedligeholdelse af kværn
To prevent clogging and maintain grinder efficiency, especially if not using the machine for several days:
- Remove the bean box lid.
- Carefully remove any remaining coffee beans from the bean box using the scoop or a spoon.
- Luk låget til bønnekassen.
- Set the "POWDER 2-10" function to 10 cups.
- Press the "ON/OFF" button to run the grinder until it sounds empty, ensuring all residual grounds are cleared.
- Always ensure the bean box lid is securely closed to protect beans from ambient air and prevent water from entering the grinder during water tank refills.
- Do not adjust the grind size selector while the grinder is operating to prevent damage.
7. Fejlfinding
| Problem | Mulig årsag | Løsning |
|---|---|---|
| Coffee maker not turning on. | Ikke tilsluttet; strømmen er slukkettage. | Sørg for, at netledningen er sat ordentligt i en stikkontakt, der virker. Kontroller afbryderen. |
| Water leaking from the bottom. | Water tank overfilled; faulty water tank. | Do not exceed the MAX fill line in the water tank. If leaking persists, contact customer support. |
| Grinder is clogged or not grinding. | Coffee beans stuck; coffee powder accumulation. | Remove beans and clean the grinder cavity as per maintenance instructions. Do not add liquid to the bean box. |
| Kaffen smager svagt eller for stærkt. | Incorrect coffee-to-water ratio; incorrect strength setting. | Adjust the coffee quantity and strength control settings to your preference. |
| Coffee beans not feeding into grinder. | Beans stuck in hopper. | Gently shake the machine or use a non-sharp utensil to dislodge beans. Ensure the bean box lid is properly closed. |
8. Specifikationer
- Mærke: Gevi
- Model Name: Drip Coffee Machine
- Item Model Number: DCMB0-BK0A1
- Capacity: 10-Cup (1.5L Water Tank)
- Farve: Sort
- Produktmål: 12.36 cm D x 8.38 cm B x 16.93 cm H
- Special Feature: Adjustable Brew Strength, Built-in Burr Grinder, Programmable Timer, Auto Keep-Warm
- Coffee Maker Type: Drip Coffee Machine
- Operation Mode: Fully Automatic
- Voltage: 120 volt
- Human Interface Input: Buttons
- Coffee Input Type: Whole Bean
- Varens vægt: 9.92 pund
- UPC: 767791886977, 767791888223
9. Garanti og support
Your Gevi coffee maker comes with a 12-month warranty. For product support, troubleshooting assistance, or warranty claims, please contact Gevi customer service.
Refer to the official Gevi webwebstedet eller din købsdokumentation for kontaktoplysninger.

Image 10: Gevi's commitment to customer satisfaction, including a 12-month warranty and friendly services.


