1. Introduktion
This user manual provides detailed instructions for the BREGOO X70 5K Video Camera Camcorder. Please read this manual thoroughly before using the device to ensure proper operation and to maximize its performance. Keep this manual for future reference.
Produkt overview
The BREGOO X70 is a versatile 5K UHD video camera camcorder designed for capturing high-quality videos and photos. It features a 64MP sensor, 270° rotatable touch screen, 16X digital zoom, IR night vision, and Wi-Fi connectivity, making it suitable for various recording scenarios including vlogging, events, and live streaming.

Image 1.1: BREGOO X70 5K Video Camera Camcorder with accessories.
2. Pakkens indhold
Bekræft, at alle nedenstående varer er inkluderet i din pakke. Hvis der mangler eller er beskadigede varer, bedes du kontakte kundesupport.
- BREGOO X70 5K Video Camera Camcorder
- Ekstern mikrofon
- Desktop stativ
- Foldehåndtag
- 2 x 1800mAh batterier
- HD kabel
- USB kabel
- Lens Cap
- Modlysblænde
- 32 GB SD-kort
- Fjernbetjening
- Brugervejledning (dette dokument)
- Kamera taske
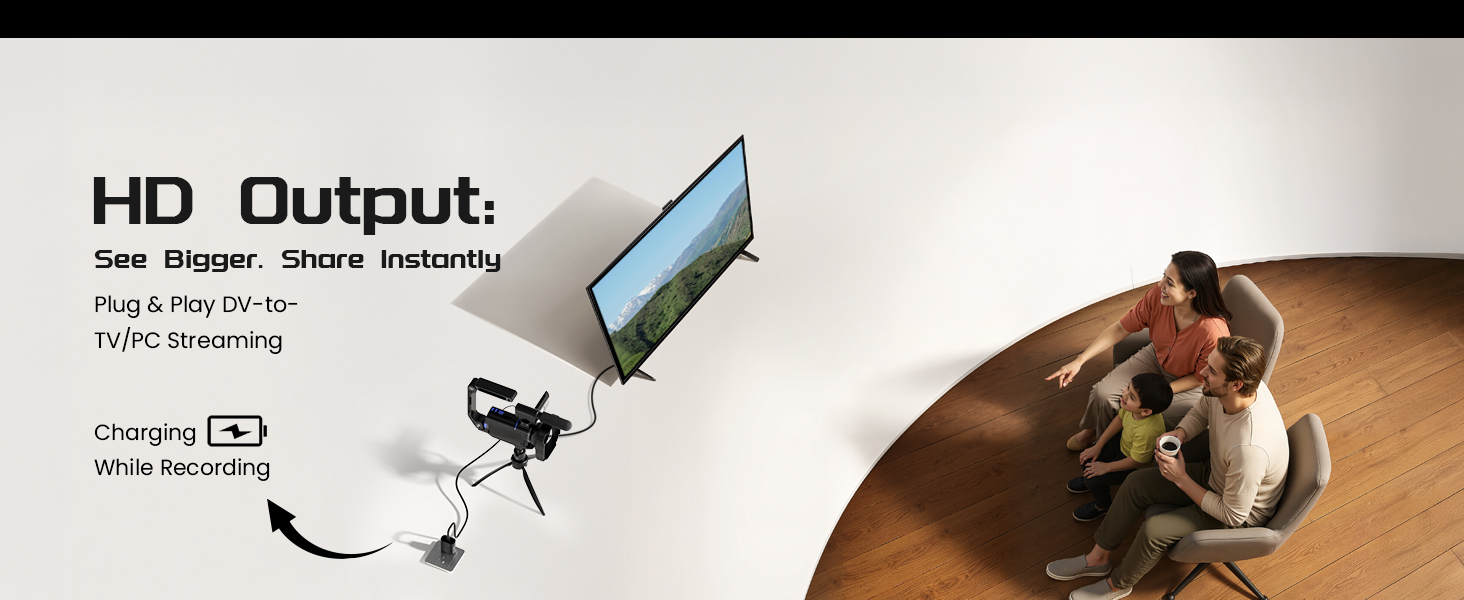
Image 2.1: All items included in the BREGOO X70 package.
3. Opsætning
3.1. Batteriinstallation
- Find batterirummet på videokameraet.
- Åbn batterirummets dæksel.
- Insert one of the provided 1800mAh batteries, ensuring correct polarity.
- Luk batterirummets dæksel forsvarligt.
- The remote control requires 1 AAA battery (included). Open its battery cover and insert the battery.
3.2. Installation af hukommelseskort
The camcorder supports SD cards. A 32GB SD card is included.
- Locate the SD card slot on the camcorder.
- Insert the 32GB SD card into the slot with the metal contacts facing the correct direction (refer to the diagram on the camera if available).
- Push the card gently until it clicks into place. To remove, push again until it springs out.
3.3. Montering af tilbehør
- Ekstern mikrofon: Attach the external microphone to the hot shoe mount on top of the camcorder and connect its cable to the microphone input port.
- Desktop Tripod: Screw the desktop tripod into the 1/4-inch tripod mount at the bottom of the camcorder.
- Foldehåndtag: Attach the folding handle to the designated mounting points on the camcorder for improved grip and stability.
- Modlysblænde: Secure the lens hood to the front of the lens by aligning the grooves and twisting until it locks. This helps reduce glare.
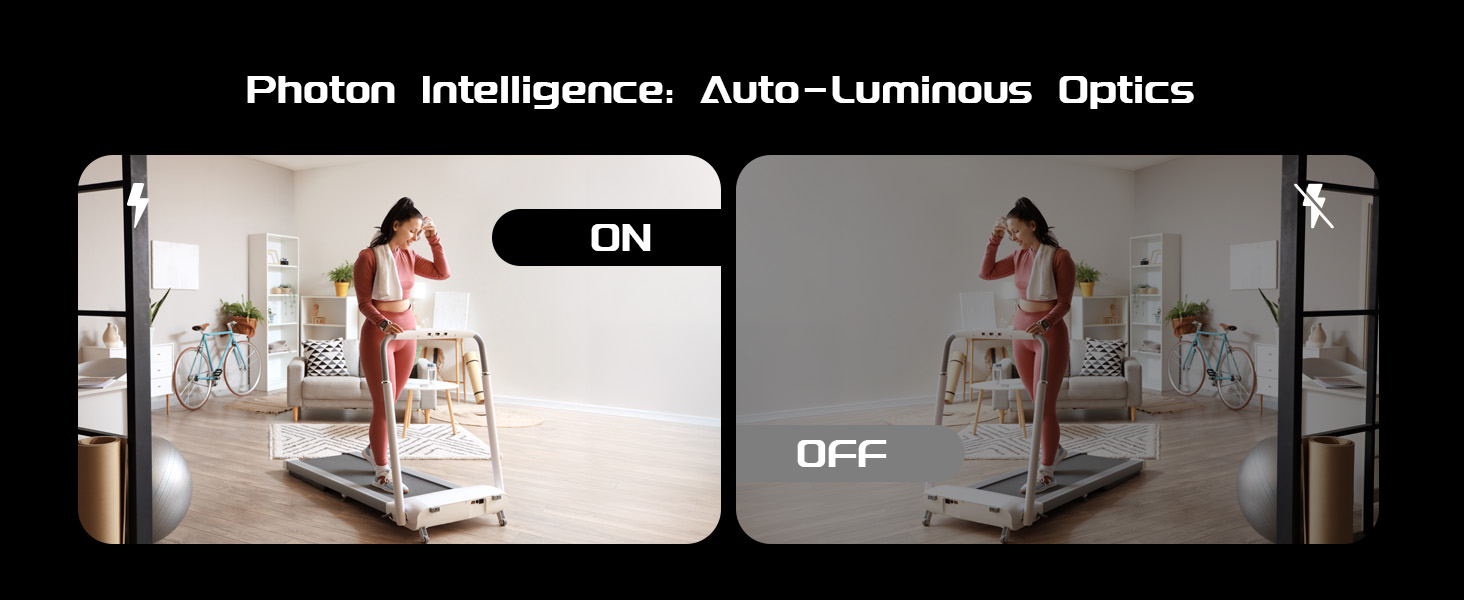
Image 3.1: Lens hood attached to the camcorder to reduce glare.
4. Betjeningsvejledning
4.1. Tænd/sluk
To power on the camcorder, open the 3.0" IPS touch screen. To power off, close the screen or press and hold the power button (if available).
4.2. Using the 270° Rotatable Touch Screen
The 3.0" IPS touch screen can be rotated up to 270 degrees, allowing for flexible viewing angles, including selfies and low-angle shots. Navigate menus and settings by tapping or swiping on the screen.

Image 4.1: The camcorder's 270° rotatable touch screen.
4.3. Optagelse af videoer
The camcorder supports 5K/20fps and 4K/60fps video resolutions.
- Ensure the camcorder is in video mode.
- Frame your shot using the rotatable screen.
- Press the Record button to start recording. Press it again to stop.
Optagetilstande:
- Normal: Standard videooptagelse.
- Tidsforskydning: Captures frames at set intervals to create a sped-up video.
- Slow motion: Records at a higher frame rate for slow-motion playback.
- Loop-optagelse: Continuously records, overwriting the oldest footage når hukommelseskortet er fyldt.
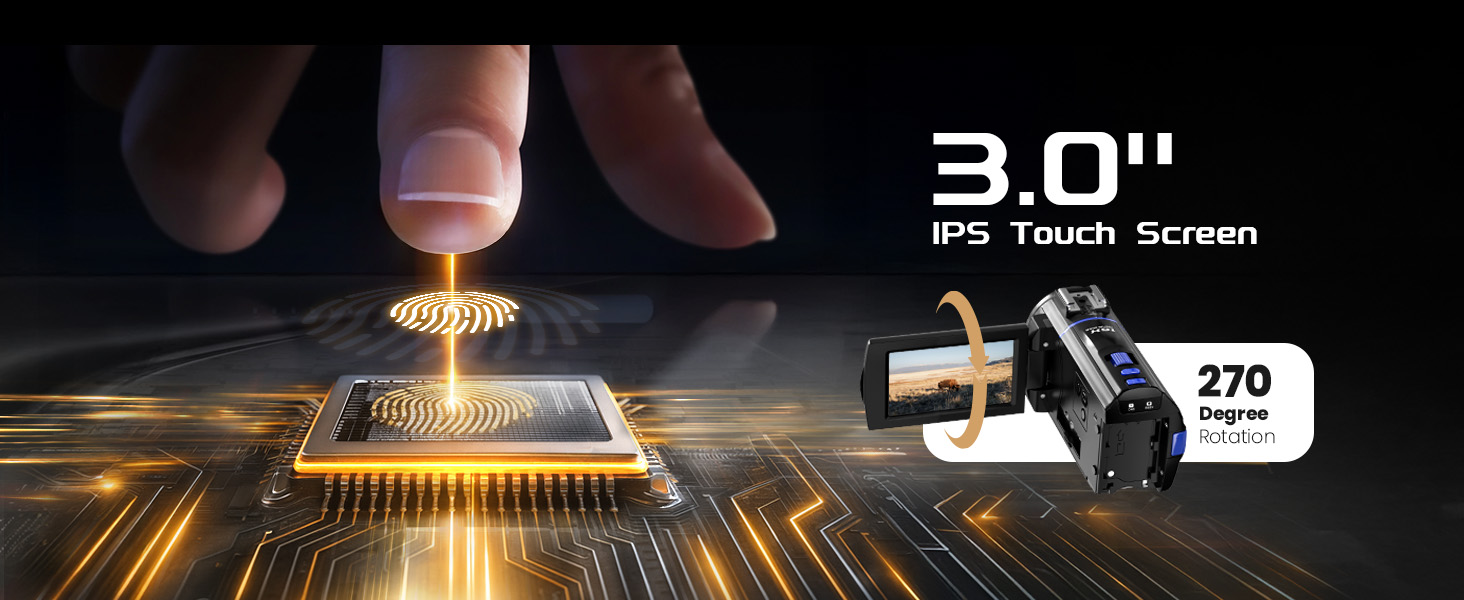
Image 4.2: Available video recording modes.
4.4. Tage billeder
The camcorder captures 64MP photos.
- Switch the camcorder to photo mode.
- Indram dit billede.
- Tryk på udløserknappen for at tage et billede.
Fototilstande:
- Normal Photo: Standard single photo capture.
- Burst-billede: Tager flere billeder i hurtig rækkefølge.
- Autofoto: Automatically takes photos.
- Timer Photo: Sets a delay before taking a photo.

Image 4.3: Available photo capture modes.
4.5. Zoomfunktion
The camcorder features 16X digital zoom. Use the zoom controls (usually a rocker switch) to zoom in or out during recording or photo capture.

Image 4.4: Digital zoom capabilities.
4.6. IR Night Vision
Activate IR Night Vision mode to record in low-light or complete darkness. This feature uses infrared light to illuminate the scene, capturing monochrome footage.

Image 4.5: IR Night Vision in operation.
4.7. Wi-Fi-forbindelse
Connect the camcorder to your smartphone or tablet via Wi-Fi to control the camera remotely, transfer files, and share content instantly.
- Download the companion app (refer to the user manual for app name and download instructions).
- Enable Wi-Fi on the camcorder through the settings menu.
- Connect your mobile device to the camcorder's Wi-Fi network.
- Open the app to control the camcorder or transfer files.
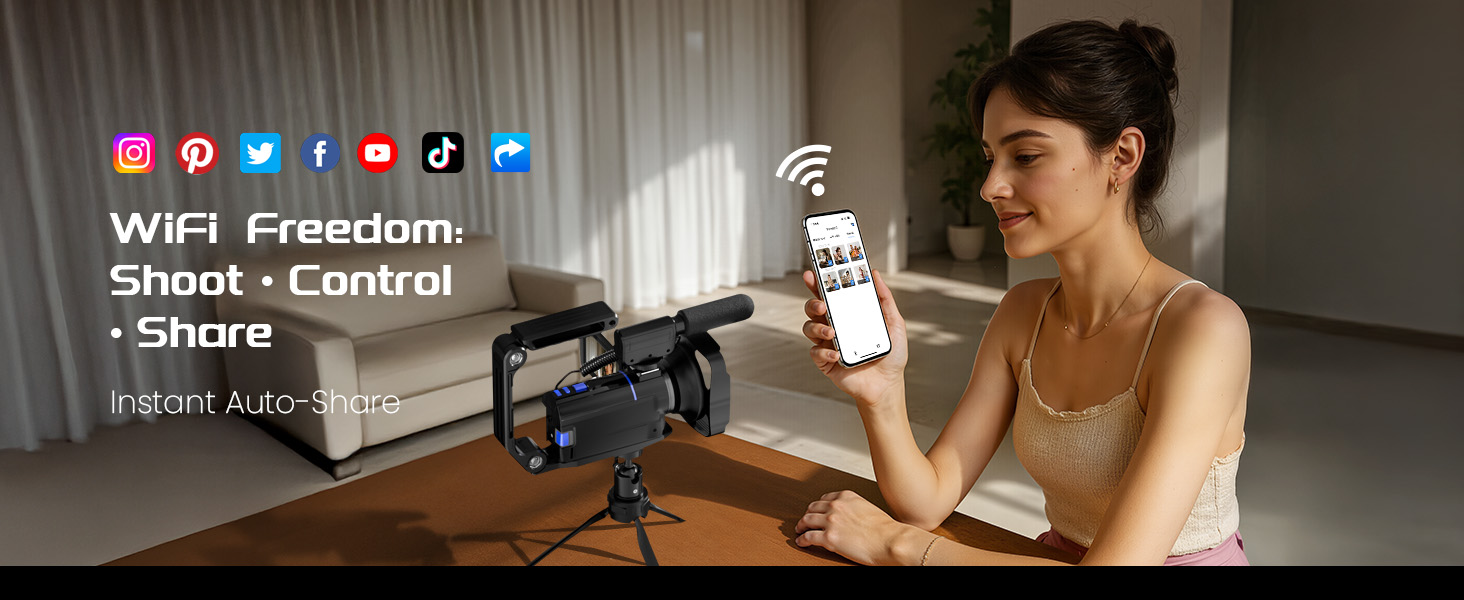
Image 4.6: Wi-Fi file overførsel og fjernbetjening.
4.8. Webcam Funktionalitet
The camcorder can be used as a webcam for video calls and live streaming.
- Tilslut videokameraet til din computer med det medfølgende USB-kabel.
- Vælg 'Webcam Mode' on the camcorder's screen (if prompted).
- Your computer should recognize the camcorder as a webcam. Select it in your video conferencing or streaming software.
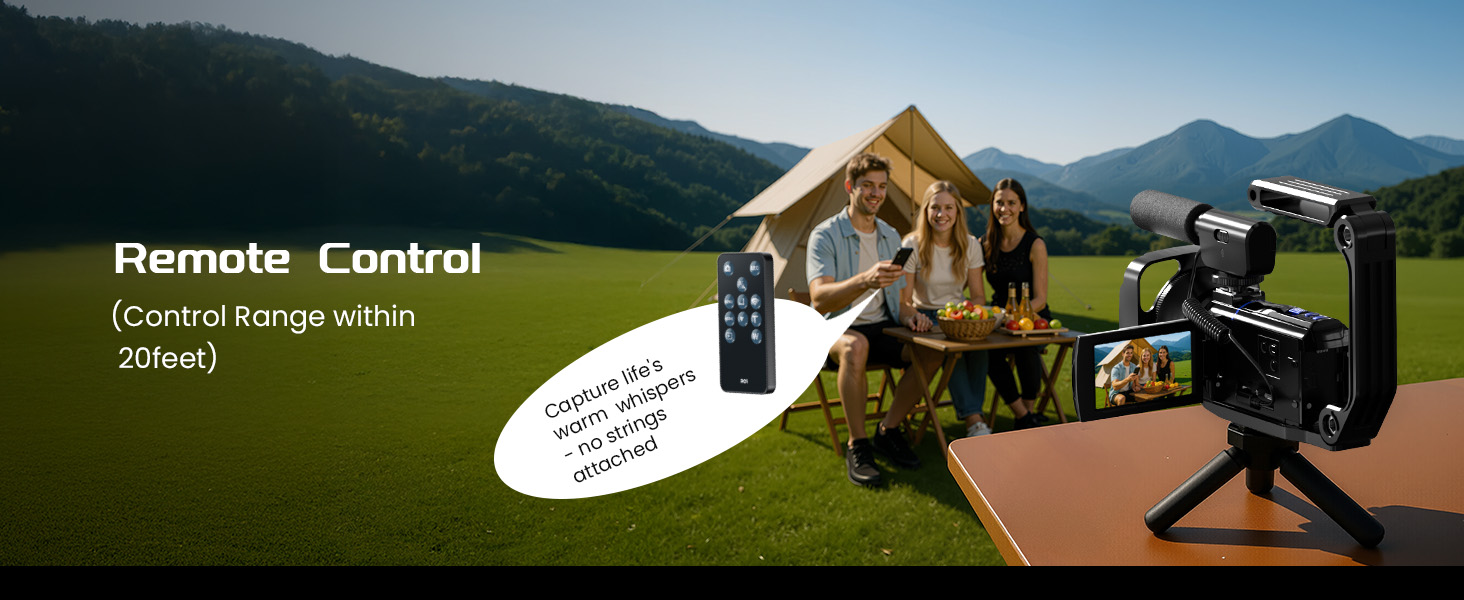
Image 4.7: Camcorder used as a webcam.
4.9. HDMI-udgang
Connect the camcorder to a TV or monitor using the HD cable for direct playback or live viewing on a larger screen.
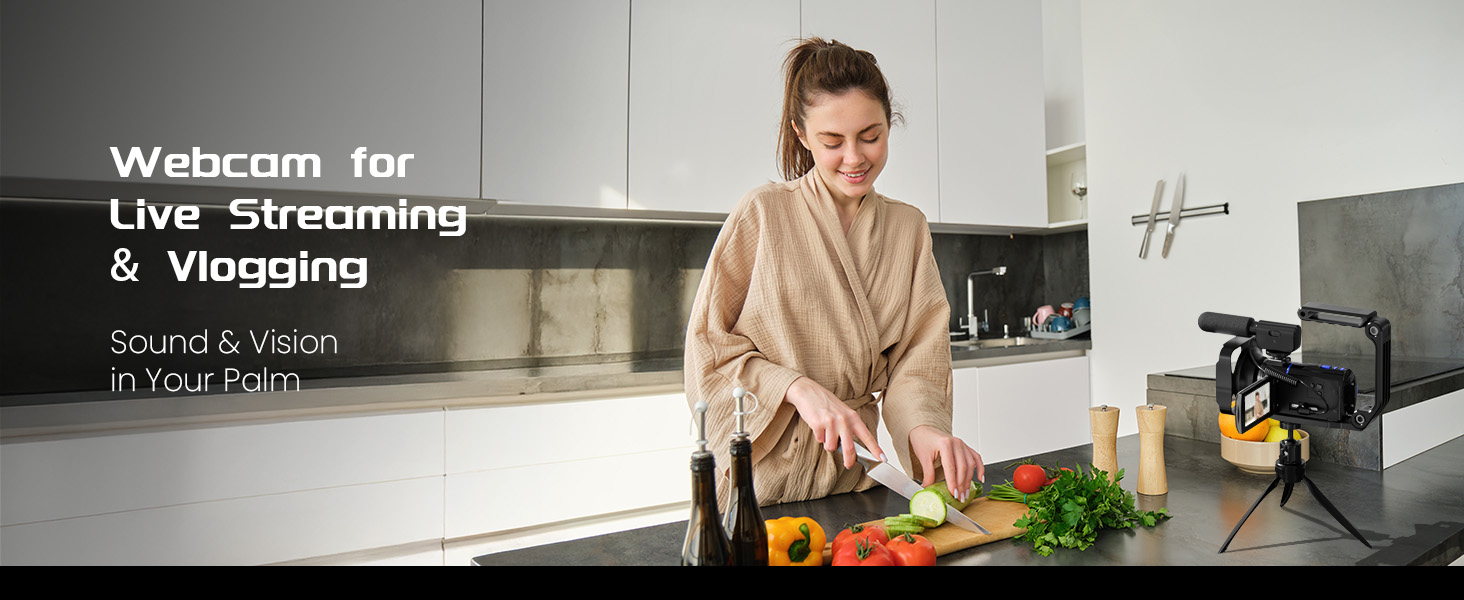
Image 4.8: HDMI output connection.
4.10. Andre funktioner
- Manuel fokus: The camcorder uses manual focus. For optimal sharpness, maintain a distance of over 0.6 meters (2 feet) from your subject during filming.
- Anti-shake: The built-in anti-shake feature helps stabilize footage, reducing blur from camera movement.
- Optagelse under opladning: The camcorder supports recording while connected to a power source, extending recording time.
- Fjernbetjening: Use the included remote control to operate the camcorder from a distance (control range within 20 feet).

Image 4.9: Using the remote control.
5. Vedligeholdelse
5.1. Rensning
- Linse: Use a soft, lint-free cloth specifically designed for camera lenses. Avoid touching the lens surface with your fingers.
- Skærm: Gently wipe the touch screen with a microfiber cloth. For stubborn smudges, use a screen cleaner solution applied to the cloth, not directly to the screen.
- Legeme: Wipe the camcorder body with a dry, soft cloth. Do not use harsh chemicals or abrasive cleaners.
5.2. Batteripleje
- Oplad batterierne helt før første brug.
- Opbevar batterierne på et køligt, tørt sted, når de ikke er i brug.
- Udsæt ikke batterier for ekstreme temperaturer eller direkte sollys.
- If the camcorder will not be used for an extended period, remove the batteries.
5.3. Opbevaring
When not in use, store the camcorder in its camera bag in a dry, dust-free environment away from direct sunlight and extreme temperatures.
6. Fejlfinding
- Kamera tænder ikke: Ensure batteries are fully charged and correctly inserted. Try using the second battery.
- Dårlig billed-/videokvalitet: Check that the lens is clean. Ensure adequate lighting. Verify that the manual focus is correctly adjusted (subject should be over 0.6m away).
- Problemer med Wi-Fi-forbindelse: Ensure Wi-Fi is enabled on the camcorder and your mobile device. Restart both devices and try reconnecting.
- Mac Incompatibility: Please note that this camcorder may be incompatible with Mac operating systems, which could affect file recognition and playback. For best results, use a Windows-based computer for file overføre og viewing.
- Fjernbetjening virker ikke: Check the AAA battery in the remote control. Ensure there are no obstructions between the remote and the camcorder.
7. Specifikationer
| Feature | Specifikation |
|---|---|
| Mærke | BREGOO |
| Modelnummer | X70 |
| Videooptagelsesopløsning | 5K (20fps), 4K (60fps) |
| Fotosensorteknologi | CMOS (64 MP) |
| Skærmstørrelse | 3.0 Inches IPS Touch Screen, 270° Rotatable |
| Zoom | 16X digital zoom |
| Særlige funktioner | IR Night Vision, Anti-Shake, Time Lapse, Wi-Fi, Webcam, Recording While Charging |
| Flash-hukommelsestype | Memory Card (32GB SD card included) |
| Videooptagelsesformat | MP4 |
| Understøttet lydformat | MP4 |
| Forbindelsesteknologi | USB, HDMI, Wi-Fi |
| Batterier | 2 x 1800mAh (for camera), 1 x AAA (for remote) |
| Varens vægt | 2.51 pund |
| Pakkedimensioner | 10.63 x 6.42 x 4.13 tommer |
8. Support
For any questions, technical assistance, or support regarding your BREGOO X70 5K Video Camera Camcorder, please contact our customer service team. We are available to assist you.
Contact information is typically found on the product packaging or the official BREGOO webwebsted.


