1. Introduktion
This manual provides comprehensive instructions for setting up, operating, and maintaining your Cyseed 2025 WiFi Extender Internet Booster. Please read this manual carefully before using the device to ensure proper functionality and to maximize your wireless network coverage.
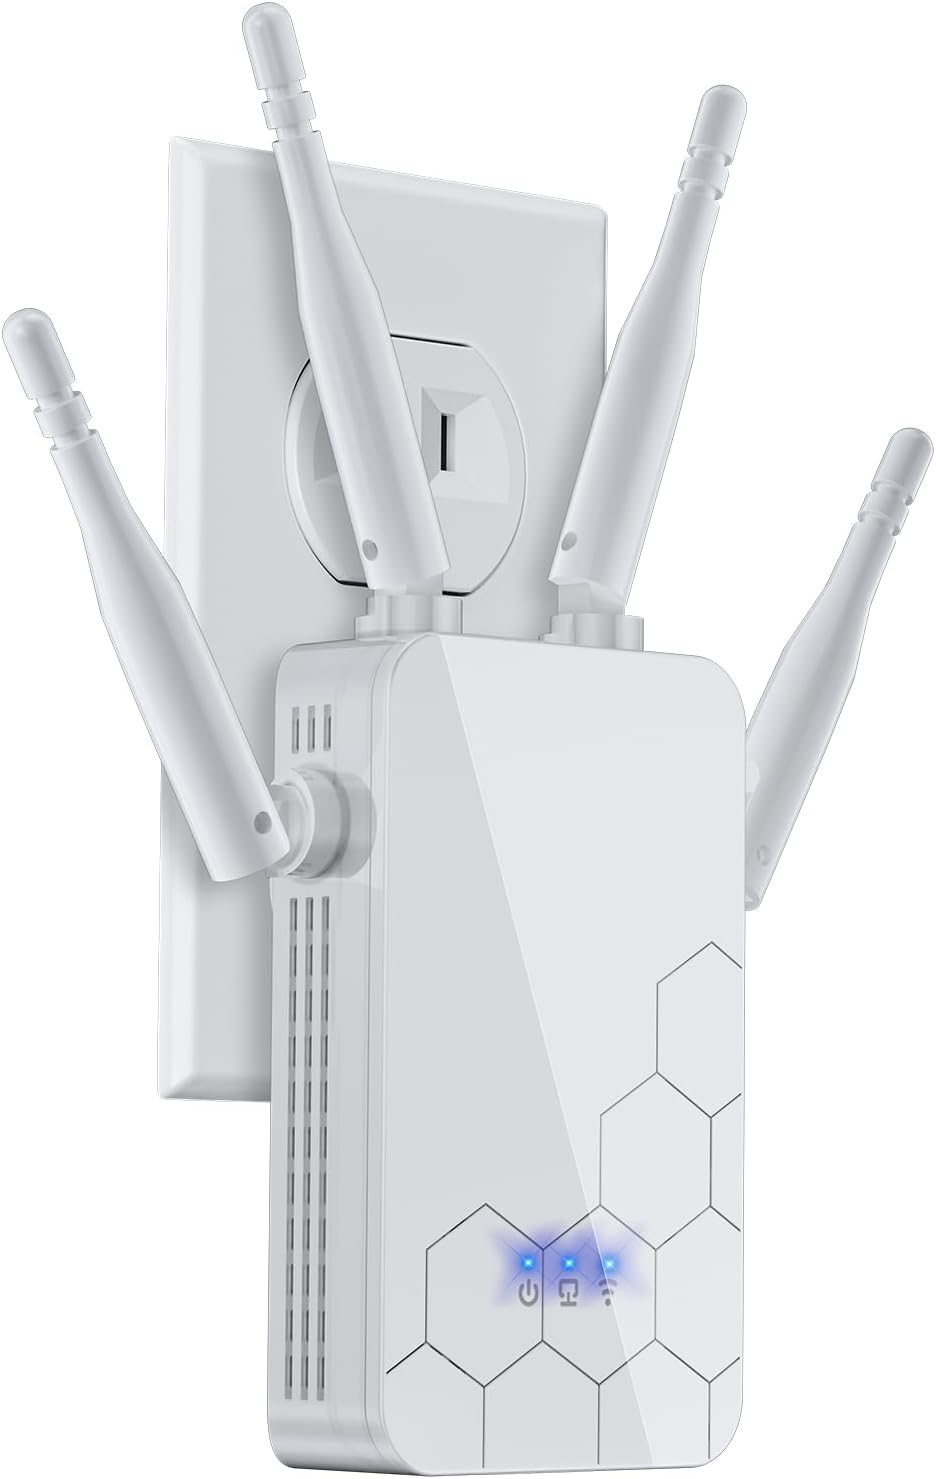
Image 1.1: The Cyseed 2025 WiFi Extender, a white rectangular device with four adjustable antennas, plugged into a standard wall outlet. Blue indicator lights are visible on its front panel.
2. Pakkens indhold
Bekræft at alle varer er til stede i din pakke:
- Cyseed 2025 WiFi Extender Internet Booster
- Hurtig installationsvejledning
- Technical Support Information (as per included documentation)
3. Sikkerhedsoplysninger
Overhold venligst følgende sikkerhedsretningslinjer:
- Udsæt ikke enheden for vand eller fugt.
- Do not open or attempt to repair the device.
- Use the device within its specified temperature and humidity ranges.
- Sørg for korrekt ventilation omkring enheden for at forhindre overophedning.
- Hold enheden væk fra direkte sollys og varmekilder.
4. Produktet er slutview
The Cyseed 2025 WiFi Extender is designed to expand your existing wireless network coverage. It features four external antennas for enhanced signal transmission and reception, an Ethernet port for wired connections, and LED indicators for status monitoring.

Billede 4.1: En eksploderet view diagram of the Cyseed 2025 WiFi Extender, highlighting its internal smart IC processor, overvoltage protection controller, LAN/WAN port, four antennas, and LED indicators. This illustrates the key components and their functions.
LED-indikatorer
- Power LED: Indikerer strømstatus.
- WiFi-LED: Indikerer trådløs forbindelsesstatus.
- Signal LED: Indicates the strength of the signal received from the main router.
Porte og knapper
- Ethernet-port: For connecting wired devices or for configuring the extender.
- WPS/Nulstillingsknap: Used for quick setup via WPS or for resetting the device to factory defaults.

Image 4.2: The bottom view of the Cyseed WiFi Extender, showing an Ethernet cable plugged into its port. This highlights the wired connectivity option.
5. Opsætning
The Cyseed 2025 WiFi Extender offers two primary setup methods: WPS (Wi-Fi Protected Setup) and Web Browser opsætning.
5.1 WPS-opsætning (anbefales til hurtig opsætning)
- Plug the WiFi Extender into an electrical outlet near your main router.
- Vent på, at strøm-LED'en lyser konstant.
- Tryk på WPS-knappen på din primære router.
- Within two minutes, press the WPS/Reset button on the WiFi Extender.
- The Signal LED on the extender should turn solid, indicating a successful connection.
- Relocate the extender to a suitable location between your router and the area with weak WiFi coverage. Ensure the Signal LED remains solid blue for optimal performance.

Image 5.1: A close-up of the Cyseed WiFi Extender, showing a finger pressing the WPS button. This illustrates the one-tap setup process.
5.2 Web Browser opsætning
- Plug the WiFi Extender into an electrical outlet.
- Connect your computer or mobile device to the extender's default WiFi network (e.g., "Cyseed_Extender"). No password is required initially.
- Åbn a web browser and enter the default IP address or domain name (refer to the Quick Installation Guide for specific details, typically 192.168.x.x or extender.local).
- Follow the on-screen instructions to select your main WiFi network and enter its password.
- Configure the extender's network name (SSID) and password.
- Once configured, the extender will restart. Reconnect your devices to the new extended WiFi network.
6. Driftstilstande
The Cyseed 2025 WiFi Extender supports multiple operating modes to suit various network requirements.

Image 6.1: A visual representation of the five operating modes: Repeater/Client Mode for home use, AP Mode for hotel environments, and Bridge/Router Mode for office/cafe settings. Each mode shows the extender's role in the network topology.
6.1 Repeater-tilstand
I repeatertilstand opretter extenderen trådløs forbindelse til din eksisterende router og amplifies its signal, extending coverage to areas with weak or no signal. This is the most common mode for home use.
6.2 Adgangspunktstilstand (AP)
In AP Mode, the extender connects to your router via an Ethernet cable and creates a new wireless network. This is useful for converting a wired network into a wireless one or for providing a separate WiFi network.
6.3 Routertilstand
In Router Mode, the extender acts as a primary router, connecting directly to your modem and creating a new wireless network for your devices. This mode is suitable for small offices or homes without an existing router.
6.4 Brotilstand
Bridge Mode allows the extender to connect to a wireless network and provide a wired connection to a single device, such as a gaming console or desktop computer, that does not have wireless capabilities.
6.5 Klienttilstand
Similar to Bridge Mode, Client Mode allows the extender to connect to an existing wireless network and provide network access to wired-only devices. Multiple wired devices can be connected via a switch if needed.
7. Vedligeholdelse
To ensure optimal performance and longevity of your Cyseed 2025 WiFi Extender:
- Hold enheden ren og fri for støv. Brug en blød, tør klud til rengøring.
- Avoid placing the extender in enclosed spaces that may restrict airflow.
- Tjek regelmæssigt for firmwareopdateringer på producentens website to ensure the latest features and security enhancements.
- If the device is unresponsive, perform a soft reboot by unplugging it from the power outlet for 10 seconds and then plugging it back in.
8. Fejlfinding
If you encounter issues with your WiFi Extender, refer to the following common problems and solutions:
| Problem | Mulig løsning |
|---|---|
| Ingen strøm / Strøm-LED slukket | Sørg for, at forlængeren er tilsluttet en stikkontakt, der virker. Prøv en anden stikkontakt. |
| Cannot connect to the extender's WiFi network | Verify you are selecting the correct network name (SSID). If using Web Browser Setup, ensure you are connected to the extender's default network. |
| Weak or no signal from the extender | Relocate the extender closer to your main router. Ensure there are no major obstructions (thick walls, metal objects) between the extender and the router. Check the Signal LED for optimal placement. |
| Internet access issues after connecting to extender | Ensure the extender is successfully connected to your main router (Signal LED solid). Verify your main router has internet access. Try restarting both the router and the extender. |
| WPS -opsætningen mislykkedes | Ensure you press the WPS button on both devices within the two-minute window. Try the Web Browser Setup method. |
| Forgot extender's login password | Perform a factory reset by pressing and holding the WPS/Reset button for approximately 10 seconds until the LEDs flash. This will revert all settings to default. |

Image 8.1: A floor plan illustrating how a WiFi extender expands network coverage. The left side shows limited coverage from a single router, while the right side demonstrates broader coverage with the extender strategically placed to eliminate dead zones.
9. Specifikationer
| Feature | Detalje |
|---|---|
| Mærke | Cyseed |
| Model | 2025 WiFi Extender |
| Standard for trådløs kommunikation | 802.11a/b/g/n/ac |
| Antenner | 4 eksterne antenner |
| Speciel funktion | 1-Tap Setup, Supports Multiple Network Devices |
| Farve | Hvid |
| Varens vægt | 7.4 ounce |
| Pakkedimensioner | 10.28 x 3.62 x 2.17 tommer |

Billede 9.1: En detaljeret view of the Cyseed WiFi Extender's internal structure, highlighting its smart chip, overvoltage protection controller, security encryption module, LAN/Ethernet port, and WPS/Reset button. This image also indicates protection against over-heat, over-voltage, overstrøm og kortslutning.
10. Garanti og support
Cyseed provides technical support for its products. For any issues or inquiries, please refer to the contact information provided in your package or on the official Cyseed webwebsted.
- Teknisk support: 7 days a week, 24 hours a day via email.
- Telephone Consultation: 8:00 AM - 4:00 PM (PST), Monday to Friday.
Hav venligst din produktmodel og købsoplysninger klar, når du kontakter support.


