1. Introduktion
This manual provides detailed instructions for the safe and efficient use of your Crelander 10.1 Inch Android 13 Tablet. Please read this manual thoroughly before operating the device and retain it for future reference.
The Crelander 10.1 Inch Android 13 Tablet is a versatile device designed for productivity, entertainment, and communication. It features a powerful processor, ample storage, a vibrant display, and comprehensive connectivity options, including 4G LTE calling.
2. Pakkens indhold
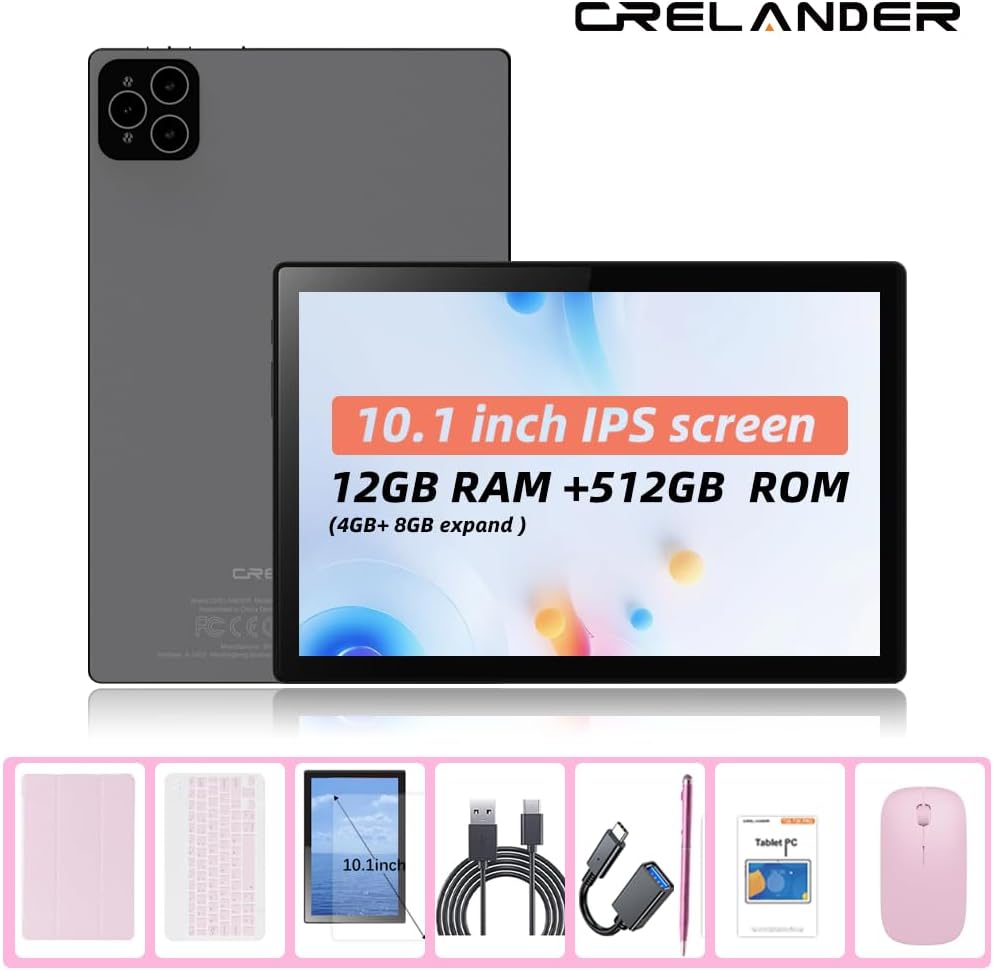
Upon opening the package, verify that all items are present and in good condition. The standard package includes:
- Crelander 10.1 Inch Android 13 Tablet
- Beskyttende etui
- Trådløst tastatur
- Trådløs mus
- Stylus pen
- USB opladningskabel
- USB-C to USB-A Adapter (OTG)
- Brugervejledning (dette dokument)

Figure 2.1: Crelander Tablet and included accessories.
3. Enhedens layout og funktioner
Familiarize yourself with the physical layout of your tablet.
Figur 3.1: For og bag View af tabletten.
Nøglefunktioner:
- 10.1-tommer IPS HD-skærm: 1280x800 pixel resolution for clear and vibrant visuals.
- Android 13-operativsystem: Enhanced performance and user experience.
- Høj ydeevne: 12GB RAM (with potential virtual expansion) and 512GB internal storage (ROM).
- Udvidelig lagerplads: Supports up to 1TB TF (microSD) card for additional storage.
- 4G LTE Calling: Integrated SIM card slot for cellular connectivity and voice calls.
- Dobbelte kameraer: Front and rear cameras for photos, videos, and video calls.
- Ansigtsgenkendelse: For sikker og bekvem oplåsning.
- 8000mAh batteri: Langvarig kraft til længerevarende brug.
- Trådløs forbindelse: Bluetooth and Wi-Fi (802.11n) for seamless connections.
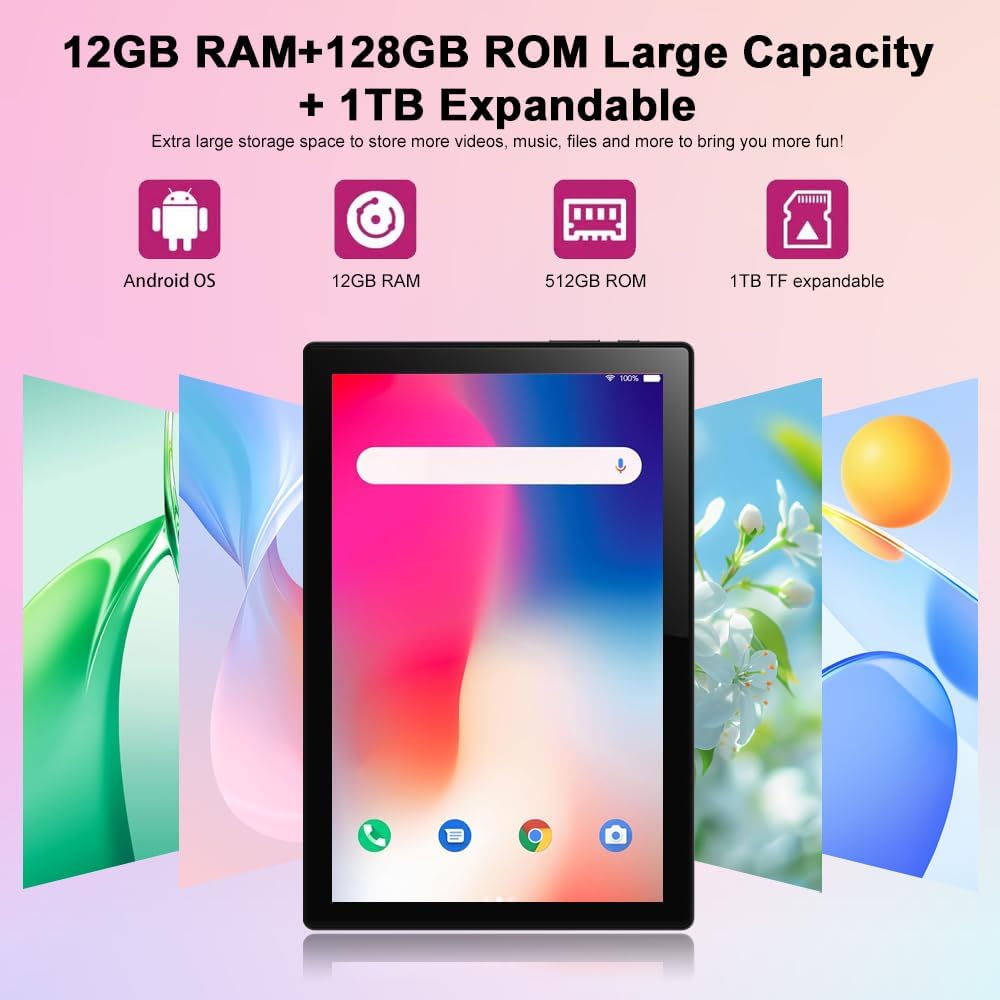
Figure 3.2: Storage and RAM Capabilities.

Figure 3.3: Display Specifications.
4. Kom godt i gang: Opsætning
4.1 Opladning af tabletten
Before first use, fully charge the tablet. Connect the USB charging cable to the tablet's charging port and the other end to a compatible USB power adapter (not included) or a computer's USB port. The battery indicator on the screen will show charging status.
4.2 Tænd/sluk
- For at tænde: Press and hold the Power button until the Crelander logo appears.
- For at slukke: Tryk på tænd/sluk-knappen og hold den nede, indtil menuen med strømindstillinger vises, og vælg derefter "Sluk".
- For at genstarte: Tryk på tænd/sluk-knappen og hold den nede, indtil menuen med strømindstillinger vises, og vælg derefter "Genstart".
4.3 Guide til indledende opsætning
Når tabletten tændes første gang, vil den guide dig gennem en indledende opsætningsproces. Dette omfatter:
- Valg af sprog.
- Opretter forbindelse til et Wi-Fi-netværk.
- Opsætning af din Google-konto (valgfrit, men anbefalet til download af apps).
- Setting up screen lock (PIN, pattern, password, or facial recognition).
4.4 Inserting a SIM Card (for 4G LTE Calling)
The tablet supports Micro SIM cards for 2G/3G/4G cellular connectivity and calling.
- Find SIM-kortbakken på siden af tabletten.
- Brug det medfølgende SIM-kortudløserværktøj (hvis det medfølger) eller en lille papirclips til at åbne bakken.
- Carefully place the Micro SIM card into the designated slot on the tray, ensuring correct orientation.
- Skub forsigtigt bakken tilbage i tabletten, indtil den klikker på plads.

Figure 4.1: Inserting a Micro SIM Card.
4.5 Inserting a MicroSD (TF) Card
To expand storage, insert a MicroSD (TF) card (up to 1TB, not included).
- Locate the MicroSD card slot, often combined with the SIM tray or a separate slot.
- Insert the MicroSD card into the slot with the gold contacts facing down, until it clicks into place.
- The tablet will recognize the card, and you may be prompted to format it for internal or portable storage.
5. Betjening af tabletten
5.1 Grundlæggende navigation
The Android 13 operating system uses touch gestures for navigation:
- Tryk på: For at åbne apps, vælg elementer eller aktiver knapper.
- Stryg: Til at rulle gennem sider, menuer eller skifte mellem startskærme.
- Knib-for-at-zoome: Sådan zoomer du ind eller ud på billeder, kort eller web sider.
- Langt tryk: For at få adgang til kontekstmenuer eller flytte appikoner.
5.2 Tilslutning af tilbehør (tastatur, mus, stylus)
The included keyboard and mouse connect via Bluetooth. The stylus is typically passive and does not require pairing.
- Aktiver Bluetooth: Gå til Indstillinger > Forbundne enheder > Bluetooth og tænd Bluetooth.
- Pair Keyboard/Mouse: Put the keyboard/mouse into pairing mode (refer to their individual manuals if needed). Select the device from the list of available Bluetooth devices on your tablet and follow on-screen prompts to pair.
5.3 Using Facial Recognition
Konfigurer ansigtsgenkendelse for hurtig og sikker oplåsning.
- Gå til Indstillinger > Sikkerhed og privatliv > Enhedsoplåsning > Ansigtslåsning.
- Follow the on-screen instructions to register your face using the front camera.
- Ensure good lighting and hold the tablet at eye level during registration.

Figure 5.1: Facial Recognition in Use (Illustrative).
5.4 Wi-Fi and Cellular Data
- Wi-Fi: Adgang Indstillinger > Netværk og internet > Internet for at oprette forbindelse til tilgængelige Wi-Fi-netværk.
- Mobildata: If a SIM card is inserted, enable mobile data via Indstillinger > Netværk og internet > SIM-kort.

Figure 5.2: Android OS and Wireless Connectivity.
6. Vedligeholdelse og pleje
- Rensning: Brug en blød, fnugfri klud til at rengøre skærmen og kabinettet. Undgå slibende rengøringsmidler eller opløsningsmidler.
- Batteripleje: Undgå ekstreme temperaturer. Ved langtidsopbevaring skal batteriet oplades til ca. 50%.
- Softwareopdateringer: Tjek regelmæssigt for systemopdateringer via Indstillinger > System > Systemopdatering for at sikre optimal ydeevne og sikkerhed.
- Lagerstyring: Periodically clear cache, uninstall unused apps, and transfer large files to external storage (MicroSD card) to maintain performance.
- Beskyttelse: Brug det medfølgende beskyttelsesetui til at beskytte mod fald og ridser.
7. Fejlfinding
| Problem | Mulig løsning |
|---|---|
| Tabletten tænder ikke. | Ensure the tablet is charged. Connect to a charger for at least 30 minutes before attempting to power on again. |
| Kan ikke oprette forbindelse til Wi-Fi. | Tjek om Wi-Fi er aktiveret i indstillingerne. Genstart din router. Glem netværket, og genopret forbindelse. |
| SIM-kort blev ikke fundet. | Ensure the SIM card is correctly inserted and is a Micro SIM. Restart the tablet. Check with your carrier if the SIM is active. |
| Tabletten er langsom eller reagerer ikke. | Close unused apps. Clear app caches. Restart the tablet. Consider a factory reset as a last resort (backup data first). |
| Batteriet aflades hurtigt. | Reduce screen brightness. Disable unused features like Bluetooth/GPS. Close background apps. Limit notifications. |
8. Specifikationer
| Feature | Detalje |
|---|---|
| Modelnummer | CR-T40-pink |
| Operativsystem | Android 13 |
| Vise | 10.1-inch IPS HD Touchscreen (1280 x 800 pixels) |
| Processor | MT6763 |
| VÆDDER | 12 GB |
| Internt lager (ROM) | 512 GB |
| Udvidelig opbevaring | Op til 1 TB via MicroSD-kort (TF) |
| Kameraer | Front and Rear (specific MP not detailed in all specs, but 5MP/13MP mentioned in image) |
| Batteri | 8000mAh (Indbygget genopladeligt) |
| Forbindelse | Wi-Fi (802.11n), Bluetooth, 4G LTE (Micro SIM) |
| Dimensioner (LxBxH) | 10 x 0.3 x 7 tommer |
| Vægt | 3.3 pund |
| Farve | Lyserød |
9. Garanti og support
Crelander products are designed for reliability and performance. For warranty information, technical support, or service inquiries, please refer to the contact information provided with your purchase or visit the official Crelander webwebsted.
Gem venligst dit købsbevis for garantikrav.


