1. Introduktion
Thank you for choosing the Sunvivi ZBM001 2.2LB Bread Maker Machine. This appliance is designed to simplify your bread-making process, offering a variety of programs for different types of bread and other culinary creations. Please read this manual thoroughly before operating the machine to ensure safe and efficient use. Keep this manual for future reference.

Billede 1.1: The Sunvivi ZBM001 Bread Maker Machine. This image displays the blue bread maker with its sleek black top panel, alongside two freshly baked loaves of bread and a small bowl of jam with blueberries and mint leaves.
2. Vigtige sikkerhedsinstruktioner
Ved brug af elektriske apparater skal grundlæggende sikkerhedsforanstaltninger altid følges, herunder følgende:
- Læs alle instruktioner.
- Rør ikke ved varme overflader. Brug håndtag eller knopper.
- For at beskytte mod elektrisk stød må ledning, stik eller apparat ikke nedsænkes i vand eller anden væske.
- Tæt opsyn er nødvendigt, når et apparat bruges af eller i nærheden af børn.
- Træk stikket ud af stikkontakten, når det ikke er i brug, og før rengøring. Lad det køle af, før du sætter dele på eller af.
- Betjen ikke noget apparat med en beskadiget ledning eller stik, eller efter at apparatet ikke fungerer korrekt eller er blevet beskadiget på nogen måde.
- Brug af tilbehør, der ikke er anbefalet af apparatets producent, kan forårsage skader.
- Må ikke bruges udendørs.
- Lad ikke ledningen hænge ud over kanten af bordet eller bordpladen eller røre ved varme overflader.
- Må ikke placeres på eller i nærheden af en varm gas- eller elektrisk brænder eller i en opvarmet ovn.
- Der skal udvises ekstrem forsigtighed ved flytning af et apparat, der indeholder varm olie eller andre varme væsker.
- For at afbryde forbindelsen skal du slukke for en hvilken som helst knap og derefter tage stikket ud af stikkontakten.
- Brug ikke apparatet til andet end tilsigtet brug.
3. Produktkomponenter og funktioner
Familiarize yourself with the parts of your bread maker and its key features.
3.1 Komponenter overview

Billede 3.1: Included accessories for the Sunvivi ZBM001 Bread Maker. This image shows the bread maker alongside its accessories: a non-stick pan, measuring cup, measuring spoon, brush, hook, oven mitt, user manual, storage box lid, and mixing paddle.
- Non-stick pande: For baking bread.
- Målebæger: For precise liquid measurements.
- Måleske: For precise dry ingredient measurements.
- Børste: For cleaning.
- Krog: For removing the mixing paddle from baked bread.
- Ovnvante: For safe handling of the hot bread pan.
- Blandepaddel: For kneading dough.
- Storage Box Lid: Integrated compartment for accessories.
3.2 Kontrolpanel og skærm

Billede 3.2: Detaljeret view of the Sunvivi ZBM001 Bread Maker's digital touch panel. This image highlights the LCD display, menu button, size button, DIY button, crust button, timer buttons (up/down), and start/stop button, along with the viewvindue.
- LCD display kontrolpanel: Shows program, time, and settings.
- Menu-knap: Selects from 21 programmable modes.
- Size & Menu Button: Adjusts loaf size and selects menu programs.
- DIY & Crust Button: Customizes crust color and activates DIY mode.
- Timer Buttons (Up/Down): Sets delay timer.
- Start & Stop Button: Starter eller annullerer et program.
- Viewing vindue: Giver mulighed for overvågning af bageprocessen.
4. Opsætning
- Pakker ud: Tag forsigtigt brødbagemaskinen og alt tilbehør ud af emballagen.
- Ren: Wash the bread pan, mixing paddle, measuring cup, and measuring spoon with warm, soapy water. Rinse thoroughly and dry all parts. Wipe the exterior of the bread maker with a damp klæde.
- Placering: Placer brødbageren på en stabil, flad og varmebestandig overflade, væk fra direkte sollys og varmekilder. Sørg for tilstrækkelig ventilation omkring apparatet.
- Indsæt pande: Place the non-stick bread pan into the baking chamber and twist it gently until it locks into place.
- Indsæt padle: Attach the mixing paddle onto the shaft inside the bread pan.
- Strømtilslutning: Sæt netledningen i en jordforbundet stikkontakt. Maskinen bipper, og displayet viser standardprogrammet.
5. Betjeningsvejledning
This section details how to use your Sunvivi bread maker for various functions.
5.1 Adding Ingredients
Always add ingredients in the order specified in your recipe: liquids first, then dry ingredients, and finally yeast. Ensure the yeast does not come into direct contact with liquids or salt before mixing begins.
5.2 Program Selection (21-in-1 Menu)
The bread maker offers 21 programmable modes. Press the MENU button repeatedly to cycle through the available programs. The selected program number will be displayed on the LCD screen.
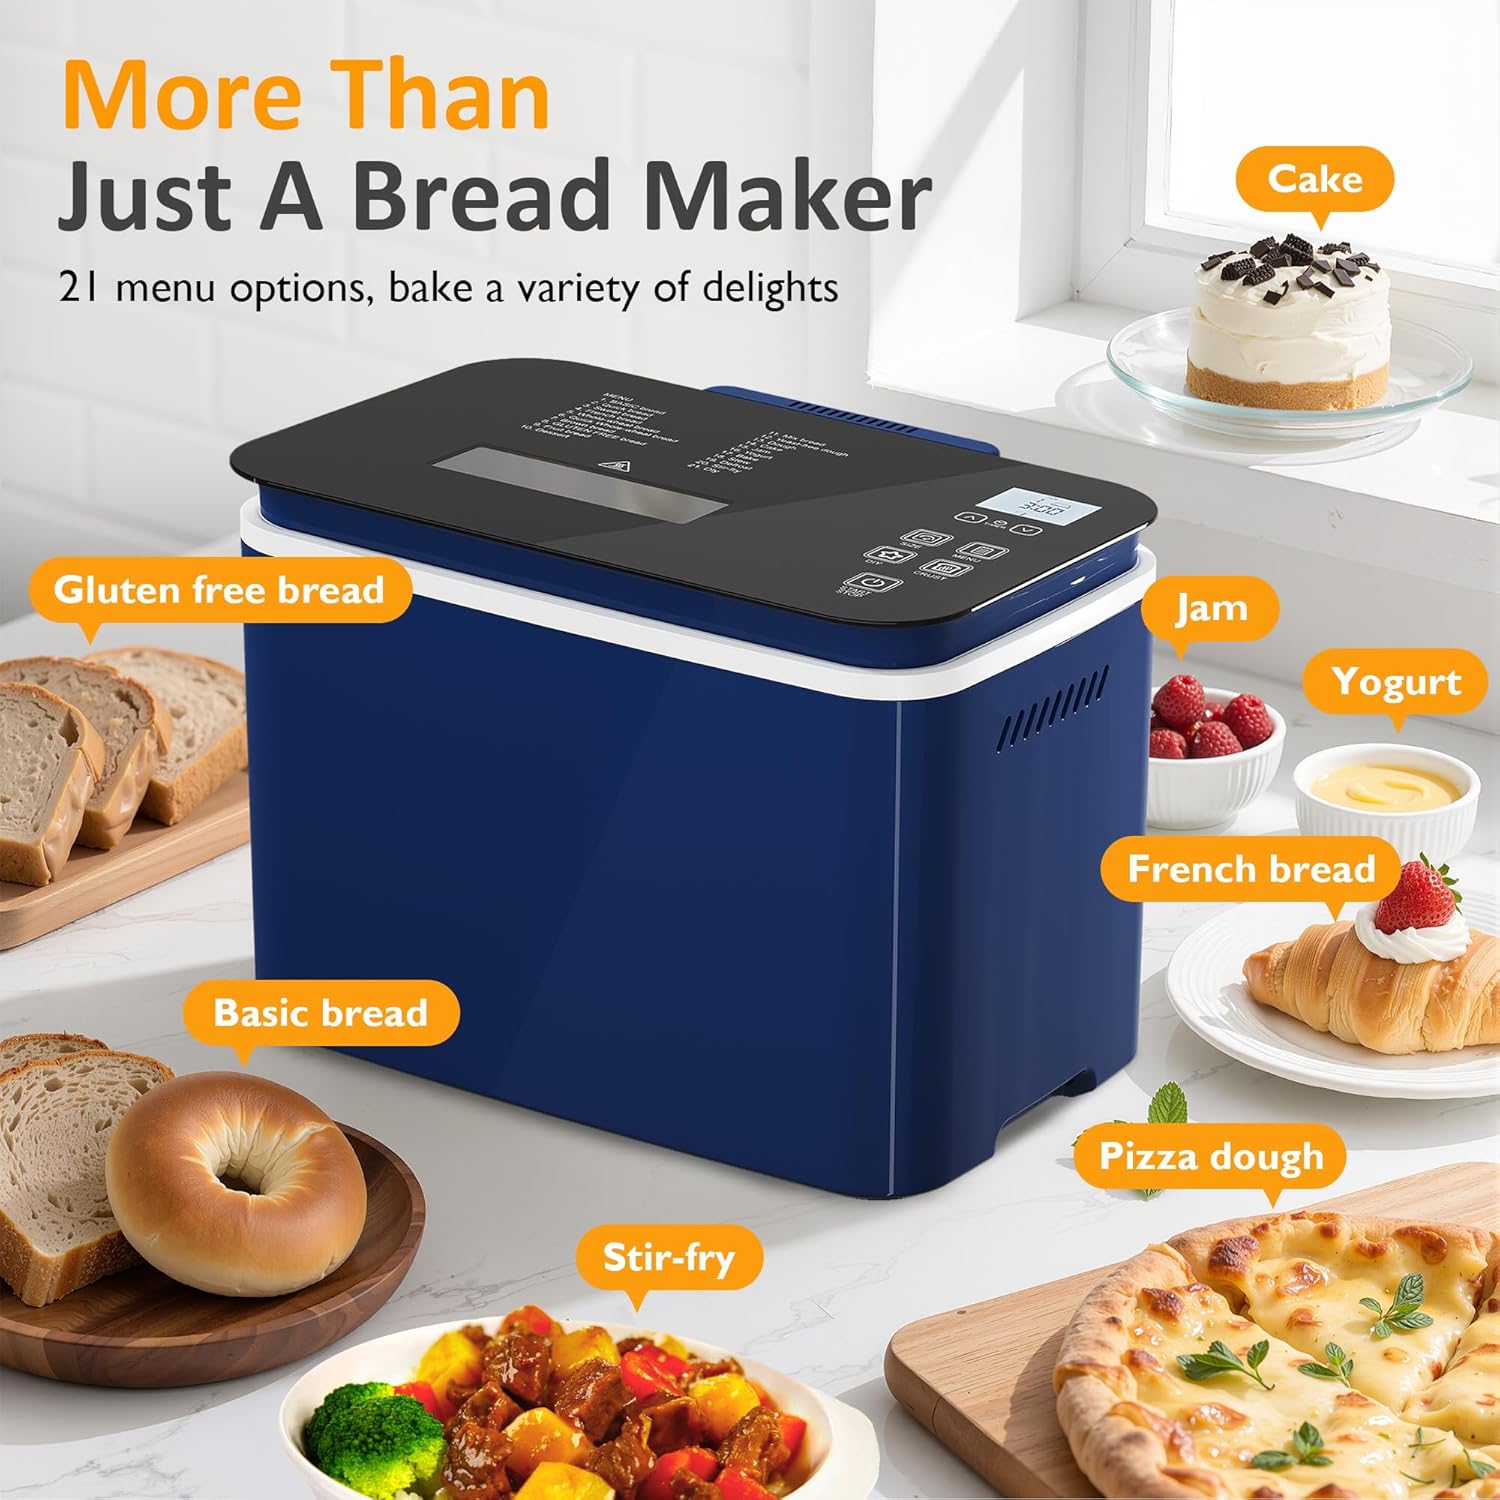
Billede 5.1: Examples of various programs available on the Sunvivi ZBM001 Bread Maker. This image illustrates the machine's versatility, showing items like gluten-free bread, basic bread, pizza dough, stir-fry, French bread, jam, yogurt, and cake.
Tilgængelige programmer inkluderer: Basic Bread, Sweet Bread, Gluten-Free, Cake, Jam, Yogurt, Stew, Stir-fry, Dough, Kneading, and more.
5.3 Valg af brødstørrelse og skorpefarve
After selecting a program, you can customize the loaf size and crust color.
- Brødstørrelse: Tryk på STØRRELSE button to choose between 1.1lb, 1.65lb, or 2.2lb.
- Skorpe farve: Tryk på SKORPE -knappen for at vælge Lys, Medium eller Mørk skorpe.

Billede 5.2: Customization options for the Sunvivi ZBM001 Bread Maker. This image visually demonstrates the three available crust colors (Light, Medium, Dark) and three loaf sizes (1.1lb, 1.65lb, 2.2lb) with suggested serving sizes.
5.4 Delay Timer Function (15-Hour)
The delay timer allows you to program the bread maker to start at a later time, up to 15 hours in advance.
- Vælg det ønskede program, brødstørrelse og skorpefarve.
- Tryk på TIMER buttons (Up/Down) to set the desired delay time. The displayed time includes the baking cycle duration.
- Tryk på START/STOP button to activate the delay timer. The machine will begin counting down and start baking when the set time is reached.

Billede 5.3: Illustration of the 15-hour delay timer function. This image shows a timeline from PM 6:00 to AM 9:00, demonstrating how to set the timer to wake up to freshly baked bread. It also highlights the 1-hour Keep Warm function and 10-minute Power-off Protection.
5.5 Hold varm funktion
After the baking cycle is complete, the bread maker will automatically switch to a 1-hour Keep Warm function to maintain the bread's temperature. This feature ensures your bread remains warm and fresh until you are ready to serve it.
5.6 Start og stop
- At begynde: After selecting your program and settings, press the START/STOP button once. The machine will begin operation.
- To Stop/Cancel: To stop an active program or cancel the delay timer, press and hold the START/STOP button for approximately 3 seconds until a beep sounds and the display resets.
6. Vedligeholdelse og rengøring
Regular cleaning and maintenance will prolong the life of your bread maker.
- Tag stikket ud: Tag altid stikket ud af stikkontakten, og lad det køle helt af, inden du rengør det.
- Bread Pan and Mixing Paddle: Remove the bread pan and mixing paddle. Wash them with warm, soapy water using a soft sponge. Do not use abrasive cleaners or metal scouring pads, as these can damage the non-stick coating. Rinse thoroughly and dry completely.
- Ydre: Tør brødbagemaskinens yderside af med en blød, tør klud.amp klud. Hovedenheden må ikke nedsænkes i vand eller andre væsker.
- Låg og Viewing vindue: Rengør låget og viewing vindue med adamp klud. Brug et mildt rengøringsmiddel til genstridige pletter.
- Opbevaring: Ensure all parts are dry before storing. Store the accessories in the built-in storage compartment.
7. Fejlfinding
Hvis du støder på problemer med din brødbagemaskine, kan du se følgende almindelige problemer og løsninger:
| Problem | Mulig årsag | Løsning |
|---|---|---|
| Brødet hæver ikke | Udløbet gær, forkert vandtemperatur, for meget salt/sukker | Tjek gærens udløbsdato, brug lunkent vand (105-115 °C), og sørg for at ingredienserne måles korrekt. |
| Brødet er for tæt | For meget mel, ikke nok væske, gammel gær | Mål ingredienserne præcist, sørg for frisk gær. |
| Bread collapses in the middle | Too much liquid, too much yeast, high humidity | Reducer væsken en smule, reducer gæren en smule, juster opskriften efter fugtighed. |
| Mixing paddle stuck in bread | Normal forekomst | Use the provided hook tool to carefully remove the paddle after the bread has cooled slightly. |
| Maskinen starter ikke | Not plugged in, program not selected, START/STOP not pressed | Ensure power cord is securely plugged in, select a program, press START/STOP button. |
Hvis problemet fortsætter efter at have prøvet disse løsninger, bedes du kontakte kundesupport.
8. Specifikationer
| Specifikation | Detalje |
|---|---|
| Produktnavn | Brødmaskine |
| Modelnummer | ZBM001 |
| Farve | Blå |
| Materiale | Aluminium, rustfrit stål |
| Dimensioner (L x B x H) | 13.74 cm x 9.61 cm x 11.42 cm |
| Varens vægt | 8.58 lbs |
| Maximum Loaf Capacity | 2.2 lb |
| Voltage | 120V |
| Magt | 600W |
| Certificering | ETL |
9. Garanti og support
Your Sunvivi ZBM001 Bread Maker Machine comes with a warranty to ensure your satisfaction and peace of mind.
- Garantiperiode: The product is covered by a 1-5 year warranty, depending on specific terms and conditions. Please refer to your purchase documentation for exact details.
- Gratis erstatning: Enjoy 365 days of free replacement for eligible issues.
For technical assistance, troubleshooting beyond this manual, or warranty claims, please contact Sunvivi customer support through the retailer where you purchased the product or visit the official Sunvivi webwebsted for kontaktoplysninger.


