Indledning
Thank you for choosing the Topeak E-Booster Digital Electric Mini Pump. This portable inflator is designed for convenient and precise tire inflation, featuring a digital gauge, SmartHead valve compatibility, and USB-C recharging. Please read this manual thoroughly before use to ensure proper operation and maintenance.
Pakkens indhold
Bekræft at alle varer er til stede i din pakke:
- Topeak E-Booster Digital Electric Mini Pump
- Extension Hose (for TPU valves)
- Silikone beskyttelsesærme
- Opbevaringspose
- USB-C ladekabel
Komponentidentifikation
Familiarize yourself with the main components of your E-Booster pump:

- Digital skærm: Shows current pressure, target pressure, and battery level.
- Power knap: Tænder/slukker pumpen.
- +/- knapper: Adjust target pressure.
- SmartHead Valve: Integrated valve head for Presta and Schrader.
- USB-C-port: Til opladning af det interne batteri.

Opsætning
1. Første opladning
Before first use, fully charge the E-Booster pump. Connect the supplied USB-C cable to the pump's USB-C port and to a standard USB power adapter (not included). The battery indicator on the digital display will show charging progress. A full charge takes approximately 45 minutes.
2. Attaching Silicone Sleeve
For added protection and grip, slide the included silicone protective sleeve onto the pump body.
Betjeningsvejledning
1. Tænd/sluk
- Press and hold the Power button for 2 seconds to turn the pump on.
- Press and hold the Power button for 2 seconds to turn the pump off. The pump will automatically shut off after a period of inactivity.
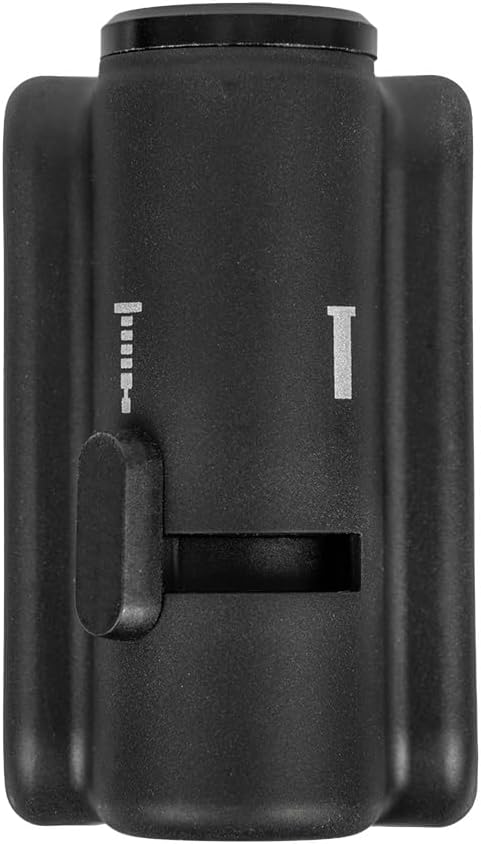
2. Selecting Valve Type (SmartHead)
The SmartHead valve automatically adapts to Presta or Schrader valves. For Presta valves, ensure the valve core is unscrewed before attaching the pump head. For Schrader valves, simply attach the pump head directly.

3. Connecting to Tire Valve
- Push the SmartHead valve firmly onto the tire valve stem until it is securely seated.
- If using the extension hose, first screw the hose onto the pump's valve port, then attach the other end of the hose to the tire valve. This is recommended for sensitive TPU resin valves.

4. Setting Target Pressure
- Once the pump is connected and powered on, the digital display will show the current tire pressure.
- Brug + og - buttons to set your desired target pressure. The display will flash the target pressure as you adjust it.
- The pump supports inflation up to 120 PSI (8 bar).
5. Start af oppustning
Press the Power button once to start inflation. The pump will automatically inflate the tire to the preset target pressure and then stop. The accuracy is within +/- 2 PSI.
6. Stopping Inflation
To manually stop inflation at any time, press the Power button once.
7. Disconnecting the Pump
Carefully remove the SmartHead valve or extension hose from the tire valve stem. A small hiss of air is normal.
Opretholdelse
Rensning
Wipe the pump body with a soft, damp cloth. Do not use harsh chemicals or abrasive cleaners. Ensure the USB-C port is dry and free of debris.
Bedste praksis for opkrævning
- Charge the pump regularly, even if not in frequent use, to maintain battery health.
- Undgå at aflade batteriet helt før genopladning.
- Use only the provided USB-C cable or a certified equivalent.
Opbevaring
Store the pump in a cool, dry place, away from direct sunlight and extreme temperatures. Use the included storage bag for protection during transport.
Fejlfinding
- Pumpen tænder ikke: Ensure the battery is charged. Connect to a USB-C power source and allow it to charge for a few minutes before attempting to power on again.
- Pumpen puster ikke op:
- Check if the valve head is securely attached to the tire valve.
- Ensure the target pressure is set above the current tire pressure.
- For Presta valves, confirm the valve core is unscrewed.
- Check battery level; a low battery may prevent inflation.
- Upræcis trykaflæsning: Ensure the valve connection is tight and there are no air leaks. Recalibrate by turning the pump off and on again.
- Langsom inflation: This is a mini pump designed for portability. Inflation speed will be slower compared to a floor pump. Ensure the battery is fully charged for optimal performance.
Specifikationer
| Modelnavn | E-Booster Digital |
| Modelnummer | TDP-E01 |
| Maksimalt tryk | 120 PSI (8 bar) |
| Tryknøjagtighed | +/- 2 PSI |
| Batteri | 7.4V / 600mAh |
| Opladningsport | USB-C |
| Opladningstid | Ca. 45 minutter |
| Ventilkompatibilitet | Presta, Schrader (SmartHead) |
| Materiale | Aluminum, Polymer, Rubber |
| Varens vægt | 162 g (5.76 ounce) |
| Dimensioner | Ca. 5.9 x 3.5 x 8.6 cm (2.3 x 1.4 x 3.4 tommer) |
Garantioplysninger
The Topeak E-Booster Digital Electric Mini Pump comes with a 2-year manufacturer's warranty. Please retain your proof of purchase for warranty claims. This warranty covers defects in materials and workmanship under normal use. It does not cover damage resulting from misuse, accidents, unauthorized modifications, or normal wear and tear.
Kundesupport
For further assistance, technical support, or warranty inquiries, please contact Topeak customer service. Refer to the official Topeak webhjemmeside for de seneste kontaktoplysninger.
Webwebsted: www.topeak.com


