1. Produktet er slutview
This manual provides instructions for the Fanttik F2 Master Mini Cordless Rotary Tool Kit and the Fanttik D2 PLUS Laser Level. These tools are designed for precision tasks and accurate leveling applications.

Image 1.1: The Fanttik F2 Master Mini Cordless Rotary Tool (left) and D2 PLUS Laser Level (right).
1.1 F2 Master Mini Cordless Rotary Tool
The F2 Master is a compact, cordless rotary tool featuring a brushless hollow cup motor for reduced noise and enhanced performance. It offers 5 adjustable speed settings for various precision tasks such as grinding, polishing, drilling, and engraving. The tool includes a Revostor Hub for organized accessory storage and a durable aluminum case with a pop-up mechanism for easy access.
1.2 D2 PLUS Laser Level
The D2 PLUS is a high-precision laser level utilizing advanced high-brightness green laser technology. It provides a projection range of up to 100 ft with an accuracy of 3/32 inches at 30 ft. It features independent or combined vertical and horizontal line projection, a wide-angle expansion for vertical lines, and a pulse mode for extended working range with an optional receiver.
2. Sikkerhedsoplysninger
Overhold altid følgende sikkerhedsforanstaltninger for at forhindre personskade og beskadigelse af produktet.
- Læs alle instruktioner før brug.
- Wear appropriate personal protective equipment, such as safety glasses, when operating the rotary tool.
- Hold arbejdsområdet rent og godt oplyst.
- Brug ikke elværktøj i eksplosive atmosfærer, såsom i nærheden af brændbare væsker, gasser eller støv.
- Hold børn og omkringstående væk, mens du betjener et elværktøj.
- Opbevar værktøj utilgængeligt for børn.
2.1 Lasersikkerhed
The D2 PLUS Laser Level is a Class II laser product. Observe the following precautions:
- FORSIGTIGHED: Stir ikke direkte ind i laserstrålen.
- Ret ikke laserstrålen bevidst mod mennesker eller dyr.
- Avoid exposing the eyes to direct or reflected laser beams.
- Modificer ikke laserenheden.
- Brug kun som beskrevet i denne manual.
3. Pakkens indhold
Bekræft, at alle nedenstående varer er inkluderet i din pakke:

Image 3.1: Contents of the D2 PLUS Laser Level package.
- D2 PLUS laserniveau
- USB-C kabel
- Magnetisk beslag
- Target Plate
- Snørepose
- Brugermanual
- F2 Master Mini Cordless Rotary Tool
- F2 Master Revostor Hub with 35 accessories (3/32" / 2.3mm)
- F2-M2 Magnetic Wrench
4. F2 Master Rotary Tool - Setup & Operation
4.1 Komponenter overview
- Rotary Tool Body: Main unit with motor and battery.
- Spændetang: Holds the accessory bits.
- Speed Indicator Lights: Display current speed setting.
- Tænd/sluk-/hastighedsknap: Styrer kraft og hastighed.
- Revostor Hub: Magnetic stand for organizing accessories.
- Aluminiumshus: Protective case with pop-up mechanism.
4.2 Charging the Rotary Tool
The F2 Master is battery-powered. Ensure it is fully charged before first use.
- Connect the USB-C charging cable to the charging port on the rotary tool.
- Tilslut den anden ende af kablet til en passende USB-strømadapter (medfølger ikke).
- The indicator lights will show charging status. Once fully charged, disconnect the cable.
4.3 Montering af tilbehør
The Revostor Hub provides organized storage and easy access to various accessories.

Image 4.1: The Revostor Hub for organized accessory storage.
- Ensure the rotary tool is turned off.
- Skru spændemøtrikken af.
- Insert the desired accessory bit (3/32" / 2.3mm shank) into the collet.
- Tighten the collet nut securely using the F2-M2 Magnetic Wrench to hold the bit in place. Do not overtighten.
4.4 Tænd/sluk og hastighedsjustering
The F2 Master features a brushless motor for efficient and quiet operation.

Image 4.2: The F2 Master operates quietly at 32 dB when idle.
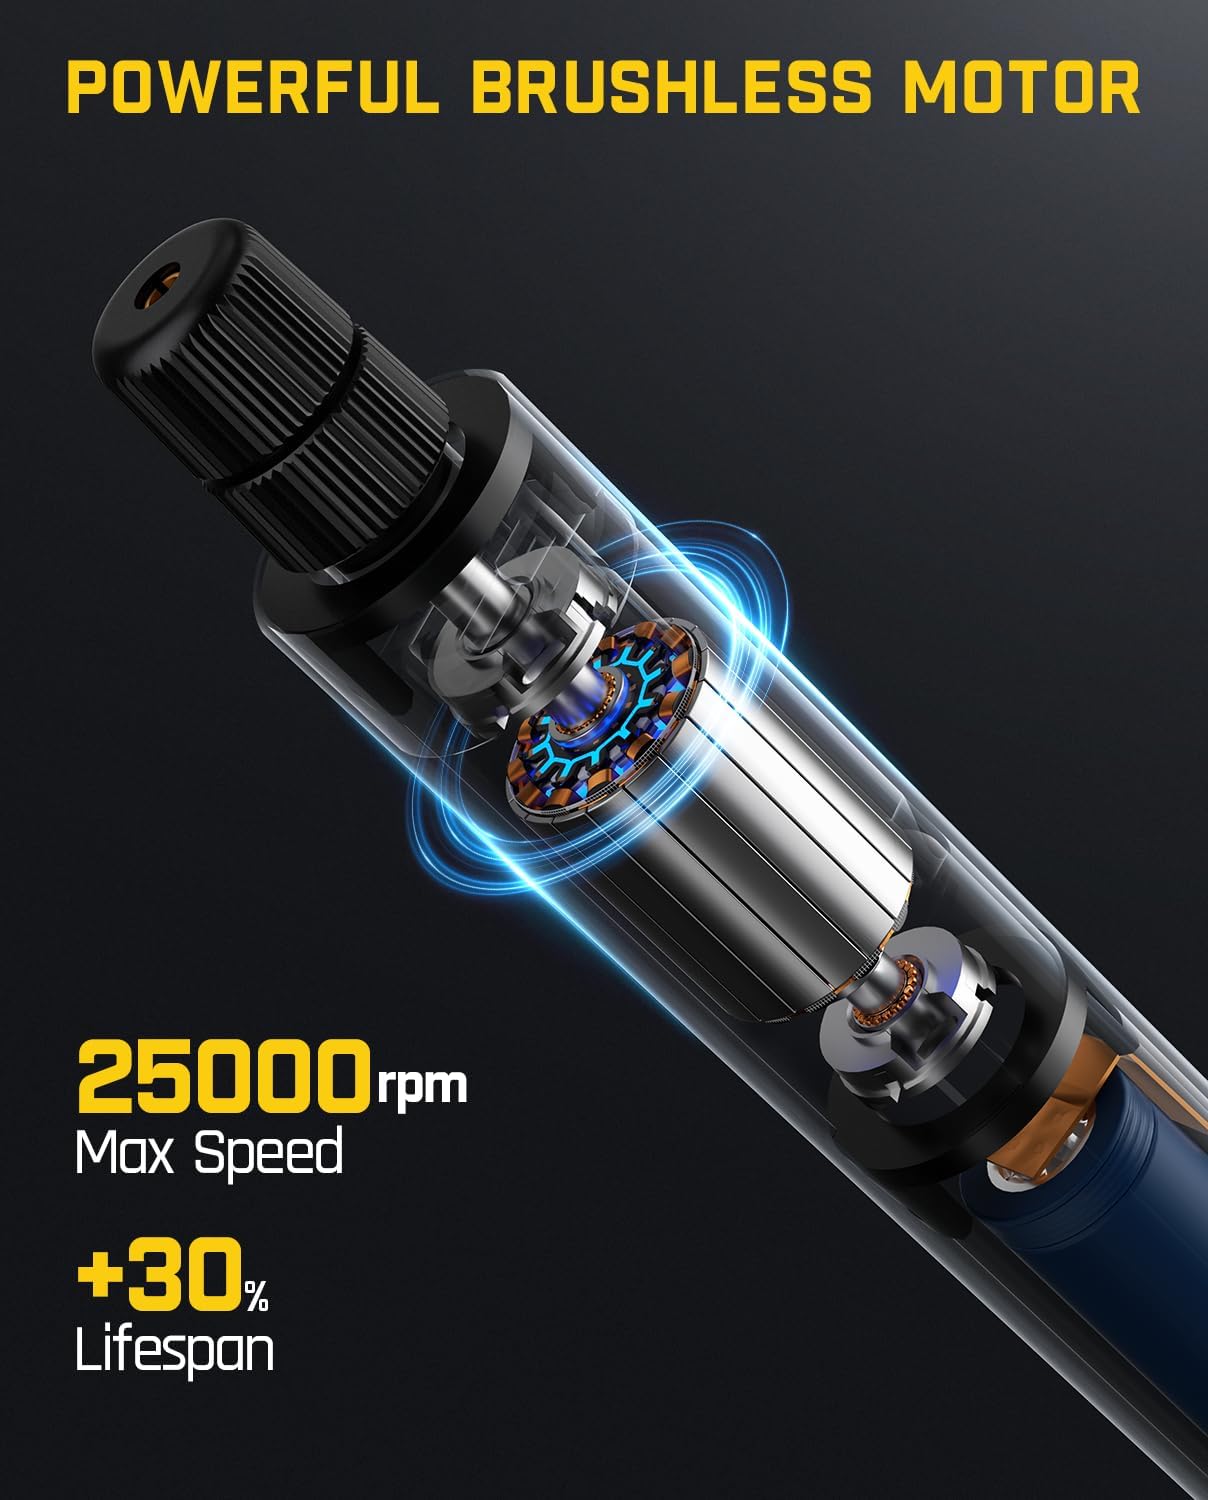
Image 4.3: The F2 Master's powerful brushless motor provides up to 25,000 RPM.
- For at tænde: Press and hold the Power/Speed button until the indicator lights illuminate. The tool will start at the lowest speed setting.
- To Adjust Speed: Briefly press the Power/Speed button to cycle through the 5 available speed settings. The indicator lights will show the selected speed.
- For at slukke: Press and hold the Power/Speed button until the indicator lights turn off.
5. D2 PLUS Laser Level - Setup & Operation
5.1 Komponenter overview
- Laseremittere: Project horizontal and vertical green laser lines.
- Kontrolpanel: Buttons for power, mode selection, and pulse mode.
- Pendullås: Sikrer pendulet til manuel drift eller transport.
- Batteriindikator: Viser resterende batterilevetid.
- USB-C opladningsport: Til genopladning af det interne batteri.
5.2 Charging the Laser Level
The D2 PLUS has a 2600 mAh rechargeable battery, providing 7-14 hours of continuous use.

Image 5.1: The D2 PLUS Laser Level features a USB-C charging port.
- Connect the provided USB-C charging cable to the charging port on the side of the laser level.
- Tilslut den anden ende af kablet til en passende USB-strømadapter (medfølger ikke).
- The battery indicator lights will show charging status. Disconnect once fully charged.
5.3 Tænd/sluk og valg af tilstand
The D2 PLUS uses an OSRAM green laser, which is four times brighter than traditional red lasers.

Image 5.2: The D2 PLUS utilizes a bright OSRAM green laser.

Image 5.3: The D2 PLUS offers three distinct line modes.

Image 5.4: Manual Mode (left) and Self-Leveling Mode (right) applications.
- Selvnivellerende tilstand: Unlock the pendulum by sliding the pendulum lock switch to the 'unlocked' position. Press the power button to turn on the laser. The laser will self-level within 4 degrees. If the tilt exceeds 4 degrees, the laser will flash rapidly to indicate it is out of level. Press the power button to cycle through horizontal line, vertical line, or both.
- Manuel tilstand: Lock the pendulum by sliding the pendulum lock switch to the 'locked' position. Press and hold the power button for 3 seconds to turn on the laser. The laser lines can now be projected at any angle without self-leveling. Press the power button to cycle through horizontal line, vertical line, or both.
- Pulstilstand: In self-leveling mode, briefly press the pulse mode button (often indicated by a 'P' or wave icon) to activate pulse mode. This mode extends the working range up to 200 ft when used with a compatible laser receiver (not included), especially useful in bright environments.

Image 5.5: Pulse Mode extends the working range of the D2 PLUS Laser Level.
5.4 Montering af laserniveauet
The D2 PLUS can be mounted using its integrated magnetic bracket or a tripod.

Image 5.6: The D2 PLUS offers high precision, up to ±3/32 in at 30 ft.
- Magnetisk beslag: Attach the magnetic bracket to metallic surfaces for stable positioning.
- Stativ montering: The laser level has a standard tripod thread (1/4"-20) on its base for mounting to a tripod (not included).
6. Vedligeholdelse
Korrekt vedligeholdelse sikrer dine værktøjers levetid og optimale ydeevne.

Image 6.1: The D2 PLUS Laser Level is designed for durability against dust, water, and minor impacts.
- Rensning: Brug en blød, damp cloth to clean the tool surfaces. Do not use abrasive cleaners or solvents. For the laser level, gently wipe the laser windows with a clean, lint-free cloth.
- Opbevaring: Store both tools in their original packaging or a protective case in a dry, cool place, away from direct sunlight and extreme temperatures. Ensure the pendulum lock on the laser level is engaged during storage and transport.
- Batteripleje: For optimal battery life, charge the tools regularly, even if not in frequent use. Avoid fully discharging the batteries for extended periods.
- Inspektion: Periodically inspect the tools for any signs of damage, loose parts, or wear. Do not operate damaged tools.
7. Fejlfinding
Se tabellen nedenfor for almindelige problemer og deres løsninger.
| Problem | Mulig årsag | Løsning |
|---|---|---|
| F2 Master does not turn on. | Lavt batteri. | Charge the rotary tool using the USB-C cable. |
| F2 Master accessory bit is loose. | Collet nut not tightened sufficiently. | Ensure the collet nut is securely tightened with the magnetic wrench. |
| D2 PLUS laser lines are flashing rapidly. | Laser level is out of its self-leveling range (>4 degrees). | Place the laser level on a flatter surface or adjust its position until the flashing stops. |
| D2 PLUS laser lines are dim or not visible outdoors. | Klar omgivende lys. | Activate Pulse Mode and use a compatible laser receiver (not included). |
| D2 PLUS laser lines are not self-leveling. | Pendulum lock is engaged (Manual Mode). | Slide the pendulum lock switch to the 'unlocked' position for Self-Leveling Mode. |
If you encounter issues not covered here, please contact Fanttik customer support.
8. Specifikationer
8.1 Fanttik F2 Master Mini Cordless Rotary Tool
| Feature | Specifikation |
|---|---|
| Motortype | Brushless Hollow Cup Motor |
| Maksimal rotationshastighed | 25,000 RPM |
| Hastighedsindstillinger | 5 justerbare indstillinger |
| Noise Level (Idle) | 32 dB |
| Vægt | 0.22 lb |
| Accessory Shank Size | 3/32" / 2.3mm |
| Strømkilde | Batteridrevet |
| Særlige funktioner | Portable, Cordless, Revostor Hub, Aluminum Case |
8.2 Fanttik D2 PLUS Laser Level
| Feature | Specifikation |
|---|---|
| Laser type | Green Laser (OSRAM) |
| Laser klassificering | Class II, <1 mW |
| Projektionsområde | Op til 100 fod |
| Nøjagtighed | ±3/32 in at 30 ft |
| Selvudjævningsområde | ±4 grader |
| Vertical Line Angle | 130° |
| Batterikapacitet | 2600 mAh |
| Kontinuerlig brugstid | 7-14 timer |
| Opladningsport | USB-C |
| Holdbarhed | Dust Resistance, Water Resistance, Resistant to fall from 1m |
9. Garanti og support
Fanttik products are manufactured to high-quality standards. For warranty information or technical support, please refer to the warranty card included in your package or visit the official Fanttik webwebsted. Hav venligst dit modelnummer og købsdato klar, når du kontakter support.
For further assistance, you may contact Fanttik customer service through their official channels.


