1. Produktet er slutview
The Makita SN400MP 12-inch Snow Shovel Attachment is designed for efficient snow removal on various surfaces. This attachment is compatible with Makita XGT® and LXT® Brushless Couple Shaft Power Heads (GUX01, XUX01, and XUX02, sold separately).
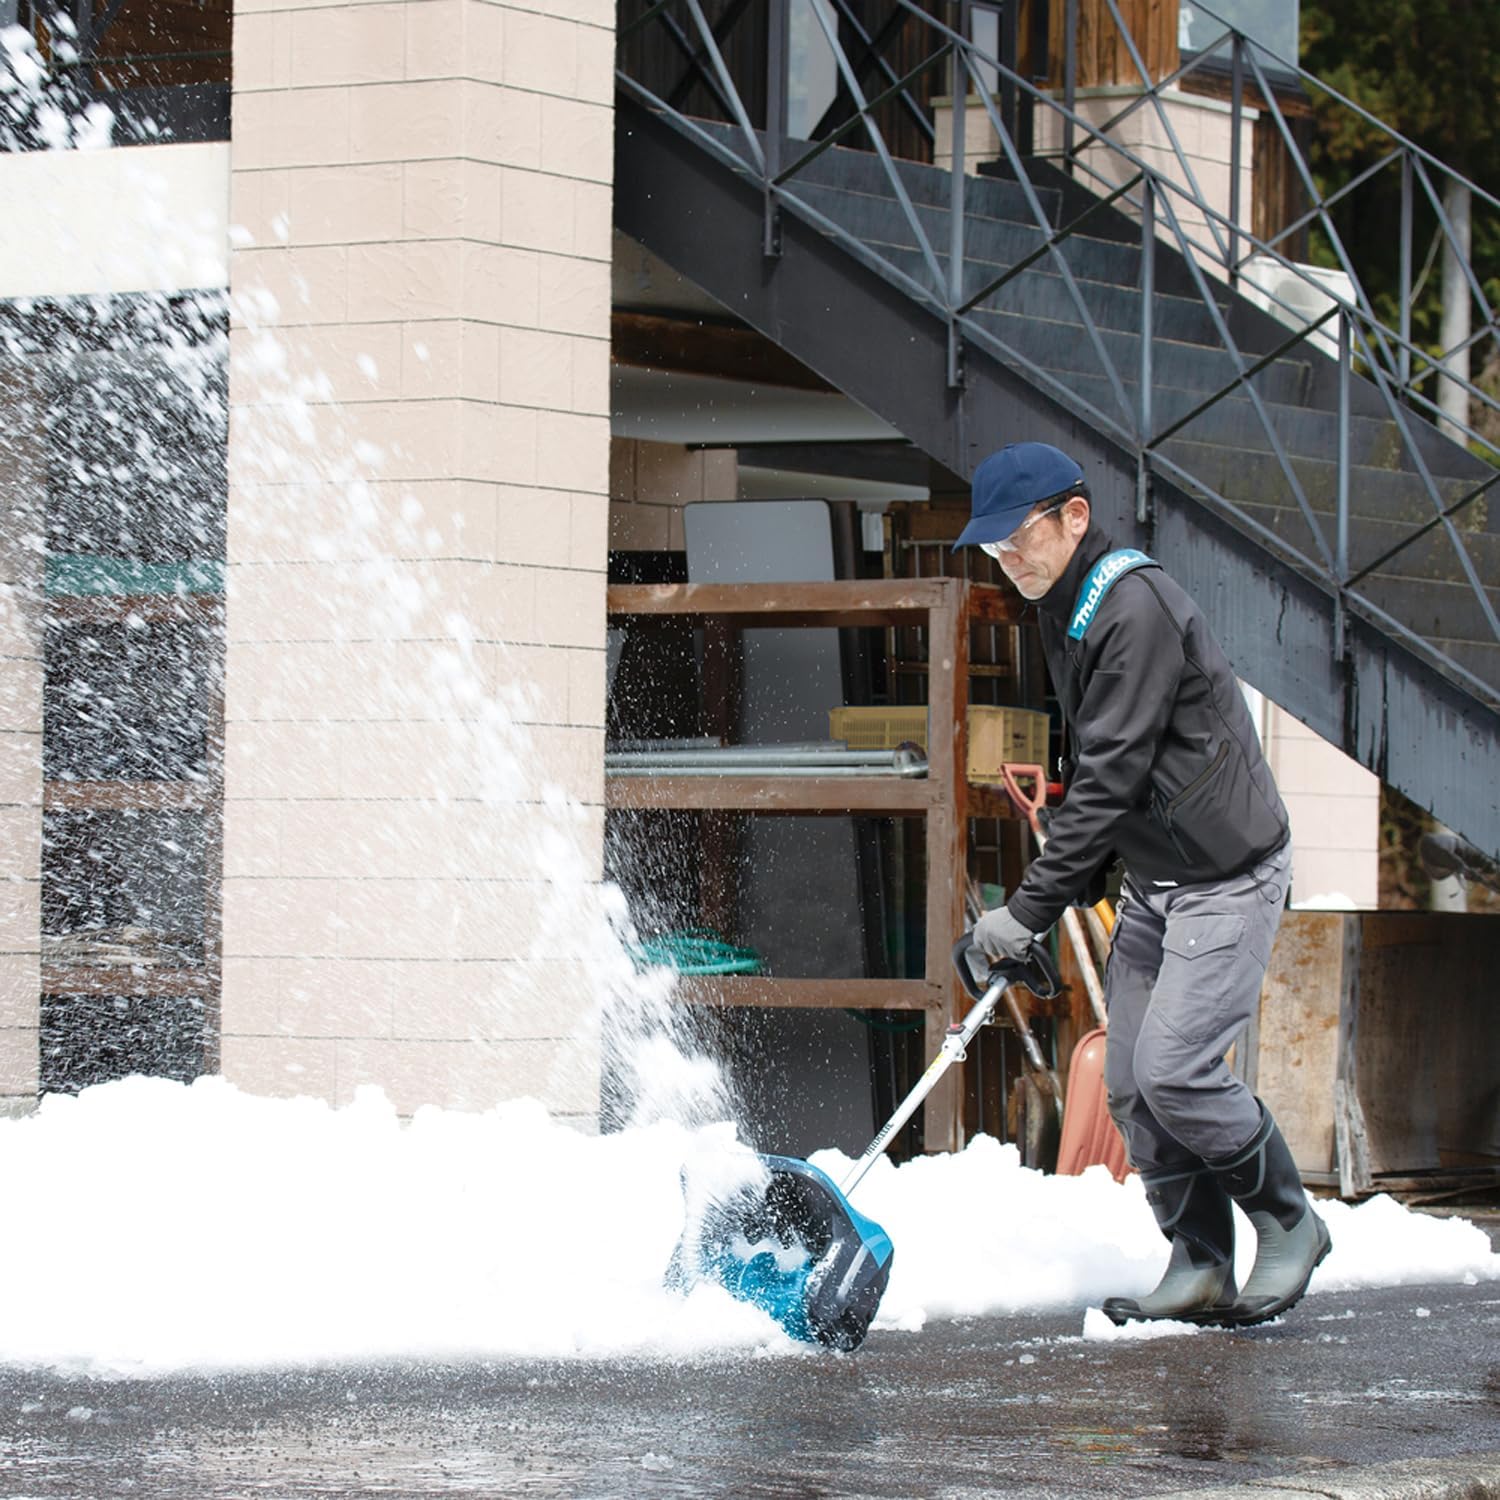
It features a 12-inch clearing width and 6-inch clearing depth, capable of throwing snow up to 30 feet. The design is compact and lightweight, suitable for clearing snow in confined areas. Directional snow throwing is adjustable to three angles: straight, 30° left, or 30° right. A steel drive shaft contributes to reduced vibration and extended equipment life.

Billede 1.1: Front view of the Makita SN400MP 12-inch Snow Shovel Attachment, showcasing its teal and black housing with the auger visible.
2. Vigtige sikkerhedsoplysninger
Prioritér altid sikkerheden, når du bruger elværktøj. Følg følgende retningslinjer:
- Always wear appropriate protective gear, including gloves and eye protection, when operating this machine.
- Take breaks and stay hydrated while using the machine for extended periods.
- Always follow the manufacturer's instructions for safe operation and storage.
- Ensure the power head is turned off and the battery is removed before performing any adjustments or maintenance.
- Hold tilskuere, især børn og kæledyr, væk fra driftsområdet.
3. Opsætning og montering
3.1 Attaching to Power Head
The SN400MP attachment is designed for quick and secure connection to compatible Makita Couple Shaft Power Heads (GUX01, XUX01, and XUX02).
- Align the shaft of the snow shovel attachment with the coupling on the power head.
- Push the attachment firmly into the power head until it clicks into place.
- Ensure the locking mechanism is fully engaged to prevent accidental detachment during operation.

Billede 3.1: The Makita SN400MP Snow Shovel Attachment shown connected to a compatible Makita power head, ready for use.
3.2 Justering af hjælpehåndtaget
The auxiliary handle can be adjusted for optimal comfort and control during operation.
- Løsn knappen på hjælpehåndtaget.
- Slide the handle up or down the shaft to your desired position.
- Spænd knappen godt fast for at fastgøre håndtaget.

Billede 3.2: Detail of the auxiliary handle adjustment mechanism, showing the knob used to secure the handle position.
3.3 Batteriinstallation
This attachment is powered by Makita 18V LXT® or XGT® batteries (not included with attachment). Ensure the battery is fully charged before use.
- Slide the charged battery into the battery port on the power head until it locks into place.
- Ensure the battery is securely seated before operating the tool.
4. Betjeningsvejledning
4.1 Start af enheden
The unit features a two-lever safety system to prevent accidental startup.
- Press the safety button (located on the side of the main handle).
- While holding the safety button, squeeze the trigger to start the snow shovel.
- Release the safety button once the unit is running.
4.2 Snerydning
Push the snow shovel attachment forward into the snow. The rotating auger will collect and throw the snow.
- Rydningsbredde: 12 tommer
- Rydningsdybde: 6 tommer
- Kasteafstand: Up to 30 feet (with GUX01 power head)
4.3 Adjusting Snow Throw Direction
The snow throwing direction can be adjusted to suit your needs.
- Locate the directional adjustment handle on the top of the attachment.
- Lift the handle and rotate it to select one of the three available angles: straight, 30° left, or 30° right.
- Release the handle to lock the chosen direction.
Billede 4.1: Top view of the snow shovel attachment, highlighting the handle for adjusting the snow throwing direction.
4.4 Officiel produktvideo
Watch the official Makita product video for a visual demonstration of the SN400MP Snow Shovel Attachment in action.
Video 4.1: Official product video demonstrating the features and operation of the Makita SN400MP 12-inch Snow Shovel Attachment.
5. Vedligeholdelse
Regular maintenance ensures optimal performance and longevity of your snow shovel attachment.
- Rensning: After each use, remove any snow, ice, or debris from the auger and housing. Use a damp cloth to wipe down exterior surfaces. Do not use harsh chemicals.
- Opbevaring: Store the attachment in a dry, protected area away from direct sunlight and extreme temperatures. Ensure the battery is removed before storage.
- Inspektion: Periodically inspect the auger for wear or damage. Check all fasteners for tightness.
6. Fejlfinding
If you encounter issues with your Makita SN400MP, refer to the following common troubleshooting steps:
- Enheden starter ikke: Ensure the battery is fully charged and properly inserted into the power head. Verify that the safety button and trigger are engaged correctly.
- Reduced snow throwing performance: Check the auger for any obstructions (e.g., ice, debris). Ensure the snow is not too wet or heavy for the unit's capacity.
- Overdreven vibration: Inspect the auger for damage or imbalance. Ensure the attachment is securely fastened to the power head.
For persistent issues, consult the power head's user manual or contact Makita customer support.
7. Specifikationer
| Feature | Specifikation |
|---|---|
| Mærke | Makita |
| Modelnummer | SN400MP |
| Rydningsbredde | 12 tommer |
| Rydningsdybde | 6 tommer |
| Snekastningsafstand | Up to 30 feet (with GUX01 power head) |
| Adjustable Throw Angles | Straight, 30° Left, 30° Right |
| Drivakselmateriale | Stål |
| Varens vægt | 11 pund |
| Produktdimensioner | 14" D x 21" B x 11" H |


