1. Introduktion
The suangrc F205 Drone is an advanced FPV drone designed for both beginners and experienced users, featuring a 2.4-inch screen on the remote control for direct live footage viewing. Equipped with a brushless motor, auto-hover functionality, and gesture control, it offers a stable and intuitive flight experience. This manual provides essential information for setting up, operating, maintaining, and troubleshooting your F205 Drone.
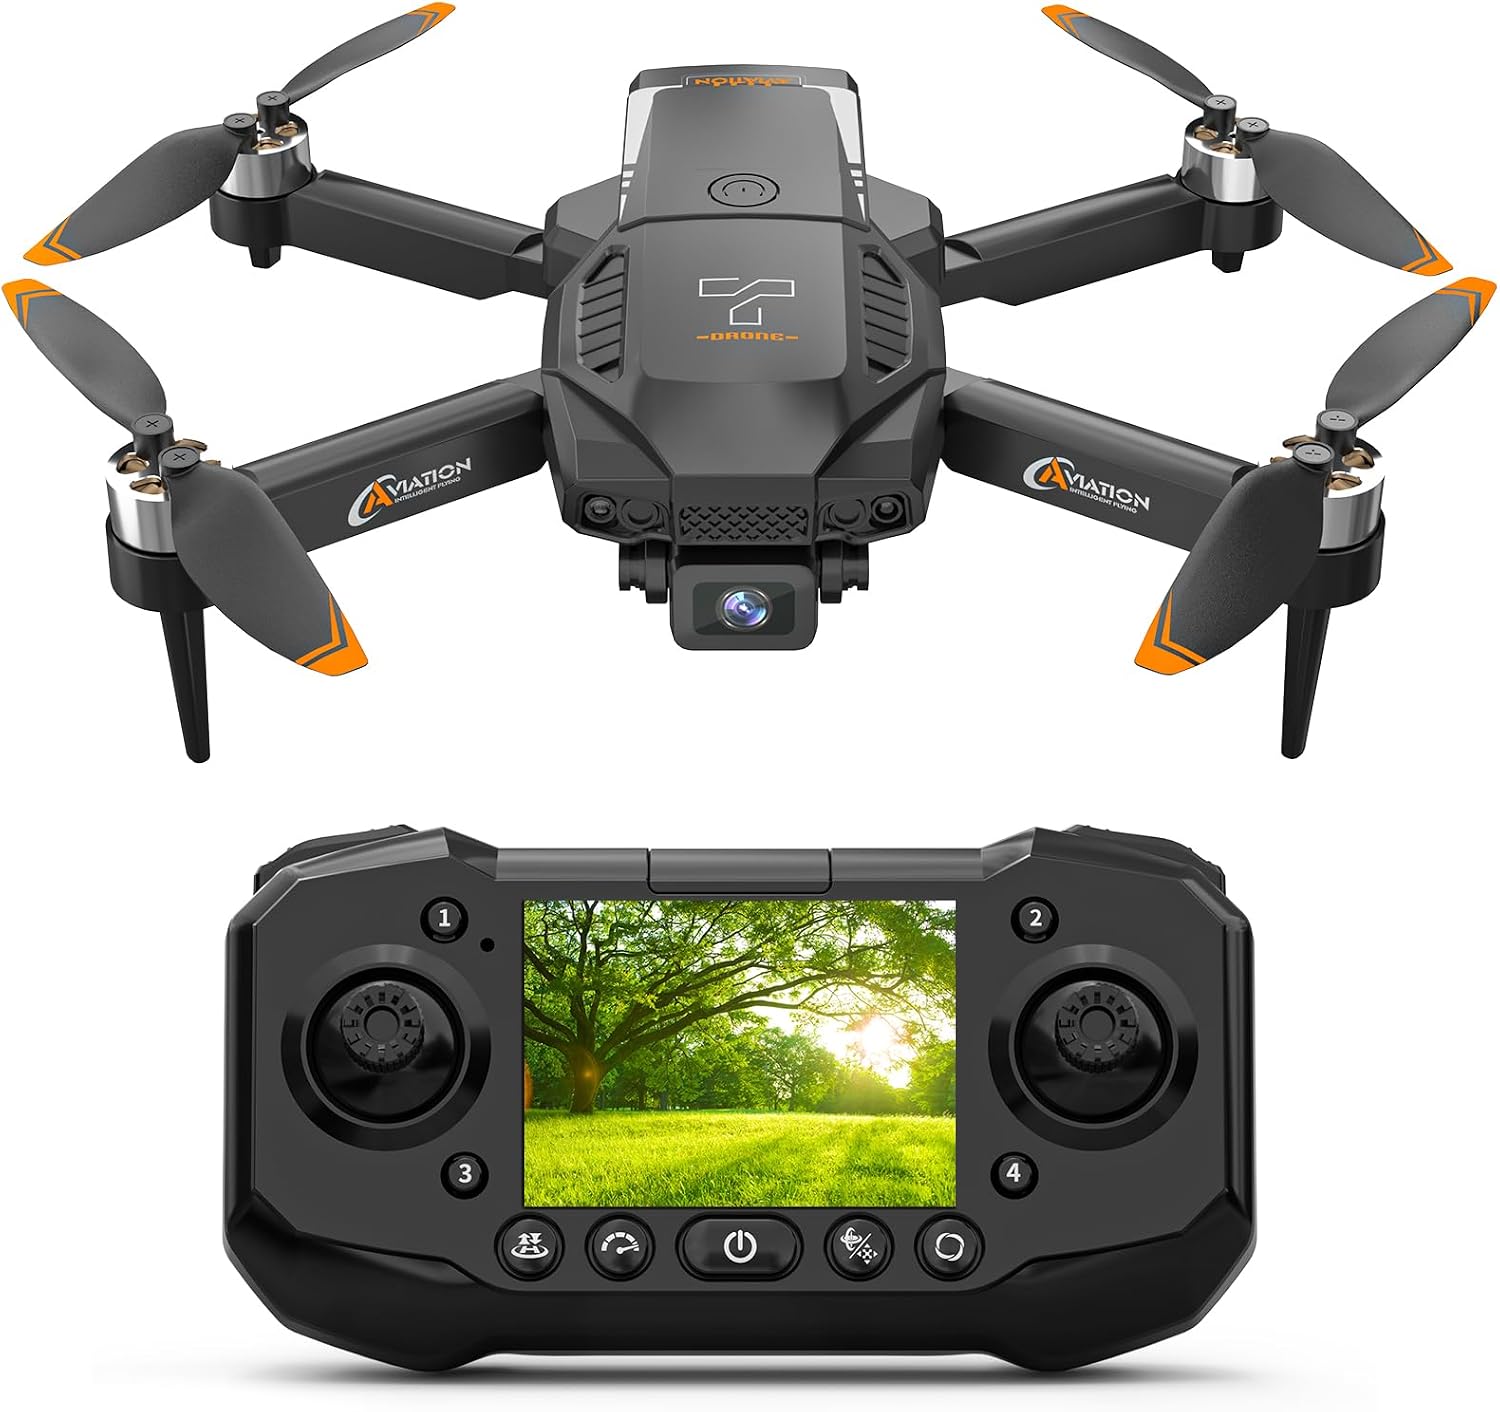
Image 1.1: The F205 Drone with its integrated 2.4-inch screen remote controller.
2. Hvad er der i æsken
Kontroller venligst, at alle følgende komponenter er inkluderet i din pakke:
- Drone x1
- Fjernbetjening x1
- Batteri x1
- Propeller blade x4
- Skruetrækker x1
- SD Card (8GB) x1
- Parking apron x1
- Instructions (User Manual) x1
- Handbag x1
- Charging Line x1
- Spare Screws x2
- Kortlæser x1

Image 2.1: All components included in the F205 Drone package.
3. Opsætning
3.1 Batteriinstallation og opladning
The F205 Drone uses a Lithium Ion battery. Ensure the battery is fully charged before first use.
- Insert the fully charged battery into the drone's battery compartment until it clicks into place.
- To charge the battery, connect the provided charging line to the drone's charging port (USB Type-C) and a suitable USB power source.
- The remote control also has a built-in rechargeable battery. Charge it using its dedicated charging port.

Image 3.1: The modular battery and high-efficiency brushless motor of the F205 Drone.

Image 3.2: The F205 Drone battery features USB Type-C charging for convenience.
3.2 Installation af SD-kort
The drone comes with an 8GB SD card for storing photos and videos. It supports up to a 32GB SD card.
- Locate the SD card slot on the drone.
- Gently insert the provided 8GB SD card into the slot until it clicks. Ensure it is inserted in the correct orientation.
- To remove, gently press the SD card to eject it.

Image 3.3: Proper insertion of the 8GB SD card into the drone's slot.

Image 3.4: The F205 Drone supports memory cards up to 32GB for extended storage.
3.3 Propelinstallation
The drone comes with four spare propeller blades. Ensure they are installed correctly.
- Identify the correct propeller for each motor arm (usually marked A or B).
- Attach the propellers firmly to the motor shafts. Use the provided screwdriver if necessary.
4. Betjeningsvejledning
4.1 Tænd og parring
- Placer dronen på en flad, plan overflade.
- Tryk og hold tænd/sluk-knappen på dronen nede, indtil indikatorlamperne tændes.
- Turn on the remote control. The remote and drone will automatically pair.
4.2 Grundlæggende flyvekontrol
The F205 Drone features intuitive controls for easy operation.
- One-Key Start/Land: Press the one-key start/land button on the remote control to automatically take off or land the drone.
- Auto-hover: The optical flow technology allows the drone to maintain a stable hover when controls are released, making it easier to focus on capturing footage.
- Hovedløs tilstand: In headless mode, the drone's orientation is relative to the pilot, simplifying control regardless of the drone's front direction.
- Hastighedstilpasning: The drone offers 3 different speed modes to suit various flying conditions and skill levels.

Image 4.1: The F205 Drone utilizes optical flow positioning for stable hovering and features one-key takeoff and landing.
4.3 Camera Operation and FPV
The F205 Drone is equipped with a 1080p HD camera and a 2.4-inch FPV screen on the remote control.
- Levende View: The 2.4-inch screen on the remote control provides a real-time FPV (First Person View) feed from the drone's camera, eliminating the need for a smartphone.
- Foto/videooptagelse: Brug de dedikerede knapper på fjernbetjeningen til at tage billeder eller starte/stoppe videooptagelse.
- Offline Playback: Fanget footage is saved directly to the included 8GB SD card and can be replayed instantly on the remote's screen.

Image 4.2: Close-up of the 1080p HD camera and the live view on the 2.4-inch screen.
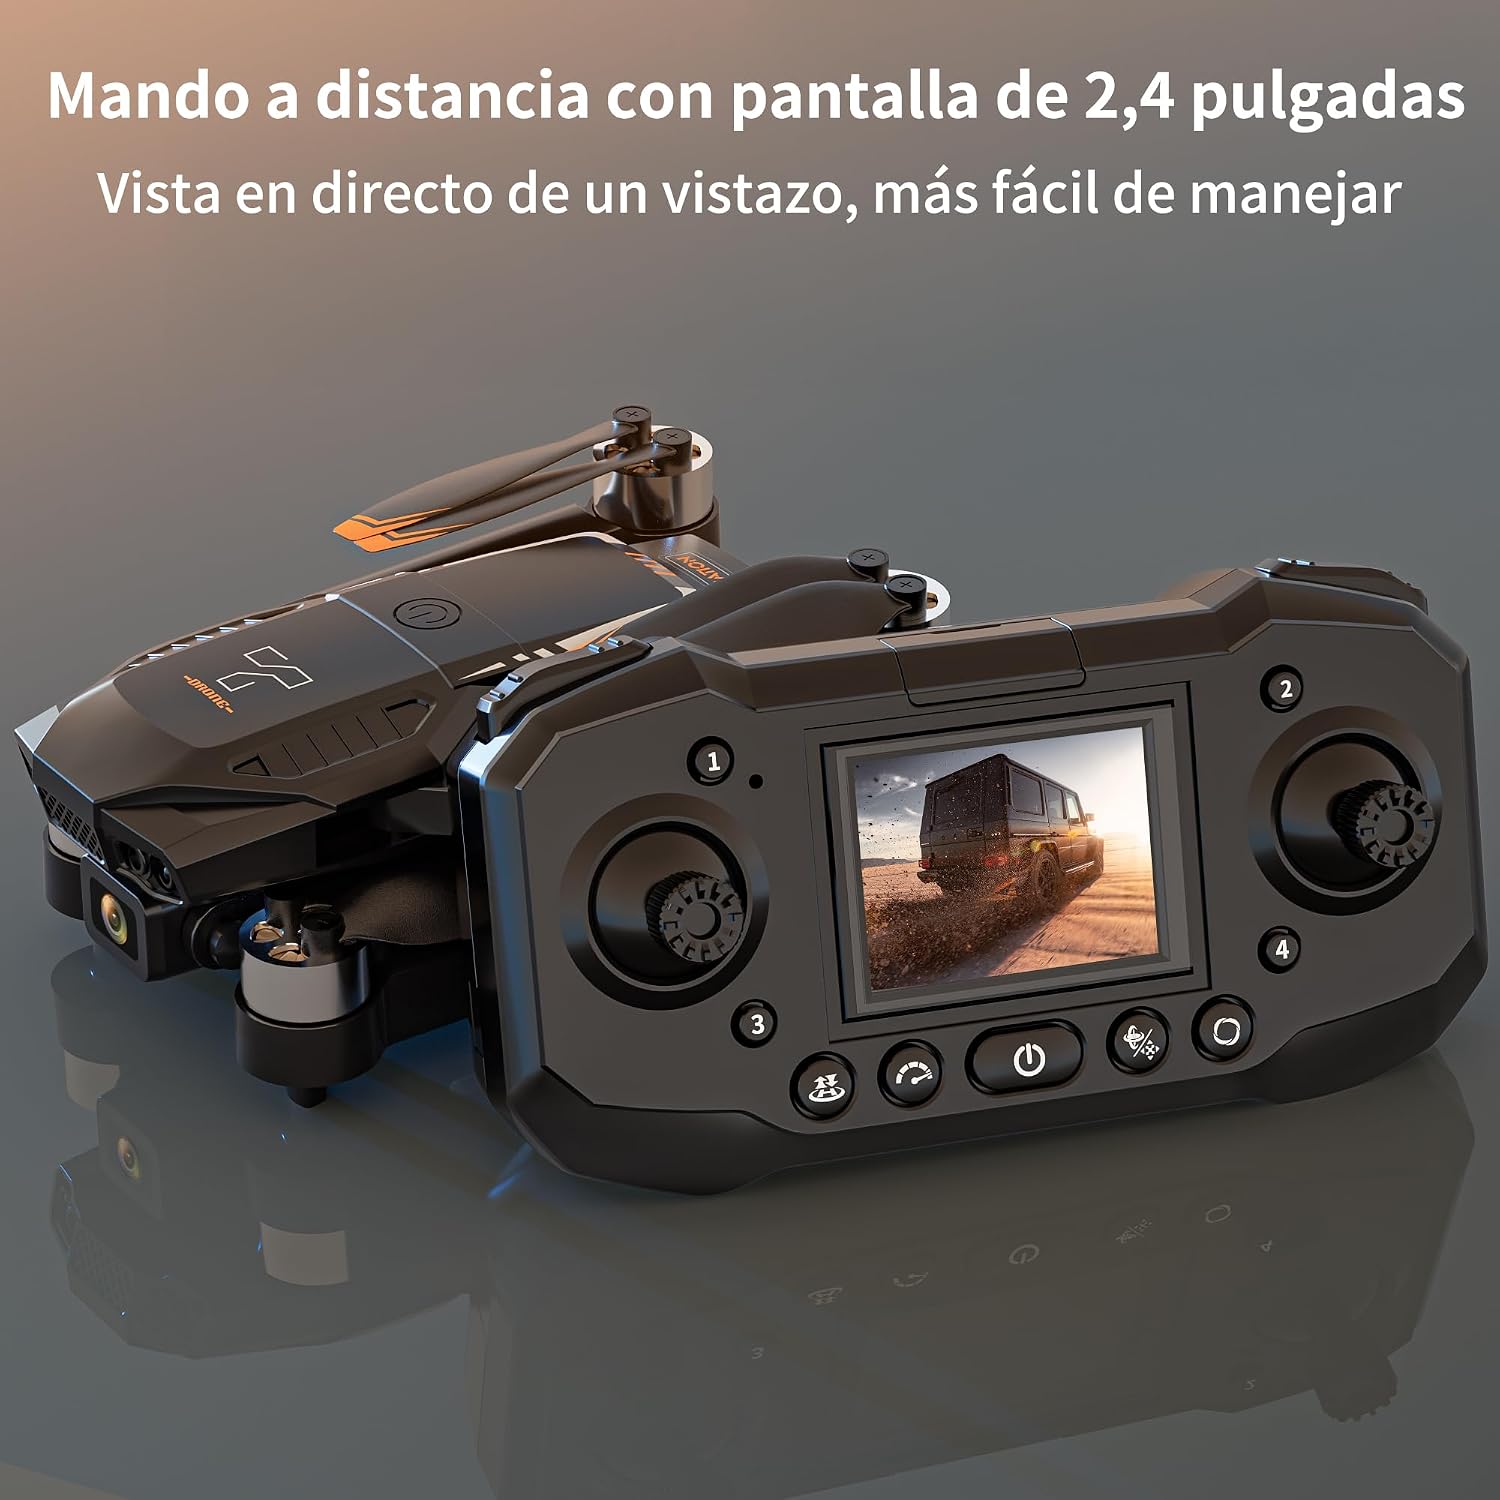
Image 4.3: The remote control's 2.4-inch screen provides a direct live view, simplifying operation.
4.4 Avancerede funktioner
- Bevægelseskontrol: Perform specific hand gestures to trigger actions like taking photos or starting video recording. Refer to the quick start guide for specific gestures.
- 3D-vendinger: Execute impressive aerial acrobatics with a single button press.
- Tap Fly: (If applicable) Draw a path on the remote's screen, and the drone will follow it automatically.

Image 4.4: The F205 Drone supports Gravity Control, 3D Flips, and Tap Fly functions for dynamic flight.
5. Vedligeholdelse
5.1 Generel pleje
- Keep the drone and remote control clean and free from dust and debris. Use a soft, dry cloth for cleaning.
- Avoid exposing the drone to extreme temperatures, direct sunlight, or moisture.
- Store the drone in its carrying bag when not in use to protect it from damage.
5.2 Pleje af batterier
- Always use the original charging cable provided.
- Undlad at overoplade eller overaflade batteriet.
- If storing the drone for an extended period, charge the battery to approximately 50% to prolong its lifespan.
5.3 Inspektion og udskiftning af propeller
- Regularly inspect propellers for any signs of damage, cracks, or bends. Damaged propellers can affect flight stability.
- Replace any damaged propellers immediately using the spare blades provided and the screwdriver. Ensure correct propeller type (A or B) is used for each motor.
6. Fejlfinding
| Problem | Mulig årsag | Løsning |
|---|---|---|
| Dronen tænder ikke. | Batteriet er ikke installeret korrekt eller er afladet. | Sørg for, at batteriet er fuldt opladet og korrekt isat. |
| Dronen reagerer ikke på fjernbetjeningen. | Not paired, out of range, or remote battery low. | Re-pair the drone and remote. Ensure remote control battery is charged. Fly within operational range. |
| Drone is unstable during flight. | Damaged propellers, uncalibrated sensors, or strong winds. | Check and replace damaged propellers. Recalibrate the drone's sensors (refer to quick start guide). Avoid flying in strong winds. |
| Low battery alarm immediately after takeoff (even with full charge). | Battery degradation or connection issue. | Try a different battery if available. Ensure battery contacts are clean and secure. If problem persists, contact customer support. |
| Poor camera quality or blurry images. | Lens dirty, insufficient lighting, or camera vibration. | Clean the camera lens gently. Ensure adequate lighting conditions. Check for any loose parts causing vibration. |
| SD card not recognized or unable to save. | SD card not inserted correctly, corrupted, or full. | Reinsert the SD card. Format the SD card (this will erase data). Try a different compatible SD card. |
7. Specifikationer
| Feature | Detalje |
|---|---|
| Mærke | suangrc |
| Modelnavn | RM (F205) |
| Farve | Sort |
| Videooptagelsesopløsning | 1080p |
| Forbindelsesteknologi | Wi-Fi |
| Varens vægt | 440 gram (15.5 ounce) |
| Videooptagelsesformat | MP4 |
| Kontroltype | Remote Control, Gesture Control |
| Battericellesammensætning | Lithium Ion |
| Genopladeligt batteri medfølger | Ja |
| Produktdimensioner | 8 cm L x 6.7 cm B x 3.1 cm H |
| Optisk sensorteknologi | Optical Flow, CMOS |
| SD-kort support | Op til 32 GB (8 GB inkluderet) |
| Fjernbetjeningsskærm | 2.4" LCD-skærm |
8. Garanti og support
For warranty information, technical support, or any inquiries regarding your suangrc F205 Drone, please refer to the contact information provided on the product packaging or visit the official suangrc webwebsted. Behold din købskvittering som købsbevis i tilfælde af garantikrav.


