1. Introduktion
Thank you for choosing the COWAY Airmega 350 Air Purifier. This manual provides essential information for the safe and efficient operation, maintenance, and troubleshooting of your device. Please read it thoroughly before use and retain it for future reference.
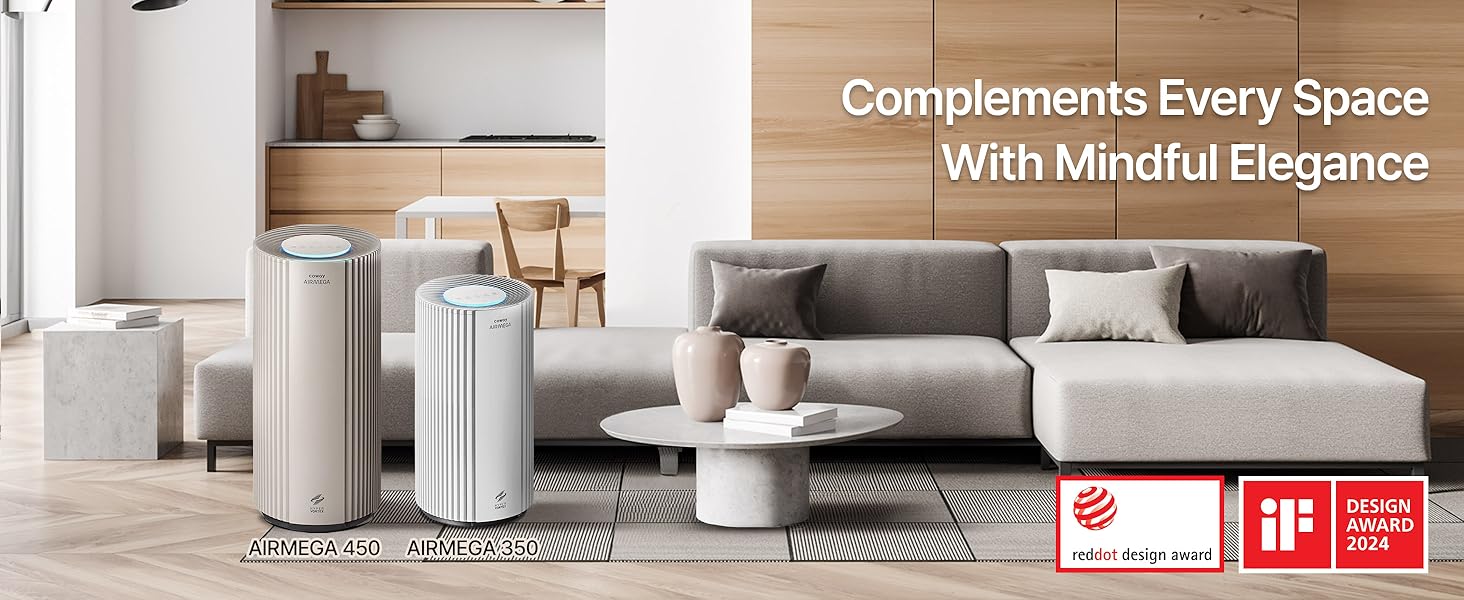
The Airmega 350 is designed to improve indoor air quality by filtering various airborne particles and odors, covering areas up to 2,640 sq ft in 60 minutes.
2. Vigtige sikkerhedsoplysninger
To reduce the risk of electric shock, fire, and injury, always follow basic safety precautions:
- Læs alle instruktioner, inden du betjener apparatet.
- Brug ikke noget apparat med en beskadiget ledning eller stik.
- Brug ikke apparatet udendørs eller på våde overflader.
- Hold ledningen væk fra opvarmede overflader.
- Nedsænk ikke apparatet, ledningen eller stikket i vand eller andre væsker.
- Træk stikket ud af stikkontakten, når det ikke er i brug, og før rengøring eller servicering.
- Bloker ikke luftåbningerne, og placer ikke apparatet på en blød overflade, hvor åbningerne kan blive blokeret.
- Dette apparat er ikke beregnet til brug af personer (inklusive børn) med nedsatte fysiske, sensoriske eller mentale evner, eller mangel på erfaring og viden, medmindre de har fået opsyn eller instruktion i brugen af apparatet af en person, der er ansvarlig for deres sikkerhed.
3. Produktet er slutview
The COWAY Airmega 350 features a HyperVortex system for efficient air purification, a 3-in-1 filtration system, and smart modes for optimized performance.

Figur 3.1: Front view of the COWAY Airmega 350 Air Purifier, showing its sleek white design and top control panel.
3.1 Nøglefunktioner
- HyperVortex Air Technology: Efficiently cleans air in large spaces.
- 3-i-1 filtreringssystem: Includes a vacuumable pre-filter, activated carbon filter, and True HEPA filter.
- Real-Time Air Quality Monitor: Detects particles as small as PM 10 and adjusts fan speed automatically in Auto Mode.
- Smart tilstande: Auto, Sleep, Turbo, and Eco modes for various purification needs.
- Støjsvag drift: Fungerer helt ned til 21.6 dB.
- Energy Star-certificeret: Energieffektiv drift.
- Indikator for filterlevetid: Notifies when filter replacement is needed.
3.2 Komponenter
- Main Unit (Air Purifier)
- Filter Set (Pre-filter, Activated Carbon Filter, True HEPA Filter)
- Strømledning
- Brugervejledning (dette dokument)
4. Opsætning
4.1 Udpakning
- Tag forsigtigt luftrenseren ud af emballagen.
- Fjern alt emballagemateriale, inklusive beskyttelsesfilm eller -tape.
- Kontroller, at alle komponenterne, der er anført i afsnit 3.2, er til stede.
4.2 Installation af filter
The filters are typically pre-installed but may be wrapped in plastic for shipping. Ensure all plastic packaging is removed from the filters before use.
- Locate the filter cover on the air purifier.
- Open the filter cover. This usually involves pulling from the bottom or sides.
- Remove the existing filter set. If new, remove any plastic wrapping from the filters.
- Insert the filter set back into the unit, ensuring it is seated correctly. The 3-in-1 filter typically includes a vacuumable pre-filter, an activated carbon filter, and a True HEPA filter combined into one unit.
- Luk filterdækslet forsvarligt.
Figur 4.1: Illustration of the 3-in-1 filter system, detailing the layers for pre-filtration, HEPA filtration, and activated carbon filtration.
4.3 Placering
- Anbring luftrenseren på en fast, jævn overflade.
- Ensure there is adequate space around the unit (at least 12 inches) for proper airflow.
- Undgå at placere enheden i nærheden af varmekilder, direkte sollys eller i områder med høj luftfugtighed.
- Sæt netledningen i en almindelig stikkontakt.
5. Betjening
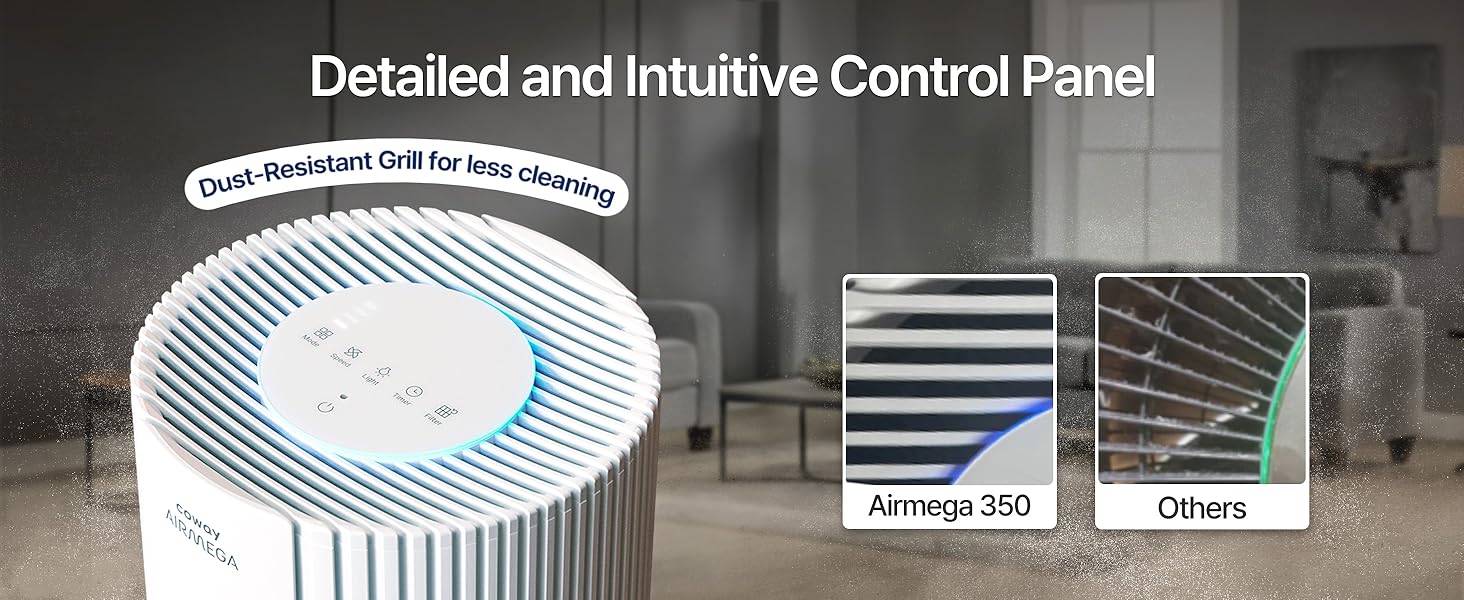
The control panel is located on the top of the unit. It features various buttons and indicators for controlling the air purifier's functions.

Figur 5.1: Detaljeret view of the intuitive control panel on the COWAY Airmega 350.
5.1 Tænd/sluk
- Tryk på Magt knappen for at tænde eller slukke for enheden.
5.2 driftstilstande
Tryk på Mode knap til at gennemgå de tilgængelige driftstilstande:
- Automatisk tilstand: The fan speed automatically adjusts based on the detected air quality. The unit's light sensor will also detect ambient light and turn off the display light during low-light conditions (e.g., bedtime).
- Sove mode: Operates at the lowest fan speed for quiet operation, ideal for sleeping environments.
- Turbo tilstand: Runs at the highest fan speed for rapid air purification.
- Øko-tilstand: Optimizes power consumption based on air quality, saving energy.
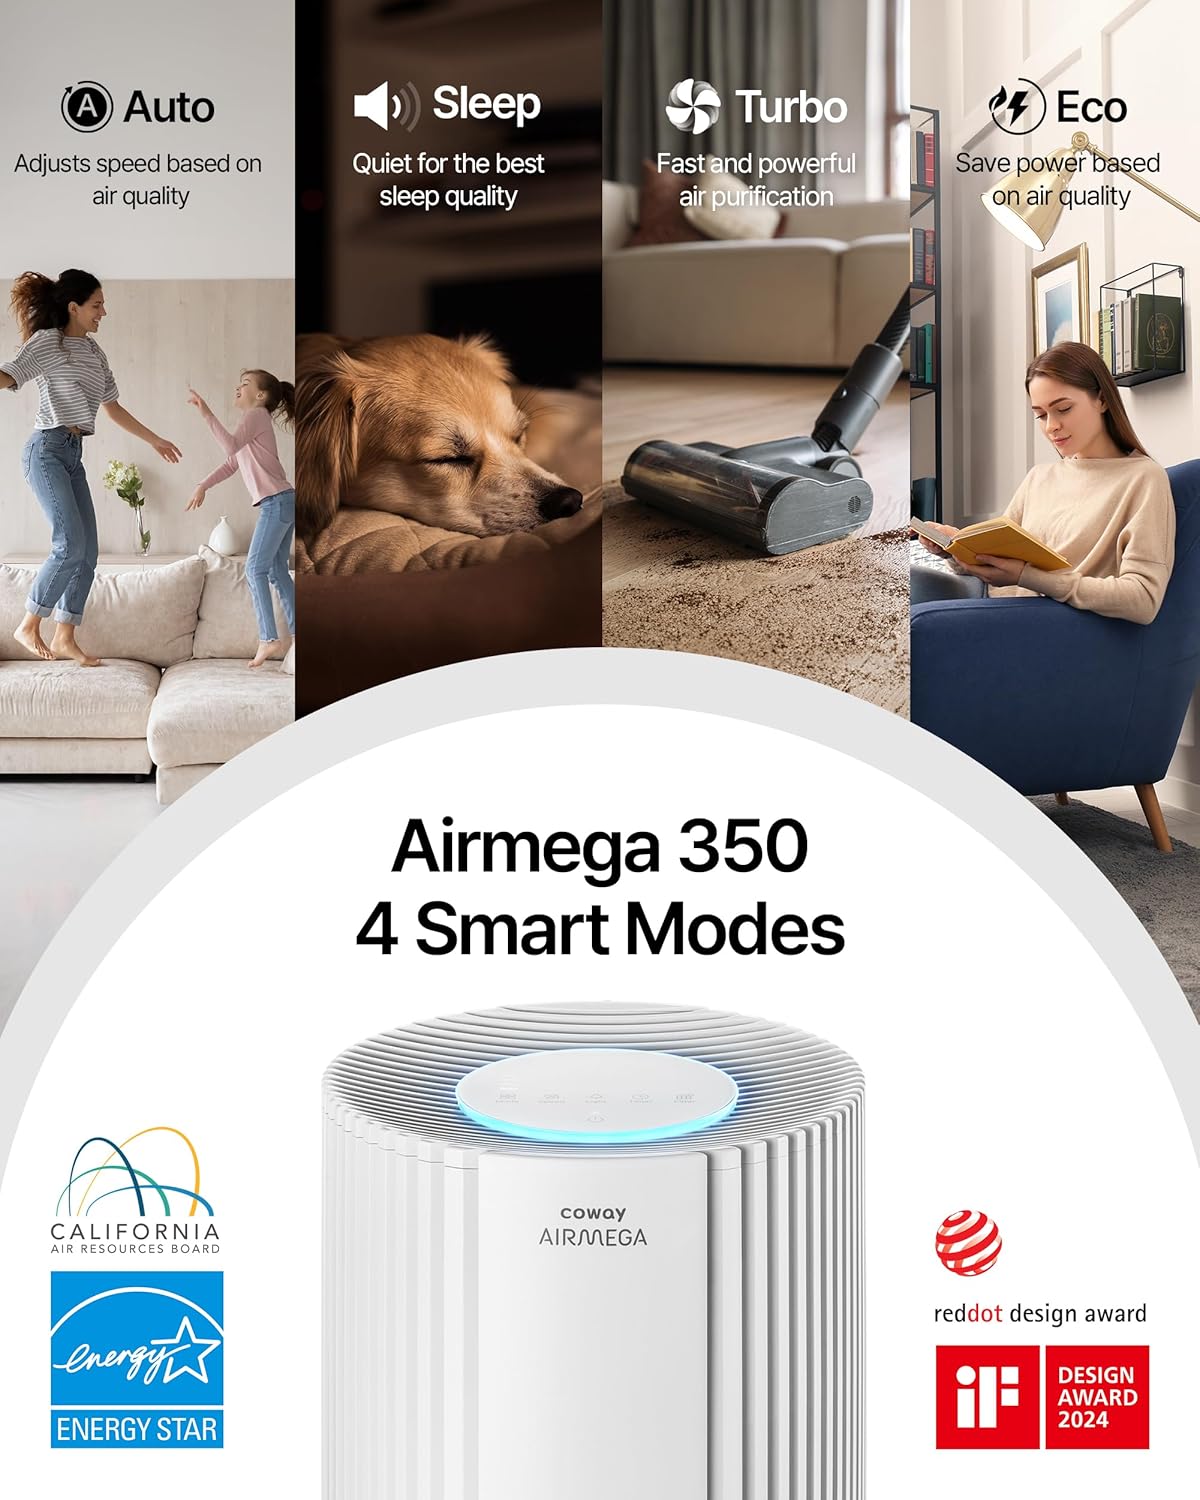
Figur 5.2: Overview of the Airmega 350's four smart operating modes.
5.3 Justering af ventilatorhastighed
- I manuel tilstand skal du trykke på Hastighed button to adjust the fan speed (levels 1-3).
5.4 Timer funktion
- Tryk på Timer button to set the operating duration (e.g., 1 hour, 2 hours, 4 hours, 8 hours). The unit will automatically turn off after the set time.
5.5 Lysstyring
- Tryk på Lys button to turn the display lights on or off.
5.6 Kontrolpanellås
- To prevent accidental changes, press and hold the Kontrolpanellås button (often indicated by a lock icon) for 3 seconds to activate or deactivate the lock.

Figur 5.3: Convenience features including Timer, Night Light, Button Mute, and Control Panel Lock.
6. Vedligeholdelse
Regelmæssig vedligeholdelse sikrer optimal ydeevne og forlænger levetiden for din luftrenser.
6.1 Rengøring af forfilter
The vacuumable pre-filter should be cleaned regularly, approximately once a month, or when the indicator light illuminates.
- Sluk og tag stikket ud af luftrenseren.
- Åbn filterdækslet.
- Fjern forsigtigt forfilteret.
- Use a vacuum cleaner with a brush attachment to remove dust and debris from the pre-filter. Do not wash the pre-filter with water.
- Reinstall the clean pre-filter and close the cover.
6.2 True HEPA and Activated Carbon Filter Replacement
The True HEPA and Activated Carbon filters are typically combined into one unit and should be replaced when the filter life indicator illuminates, usually once a year, depending on usage and air quality.
- Sluk og tag stikket ud af luftrenseren.
- Åbn filterdækslet.
- Remove the old 3-in-1 filter set.
- Unpack the new genuine COWAY Airmega filter set.
- Insert the new filter set into the unit, ensuring a proper fit.
- Luk filterdækslet forsvarligt.
- Sæt enheden i stikkontakten, og tryk og hold nede Filter button for 3 seconds to reset the filter life indicator.
Figur 6.1: Step-by-step guide for filter replacement and resetting the filter indicator.
6.3 Udvendig rengøring
- Tør ydersiden af enheden af med en blød, damp klæde.
- Brug ikke slibende rengøringsmidler eller opløsningsmidler.
7. Fejlfinding
Se følgende tabel for almindelige problemer og deres løsninger.
| Problem | Mulig årsag | Løsning |
|---|---|---|
| Enheden tænder ikke. | Power cord not securely plugged in. No power at outlet. | Ensure power cord is firmly plugged into a working outlet. Check circuit breaker. |
| Luftstrømmen er svag, eller der kommer ingen luft ud. | Filters are clogged. Filter packaging not removed. Air inlets/outlets blocked. | Clean the pre-filter. Replace the 3-in-1 filter. Ensure all filter packaging is removed. Clear any obstructions around the unit. |
| Usædvanlig støj. | Foreign object inside. Unit not on a level surface. | Turn off and unplug the unit, check for foreign objects. Place the unit on a stable, level surface. |
| Air quality indicator always shows poor air. | Sensor is dirty. High level of pollutants in the room. | Clean the air quality sensor (refer to maintenance section for sensor cleaning, if applicable). Ensure filters are clean/new. |
| Filter replacement indicator remains on after changing filter. | Filternulstillingsknap ikke trykket ind. | Press and hold the Filter button for 3 seconds to reset the indicator. |
8. Specifikationer
| Feature | Detalje |
|---|---|
| Modelnummer | AP-1924A(W) |
| Mærke | Coway |
| Farve | Hvid |
| Produktmål (D x B x H) | 12" D x 12" B x 26.3" H |
| Varens vægt | 17.19 pund |
| Dækning af gulvareal | Up to 2640 sq ft (in 60 minutes) |
| Støjniveau | Så lavt som 21.6 dB |
| Partikelretentionsstørrelse | 0.01 mikrometer |
| Wattage | 62 watt |
| Controller type | Røre |
| Certificeringer | CARB Certified, ETL Certified, Energy Star Certified |
| Særlige funktioner | Filter Life Indicator, Real Time Air Quality Indicator, Smart Mode |
| UPC | 826439000851 |
9. Garantioplysninger
The COWAY Airmega 350 Air Purifier comes with a 3-year Manufacturer’s Limited WarrantyDenne garanti dækker materiale- og fabrikationsfejl ved normal brug. Gem venligst din købsbevis i tilfælde af garantikrav.
For detailed warranty terms and conditions, please refer to the official COWAY webwebsted eller kontakt kundesupport.
10. Kundesupport
If you have any questions, require assistance, or need to report an issue, please contact COWAY customer support:
- Webwebsted: Besøg den officielle Coway webwebsted med ofte stillede spørgsmål, produktregistrering og supportressourcer.
- Telefon: Se din produktemballage eller den officielle webwebsted for regionale kundeservicekontaktnumre.
- Online ressourcer: Check for updated manuals or troubleshooting guides on the Coway support page.


