Indledning
This manual provides detailed instructions for the setup, operation, and maintenance of your FUVISION D9-4G LTE Cellular Security Camera. This device is designed for indoor surveillance, offering a wire-free solution that operates via 4G LTE cellular data, eliminating the need for Wi-Fi connectivity. It features a dual-lens system, 2K resolution, 6x hybrid zoom, and PIR motion detection for reliable monitoring.

Image: The FUVISION D9-4G LTE camera is suitable for various indoor environments, providing off-grid monitoring capabilities.
Hvad er der i æsken
- Dual-lens security camera with pre-paid SIM card
- Magnetic bracket with screws
- USB-C ladekabel
- Brugermanual
- Adhesive metal plates
Opsætning
1. Indsættelse af SIM-kort
Your camera includes a 4G SIM card with a 7-day free data trial. Locate the SIM card slot on the camera. Carefully insert the SIM card into the designated slot until it clicks into place. Ensure the camera is powered off before inserting or removing the SIM card.

Image: The camera comes with a SIM card and a 7-day data trial for immediate use.
2. Første opladning
Before first use, fully charge the camera using the provided USB-C charging cable and a compatible 5V power adapter (not included). The charging indicator light will provide status. A full charge ensures optimal battery performance.

Image: The camera can operate while charging, ensuring continuous monitoring.
3. Appinstallation og enhedsparring
- Download the official FUVISION app from your smartphone's app store (available for Android and iOS).
- Tilmeld dig en konto og log ind.
- Follow the in-app instructions to add your new camera. This typically involves scanning a QR code on the camera or manually entering its device ID.
- Sørg for, at din smartphone har en aktiv internetforbindelse under parringsprocessen.
4. Magnetic Installation
The camera features a built-in magnetic bracket for easy installation on any metal surface. For non-metal surfaces, use the included adhesive metal plates. No drilling is required for most installations.

Image: The magnetic bracket allows for quick and easy installation without tools or drilling.
Betjeningsvejledning
1. Tænd/sluk
Press and hold the power button for a few seconds to turn the camera on or off. Refer to the camera's indicator lights for power status.
2. Lev View og Overvågning
Open the FUVISION app on your smartphone. Select your camera from the device list to access the live video feed. You can monitor the area in real-time from anywhere with cellular coverage.

Image: The camera's live feed is accessible via the smartphone app, showcasing its dual-lens view and 4G connectivity.
3. Bevægelsesdetektion og advarsler
Configure custom motion detection zones within the app to focus on specific areas and reduce false alarms. When motion is detected, the camera will send instant alerts to your smartphone.

Image: Set custom motion zones and receive smart alerts directly on your smartphone.
4. Videooptagelse og -lagring
The camera supports local storage via a Micro SD card (up to 128GB, not included) and cloud storage options. Recorded videos can be accessed and reviewed through the app. Older recordings are automatically overwritten when storage is full.
5. Dual Lens, Zoom, and Night Vision
The camera features a dual-lens system providing 2K HD resolution and a 140° wide-angle view. Utilize the 6x hybrid zoom (telephoto + digital) for detailed observation. Invisible IR LEDs enable clear night vision up to 33 feet for discreet monitoring in low-light conditions.
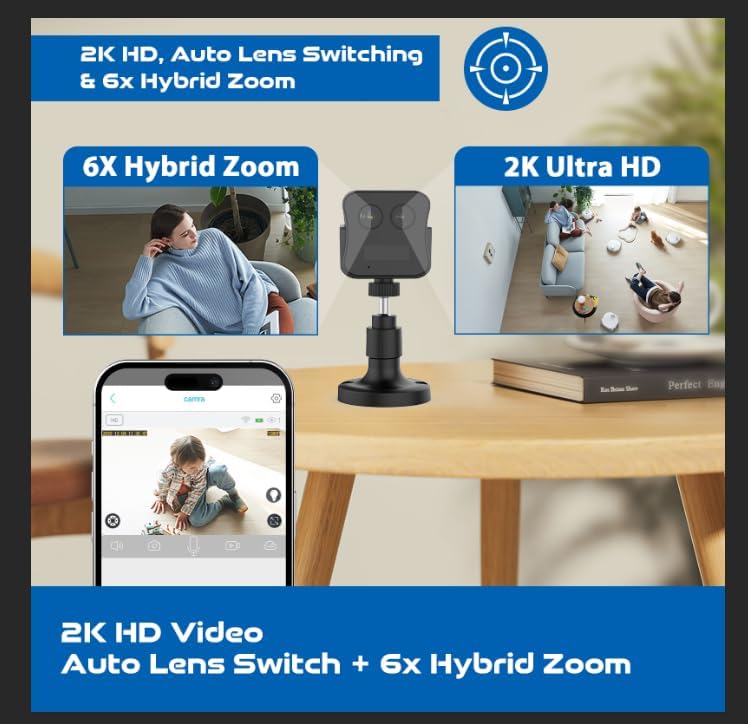
Image: Experience 2K HD video with auto lens switching and 6x hybrid zoom for detailed surveillance.
Opretholdelse
1. Batteristyring
The camera is equipped with a 3000mAh rechargeable battery, offering up to 20 days of standby time. Recharge the battery using the provided USB-C cable when the battery level is low. The camera can operate while charging.
2. Rensning
Gently wipe the camera lens and body with a soft, dry cloth to remove dust and smudges. Avoid using harsh chemicals or abrasive materials that could damage the device.
3. Firmwareopdateringer
Periodically check the FUVISION app for available firmware updates. Keeping your camera's firmware updated ensures optimal performance, security, and access to new features.
Fejlfinding
- No 4G LTE Signal: Ensure the SIM card is correctly inserted and activated. Check your location for adequate 4G LTE network coverage. Move the camera to an area with better signal strength if necessary.
- Kamera tænder ikke: Verify the battery is charged. Connect the camera to a power source using the USB-C cable and attempt to power it on again.
- Bevægelsesdetektion virker ikke: Check the motion detection settings in the app. Ensure custom motion zones are correctly configured and sensitivity levels are appropriate.
- Dårlig videokvalitet: Ensure the camera lens is clean. Check the app settings for video resolution and adjust if needed. Strong 4G LTE signal is crucial for optimal streaming.
- Problemer med appforbindelse: Ensure your smartphone has a stable internet connection. Restart the app and the camera. If issues persist, try reinstalling the app.
Specifikationer
| Modelnavn | D9-4G LTE |
| Forbindelsesteknologi | Trådløs (4G LTE Cellular) |
| Videooptagelsesopløsning | 2K (1296p) |
| Effektiv stillopløsning | 4 MP |
| Viewi vinkel | 150 grader |
| Zoomforhold | 6x Hybrid Zoom |
| Night Vision Range | 10 meter (33 fod) |
| Batteristrøm | 3000 mAh Lithium Polymer |
| Standby-batterilevetid | Op til 20 dage |
| Flash Memory Supported | Micro SD up to 128 GB (not included) |
| Kontrolmetode | App (Android, iOS) |
| Monteringstype | Magnetic / Wall Mount |
| Produktdimensioner | 2 x 2 x 2.5 tommer |
| Varens vægt | 9.6 ounce |
Garanti og support
For warranty information, please refer to the documentation included with your product packaging or visit the official FUVISION website. For technical support, frequently asked questions, or to contact customer service, please use the support features within the FUVISION mobile application or visit the manufacturer's webwebsted.


