1. Introduktion
This manual provides detailed instructions for the installation, operation, and maintenance of your JIARUIXIN RX91-B 12V Bluetooth Remote Control and Receiver Kit. This kit is designed as a replacement part for specific kids' powered ride-on cars. Please read this manual thoroughly before use to ensure proper function and safety.
2. Produktet er slutview
The RX91-B 12V Bluetooth Remote Control and Receiver Kit includes a control box and a remote control unit. It operates on a 2.4G Bluetooth frequency for reliable communication with compatible ride-on cars.
2.1 Pakkens indhold
- 1 x RX91-B 12V Control Box
- 1 x 2.4G Bluetooth-fjernbetjening
2.2 Produktkomponenter

Figur 1: The RX91-B 12V Control Box and its accompanying 2.4G Bluetooth Remote Control. The control box is gray with a green label indicating "RX91-B 12V CE/FC", and the remote is white with red circular buttons for various functions.

Figur 2: Side view of the RX91-B 12V Control Box, showing its compact design and the green identification label.

Figur 3: Close-up of the RX91-B 12V Control Box, highlighting the 10-pin and 2-pin connectors for wiring. These connectors are crucial for integrating the control box into the ride-on car's electrical system.
3. Kompatibilitetskontrol
Before installation, it is essential to verify that this control box is compatible with your specific ride-on car. Incompatibility can lead to malfunction or damage.
- Inspect Your Existing Control Box: Open your ride-on car and locate the existing control box.
- Match Model Numbers: Ensure the model number on your existing control box is RX91-B 12V CE FC. This kit is specifically designed for this model.
- Compare Appearance: Visually compare the appearance, size, and connector types (e.g., 10-pin, 2-pin four-sided socket) of this replacement part with your original control box. They should match exactly.
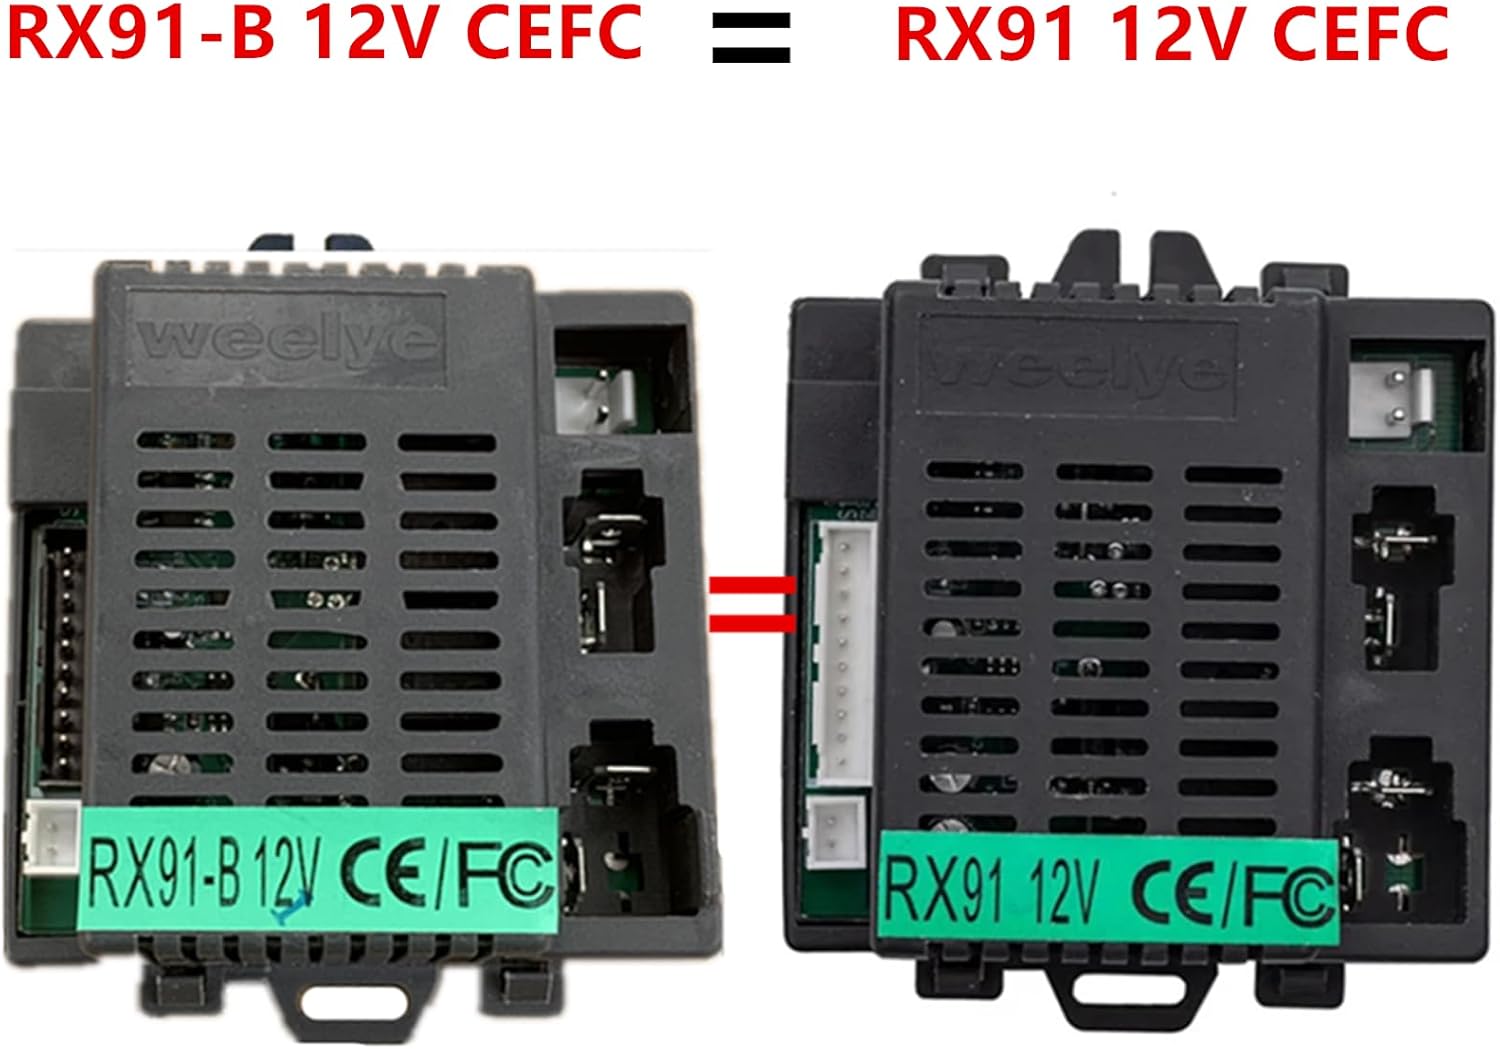
Figur 4: Comparison image showing two control boxes, emphasizing the importance of matching the model number (RX91-B 12V CEFC) for compatibility. Both units appear identical, confirming a correct match.
Vigtig: If the appearance or model number does not match, this part may not be compatible with your ride-on car.
4. Setup and Remote Control Pairing
Follow these steps to install the control box and pair the remote control with your ride-on car.
4.1 Installation af kontrolboks
- Afbryd strømmen: Ensure the ride-on car's battery is disconnected before beginning any installation.
- Fjern den gamle kontrolboks: Carefully disconnect all wires from the old control box and remove it from the car. Note the orientation and connection points if possible.
- Installer ny kontrolboks: Connect the wires from the ride-on car to the corresponding ports on the new RX91-B 12V Control Box. Ensure all connections are secure.
- Sikker kontrolboks: Mount the new control box securely within the ride-on car.
- Tilslut strøm igen: Reconnect the ride-on car's battery.

Figur 5: Indre view of the RX91-B 12V Control Box, showing the electronic components. This image is for reference during installation to understand the internal layout.
4.2 Remote Control Pairing (Frequency Binding)
The remote control needs to be paired with the control box for the first use or after replacing the remote's batteries.

Figur 6: Image of the remote control's operation manual, detailing the frequency binding process and button descriptions. This provides a visual guide for pairing.
- Installer fjernbetjeningsbatterier: Open the battery compartment of the remote control and insert the required batteries (not included).
- Press Frequency Key: On the remote control, long-press the "Frequency Key" (often labeled 'S' or a dedicated button) for 2-4 seconds. The low-speed LED light on the remote will flash.
- Tænd for strømmen til bilen: While the remote's LED is flashing, turn on the power switch of the ride-on car.
- Bekræft parring: The low-speed LED light on the remote will change from flashing to a solid light, indicating successful frequency binding.
- Fejlfinding af parring: If the frequency binding fails (the low-speed LED continues to flash), remove the batteries from the remote, wait a few seconds, and repeat steps 1-3.
5. Betjeningsvejledning
Once the remote control is paired, you can operate the ride-on car. The remote control features various buttons for different functions.

Figur 7: Detailed layout of the remote control buttons, showing their functions for forward, backward, turning, speed, and emergency brake.
5.1 Knapbeskrivelser
- ▲ (Up Arrow): Forward movement.
- ▼ (Down Arrow): Backward movement.
- ◀ (Left Arrow): Turn left.
- ▶ (Right Arrow): Turn right.
- S (Speed): Adjusts the speed setting (e.g., Low, Medium, High). The corresponding LED lights on the remote indicate the current speed mode.
- P (Emergency Brake): Press this button to immediately stop the ride-on car. Press it again to release the brake and resume normal operation.
The remote control will enter power-saving mode if no operation is performed for 10 seconds, and the indication light will turn off.
6. Vedligeholdelse
To ensure the longevity and proper functioning of your RX91-B kit, follow these maintenance guidelines:
- Renhed: Keep the control box and remote control clean and free from dust, dirt, and moisture. Use a soft, dry cloth for cleaning.
- Udskiftning af batteri: Replace remote control batteries when the indicator light becomes dim or the remote's range decreases. Always use the recommended battery type.
- Opbevaring: When not in use for extended periods, store the ride-on car and remote control in a dry, cool place. Remove batteries from the remote control if storing for a long time to prevent leakage.
- Tilslutningskontrol: Periodically check all wire connections to the control box to ensure they are secure and free from corrosion.
7. Fejlfinding
If you encounter issues with your RX91-B kit, refer to the following troubleshooting tips:
7.1 Fjernbetjeningen reagerer ikke
- Tjek batterier: Sørg for, at fjernbetjeningen har nye batterier, og at de er isat korrekt.
- Genpar fjernbetjening: Perform the frequency binding process again as described in Section 4.2.
- Forhindringer: Ensure there are no physical obstructions between the remote and the ride-on car that could interfere with the signal.
7.2 Car Not Moving
- Car Power: Verify that the ride-on car's main power switch is turned on and the car battery is charged.
- Control Box Connections: Check all wiring connections to the control box for looseness or damage.
- Nødbremse: Ensure the 'P' (Emergency Brake) button on the remote is not engaged. Press it once to release.
7.3 Intermitterende drift
- Signalinterferens: Move away from other 2.4Ghz devices that might cause interference.
- Løse forbindelser: Inspect all electrical connections within the ride-on car and to the control box.
8. Specifikationer
| Feature | Specifikation |
|---|---|
| Modelnummer | RX91-B 12V CE FC |
| Voltage | 12V |
| Kontrolmetode | 2.4G Bluetooth |
| Stik | 10-pin, 2-pin four-sided socket |
| Produktdimensioner | 4.7 x 3 x 2 tommer |
| Varens vægt | 4.6 ounce |
| Fabrikant | JIARUIXIN |
9. Sikkerhedsoplysninger
ADVARSEL: This product is an electronic component. Improper handling or installation can lead to electric shock or damage to the product and the ride-on car.
- Always disconnect the ride-on car's battery before installing or removing the control box.
- Sørg for, at alle forbindelser er sikre og isolerede for at forhindre kortslutninger.
- Keep the control box and remote control away from water, excessive heat, and direct flame.
- This product is intended for use as a replacement part for specific children's ride-on toys. Do not use for purposes other than intended.
- Adult supervision is recommended during installation and when children are operating the ride-on car.


