1. Introduktion
Tak fordi du valgte AMPAI WiFi Wall Touch Smart Switch. This smart switch is designed to upgrade your home lighting control with advanced features and convenience. It offers multiple control methods including touch panel, RF433 remote, and voice control via Alexa and Google Home. This manual provides detailed instructions for installation, operation, and troubleshooting to ensure optimal performance and safety.

Figur 1: AMPAI WiFi Wall Touch Smart Switch (4 Gang) and included RF433 Remote.
2. Vigtige sikkerhedsoplysninger
- Elektrisk sikkerhed: Installation should be performed by a qualified electrician or a person with a thorough understanding of electrical systems. Always turn off power at the circuit breaker before installation or maintenance.
- Kompatibilitet: This switch is designed for standard on/off control only. It is NOT compatible with dimmable bulbs or fixtures. Attempting to use it with dimmable bulbs may cause damage to the bulbs or the switch.
- WiFi netværk: The smart switch operates on a 2.4GHz Wi-Fi network only. It is not compatible with 5GHz Wi-Fi networks. Ensure your router supports 2.4GHz.
- Ledningsføring: This switch supports both neutral wire and no neutral wire (single fire) installations. Refer to the wiring diagrams carefully.
- Not a Traditional 3-Way Switch: While it offers 3-way control via multi-control methods (app, remote, voice), it does not function as a traditional mechanical 3-way switch requiring traveler wires between two switches.

Figure 2: Key attention points regarding 2.4GHz WiFi, wiring, and non-compatibility with traditional 3-way or dimmable setups.
3. Pakkens indhold
Kontroller venligst pakkens indhold ved åbning for at sikre, at alle varer er til stede og ubeskadigede:
- AMPAI WiFi Wall Touch Smart Switch (4 Gang)
- Monteringshardware (skruer)
- RF433 Remote Control (if included in your specific package)
- Brugervejledning (dette dokument)
4. Opsætning og installation
4.1 Ledningsinstruktioner
WARNING: Ensure power is OFF at the circuit breaker before beginning any wiring.
This smart switch supports two wiring methods: with a neutral wire or without a neutral wire (single fire). Identify your home's wiring configuration before proceeding.

Figure 3: Wiring diagrams for Neutral and Fire Line (left) and Single Fire (right) installations. A capacitor is required for single fire wiring.
- Sluk for strømmen: Locate the circuit breaker controlling the light switch and turn it OFF. Verify power is off using a voltage tester.
- Fjern den gamle kontakt: Fjern forsigtigt den eksisterende vægplade, og skru den gamle afbryder af vægdåsen. Frakobl ledningerne.
- Identificér ledninger: Identify the Live (Line), Load, and Neutral wires (if present). For single fire wiring, you will only have Live and Load.
- Tilslutning af Smart Switch:
- Neutral and Fire Line Wiring: Connect the Live wire to the 'L' terminal, the Neutral wire to the 'N' terminal, and the Load wires to the 'L1', 'L2', 'L3', 'L4' terminals corresponding to your light circuits.
- Single Fire Wiring: Connect the Live wire to the 'L' terminal and the Load wires to the 'L1', 'L2', 'L3', 'L4' terminals. A capacitor must be connected across the Live and Load wires of the light fixture for stable operation.
- Monter kontakten: Secure the smart switch into the wall box using the provided screws. Attach the glass panel.
- Genopret strøm: Tænd for strømmen igen ved afbryderen.
4.2 Appinstallation og parring (Tuya Smart Life)
- Download app: Download appen "Smart Life" eller "Tuya Smart" fra App Store (iOS) eller Google Play Store (Android).
- Registrer/Log ind: Åbn appen, og opret en ny konto, eller log ind, hvis du allerede har en.
- Tilføj enhed:
- Sørg for, at din telefon er tilsluttet et 2.4 GHz Wi-Fi-netværk.
- I appen skal du trykke på "+"-ikonet i øverste højre hjørne for at tilføje en enhed.
- Select "Electrical Switch" or "Wall Switch" from the device list.
- Follow the on-screen instructions to put the switch into pairing mode (usually by pressing and holding a button on the switch until an indicator light blinks rapidly).
- Confirm the indicator light is blinking rapidly in the app and enter your Wi-Fi password.
- The app will connect to the switch. Once connected, you can rename the switch and assign it to a room.
4.3 RF433 Remote Pairing
The included RF433 remote can be paired directly with the switch for local control without Wi-Fi.
- Gå ind i parringstilstand: On the smart switch, press and hold the touch button you wish to pair for approximately 5-7 seconds until you hear a "beep" sound or see a small indicator light flash.
- Tryk på fjernbetjeningsknappen: Within 3 seconds, press the corresponding button (A, B, or C) on the RF433 remote.
- Bekræftelse: The switch will "beep" again or the light will stop flashing, indicating successful pairing.
5. Betjening af Smart Switch
5.1 Berør kontrol
Simply touch the corresponding icon on the glass panel to turn the connected light ON or OFF.

Figure 4: The smart switch supports multiple control methods for convenience.
5.2 Smart Life / Tuya App Control
Open the Smart Life or Tuya Smart app on your smartphone. From the device list, tap on your smart switch to access its control interface. You can turn lights ON/OFF, set schedules, and create scenes from anywhere with an internet connection.
5.3 Stemmestyring (Alexa og Google Home)
De AMPAI Smart Switch is compatible with Amazon Alexa and Google Home for convenient voice control.
- Tilknyt konto: In the Alexa or Google Home app, enable the "Smart Life" or "Tuya Smart" skill/action and link your Smart Life/Tuya account.
- Opdag enheder: Ask Alexa or Google Home to "Discover devices" or manually add them through the app.
- Stemmekommandoer: Når du har fundet det, kan du bruge kommandoer som:
- "Alexa, tænd [Lysnavn]"
- "Hey Google, sluk [Lysnavn]"
- "Alexa, set [Light Name] to 50%" (Note: This switch does not support dimming, so dimming commands will not work.)

Figure 5: Enjoy hands-free control with Amazon Alexa and Google Assistant.
5.4 RF433 fjernbetjening
Use the paired RF433 remote to control the switch from a distance. Each button (A, B, C) on the remote can be paired to control a specific gang or group of gangs on the switch.

Figure 6: The RF433 remote provides an additional convenient control method.
5.5 Timer and Scene Functions
Utilize the Smart Life/Tuya app to set schedules and create custom scenes for your lighting. For example, you can set lights to turn on at sunset or off at a specific time, or create a "Movie Night" scene that turns off certain lights.
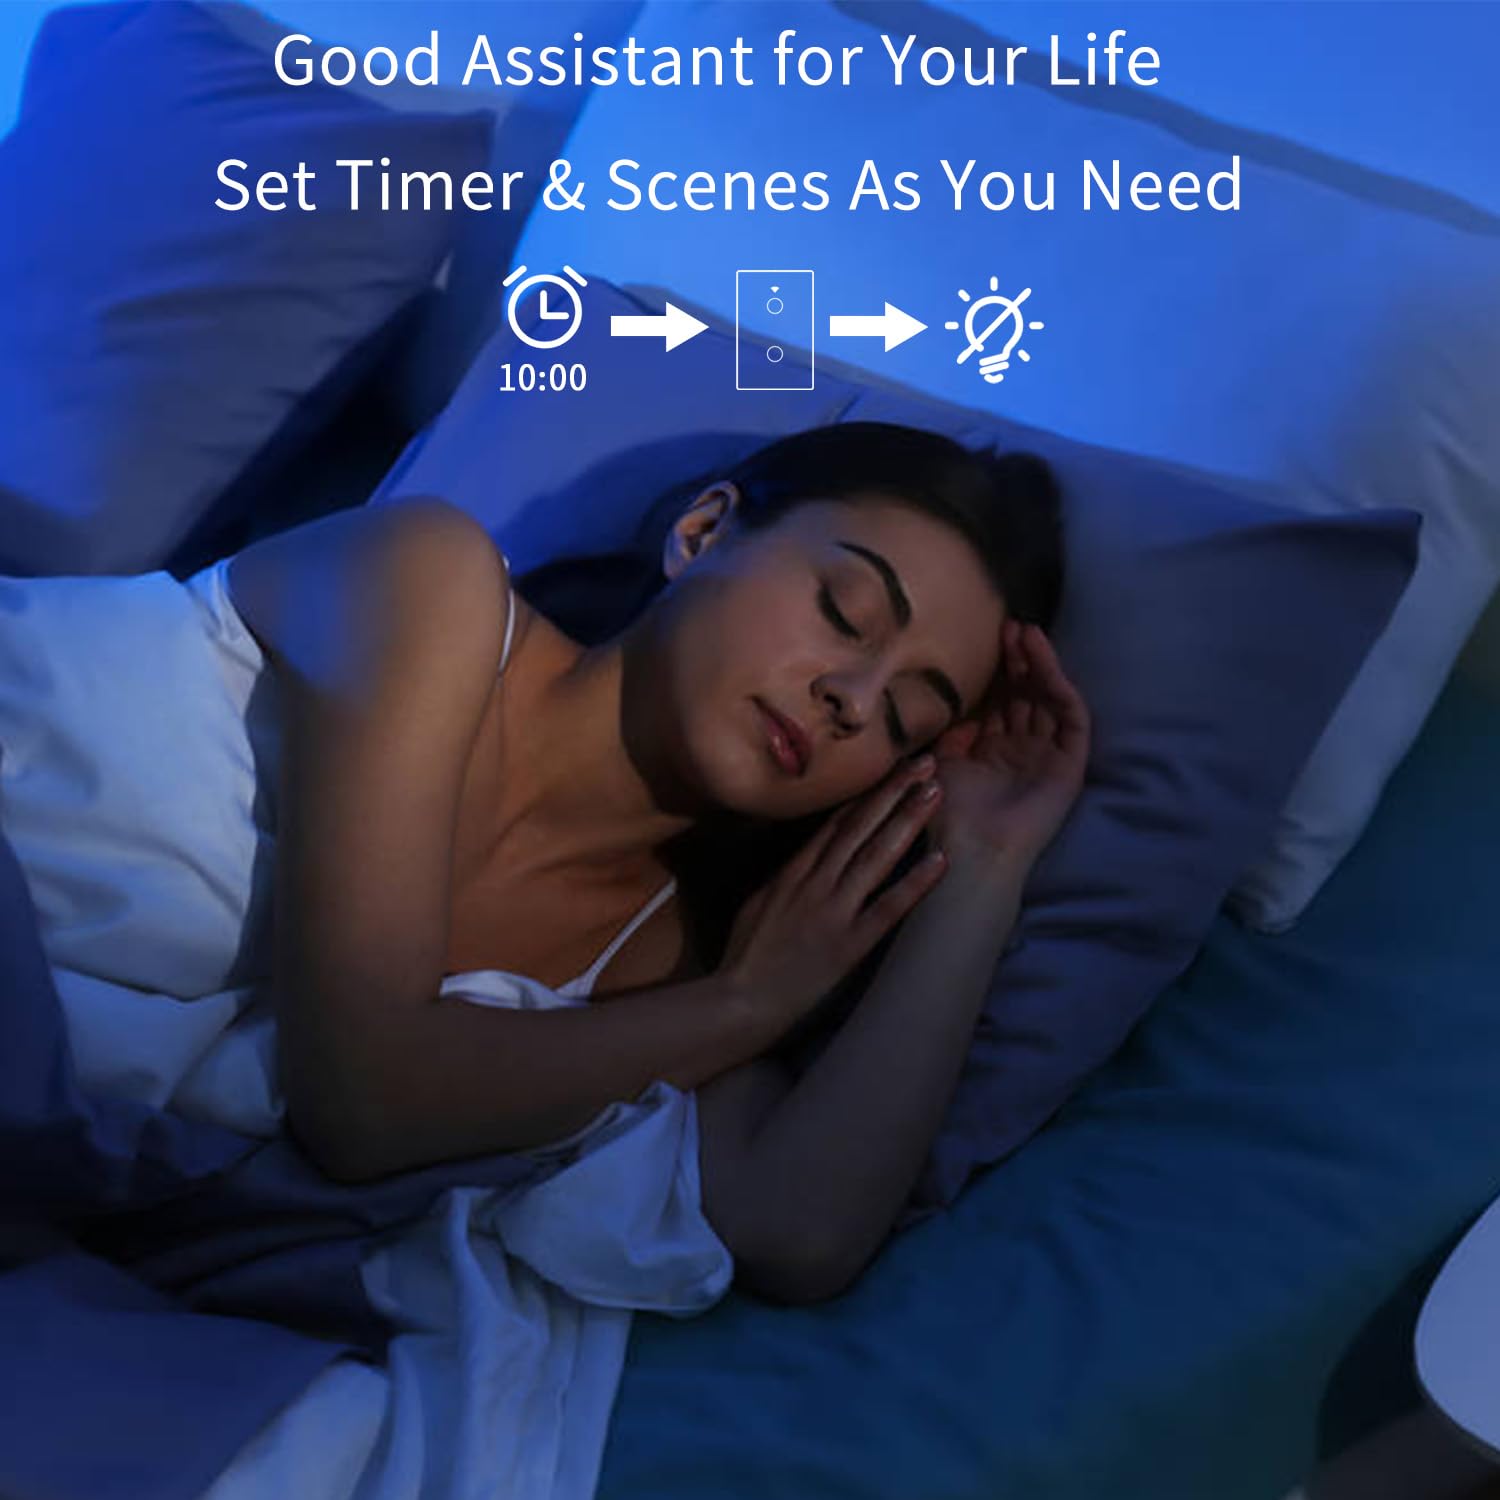
Figure 7: Set timers and scenes for automated lighting control.
6. Vedligeholdelse
De AMPAI Smart Switch requires minimal maintenance. To keep it clean and functioning properly:
- Rensning: Gently wipe the glass panel with a soft, damp cloth. Avoid using abrasive cleaners or solvents, as they may damage the surface.
- Power Cycle: Hvis afbryderen ikke reagerer, kan du prøve at slukke for strømmen ved afbryderen i 10 sekunder og derefter tænde den igen.
- Firmwareopdateringer: Periodically check the Smart Life/Tuya app for any available firmware updates for your switch to ensure optimal performance and security.
7. Fejlfinding
| Problem | Mulig årsag | Løsning |
|---|---|---|
| Kontakten reagerer ikke på berøring. | No power; Loose wiring; Switch malfunction. | Check circuit breaker. Verify wiring connections. Power cycle the switch. If problem persists, contact support. |
| Kan ikke oprette forbindelse til Wi-Fi. | Incorrect Wi-Fi band (5GHz); Incorrect password; Router too far; Switch not in pairing mode. | Ensure your phone is on a 2.4GHz Wi-Fi network. Double-check Wi-Fi password. Move router closer or use a Wi-Fi extender. Re-enter pairing mode. |
| Lights flicker or do not turn off completely (single fire wiring). | Missing or incorrectly installed capacitor. | Ensure the capacitor is correctly installed across the Live and Load wires of the light fixture. |
| Stemmestyring virker ikke. | Account not linked; Device not discovered; Incorrect commands. | Ensure Smart Life/Tuya skill/action is enabled and linked in Alexa/Google Home app. Ask to "Discover devices." Use correct device names and commands. |
| RF433 remote not controlling switch. | Remote not paired; Battery low in remote. | Re-pair the remote following section 4.3. Replace remote battery if necessary. |
| Switch does not dim lights. | This switch is not designed for dimming. | This is an on/off switch only. It is not compatible with dimmable bulbs or fixtures. |
8. Specifikationer
| Feature | Detalje |
|---|---|
| Modelnummer | 4 Gang |
| Mærke | AMPAI |
| Produktdimensioner | 2.85 x 1.36 x 4.74 tommer |
| Operation Voltage | 120 volt |
| Nuværende vurdering | 10 Amps |
| Driftstilstand | Trådløs |
| Forbindelse | Wi-Fi 2.4GHz, RF433MHz |
| Kredsløbstype | 3-way (Multi-control) |
| Aktuator type | Berøringspanel |
| Kompatibilitet | Tuya Smart Life App, Amazon Alexa, Google Home |
| Speciel funktion | No Neutral Wire Required (with capacitor) |
9. Garanti og support
For warranty information and technical support, please contact AMPAI customer service. You can often find support contact details on the product packaging, the manufacturer's official website, or through your purchase platform (e.g., Amazon).
Fabrikant: AMPAI
For yderligere hjælp, besøg venligst AMPAI-butik på Amazon.


