1. Introduktion
This manual provides comprehensive instructions for the installation, operation, and maintenance of your CooSpo Bike Computer Mount (Model BCM-B). This extended mount is designed to securely hold various bike computers and action cameras, enhancing your cycling experience. Please read this manual thoroughly before installation and use.
2. Pakkens indhold
Når du åbner pakken, skal du kontrollere, at alle følgende komponenter er inkluderet:
- CooSpo Bike Computer Extended Mount (main body)
- Quick-release discs for Garmin/CooSpo, Wahoo, and Bryton bike computers
- GoPro/Headlight adapter
- Diverse skruer og møtrikker til montering
- Hex wrenches (Allen keys) for installation
- Handlebar shims (for different handlebar diameters)

Image 2.1: All components included in the CooSpo Bike Computer Mount package.

Billede 2.2: Eks.ample of packaging contents for the curved mount variant.
Billede 2.3: Eks.ample of packaging contents for the straight mount variant.
3. Specifikationer
| Feature | Specifikation |
|---|---|
| Modelnummer | BCM-B |
| Materiale | CNC Aluminum Alloy (main body) |
| Vægt | Cirka 28 gram (0.99 ounce) |
| Compatible Handlebar Diameter | 32-35 mm (1.26-1.37 tommer) |
| Udvidelseslængde | 137 mm |
| Kompatibilitet | Garmin, Wahoo, Bryton, CooSpo bike computers; GoPro action cameras |
| Særlige funktioner | Waterproof, Quick-release design, Integrated action camera mount |

Image 3.1: The mount's lightweight design and key dimensions.
4. Kompatibilitet
The CooSpo Bike Computer Mount is designed for broad compatibility with popular cycling devices. It includes interchangeable quick-release discs to support various brands.
- Bike Computers: Garmin, Wahoo, Bryton, CooSpo, and iGPSPORT.
- Actionkameraer: GoPro series.
- styr: Compatible with bicycle handlebars having a diameter between 32mm and 35mm (1.26-1.37 inches).

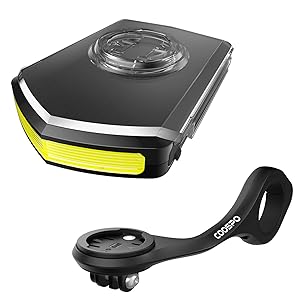
Image 4.1: The mount supports multiple bike computer brands with interchangeable discs.
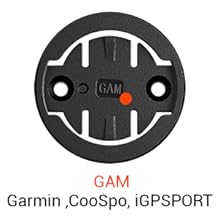
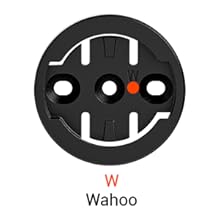
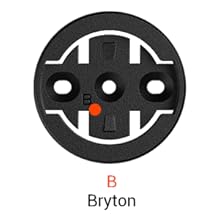
Image 4.2: Individual quick-release discs for Garmin/CooSpo/iGPSPORT, Wahoo, and Bryton bike computers.
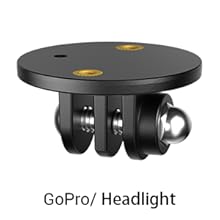

Image 4.3: The mount also features an integrated attachment point for GoPro action cameras or headlights.
5. Installation (Opsætning)
Follow these steps to correctly install the CooSpo Bike Computer Mount on your bicycle handlebar. Ensure your handlebar diameter is within the compatible range of 32-35mm.
- Select the Correct Mount Type: The product may come in different configurations (e.g., curved or straight). Choose the one that best suits your handlebar setup and desired computer position.
- Attach the Main Mount Body:
- Loosen the screws on the main mount body.
- Position the mount on your bicycle handlebar. If necessary, use the provided shims to ensure a snug fit for smaller handlebar diameters.
- Tighten the screws evenly until the mount is secure and does not rotate freely. Do not overtighten.
- Install the Appropriate Quick-Release Disc:
- Identify the quick-release disc compatible with your bike computer (Garmin/CooSpo, Wahoo, or Bryton).
- Align the disc with the screw holes on the top of the main mount body.
- Secure the disc using the small screws provided. Ensure it is firmly attached.
- Attach the GoPro/Headlight Adapter (Optional):
- If you intend to use an action camera or headlight, attach the GoPro adapter to the underside of the main mount body using the longer screw and nut.
- Ensure the adapter is oriented correctly for your device.

Image 5.1: Visual guide for attaching different quick-release discs to the mount.
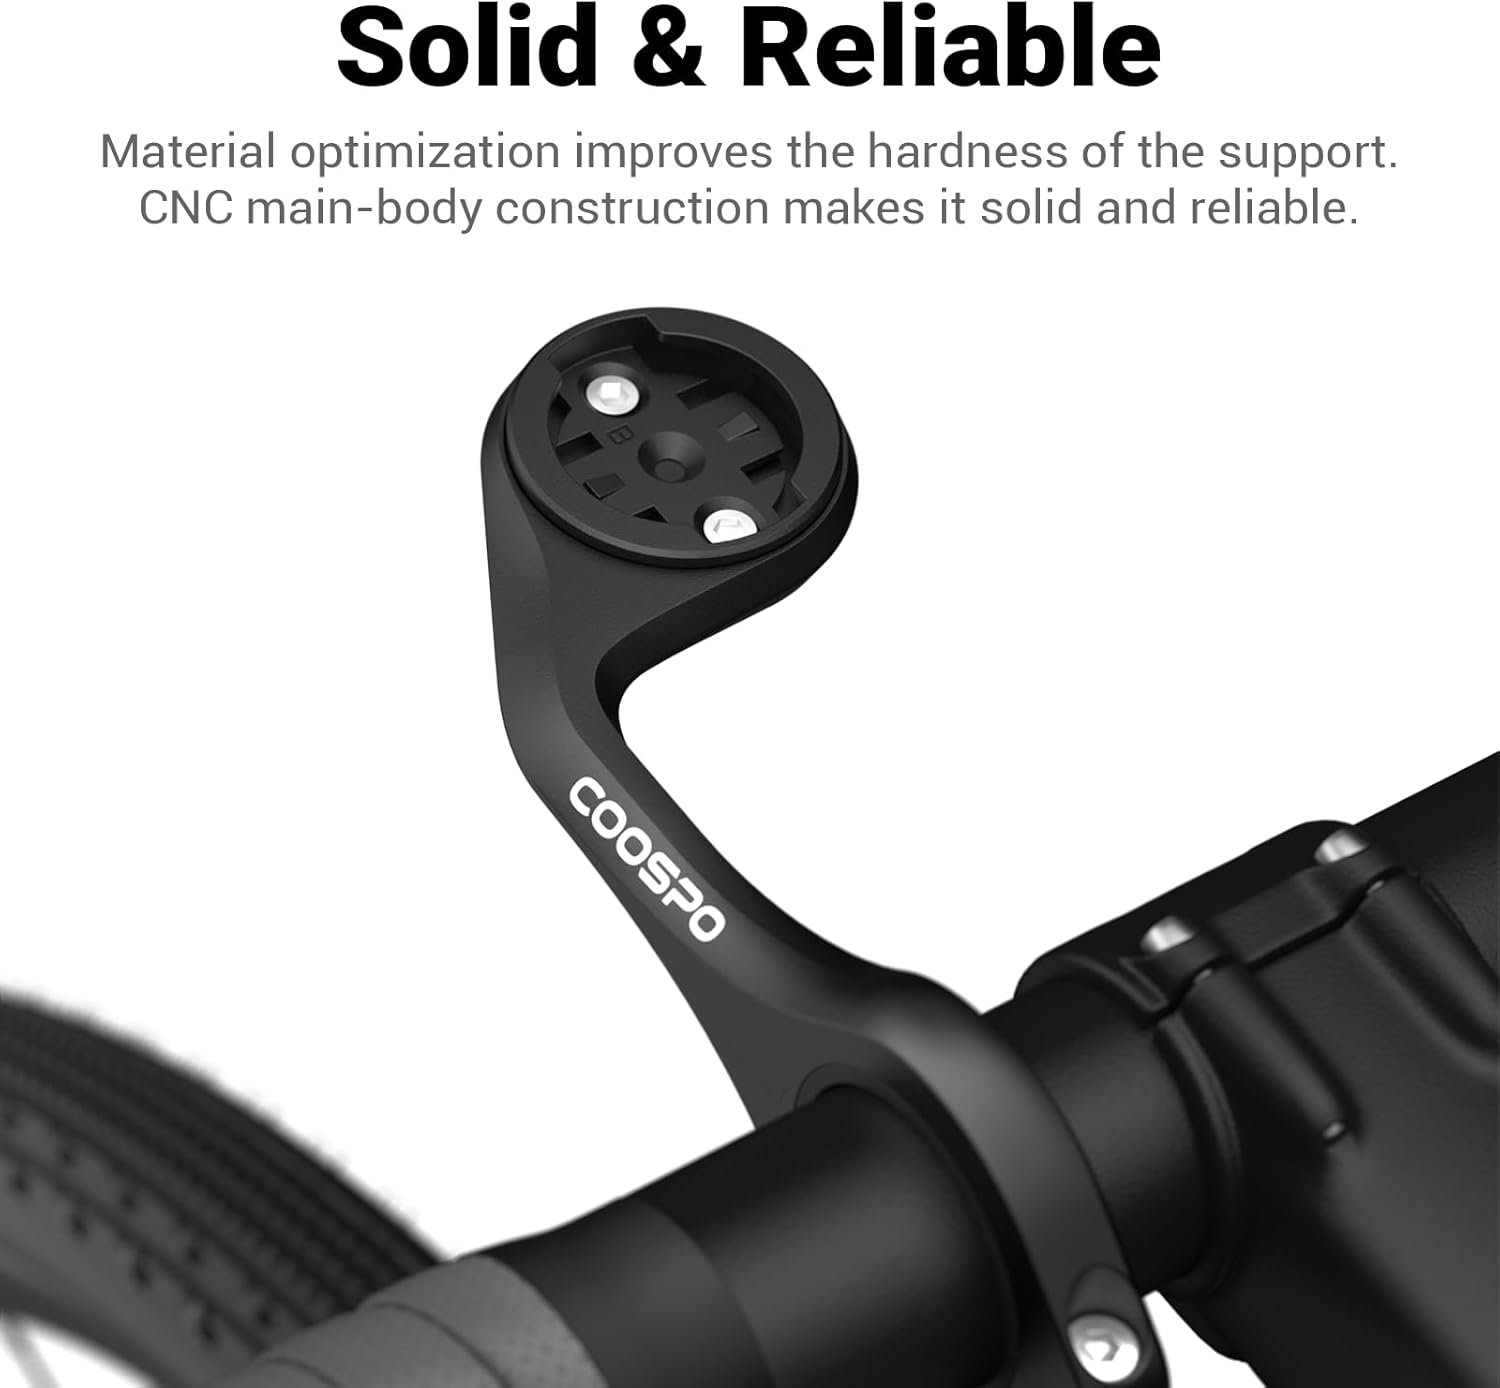
Image 5.2: The CooSpo mount installed, providing a solid and reliable platform.
6. Betjening (brug)
Once the mount is securely installed, you can easily attach and detach your bike computer and action camera.
- Attaching a Bike Computer: Align your bike computer with the installed quick-release disc. Gently push down and twist the computer clockwise until it locks into place.
- Detaching a Bike Computer: Twist the bike computer counter-clockwise until it unlocks, then lift it off the mount.
- Attaching an Action Camera/Headlight: Use the standard GoPro mounting system to attach your action camera or compatible headlight to the adapter on the underside of the mount. Ensure all screws are tightened for security.

Image 6.1: The mount in operation, holding both a bike computer and an action camera.
7. Vedligeholdelse
Regular maintenance will ensure the longevity and optimal performance of your CooSpo Bike Computer Mount.
- Rensning: Tør beslaget af med adamp klud til at fjerne snavs og skidt. Undgå at bruge skrappe kemikalier eller slibende rengøringsmidler.
- Inspektion: Kontrollér regelmæssigt alle skruer og forbindelser for at sikre, at de er spændte. Spænd dem igen om nødvendigt.
- Opbevaring: If removing the mount for extended periods, store it in a clean, dry place away from direct sunlight.
8. Fejlfinding
If you encounter issues with your CooSpo Bike Computer Mount, refer to the following common problems and solutions:
| Problem | Mulig årsag | Løsning |
|---|---|---|
| Mount is loose on handlebar | Screws not tightened sufficiently; incorrect shim used. | Ensure screws are tightened evenly. Use appropriate shims for your handlebar diameter. |
| Bike computer does not fit or is loose | Incorrect quick-release disc installed; disc not fully secured. | Verify you are using the correct quick-release disc for your bike computer model. Ensure the disc is securely screwed to the main mount body. |
| Bike computer sits sideways | Quick-release disc installed incorrectly or mount orientation issue. | Ensure the quick-release disc is installed with the correct orientation for your computer. Some mounts may have specific orientations for the main body; consult product packaging or manufacturer's website if unsure. |
| GoPro/Headlight adapter is unstable | Adapter not fully secured; screws loose. | Check that the adapter is properly attached to the underside of the mount and all screws are tight. |
| Besvær med installationen | Unfamiliarity with components; missing instructions. | Refer to Section 5 for detailed installation steps. Ensure all parts from the package contents are present. |
9. Garanti og support
CooSpo products are manufactured to high-quality standards. For specific warranty information, please refer to the warranty card included with your product or visit the official CooSpo webwebsted.
For technical support or further assistance, please contact CooSpo customer service through their official channels.


