1. Introduktion
This manual provides detailed instructions for the setup, operation, and maintenance of your Phomemo WiFi Thermal Label Printer Model 249. This printer is designed for efficient and versatile label printing, compatible with various operating systems and e-commerce platforms. Please read this manual thoroughly to ensure proper use and to maximize the printer's performance.
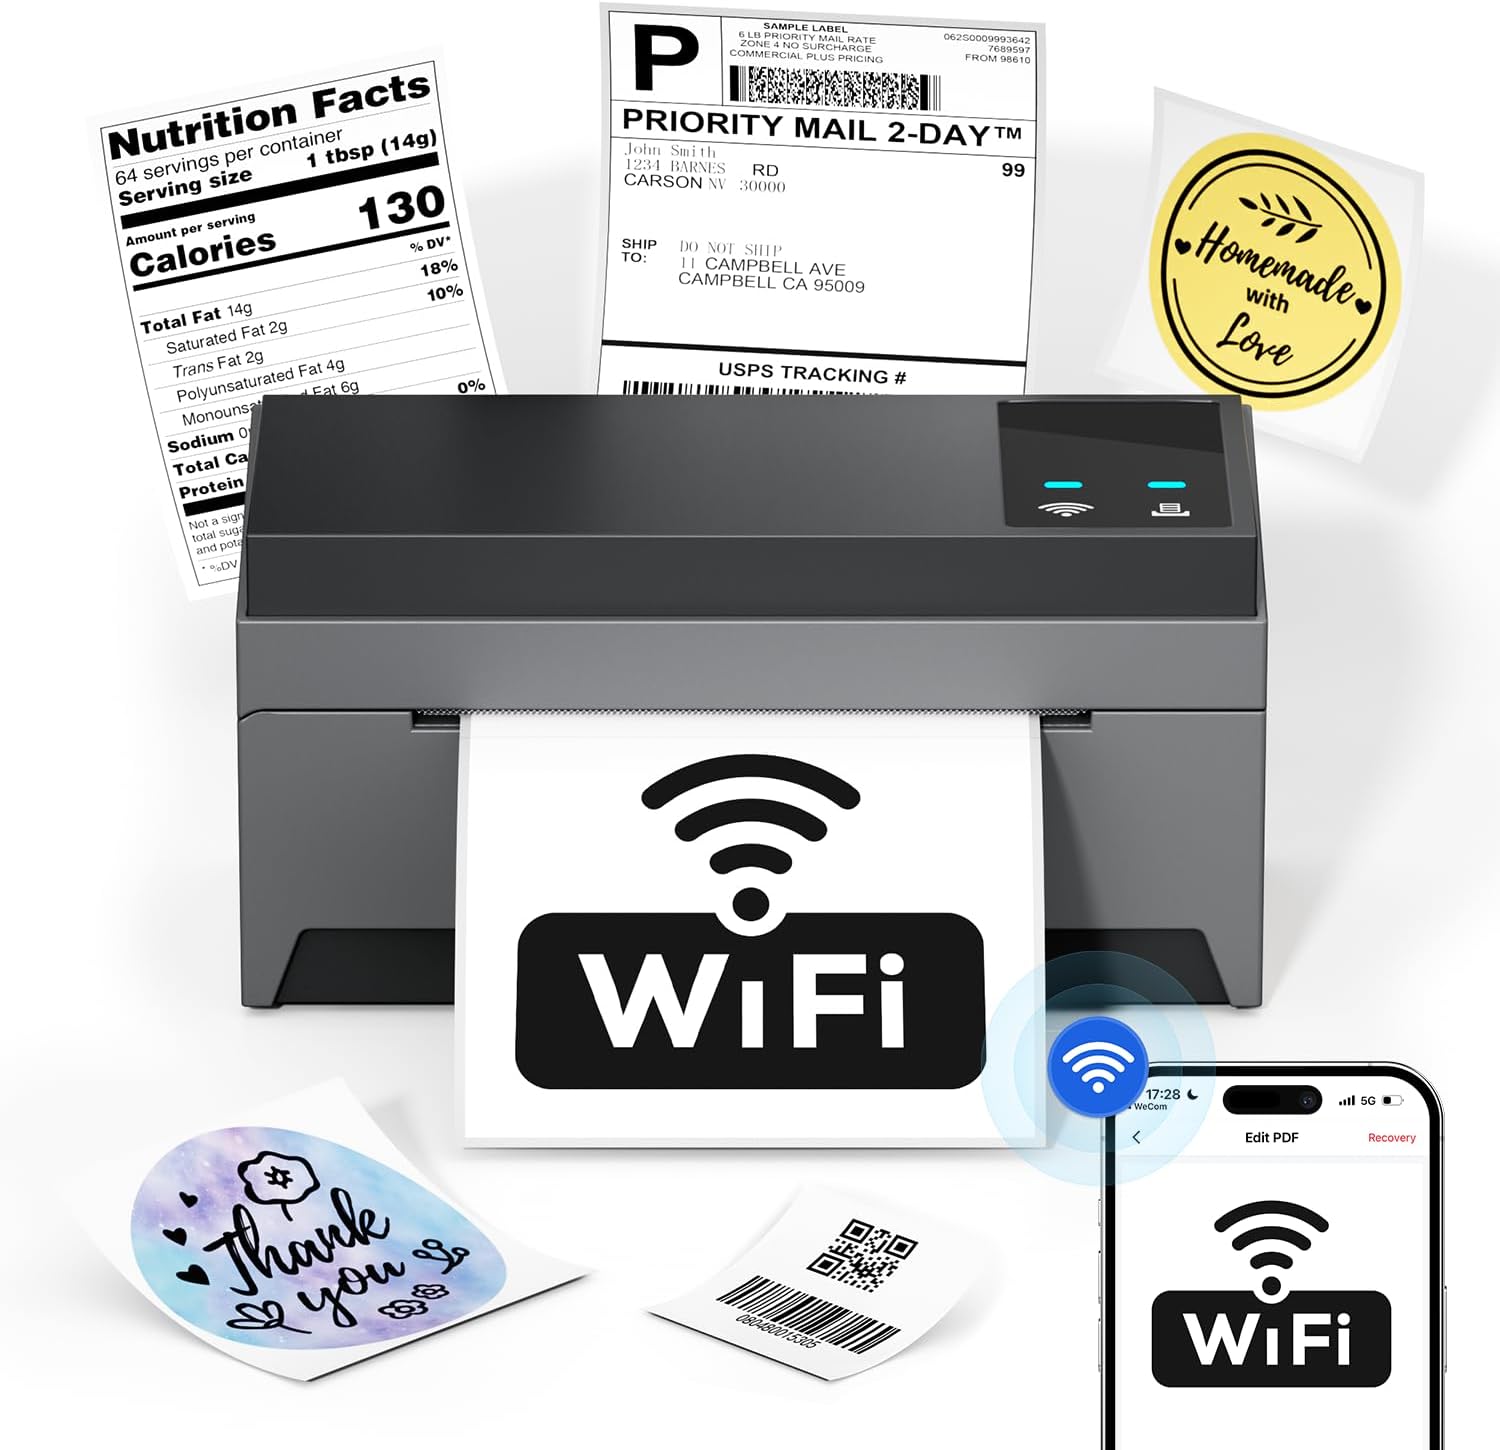
Image: The Phomemo Model 249 printer in operation, demonstrating its capability to print diverse label types such as shipping labels, product information, and custom designs.
2. Pakkens indhold
Bekræft, at alle nedenstående varer er inkluderet i din pakke:
- 1 Phomemo 249 WiFi label printer
- 1 USB-C Data cable
- 1 Power cord (US/UK/EU) with Adapters
- 10 pcs 4x6 shipping labels
- 1 Hurtig guide
- 1 USB-C adapter

Image: All components included in the Phomemo 249 printer package, neatly arranged on a wooden desk.
3. Opsætningsvejledning
3.1 Fysisk opsætning
- Tilslut strøm: Plug the power cord into the printer and then into a power outlet.
- Indlæs etiketter: Open the printer cover. Insert the thermal labels with the printable side facing up. Adjust the label guides to fit the width of your labels. Close the cover.
3.2 Softwareinstallation
The Phomemo 249 printer can be operated via the Labelife mobile app or a Printer Setting Tool for computers.
For Mobile Devices (iOS & Android) - Labelife App
- Download app: Scan the QR code or search for "Labelife" in the App Store (iOS) or Google Play Store (Android).
Download Labelife App - Aktiver forbindelse: Turn on Bluetooth and WiFi on your mobile device.
- Tilslut printer: Open the Labelife app. Select the "Internet Connection" option and choose your printer from the list (e.g., PM-249-WF).
- Konfigurer WiFi: Enter your WiFi password to connect the printer to your network.

Image: Visual guide demonstrating the steps to connect the printer using the Labelife mobile application.
For Computers (MacOS & Windows) - Printer Setting Tool
- Downloadværktøj: Besøg den officielle Phomemo website or the link provided in your quick guide to download the Printer Setting Tool for your operating system (Windows or MacOS).
- USB Connection (Initial Setup): Connect your computer to the printer using the provided USB-C cable. This is often required for the initial WiFi configuration from a computer.
- Konfigurer WiFi: Use the Printer Setting Tool to select your WiFi network and enter the password. Once configured, the printer will automatically connect to WiFi for future use, eliminating the need for repeated USB connections unless the WiFi settings change.

Image: Instructions for setting up the printer's WiFi connection using the Printer Setting Tool on a computer.
3.3 Tilslutningsmuligheder
- Wi-Fi (5 GHz): Supports fast and reliable wireless printing from Android, iOS, Mac, Windows, and Linux devices. Up to 10 devices can connect simultaneously.
- USB: Provides a direct wired connection for all computer systems, including Chrome OS.
- Bluetooth: Note that Bluetooth is for auxiliary WiFi connection setup only and does not support direct printing.

Image: Visual representation of the printer's versatile connectivity via WiFi and USB, compatible with various operating systems.
4. Betjeningsvejledning
4.1 Udskrivningsproces
Once your printer is connected and labels are loaded, you can initiate printing from your chosen device:
- Forbered dit dokument: Åbn etiketten file (e.g., PDF, image) on your computer or mobile device.
- Vælg printer: In your application's print dialog, select the Phomemo 249 printer.
- Juster indstillinger: Ensure the label size and orientation are correctly set to match your physical labels.
- Trykke: Confirm settings and send the print job to the printer.
4.2 Labelife App Features
The Labelife app provides tools for creating and customizing labels:
- Access a library of free label styles.
- Design custom shipping labels, product tags, and other personalized labels.
- Importer PDF files til udskrivning.
- Edit labels with various fonts, shapes, and barcodes.
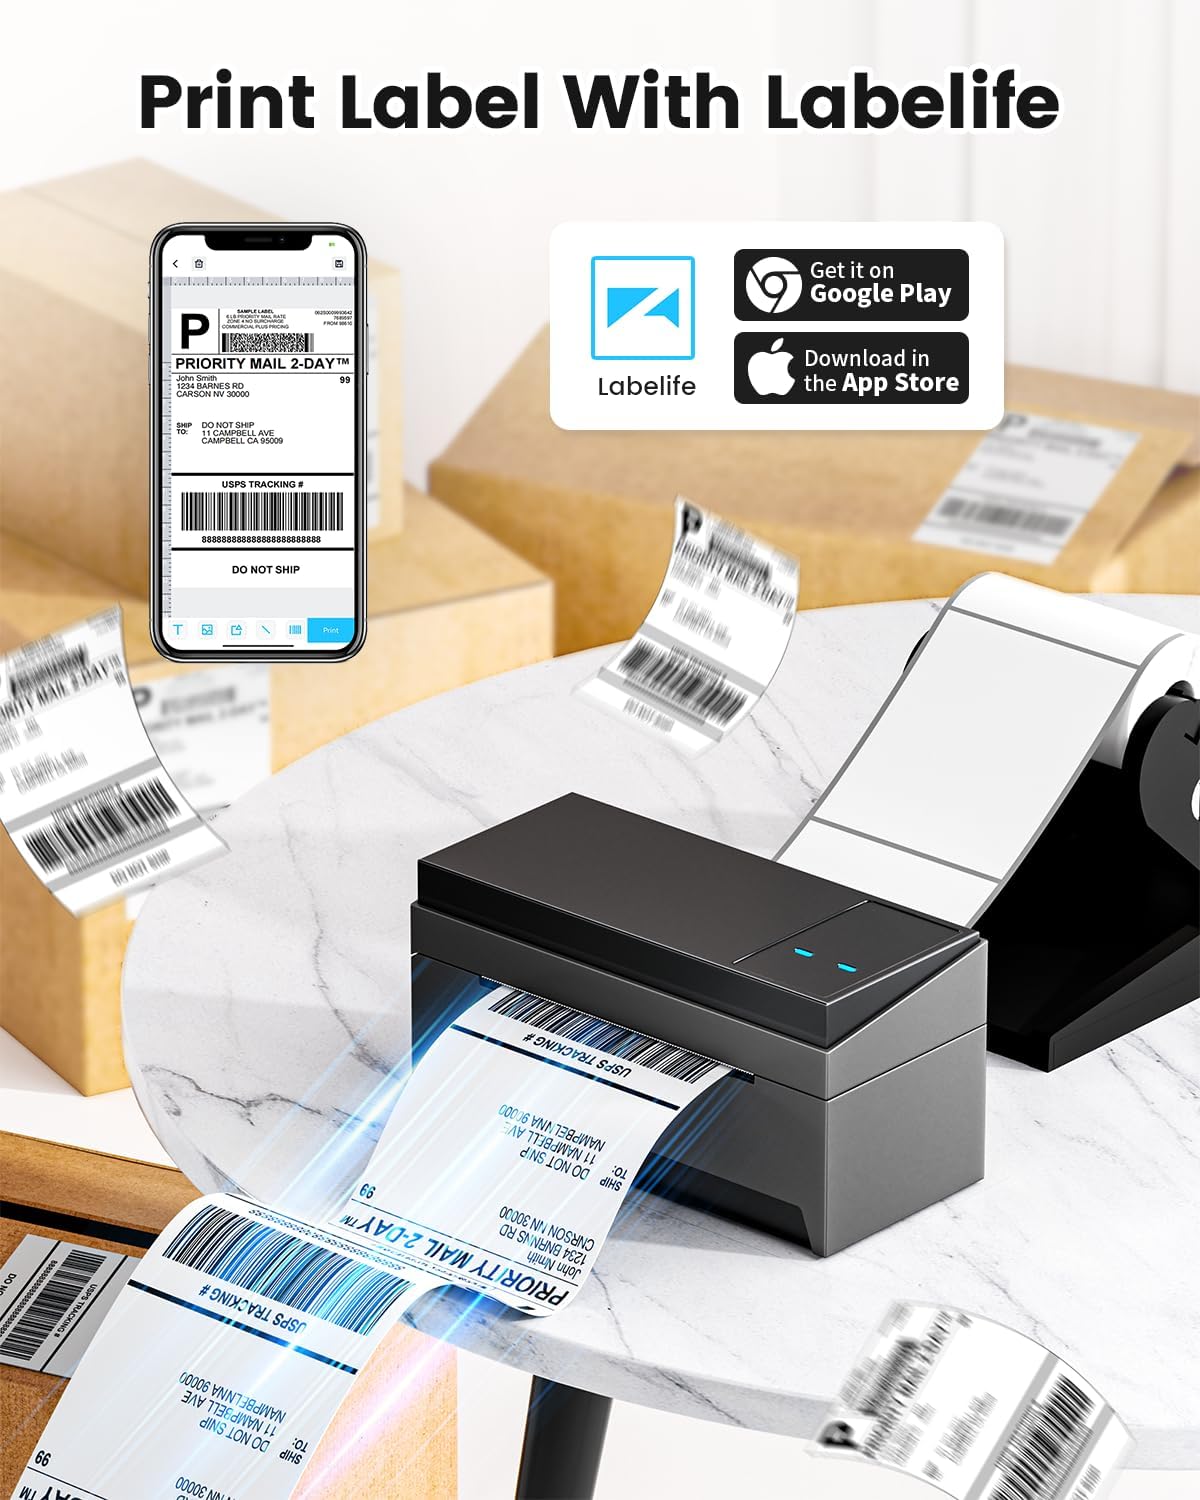
Image: A smartphone displaying the Labelife app, ready to print a shipping label, with the Phomemo printer in the background.
4.3 Understøttede platforme
The Phomemo 249 printer is compatible with a wide range of e-commerce and logistics platforms, ensuring accurate label generation for your needs:
- eBay
- Amazon
- Walmart
- Shopify
- USPS
- Etsy
- PayPal
- FedEx
- DHL
- UPS
- Og mange flere.
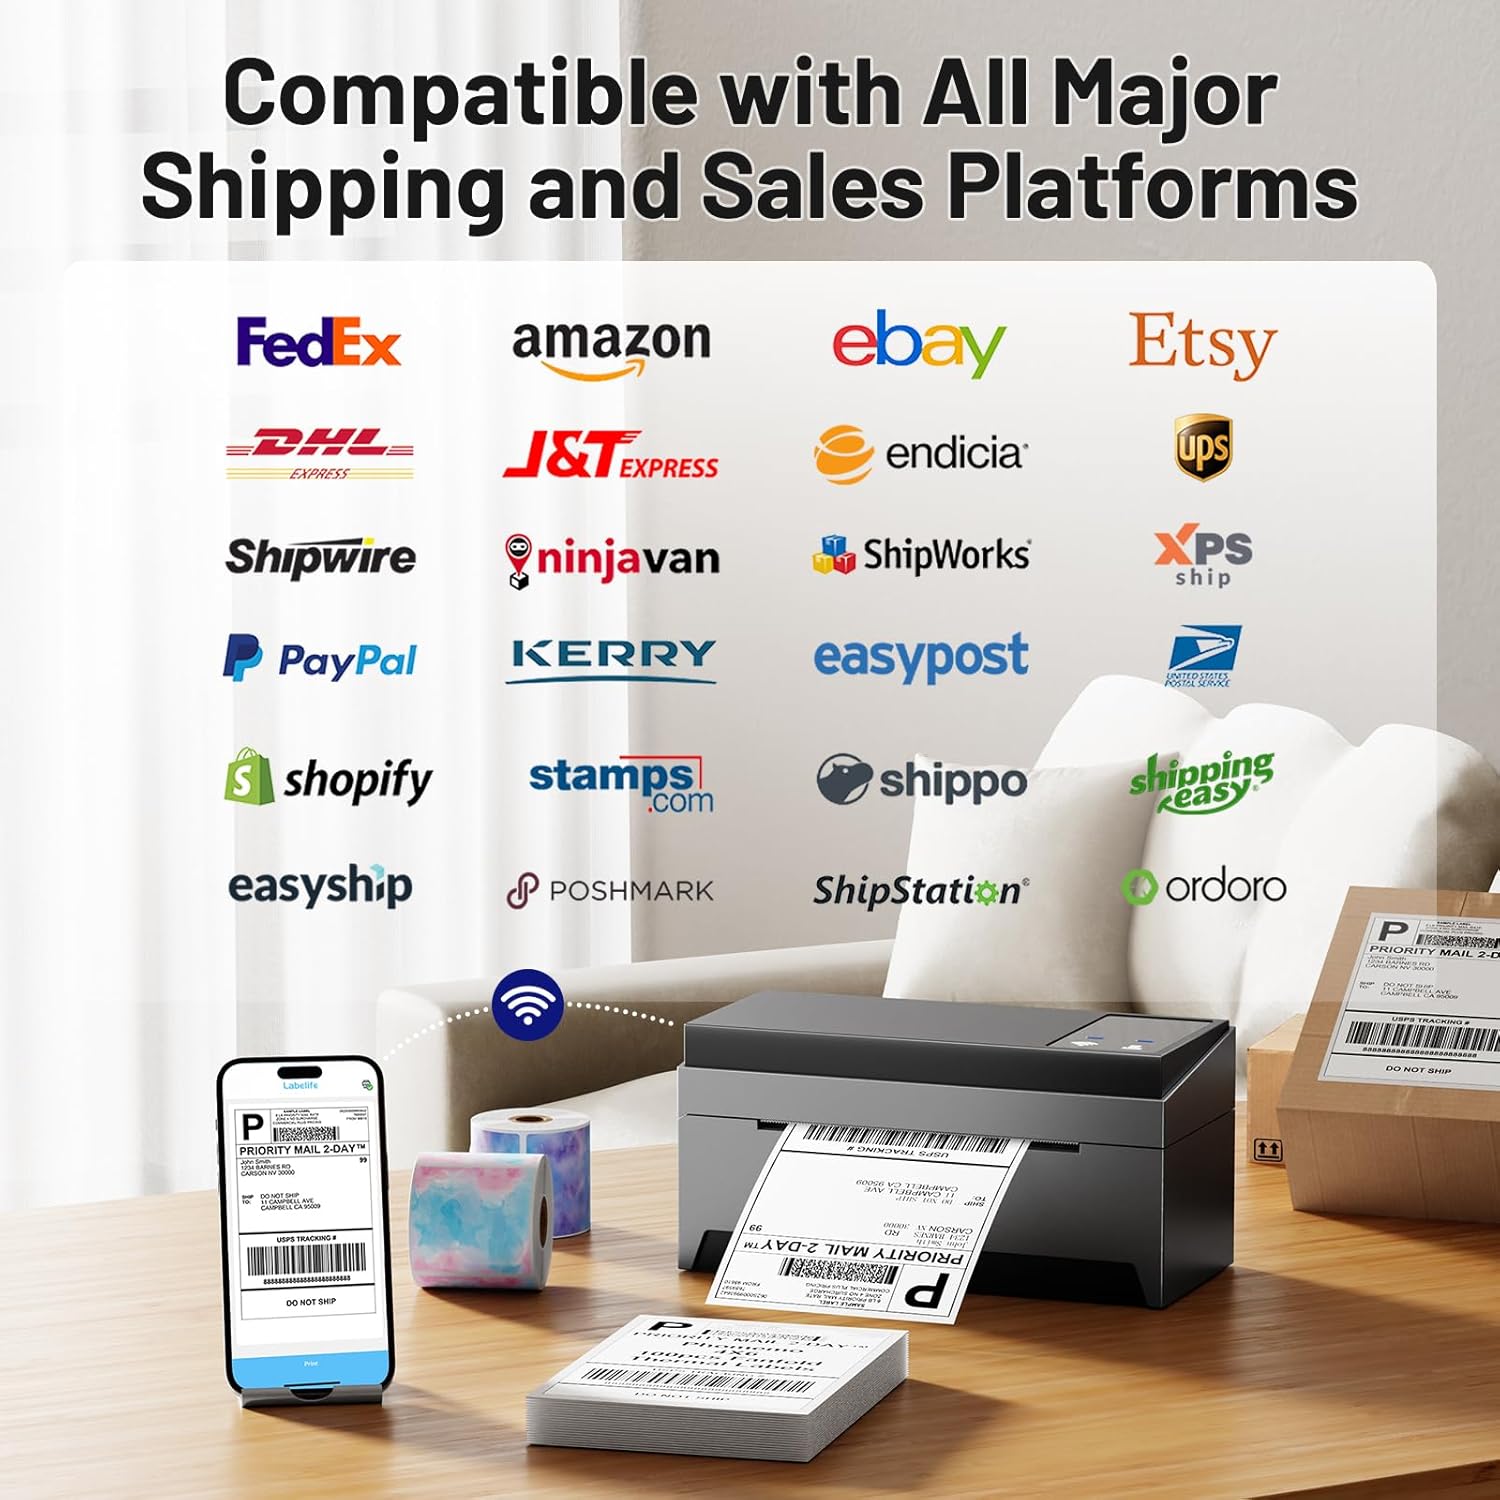
Image: A collage of logos from major e-commerce and logistics platforms, highlighting the printer's broad compatibility.
4.4 Label Types and Sizes
The printer supports various label sizes and types, with a printing range from 1 inch to 4.6 inches in width. This includes standard 4x6 inch shipping labels, smaller product labels, and custom shapes.
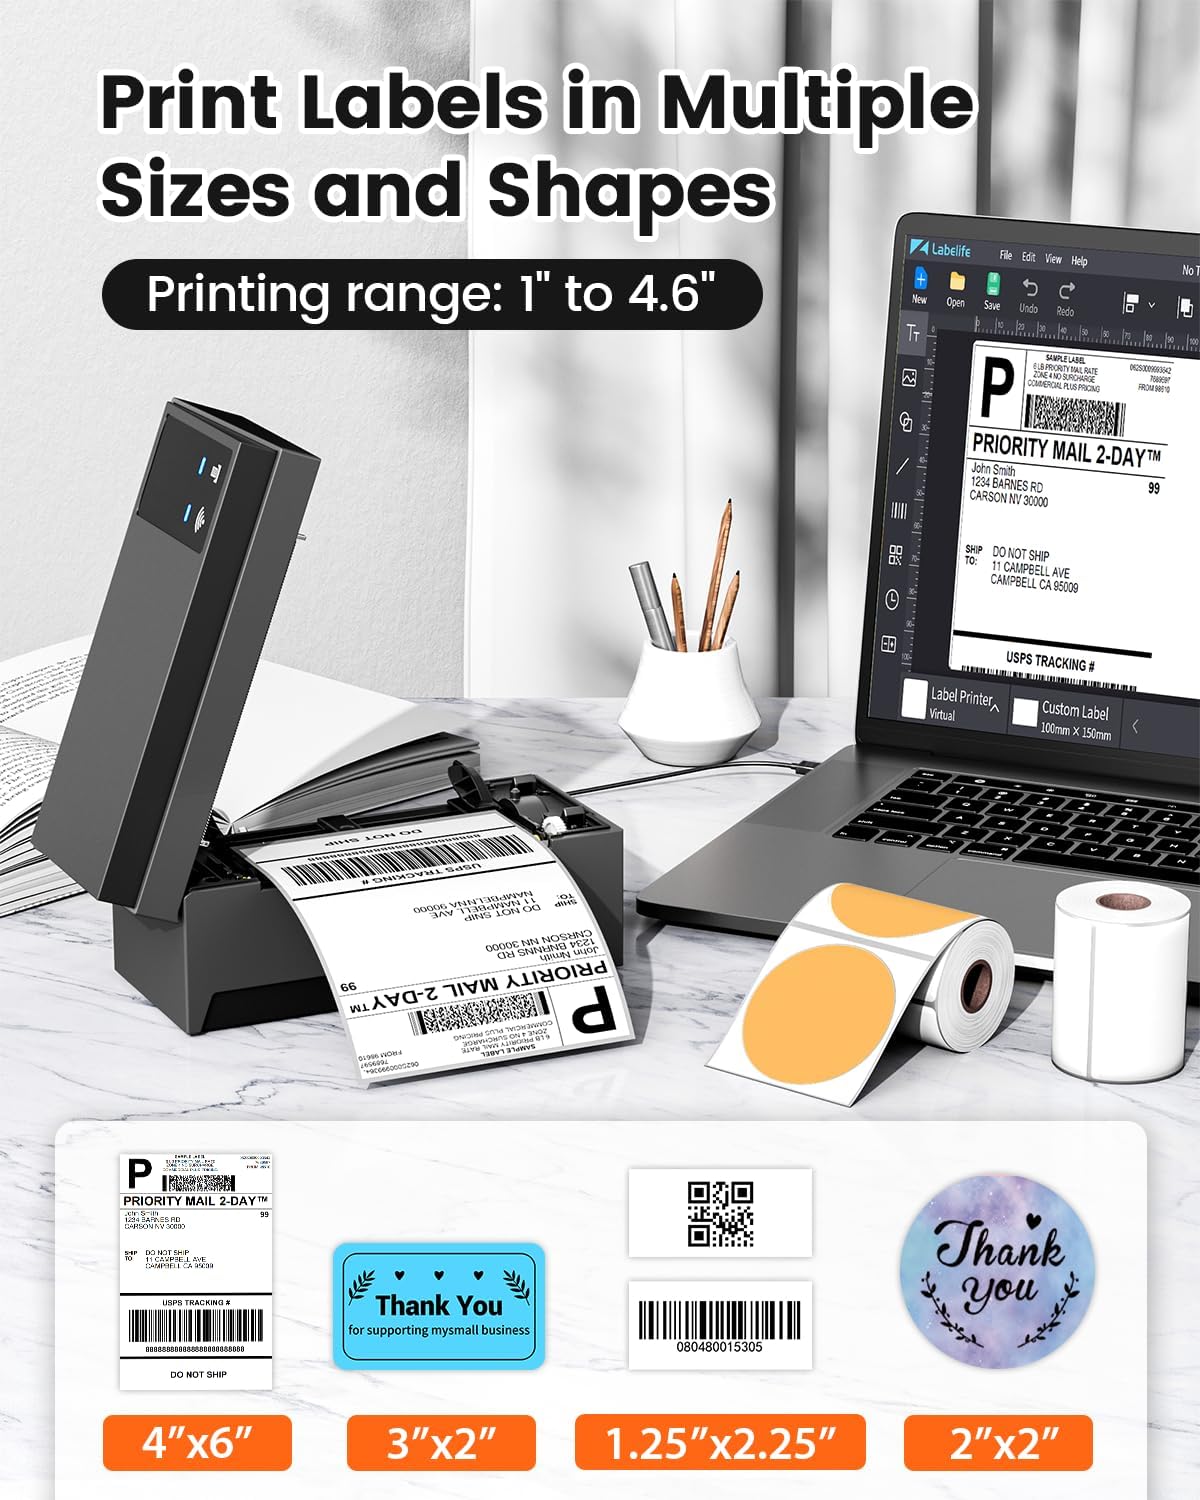
Image: A display of various label sizes and shapes, such as 4x6 inch, 3x2 inch, and round labels, demonstrating the printer's versatility.
5. Vedligeholdelse
5.1 Rengøring af printhovedet
For at opretholde udskriftskvaliteten skal du regelmæssigt rengøre printhovedet:
- Sluk printeren, og tag stikket ud af strømkilden.
- Åbn printerdækslet.
- Tør forsigtigt printhovedet af med en vatpind.ampendte med sprit.
- Lad printhovedet tørre helt, før du lukker dækslet og tænder printeren igen.
5.2 Generel pleje
- Opbevar printeren i et rent og støvfrit miljø.
- Undgå at udsætte printeren for direkte sollys eller ekstreme temperaturer.
- Brug kun termiske etiketter af høj kvalitet for at forhindre beskadigelse af printhovedet.
6. Fejlfinding
If you encounter issues with your Phomemo 249 printer, refer to the following common problems and solutions:
| Problem | Mulig årsag | Løsning |
|---|---|---|
| Printer not connecting via WiFi | Incorrect WiFi password, printer not on the same network, Bluetooth not enabled (for app setup). | Ensure correct WiFi password. Verify printer and device are on the same 5GHz network. For app setup, enable Bluetooth. Re-run WiFi configuration via Labelife app or Printer Setting Tool. |
| Printer prints blank labels | Incorrect label loading, print head dirty, software settings. | Ensure labels are loaded with the printable side up. Clean the print head (refer to Section 5.1). Check print settings in your software (e.g., ensure image is not set to print in color if it's a monochrome thermal printer). Restart printer and device. |
| Labels are faded or unclear | Low quality labels, dirty print head, incorrect print density settings. | Use high-quality thermal labels. Clean the print head. Adjust print density settings in your printer driver or app. |
| Printer not detected by computer via USB | Faulty USB cable, driver not installed correctly, incorrect USB port. | Try a different USB cable or port. Reinstall the printer driver. Ensure the USB-C adapter is correctly used if needed. |
For further assistance, please contact customer support (refer to Section 8).
7. Specifikationer
Key technical specifications for the Phomemo WiFi Thermal Label Printer Model 249:
| Feature | Specifikation |
|---|---|
| Modelnavn | 249 |
| Mærke | Phomemo |
| Forbindelsesteknologi | USB, Wi-Fi (5GHz) |
| Udskrivningsteknologi | Termisk |
| Printer output | Monokrom |
| Maksimal udskriftsopløsning | 203 dpi |
| Maksimal udskrivningshastighed (monokrom) | 72 sider pr. minut (sider pr. minut) |
| Maksimal mediestørrelse | 4x6 tommer |
| Ark størrelse | 4x6 tommer |
| Max input arkkapacitet | 100 |
| Kompatible enheder | Bærbare computere, pc'er, smartphones, tablets |
| Hardware-interface | USB Type C |
| Produktdimensioner | 9 x 14 x 19 tommer |
| Varens vægt | 3.03 pund |
| Printerblæktype | Ingen blæk (termisk) |
| Speciel funktion | Decal-Printing |
8. Garantioplysninger
The Phomemo WiFi Thermal Label Printer Model 249 comes with a begrænset garantiSe venligst garantikortet, der følger med din pakke, eller kontakt kundesupport for specifikke vilkår og betingelser.
9. Kundesupport
For any questions, technical assistance, or support, please contact the Phomemo professional support team:
- Telefonsupport: Available 9:00 AM - 5:00 PM EST, Monday - Friday.
- E-mail support: Available for inquiries.
- Live chat: Available 7:30 PM - 4:30 AM EST, Monday - Friday.
- Remote Desktop Assistance: Offered for complex issues.
Detailed video tutorials and additional manuals are also available to assist with setup and operation.


