1. Introduktion
This user manual provides comprehensive instructions for the setup, operation, maintenance, and troubleshooting of your Thomson 27-inch QHD Gaming Monitor (Model: M27QG5Y14). This monitor is designed to deliver a superior visual experience with its QHD resolution, 180Hz refresh rate, and IPS panel technology, making it ideal for gaming and multimedia applications.

Billede 1.1: Forside view of the Thomson 27-inch QHD Gaming Monitor, showcasing its sleek design and display area.
2. Sikkerhedsoplysninger
Læs venligst alle sikkerhedsinstruktioner omhyggeligt, inden du bruger skærmen. Gem denne manual til senere brug.
- Strømkilde: Brug kun den strømadapter, der følger med skærmen. Sørg for, at stikkontakten er korrekt jordet.
- Ventilation: Bloker ikke ventilationsåbningerne. Sørg for tilstrækkelig plads omkring skærmen til korrekt luftgennemstrømning for at forhindre overophedning.
- Væske og fugt: Hold skærmen væk fra vand, regn eller overdreven fugt. Placer ikke genstande fyldt med væsker på skærmen.
- Rensning: Disconnect the power cable before cleaning. Use a soft, dry cloth. Do not use liquid cleaners or aerosol cleaners.
- Placering: Placer skærmen på en stabil, plan overflade. Undgå at placere den i direkte sollys eller i nærheden af varmekilder.
- Håndtering: Håndter skærmen forsigtigt. Undgå at tabe den eller udsætte den for hårde stød.
- Service: Forsøg ikke selv at udføre service på skærmen. Overlad al service til kvalificeret servicepersonale.
3. Pakkens indhold
Kontroller, at alle varer er til stede i pakken. Hvis der mangler eller er beskadigede varer, skal du kontakte din forhandler.
- Thomson 27-inch QHD Gaming Monitor
- Monitorstativ (base og hals)
- Strømadapter og strømkabel
- HDMI kabel
- DisplayPort (DP) Cable (may vary by region)
- USB-B til USB-A-kabel (til USB-hub-funktionalitet)
- Brugervejledning (dette dokument)
- Skruer til montering af stativ
4. Opsætning
4.1. Samling af skærmstativet
- Carefully remove the monitor from its packaging and place it face down on a soft, clean surface to prevent scratches.
- Fastgør stativets hals til skærmpanelet med de medfølgende skruer.
- Attach the stand base to the stand neck and secure it with the designated screw.
- Once assembled, carefully lift the monitor and place it on a stable desk or table.

Image 4.1: Monitor dimensions and stand assembly overview. The monitor measures approximately 61 cm wide, 54 cm high (with stand), and 24 cm deep (with stand).
4.2. Tilslutning af skærmen
Tilslut de nødvendige kabler til skærmens indgangsporte. Se billedet nedenfor for portplaceringer.
- Strømtilslutning: Connect the power adapter to the "DC IN" port on the monitor, then plug the power cable into a power outlet.
- Videoindgang:
- Connect an HDMI cable from your computer's graphics card to an "HDMI 2.1" port on the monitor.
- Alternatively, connect a DisplayPort (DP) cable from your computer's graphics card to a "DP 1.2" port on the monitor.
- USB-hub: To enable the monitor's USB 3.0 ports, connect a USB-B cable from the "USB 3.0 B" port on the monitor to a USB-A port on your computer.
- Lydudgang: Connect headphones or external speakers to the "Earphone Plug" (3.5mm audio jack) for audio output.

Image 4.2: Rear panel of the monitor displaying the various input and output ports for connectivity.
4.3. Ergonomiske justeringer
Skærmstativet giver mulighed for forskellige justeringer for at optimere dine viewkomfort:
- Vip: Adjust the screen's vertical angle (up or down).
- Drejelig: Rotate the screen horizontally (left or right).
- Pivot: Drej skærmen 90 grader for portrættilstand viewing.
- Højdejustering: Hæv eller sænk skærmen til din foretrukne øjenhøjde.
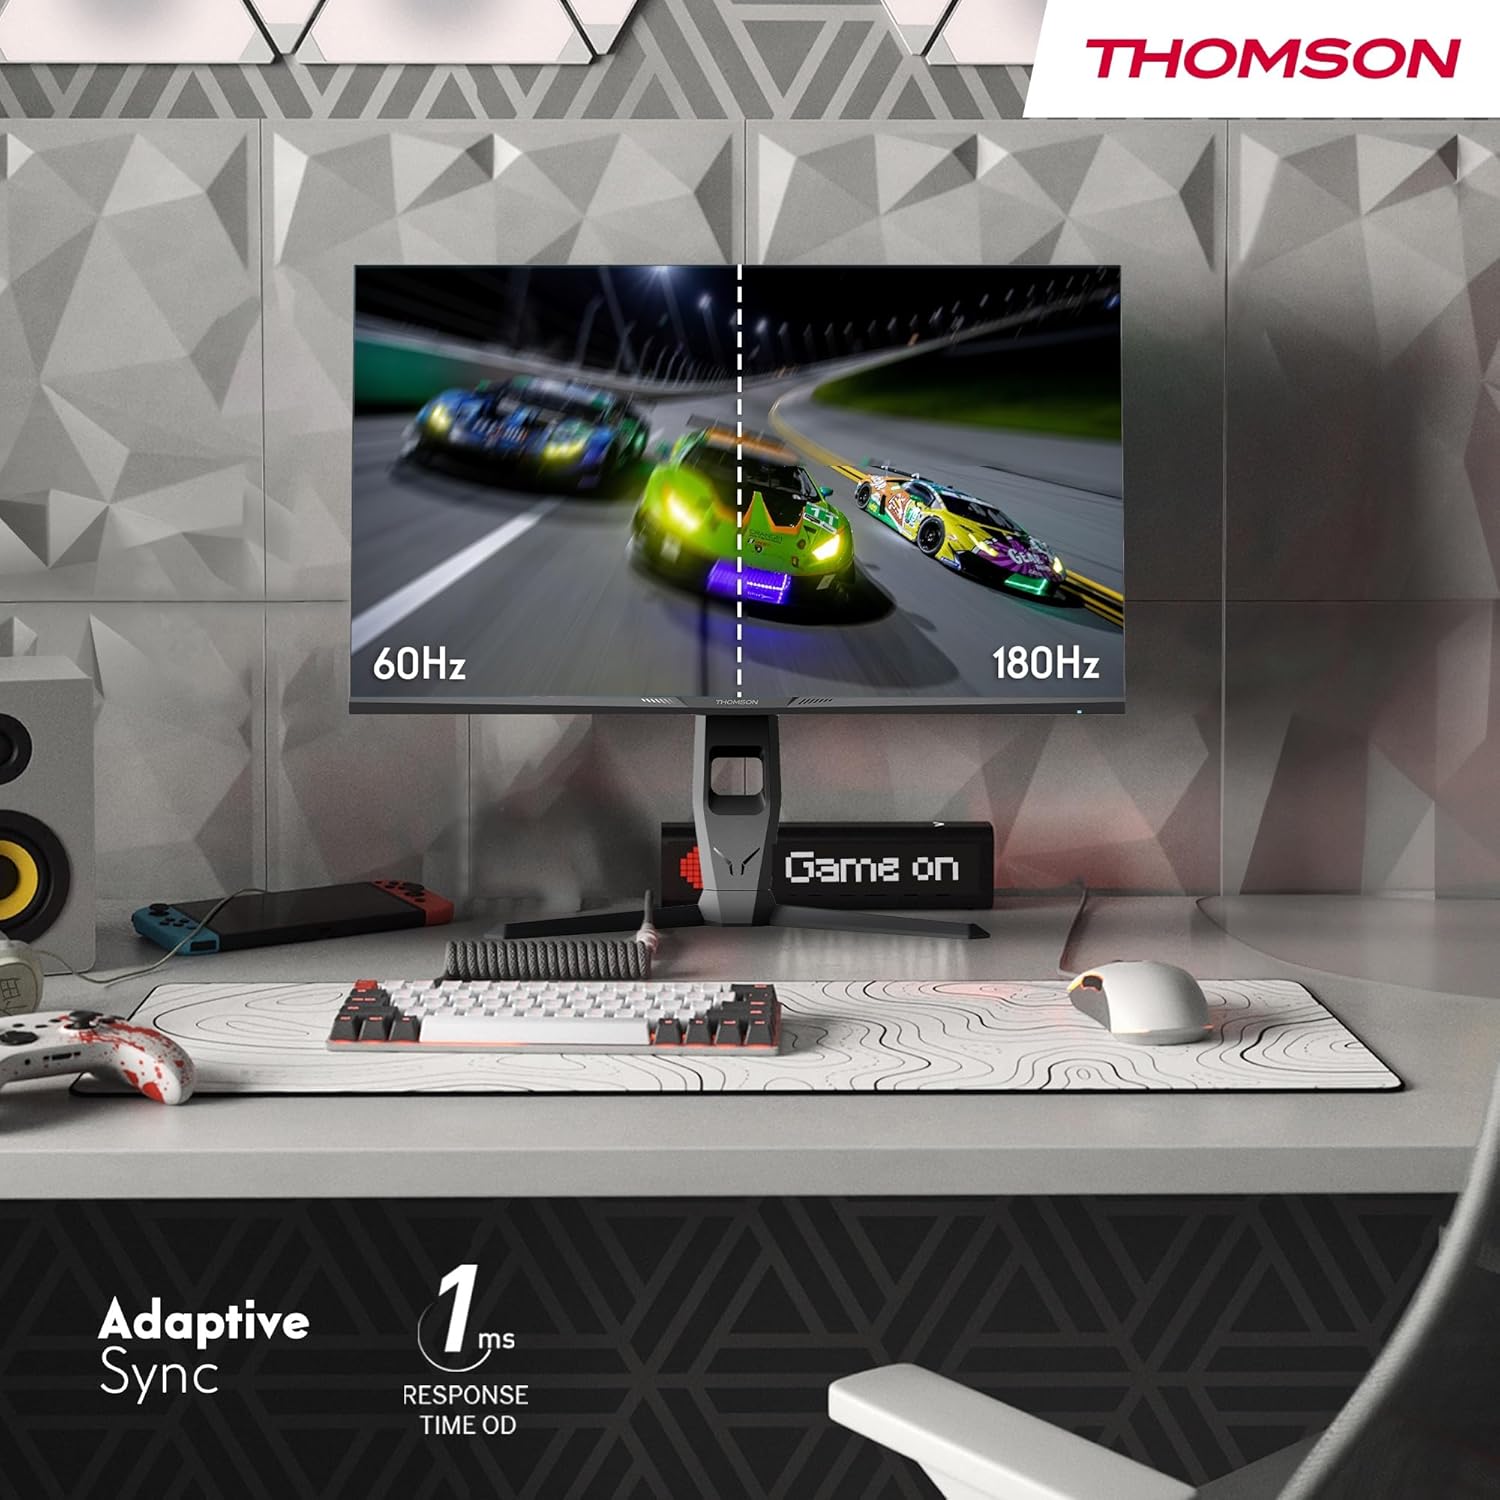
Image 4.3: Demonstrations of the monitor's ergonomic capabilities, including tilt, swivel, and pivot for optimal viewing vinkler.
4.4. VESA-montering
The monitor is compatible with VESA 100x100mm mounting standards. To mount the monitor on a wall or an alternative stand, remove the original stand and attach the VESA-compatible mount (sold separately) using appropriate screws.
5. Betjeningsvejledning
5.1. Tænd/sluk
Tryk på tænd/sluk-knappen, som normalt er placeret på bagsiden eller bunden af skærmen, for at tænde eller slukke den. Strømindikatorlampen lyser, når skærmen er tændt.
5.2. On-Screen Display (OSD) menu
The OSD menu allows you to adjust various monitor settings. Use the joystick or buttons (location may vary) on the monitor to navigate the menu.
- Billedindstillinger: Juster lysstyrke, kontrast, skarphed, farvetemperatur og gamma.
- Farveindstillinger: Fine-tune RGB levels, saturation, and hue.
- Indgangsvalg: Skift manuelt mellem HDMI- og DisplayPort-indgange.
- Lyd: Adjust volume for built-in speakers or headphone output.
- OSD-indstillinger: Skift OSD-sprog, gennemsigtighed og timeout.
- Spilindstillinger: Access features like Adaptive Sync, response time (OD), and crosshair overlays.
5.3. Spilfunktioner
- 180 Hz opdateringshastighed: Provides smoother motion and reduced input lag, especially beneficial for fast-paced games. Ensure your graphics card and cable support this refresh rate.
- 1ms Response Time (OD): Minimizes motion blur and ghosting for clear, crisp images during rapid movements.
- Adaptiv synkronisering: Synchronizes the monitor's refresh rate with your graphics card's frame rate, eliminating screen tearing and stuttering. Enable this feature in the OSD menu and your graphics card control panel.

Image 5.1: Visual comparison illustrating the difference between 60Hz and 180Hz refresh rates, highlighting the smoother motion provided by the higher refresh rate, alongside the Adaptive Sync feature.
5.4. Øjenplejefunktioner
- Anti-flimmer teknologi: Reduces screen flickering, which can cause eye strain during prolonged use.
- Lavt blåt lys tilstand: Filters out harmful blue light emissions to protect your eyes and reduce fatigue. This mode can be activated through the OSD menu.
- Antirefleksskærm: The matte screen surface minimizes reflections from ambient light, providing clear visuals without distraction.

Image 5.2: Depiction of the monitor's eye comfort features, including an anti-glare screen and technologies like Anti-Flicker and Low Blue Light for reduced eye strain.
5.5. RGB-omgivelsesbelysning
The monitor features integrated RGB ambient lighting on the rear. This lighting can be customized via the OSD menu to enhance your gaming environment or match your setup's aesthetics.
6. Vedligeholdelse
6.1. Rengøring af skærmen
- Skærm: Tør forsigtigt skærmen af med en blød, fnugfri klud. Tør forsigtigt genstridige mærker afampen the cloth with water or a specialized screen cleaner (ensure it's safe for LCD/IPS panels) and wipe gently. Never spray liquid directly onto the screen.
- Casing: Brug en blød, tør klud til at tørre skærmen afasing. Undgå at bruge slibende rengøringsmidler eller opløsningsmidler.
- Frakobl altid strømkablet før rengøring.
6.2. Opbevaring
Hvis skærmen opbevares i en længere periode, skal alle kabler frakobles, den pakkes i dens originale emballage (hvis tilgængelig) og opbevares et køligt, tørt sted væk fra direkte sollys og ekstreme temperaturer.
7. Fejlfinding
Dette afsnit omhandler almindelige problemer, du kan støde på. Hvis problemet fortsætter, skal du kontakte kundesupport.
| Problem | Mulig årsag | Løsning |
|---|---|---|
| Ingen strøm | Strømkabel ikke tilsluttet; Stikkontakt defekt; Skærmen er slukket. | Ensure power cable is securely connected. Test the power outlet. Press the monitor's power button. |
| Intet signal / Blank skærm | Video cable not connected; Incorrect input selected; Computer not outputting signal. | Check HDMI/DP cable connections. Select the correct input source via OSD. Ensure computer is on and outputting video. |
| Distorted image / Flickering | Incorrect resolution/refresh rate; Faulty cable; Graphics driver issue. | Set display resolution to 2560x1440 and refresh rate to 180Hz. Try a different video cable. Update graphics drivers. |
| Ingen lyd fra højttalere/hovedtelefoner | Volume too low; Audio cable not connected; Incorrect audio output selected on PC. | Increase monitor volume via OSD. Ensure headphones/speakers are connected. Select monitor as audio output device in PC settings. |
8. Specifikationer
Detailed technical specifications for the Thomson M27QG5Y14 monitor.
| Feature | Specifikation |
|---|---|
| Mærke | Thomson |
| Model | M27QG5Y14 |
| Skærmstørrelse | 27 tommer |
| Paneltype | IPS |
| Opløsning | 2560 x 1440 (QHD) |
| Opdateringshastighed | 180 Hz |
| Svartid | 1 Millisecond (OD) / 5 Milliseconds (GtG) |
| Lysstyrke | 350 nit |
| Kontrastforhold | 1200:1 |
| Viewi vinkel | 178 Degrees (Horizontal/Vertical) |
| Farveskala | 120 % sRGB |
| HDR-understøttelse | HDR10 (10-bit) |
| Adaptiv synkronisering | Ja |
| Forbindelse | 2x HDMI 2.1, 1x DisplayPort 1.2, 1x USB 3.0 Type-B (upstream), 3x USB 3.0 Type-A (downstream), 1x Earphone Plug (3.5mm) |
| Indbyggede højtalere | Yes (2x2W) |
| VESA Mount Kompatibilitet | 100x100 mm |
| Produktmål (med stativ) | 61 x 54 x 24 cm (B x H x D) |
| Vægt (med stativ) | 7.3 kg |
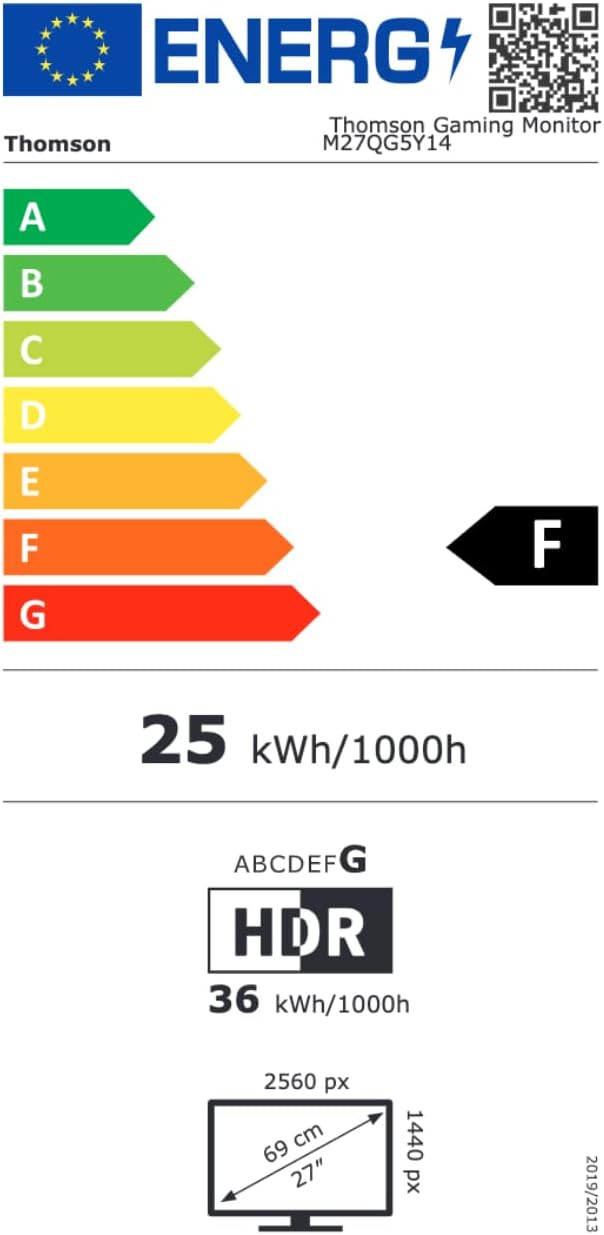
Image 8.1: EU Energy Label for the Thomson M27QG5Y14 monitor. For more details, visit the EPREL-database.
9. Garanti og support
Thomson products are designed for reliability and performance. This monitor typically comes with a 3 års garanti fra købsdatoen, dækker fabrikationsfejl. Gem venligst din købsbevis i tilfælde af garantikrav.
For technical assistance, troubleshooting beyond this manual, or warranty inquiries, please contact Thomson customer support or your local retailer. Refer to the official Thomson website or your product packaging for specific contact details.
You can also visit the official Thomson store on Amazon for more information: Thomson Store.


