1. Introduktion
This manual provides essential information for the safe and efficient operation, maintenance, and care of your Nilox K10 Plus Electric Fat Bike. Please read this manual thoroughly before your first ride and retain it for future reference. Proper understanding and adherence to these instructions will ensure optimal performance and longevity of your e-bike.
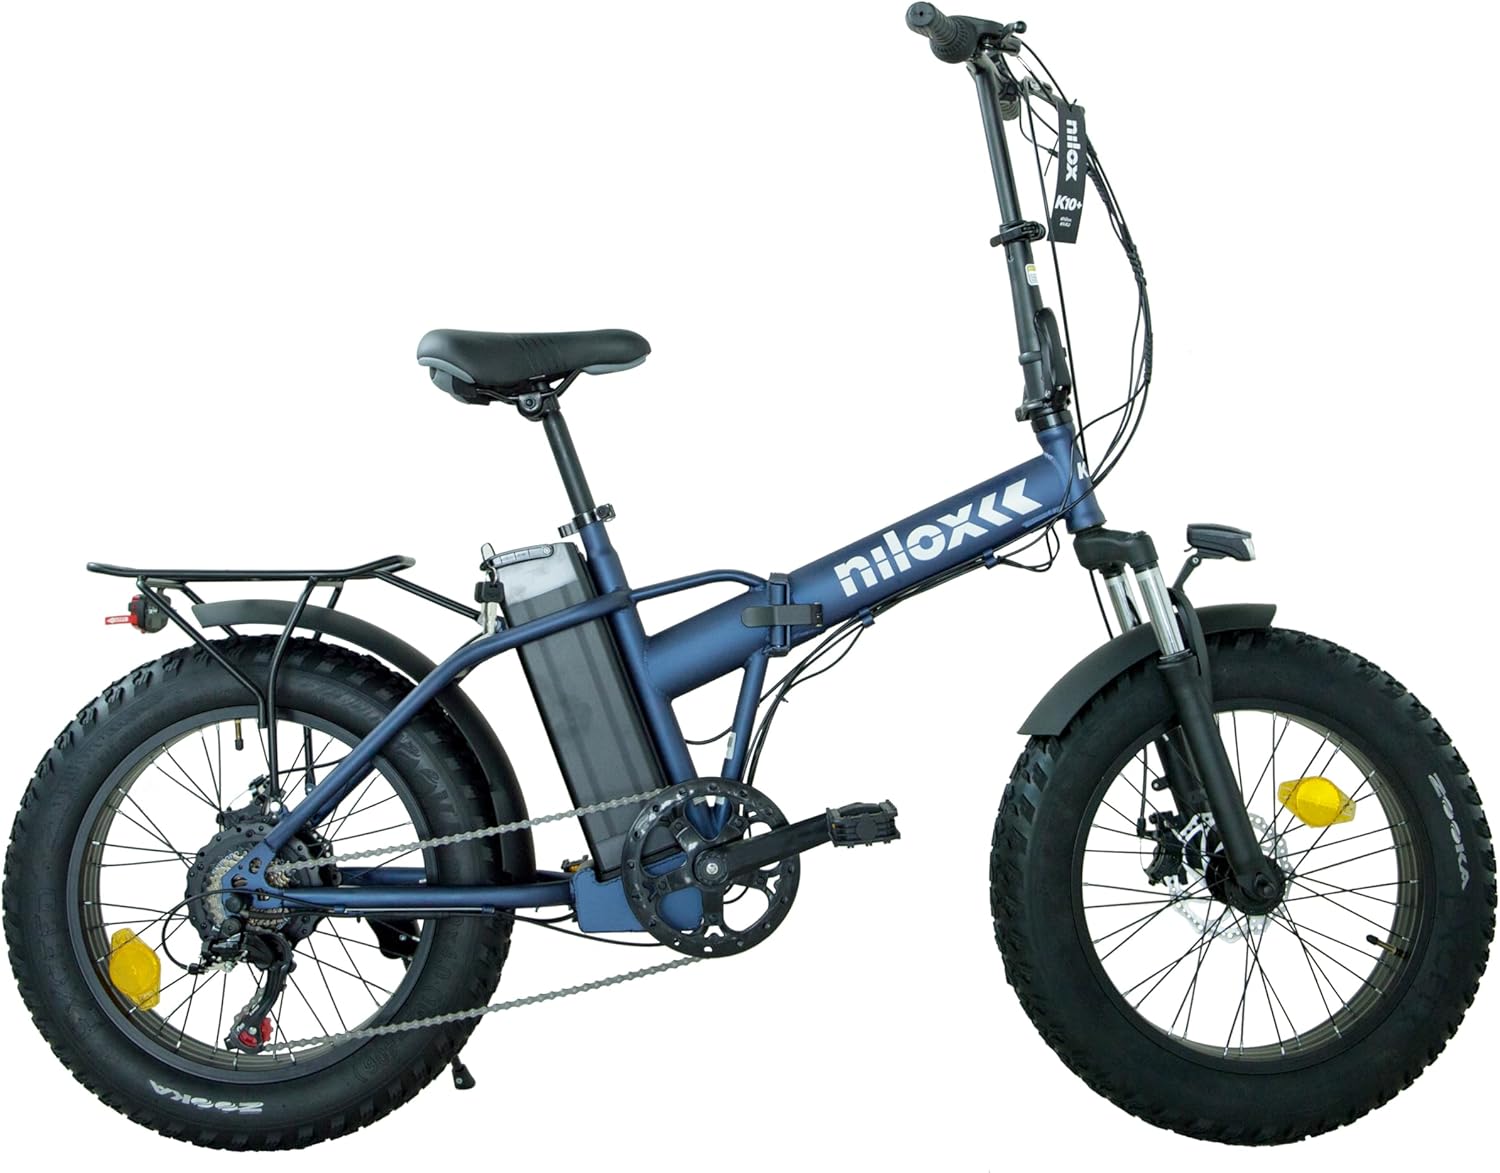
The Nilox K10 Plus is an electric fat bike designed for versatile terrain use. It features 20" x 4" fat tires, dual disc brakes, front suspension, and a removable 36V – 10Ah battery, providing up to 60 km of assisted range. Equipped with a 250W brushless motor, SHIMANO 6-speed gears, LED lights, and an LCD display offering 5 riding modes, the K10 Plus is suitable for various riding conditions.
2. Sikkerhedsoplysninger
Your safety is paramount. Always wear a helmet and appropriate safety gear when riding. Familiarize yourself with local traffic laws and regulations regarding electric bicycles. Regular maintenance checks are crucial for safe operation.
- Brug altid en godkendt hjelm.
- Sørg for, at alle lygter fungerer, især når du kører i svagt lys.
- Check tire pressure, brakes, and battery charge before each ride.
- Overskrid ikke cyklens maksimale vægtkapacitet.
- Avoid riding in adverse weather conditions if you are not experienced.
- Hold hænder og fødder væk fra bevægelige dele.
- Undlad at ændre elcyklens elektriske system eller motor.
3. Pakkens indhold
Ved udpakning skal du kontrollere, at alle komponenter er til stede og ubeskadigede:
- Nilox K10 Plus Electric Fat Bike (partially assembled)
- Aftageligt batteripakke
- Batterioplader
- Nøgler til batterilås
- Klokke
- Støtteben
- Brugervejledning (dette dokument)
4. Opsætning og indledende kontroller
Your Nilox K10 Plus is largely pre-assembled. Follow these steps for final setup and initial safety checks:
- Udfoldning (hvis relevant): If your model is foldable, carefully unfold the frame and secure all locking mechanisms. Ensure the handlebar stem is upright and locked into position.
- Justering af styr: Adjust the handlebar height and angle to a comfortable riding position. Ensure all quick-release levers are securely tightened.
- Pedal installation: Identify the left (L) and right (R) pedals. Thread the pedals into the crank arms by hand, then tighten securely with a wrench. Note that the left pedal has a reverse thread.
- Dæktryk: Check the tire pressure using a gauge. Inflate to the recommended pressure indicated on the tire sidewall. Fat tires typically require lower pressure than standard bike tires.
- Bremsekontrol: Squeeze both brake levers to ensure they engage properly and stop the wheels effectively. Adjust cable tension if necessary.
- Batteriinstallation og opladning: Insert the fully charged battery into its compartment and lock it securely with the key. Ensure the battery is fully charged before your first ride. Refer to the 'Battery Information' section for charging instructions.
- Hurtigudløsergreb: Verify that all quick-release levers (e.g., seat post, handlebar stem) are properly closed and tightened.
5. Komponenter overview
Familiarize yourself with the main components of your Nilox K10 Plus e-bike:


6. Betjeningsvejledning
6.1 Tænd/sluk
- To power on the e-bike, press and hold the power button on the LCD display until the screen illuminates.
- For at slukke skal du trykke på tænd/sluk-knappen igen, indtil skærmen slukker.
6.2 LCD Display and Riding Modes
The LCD display provides information such as speed, distance, battery level, and assistance level. Use the '+' and '-' buttons to cycle through the 5 available riding modes (levels of pedal assistance). A higher number indicates more motor assistance.
6.3 Gearskift
Your Nilox K10 Plus is equipped with a SHIMANO 6-speed gear system. Use the shifter located on the handlebar to change gears. Shift to a lower gear for easier pedaling on inclines and a higher gear for faster speeds on flat terrain. Always ease off the pedals slightly when shifting to ensure smooth transitions.
6.4 Bremsning
The e-bike features dual disc brakes for reliable stopping power. The right lever typically controls the rear brake, and the left lever controls the front brake. Apply both brakes simultaneously for effective and controlled stopping. Avoid sudden, hard braking with only the front brake, especially at high speeds, to prevent loss of control.
6.5 lys
The integrated LED lights enhance visibility. Operate them via the controls on the handlebar or display, as per your model's specific design. Ensure they are on when riding in low light or at night.
7. Batterioplysninger
The Nilox K10 Plus uses a removable 36V – 10Ah Lithium-ion battery.
7.1 Opladning af batteriet
- Sørg for, at elcyklen er slukket.
- The battery can be charged either on or off the bike. To remove, unlock the battery with the provided key and slide it out.
- Connect the charger to the battery's charging port, then plug the charger into a standard wall outlet.
- Opladerens indikatorlampe lyser typisk rødt under opladning og bliver grønt, når den er fuldt opladet.
- Opladningstiden kan variere, men tager typisk flere timer for en fuld opladning. Overoplade ikke.
- Once charged, disconnect the charger from the outlet and then from the battery.
7.2 Batteripleje og -opbevaring
- Opbevar batteriet et køligt, tørt sted, væk fra direkte sollys og ekstreme temperaturer.
- If storing for extended periods, charge the battery to approximately 50-70% every 2-3 months to maintain its health.
- Udsæt ikke batteriet for vand eller fugt.
- Only use the charger provided by Nilox.
8. Vedligeholdelse
Regular maintenance ensures the safety and performance of your e-bike.
8.1 Rengøring
Rengør din elcykel regelmæssigt med reklameamp klud og mild sæbe. Undgå at bruge højtryksrensere direkte på elektriske komponenter, lejer eller motoren.
8.2 Dæk
Check tire pressure before each ride. The 20" x 4" fat tires require specific pressures, usually lower than standard tires. Inspect tires for wear, cuts, or embedded objects.
8.3 bremser
Regularly inspect brake pads for wear and replace them when necessary. Ensure brake levers operate smoothly and provide adequate stopping power. Check disc rotors for damage or warping.
8.4 Kæde
Keep the chain clean and lubricated. A well-maintained chain reduces wear on gears and improves shifting performance.
8.5 Befæstigelser
Kontrollér regelmæssigt alle bolte, møtrikker og hurtigudløsergreb for at sikre, at de er forsvarligt spændt.
9. Fejlfinding
This section addresses common issues you might encounter with your Nilox K10 Plus.
| Problem | Mulig årsag | Løsning |
|---|---|---|
| Elcyklen tænder ikke | Batteriet er ikke opladet eller ikke korrekt installeret. Løs elektrisk forbindelse. | Sørg for, at batteriet er fuldt opladet og sikkert fastlåst. Kontroller alle synlige kabelforbindelser. |
| Motoren yder ikke assistance | Low battery charge. Pedal assist level set to zero. Brake levers engaged. | Charge the battery. Increase the pedal assist level on the display. Ensure brake levers are not being squeezed. |
| Bremserne føles svage eller støjende | Worn brake pads. Contaminated rotors. Loose brake cables. | Inspect and replace brake pads if worn. Clean rotors with disc brake cleaner. Adjust brake cable tension. Consult a professional if issues persist. |
| Gearskiftet går ikke jævnt | Dirty or unlubricated chain. Derailleur out of adjustment. | Clean and lubricate the chain. Have the derailleur adjusted by a bike mechanic. |
For issues not listed here or if solutions do not resolve the problem, please contact Nilox customer support or a certified bicycle mechanic.
10. Specifikationer
| Feature | Specifikation |
|---|---|
| Model | Nilox K10 Plus |
| Cykeltype | Elektrisk fedtcykel |
| Anbefalet alder | Voksne |
| Rammemateriale | Stållegering |
| Hjulstørrelse | 20 tommer (20" x 4" tykke dæk) |
| Motor Wattage | 250 watt |
| Batteritype | 1 Lithium-ion (36V – 10Ah) |
| Max Assisted Range | Op til 60 km |
| Antal hastigheder | 6 (SHIMANO) |
| Bremse type | Skivebremser (for og bag) |
| Ophængstype | Forhjulsophæng |
| Vise | LCD with 5 Riding Modes |
| Lys | LED lys |
| Varens vægt | 36 kilo |
| Farve | Blå |
11. Garanti og support
For warranty information, please refer to the documentation provided with your purchase or visit the official Nilox webwebsted. Gem din købsbevis i tilfælde af garantikrav.
For technical support, spare parts, or service inquiries, please contact Nilox customer service through their official channels. Providing your model number (K10 Plus) and purchase details will help expedite your request.


