1. Introduktion
This manual provides essential instructions for the safe and efficient operation of your Nostalgia NRMO11BK6A Retro Countertop Microwave Oven. Please read all instructions carefully before use and retain this manual for future reference. This appliance is designed for residential use to heat, cook, and defrost food items.
2. Vigtige sikkerhedsforanstaltninger
When using electrical appliances, basic safety precautions should always be followed to reduce the risk of fire, electrical shock, burns, or injury. This includes:
- Read all instructions before operating the microwave oven.
- Forsøg ikke at betjene denne ovn med døren åben, da dette kan resultere i skadelig eksponering for mikrobølgeenergi.
- Placer ikke genstande mellem ovnens forside og døren, og lad ikke snavs eller rengøringsrester samle sig på tætningsflader.
- Opvarm ikke væsker eller andre fødevarer i lukkede beholdere, da de er tilbøjelige til at eksplodere.
- Brug kun redskaber, der er egnede til brug i mikrobølgeovne.
- Sørg for god ventilation omkring apparatet.
- Hold nøje opsyn med børn, når apparatet er i brug.
- Brug ikke ætsende kemikalier eller dampe i dette apparat.
- Do not immerse the cord, plug, or the appliance in water or other liquids.
3. Produktet er slutview
The Nostalgia NRMO11BK6A microwave oven features a retro design with modern functionality, including a digital clock, various cooking programs, and a child safety lock.
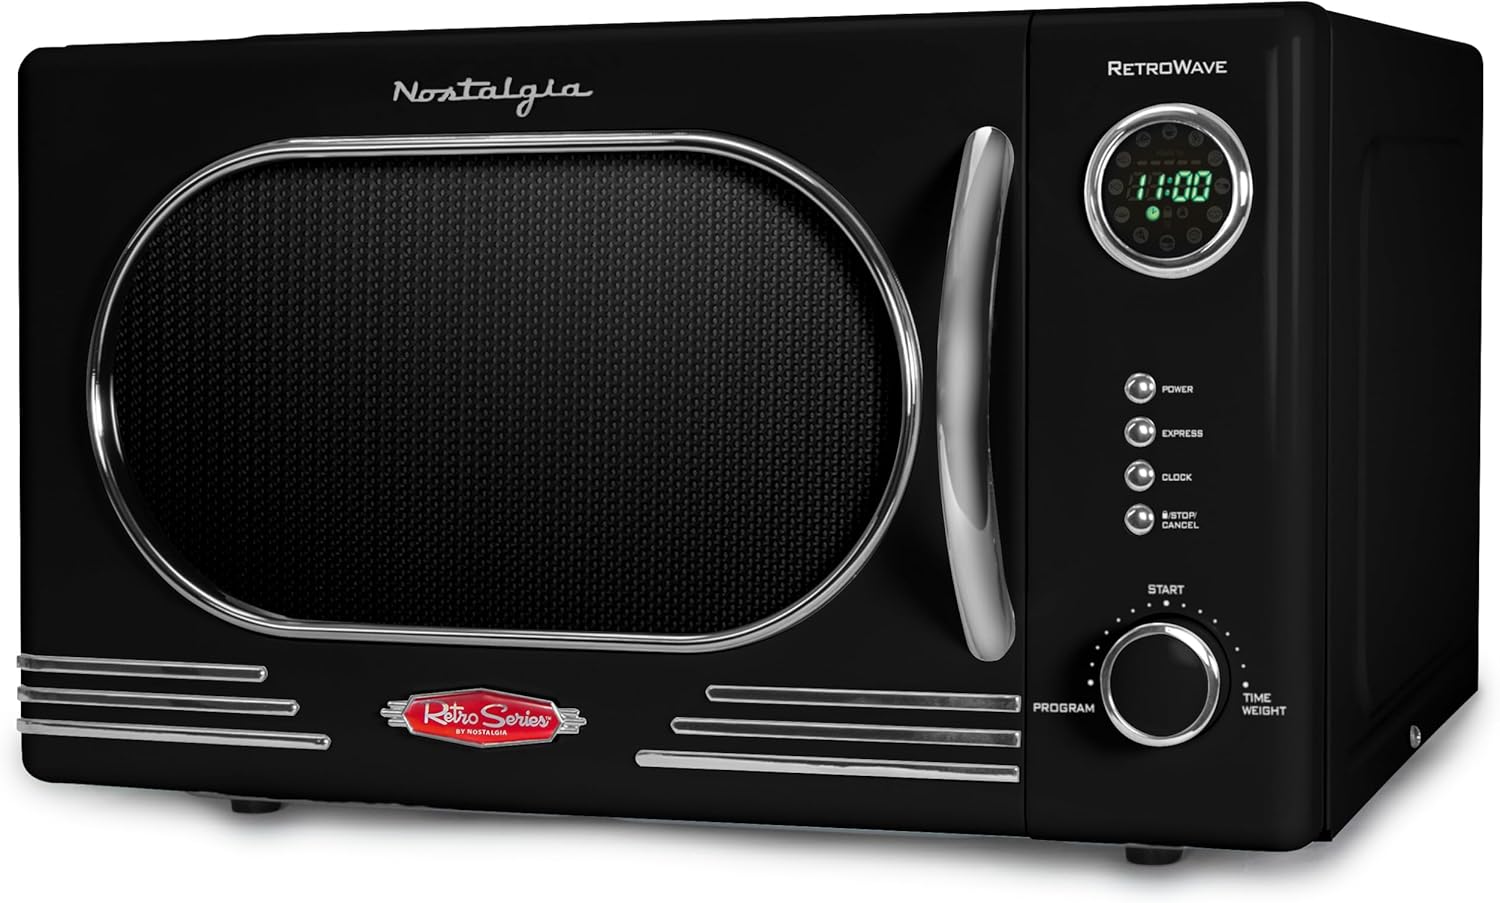
Figur 3.1: Forside view of the Nostalgia NRMO11BK6A Retro Countertop Microwave Oven, showcasing its black finish and chrome accents.
Komponenter:
- Ovnrum: The interior space where food is placed for cooking.
- Glaspladespiller: A removable glass plate that rotates to ensure even cooking.
- Pladespillerstøtte: Understøtter glaspladespilleren.
- Kontrolpanel: Features an LED display, function buttons, and a rotary dial for setting time and programs.
- Ovndør: Equipped with a handle and a safety interlock system.

Figur 3.2: Detaljeret view of the control panel, showing the LED display, function buttons (Power, Express, Clock, Stop/Cancel), and the Program/Time/Weight dial.
4. Opsætning og installation
4.1 Udpakning
Carefully remove the microwave oven and all packaging materials. Check the oven for any damage, such as dents or a misaligned door. Do not operate the oven if it is damaged.
4.2 Placering
- Placer mikrobølgeovnen på en plan, stabil overflade, der kan bære dens vægt og den tungeste madvare, der sandsynligvis vil blive tilberedt i den.
- Ensure adequate ventilation by leaving at least 4 inches (10 cm) of space around the top, back, and sides of the oven. Do not block any ventilation openings.
- Hold ovnen væk fra varmekilder og stærke magnetfelter.
4.3 Montering af pladespiller
Place the turntable support ring in the center of the oven cavity. Then, place the glass turntable securely on top of the support ring. Ensure the turntable rotates freely.
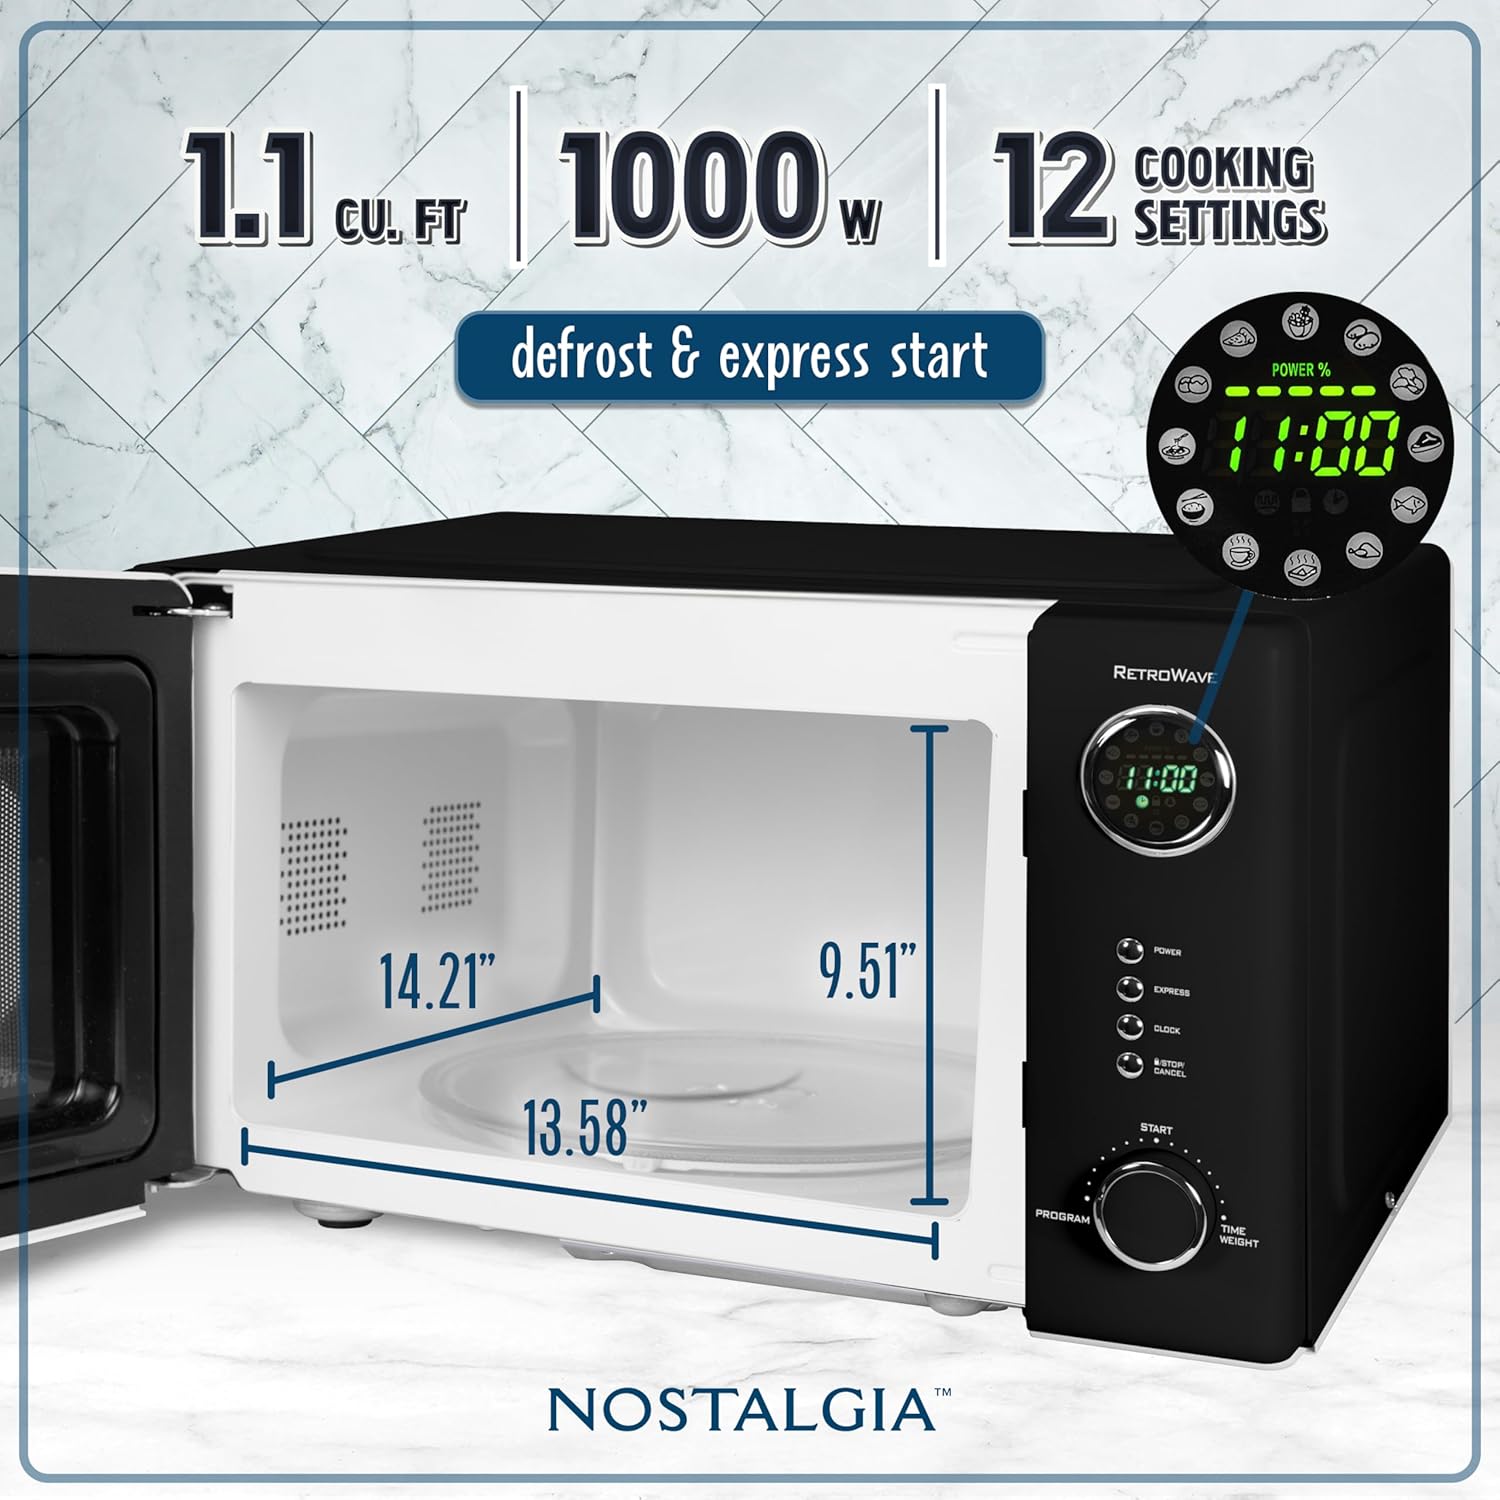
Figur 4.1: Interiør view of the microwave oven, illustrating the 1.1 cubic feet capacity and key dimensions for proper food placement and turntable operation.
4.4 Strømtilslutning
Plug the power cord into a grounded electrical outlet. Ensure the outlet meets the voltage og wattage requirements of the appliance (120V AC, 1000W).
5. Betjeningsvejledning
5.1 Indstilling af uret
- Tryk på UR knap én gang.
- Drej på PROGRAM/TIME/WEIGHT drejeknappen for at indstille timen.
- Tryk på UR knappen igen.
- Drej på PROGRAM/TIME/WEIGHT drejeknappen for at indstille minutterne.
- Tryk på UR knap en sidste gang for at bekræfte.
5.2 Grundlæggende mikrobølgeovnstilberedning
- Placer maden i en mikrobølgeovnssikker beholder på glasdrejetallerkenen.
- Luk ovndøren.
- Drej på PROGRAM/TIME/WEIGHT dial to set the desired cooking time. The maximum cooking time is 99 minutes and 99 seconds.
- Tryk på STARTE knappen for at starte madlavningen.
5.3 Justering af effektniveauer
The microwave offers 5 power levels. To adjust the power level during cooking:
- Tryk på MAGT knap.
- Each press will cycle through the power levels (P100, P80, P60, P40, P20). Select the desired power level.
- Tryk på STARTE button to confirm and continue cooking.
5.4 Pre-programmed Cooking Settings
The microwave includes 12 pre-programmed settings for common food items such as popcorn, pizza, and potatoes. To use a pre-programmed setting:
- Tryk på PROGRAM knappen gentagne gange, indtil det ønskede programnummer vises på displayet.
- Drej på PROGRAM/TIME/WEIGHT dial to select the quantity or weight if applicable.
- Tryk på STARTE knappen for at begynde.

Figur 5.1: Eksamples of food items that can be prepared using the microwave's various cooking functions and pre-programmed settings.
5.5 Ekspresmadlavning
For quick heating, press the UDTRYKKE button. Each press adds 30 seconds of cooking time at full power. Press STARTE to begin immediately after selecting the desired express time.
5.6 Børnesikkerhedslås
The child safety lock prevents unintended operation of the microwave oven.
- Sådan aktiveres: Tryk og hold på STOP/ANNULLER -knappen i 3 sekunder. En låseindikator vises på displayet.
- For at deaktivere: Tryk og hold på STOP/ANNULLER -knappen nede i 3 sekunder igen. Låseindikatoren forsvinder.

Figure 5.2: Illustration of the child safety lock feature, designed to prevent accidental operation of the microwave oven.
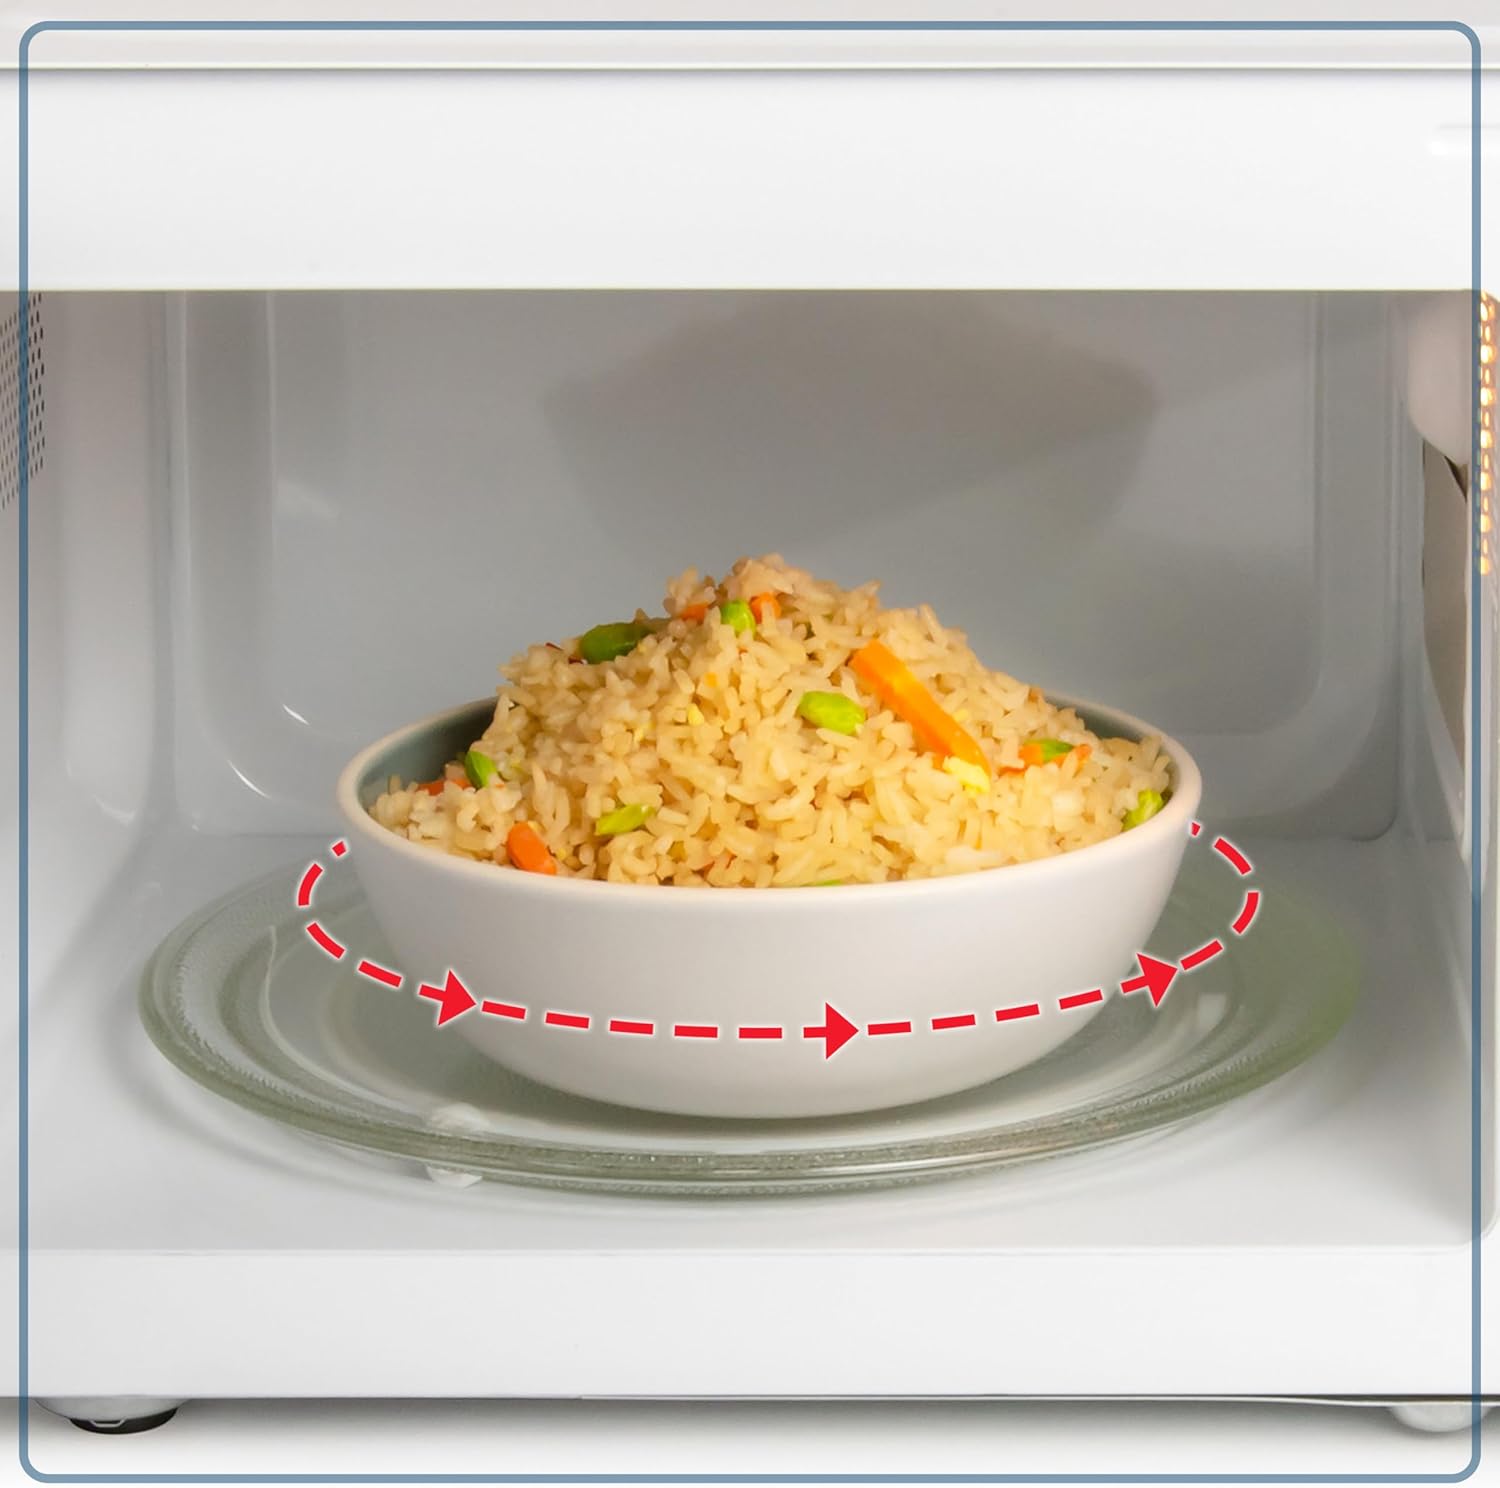
Figure 5.3: A food bowl rotating on the removable glass turntable, demonstrating the even cooking mechanism of the microwave.
6. Vedligeholdelse og rengøring
6.1 Rengøring af ydersiden
Tør de udvendige overflader af med en blød, damp klud. Undgå at bruge slibende rengøringsmidler eller stærke kemikalier, der kan beskadige overfladen.
6.2 Rengøring af indersiden
To clean the interior, wipe with a soft cloth dampened with mild soap and water. For stubborn food splatters, place a bowl of water with lemon slices inside and microwave for a few minutes to loosen residue, then wipe clean. Ensure the oven is unplugged before cleaning.
6.3 Cleaning the Glass Turntable
The glass turntable and turntable support can be removed and washed in warm, soapy water or in the dishwasher. Ensure they are completely dry before placing them back in the oven.
7. Fejlfinding
If you experience issues with your microwave oven, refer to the following common problems and solutions:
| Problem | Mulig årsag | Løsning |
|---|---|---|
| Ovnen starter ikke | Netledningen er ikke sat i; Døren er ikke lukket ordentligt; Sikringen er sprunget, eller afbryderen er udløst. | Sørg for, at stikket sidder ordentligt i stikkontakten; Luk døren forsvarligt; Kontroller sikringen/afbryderen i huset. |
| Maden varmer ikke | Door not closed properly; Cooking time too short; Power level too low. | Close door securely; Increase cooking time; Adjust power level. |
| Drejeskive roterer ikke | Drejeskiven er ikke korrekt monteret; Blokering under drejeskiven. | Re-seat turntable and support; Remove any obstructions. |
| Usædvanlig støj under drift | Turntable or support misaligned; Foreign object in cavity. | Check turntable alignment; Inspect cavity for foreign objects. |
Hvis problemet fortsætter efter at have forsøgt disse løsninger, bedes du kontakte kundesupport.
8. Specifikationer
| Feature | Specifikation |
|---|---|
| Modelnummer | NRMO11BK6A |
| Kapacitet | 1.1 Kubikfod |
| Wattage | 1000 watt |
| Voltage | 120 volt (AC) |
| Produktmål (D x B x H) | 16.5 x 20 x 12.75 tommer |
| Varens vægt | 34.1 pund |
| Materiale | Metal or Steel |
| Speciel funktion | Børnesikkerhedslås |
9. Garanti og support
For information regarding warranty coverage, please refer to the warranty card included with your product or visit the official Nostalgia website. For technical support or service inquiries, please contact Nostalgia customer service directly. Contact details can typically be found on the manufacturer's webstedet eller i emballagematerialerne.


