1. Introduktion
Thank you for choosing the BRESSER Meteo Temp Weather Station. This manual provides essential information for the proper setup, operation, and maintenance of your device. Please read these instructions carefully before use to ensure optimal performance and longevity of the product. Keep this manual for future reference.
Sikkerhedsoplysninger: Always handle the device with care. Do not expose the main unit or outdoor sensor to extreme temperatures, direct sunlight for prolonged periods, or excessive moisture. Use only the specified battery types.
2. Pakkens indhold
Bekræft, at alle nedenstående komponenter er til stede i din pakke:
- BRESSER Meteo Temp Main Unit (Display Console)
- Udendørs sensor
- Instruktionsmanual
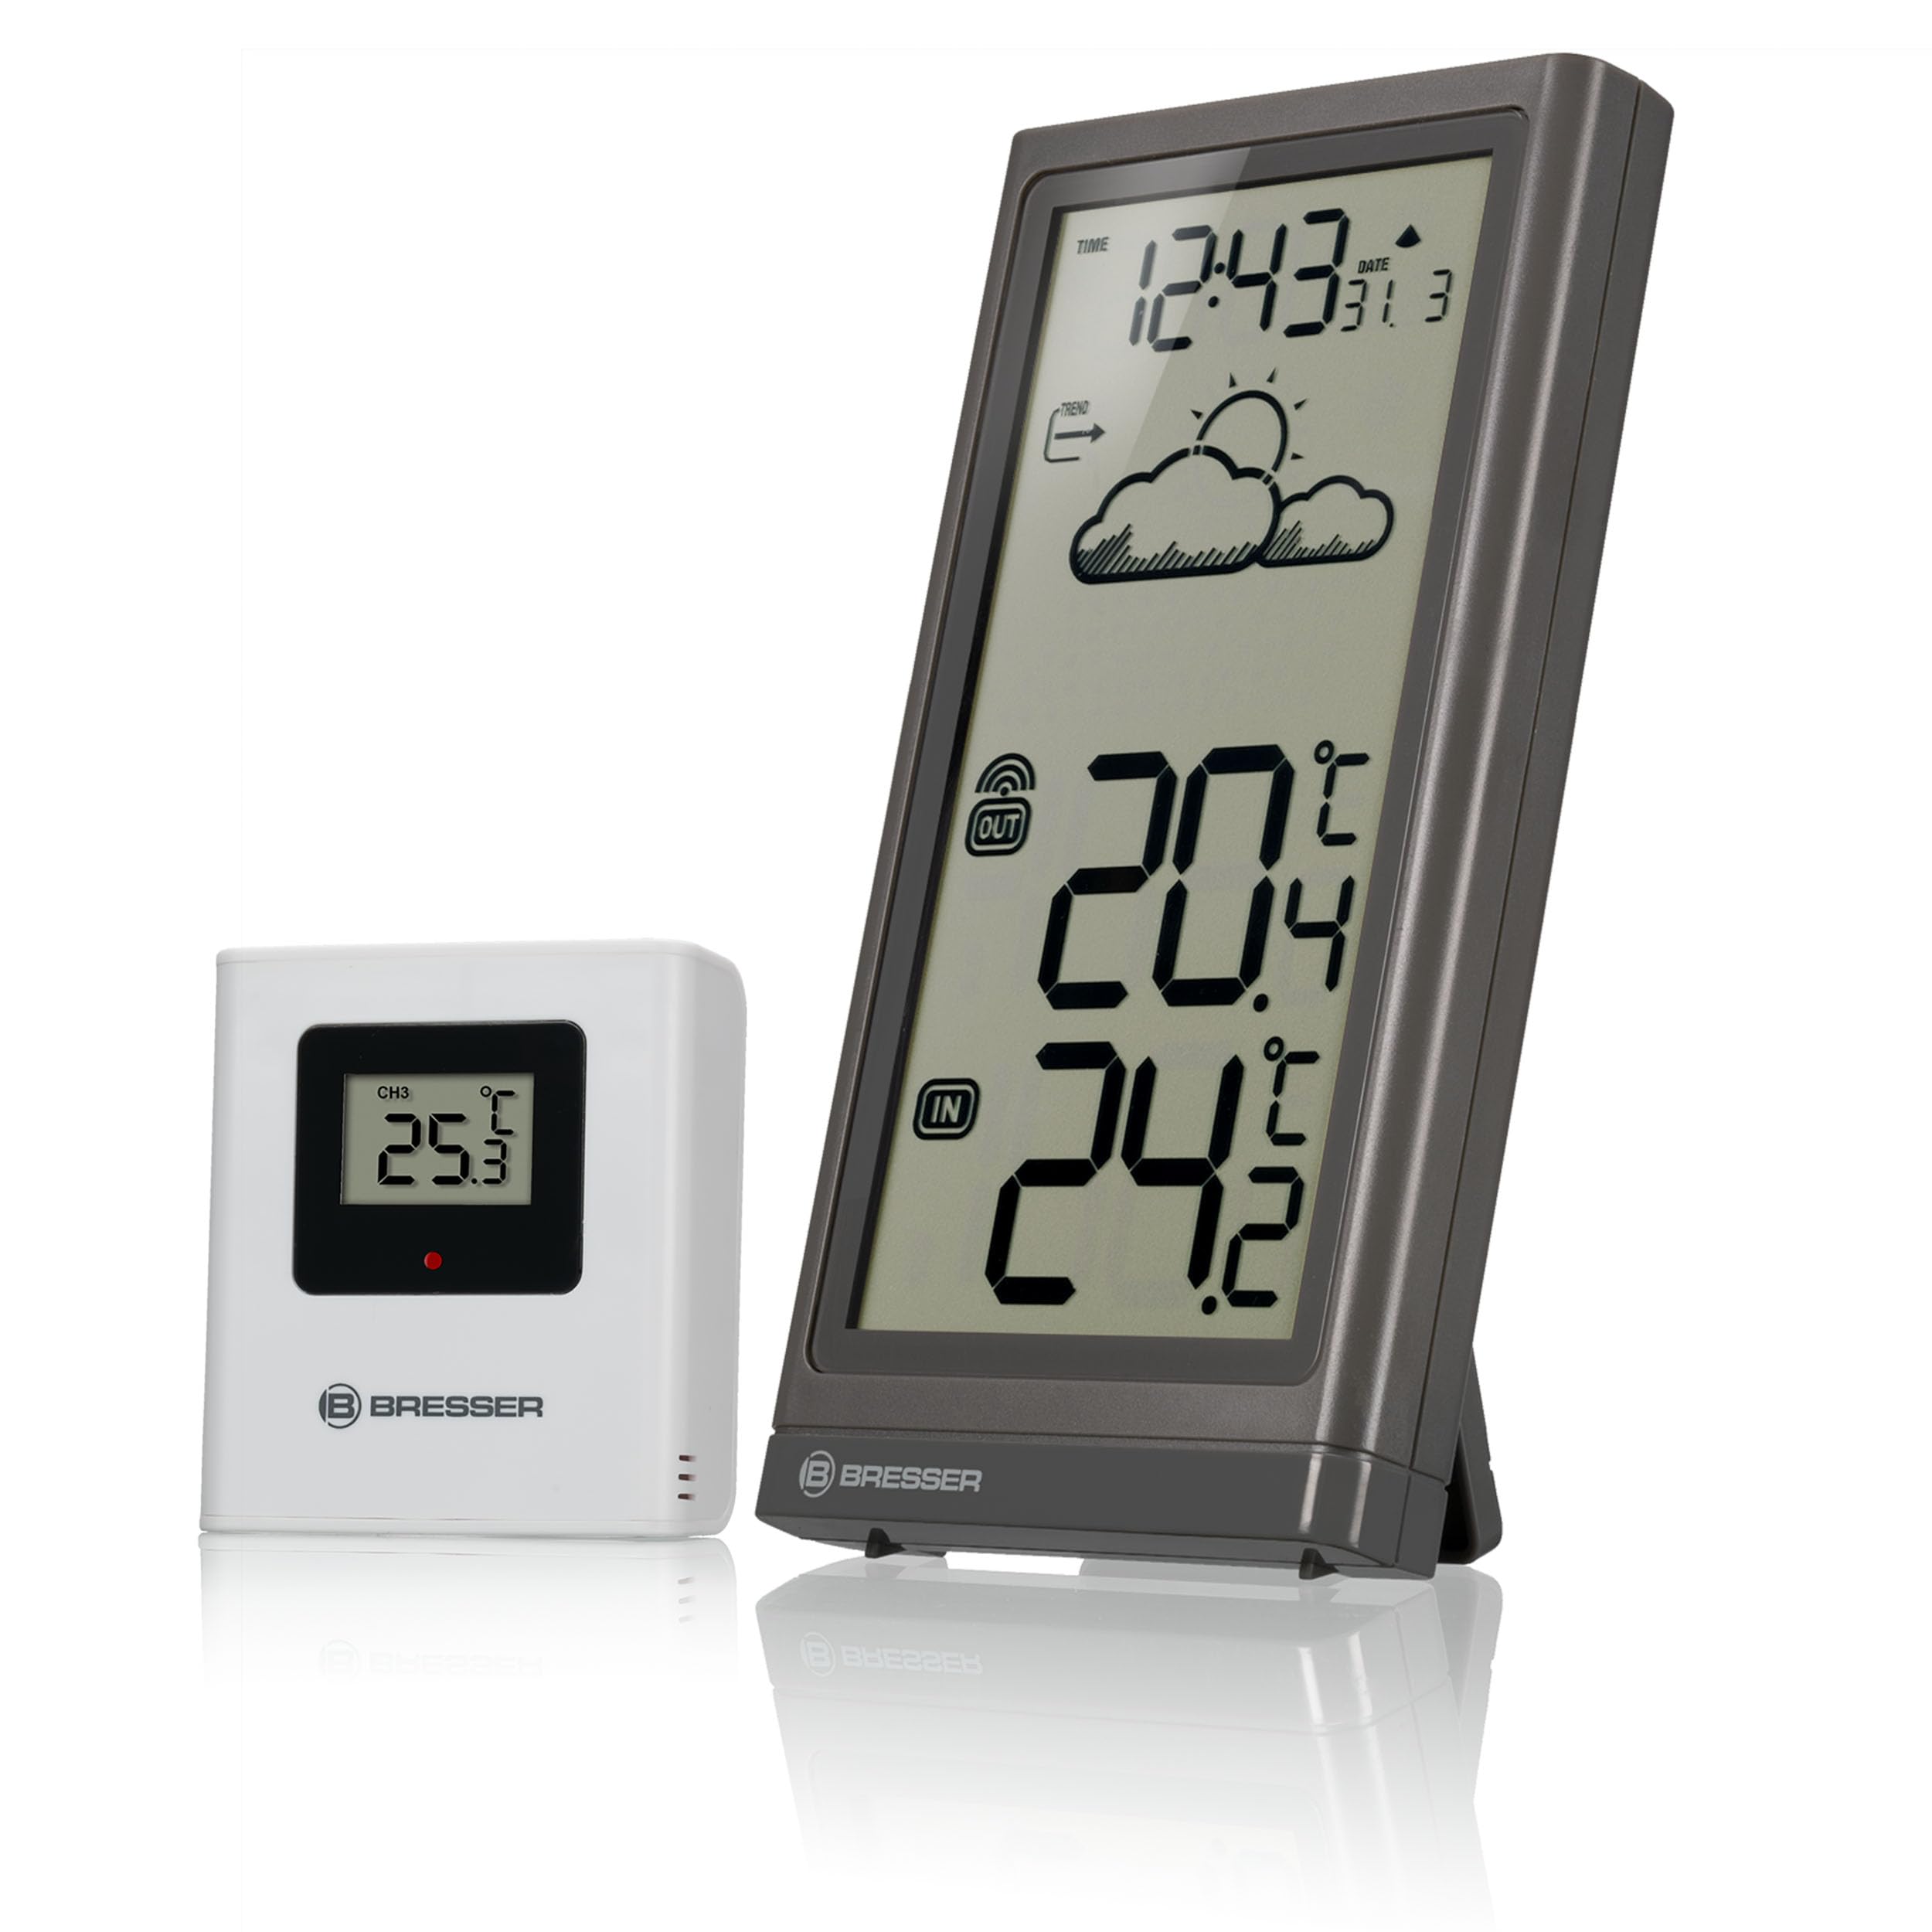
Billede 2.1: The BRESSER Meteo Temp Weather Station, showing the main display unit and the compact outdoor sensor. The main unit displays time, date, weather trend, and both indoor and outdoor temperatures. The outdoor sensor is a small white rectangular device.
3. Produktet er slutview
3.1 Main Unit (Display Console)
The main unit features a large, clear display for easy readability. It shows the current time, date, weather trend, and both indoor and outdoor temperatures.
Billede 3.1: Et nærbillede view of the BRESSER Meteo Temp main unit's display, angled to show the digital readouts for time, date, weather trend icons, and large digits for indoor and outdoor temperatures.
3.2 Udesensor
The compact outdoor sensor wirelessly transmits temperature data to the main unit. It is designed for outdoor placement, but should be protected from direct weather elements.

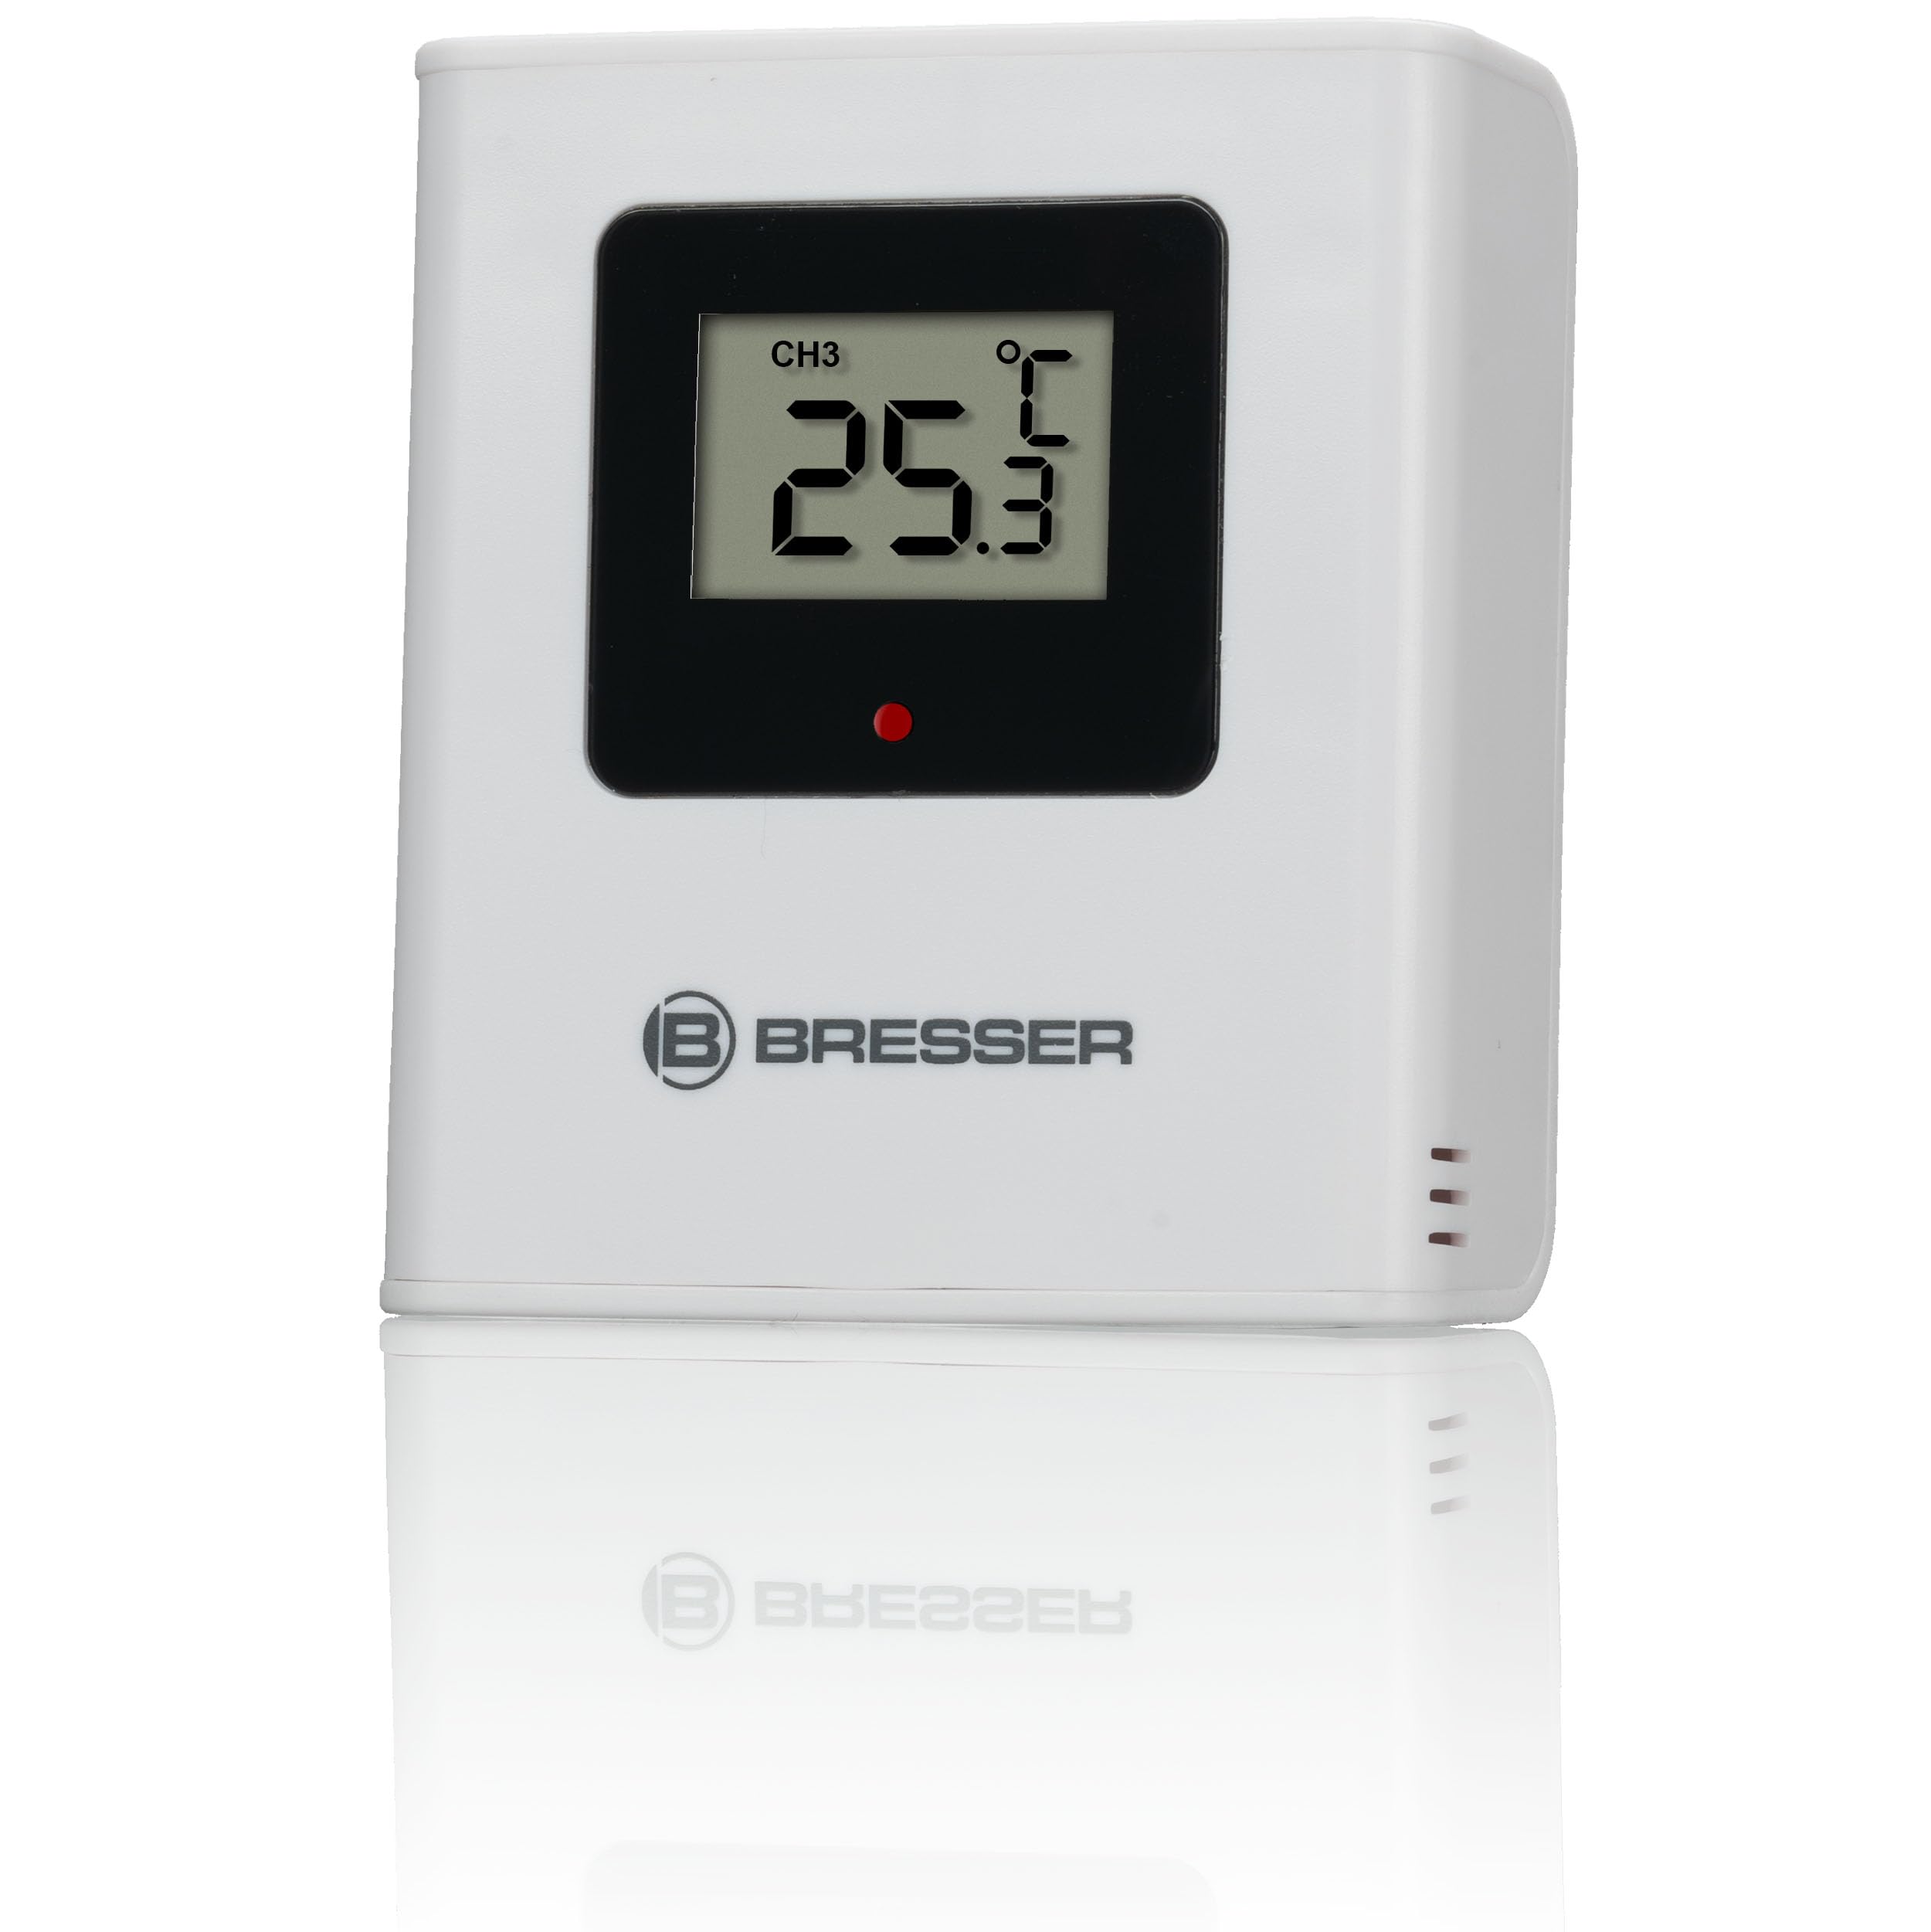
Billede 3.2: The white outdoor sensor for the BRESSER Meteo Temp Weather Station, displaying 'CH3' and a temperature reading on its small screen. The BRESSER logo is visible below the screen.
4. Opsætning
4.1 Battery Installation (Main Unit)
- Find batterirummet på bagsiden af hovedenheden.
- Åbn batterirummets dæksel.
- Isæt 2 x AAA 1.5V batterier, og overhold den korrekte polaritet (+/-).
- Luk batterirummets dæksel forsvarligt.
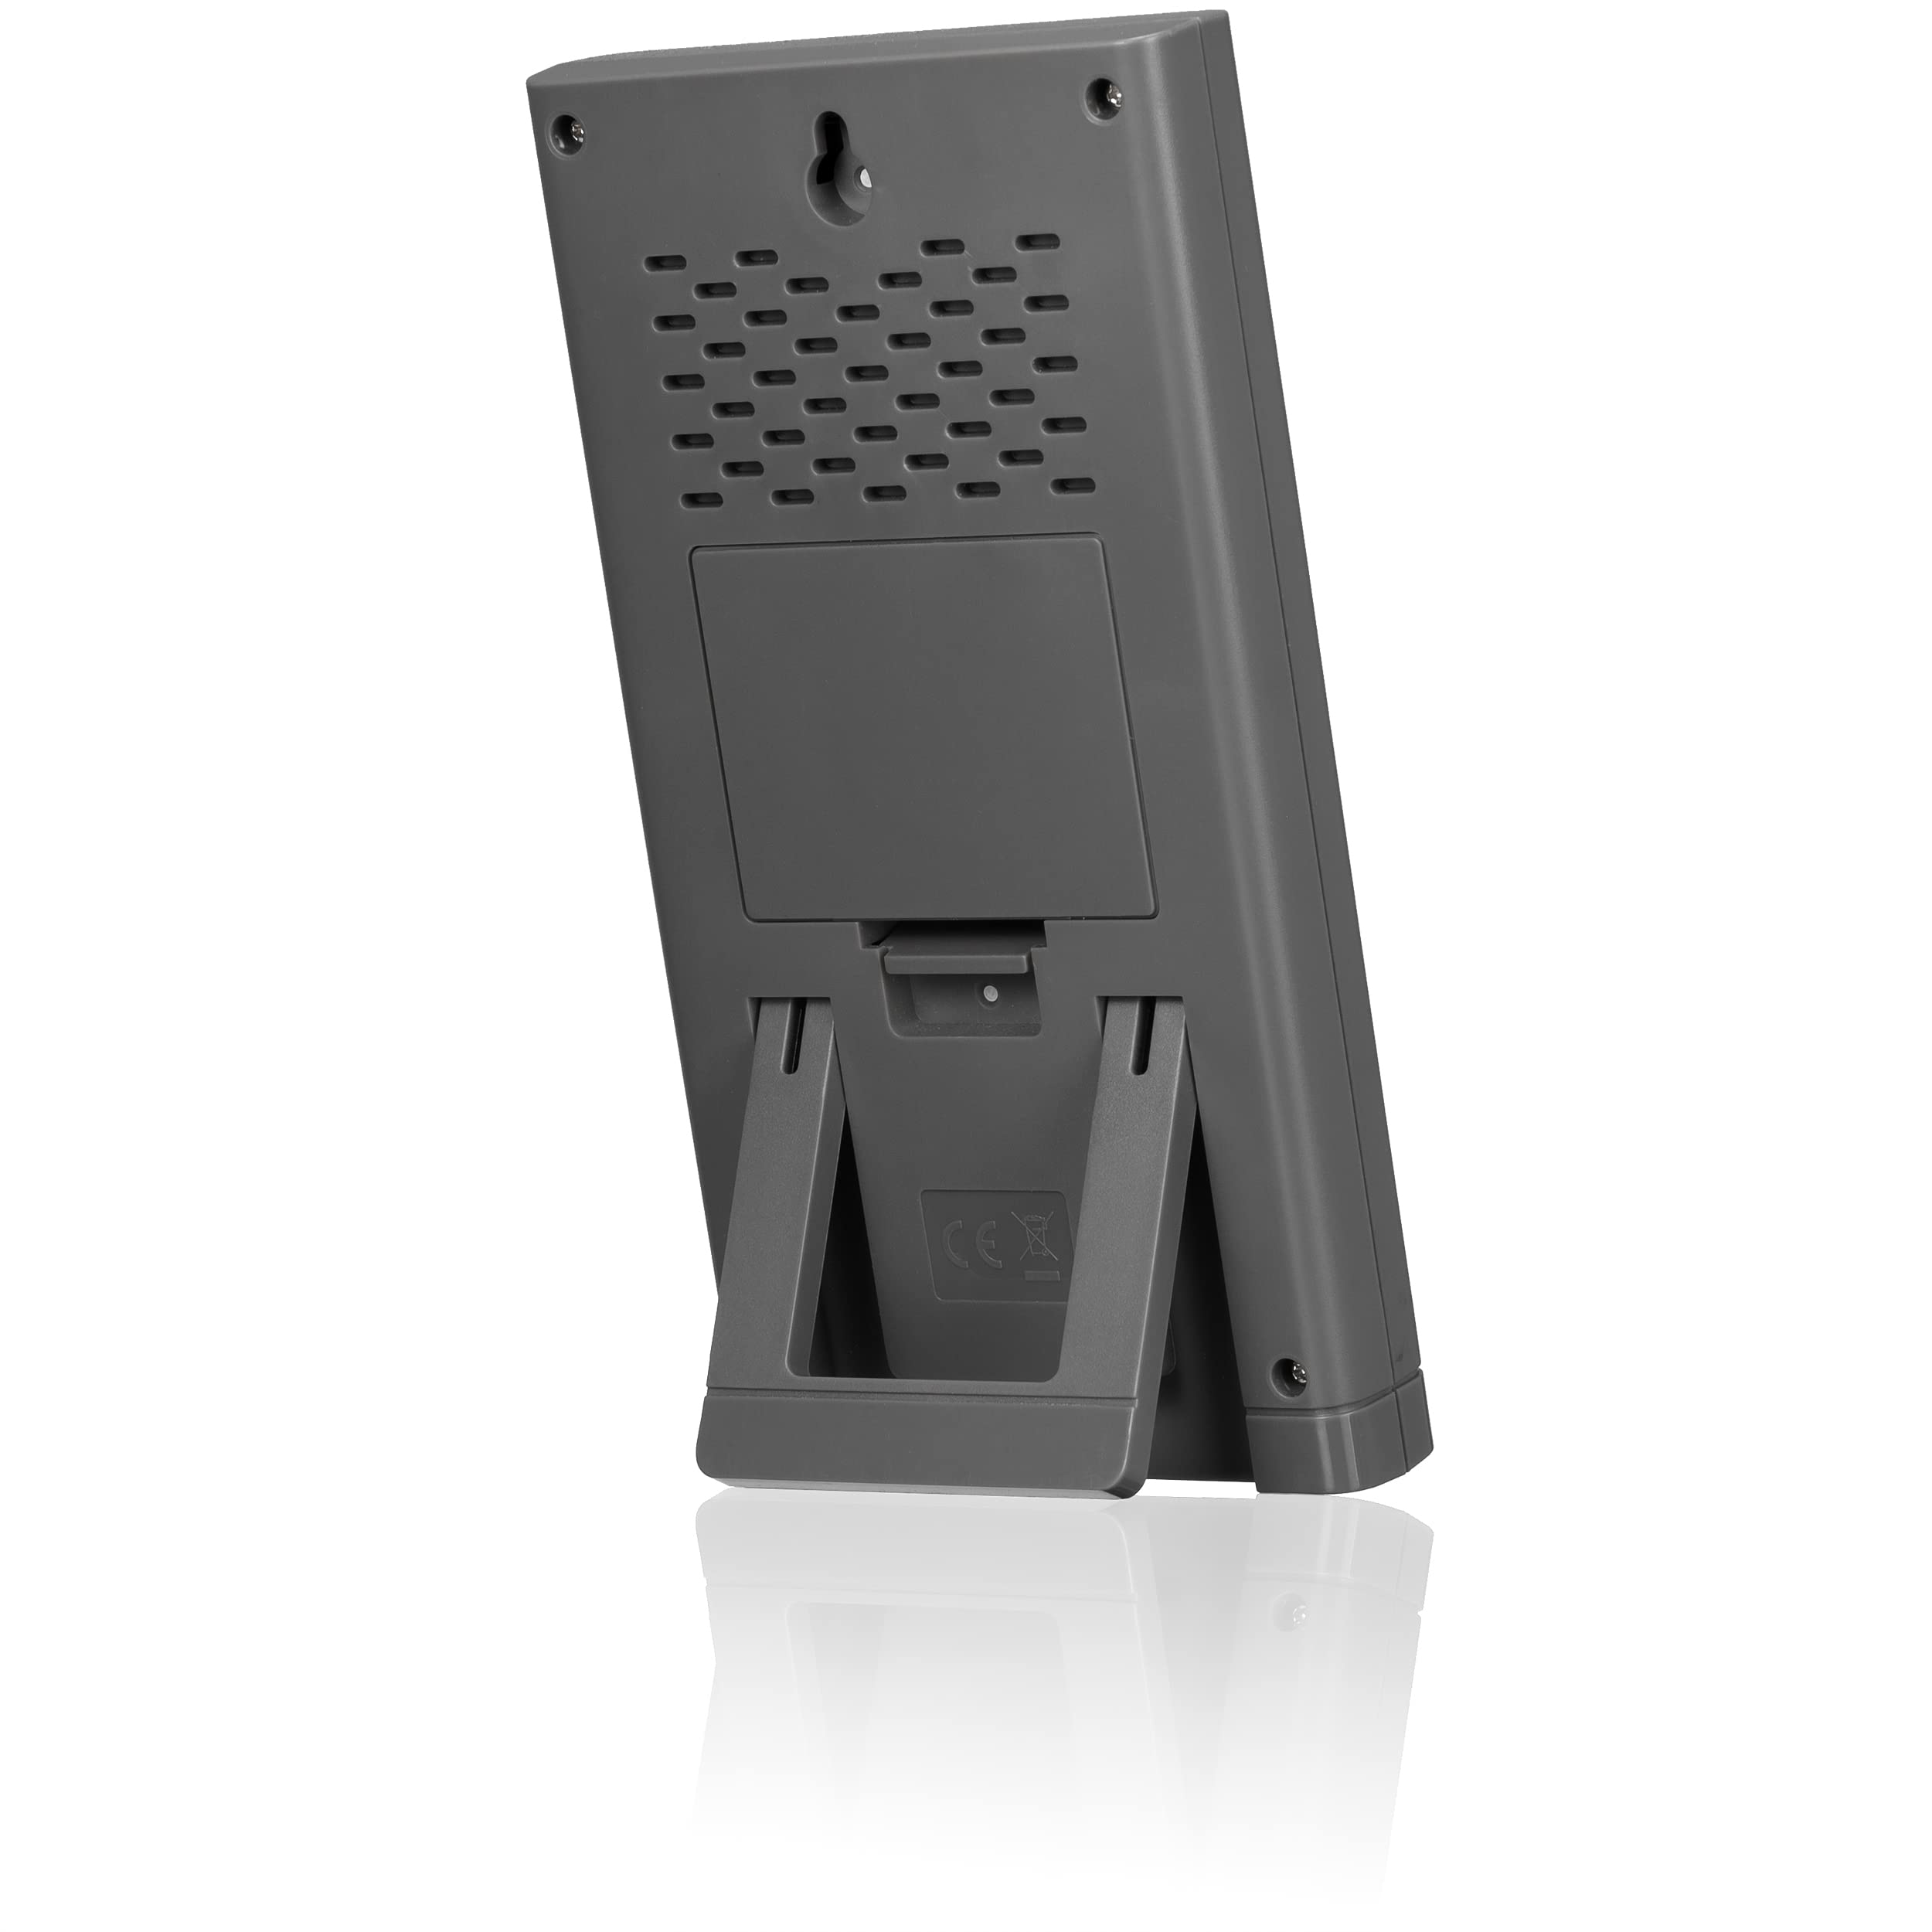
Billede 4.1: Bagsiden view of the BRESSER Meteo Temp main unit, showing the integrated fold-out stand and the battery compartment cover. A wall-mount hole is also visible at the top.
4.2 Battery Installation (Outdoor Sensor)
- Locate the battery compartment on the back of the outdoor sensor.
- Åbn batterirummets dæksel.
- Isæt 2 x AAA 1.5V batterier, og overhold den korrekte polaritet (+/-).
- Luk batterirummets dæksel forsvarligt.
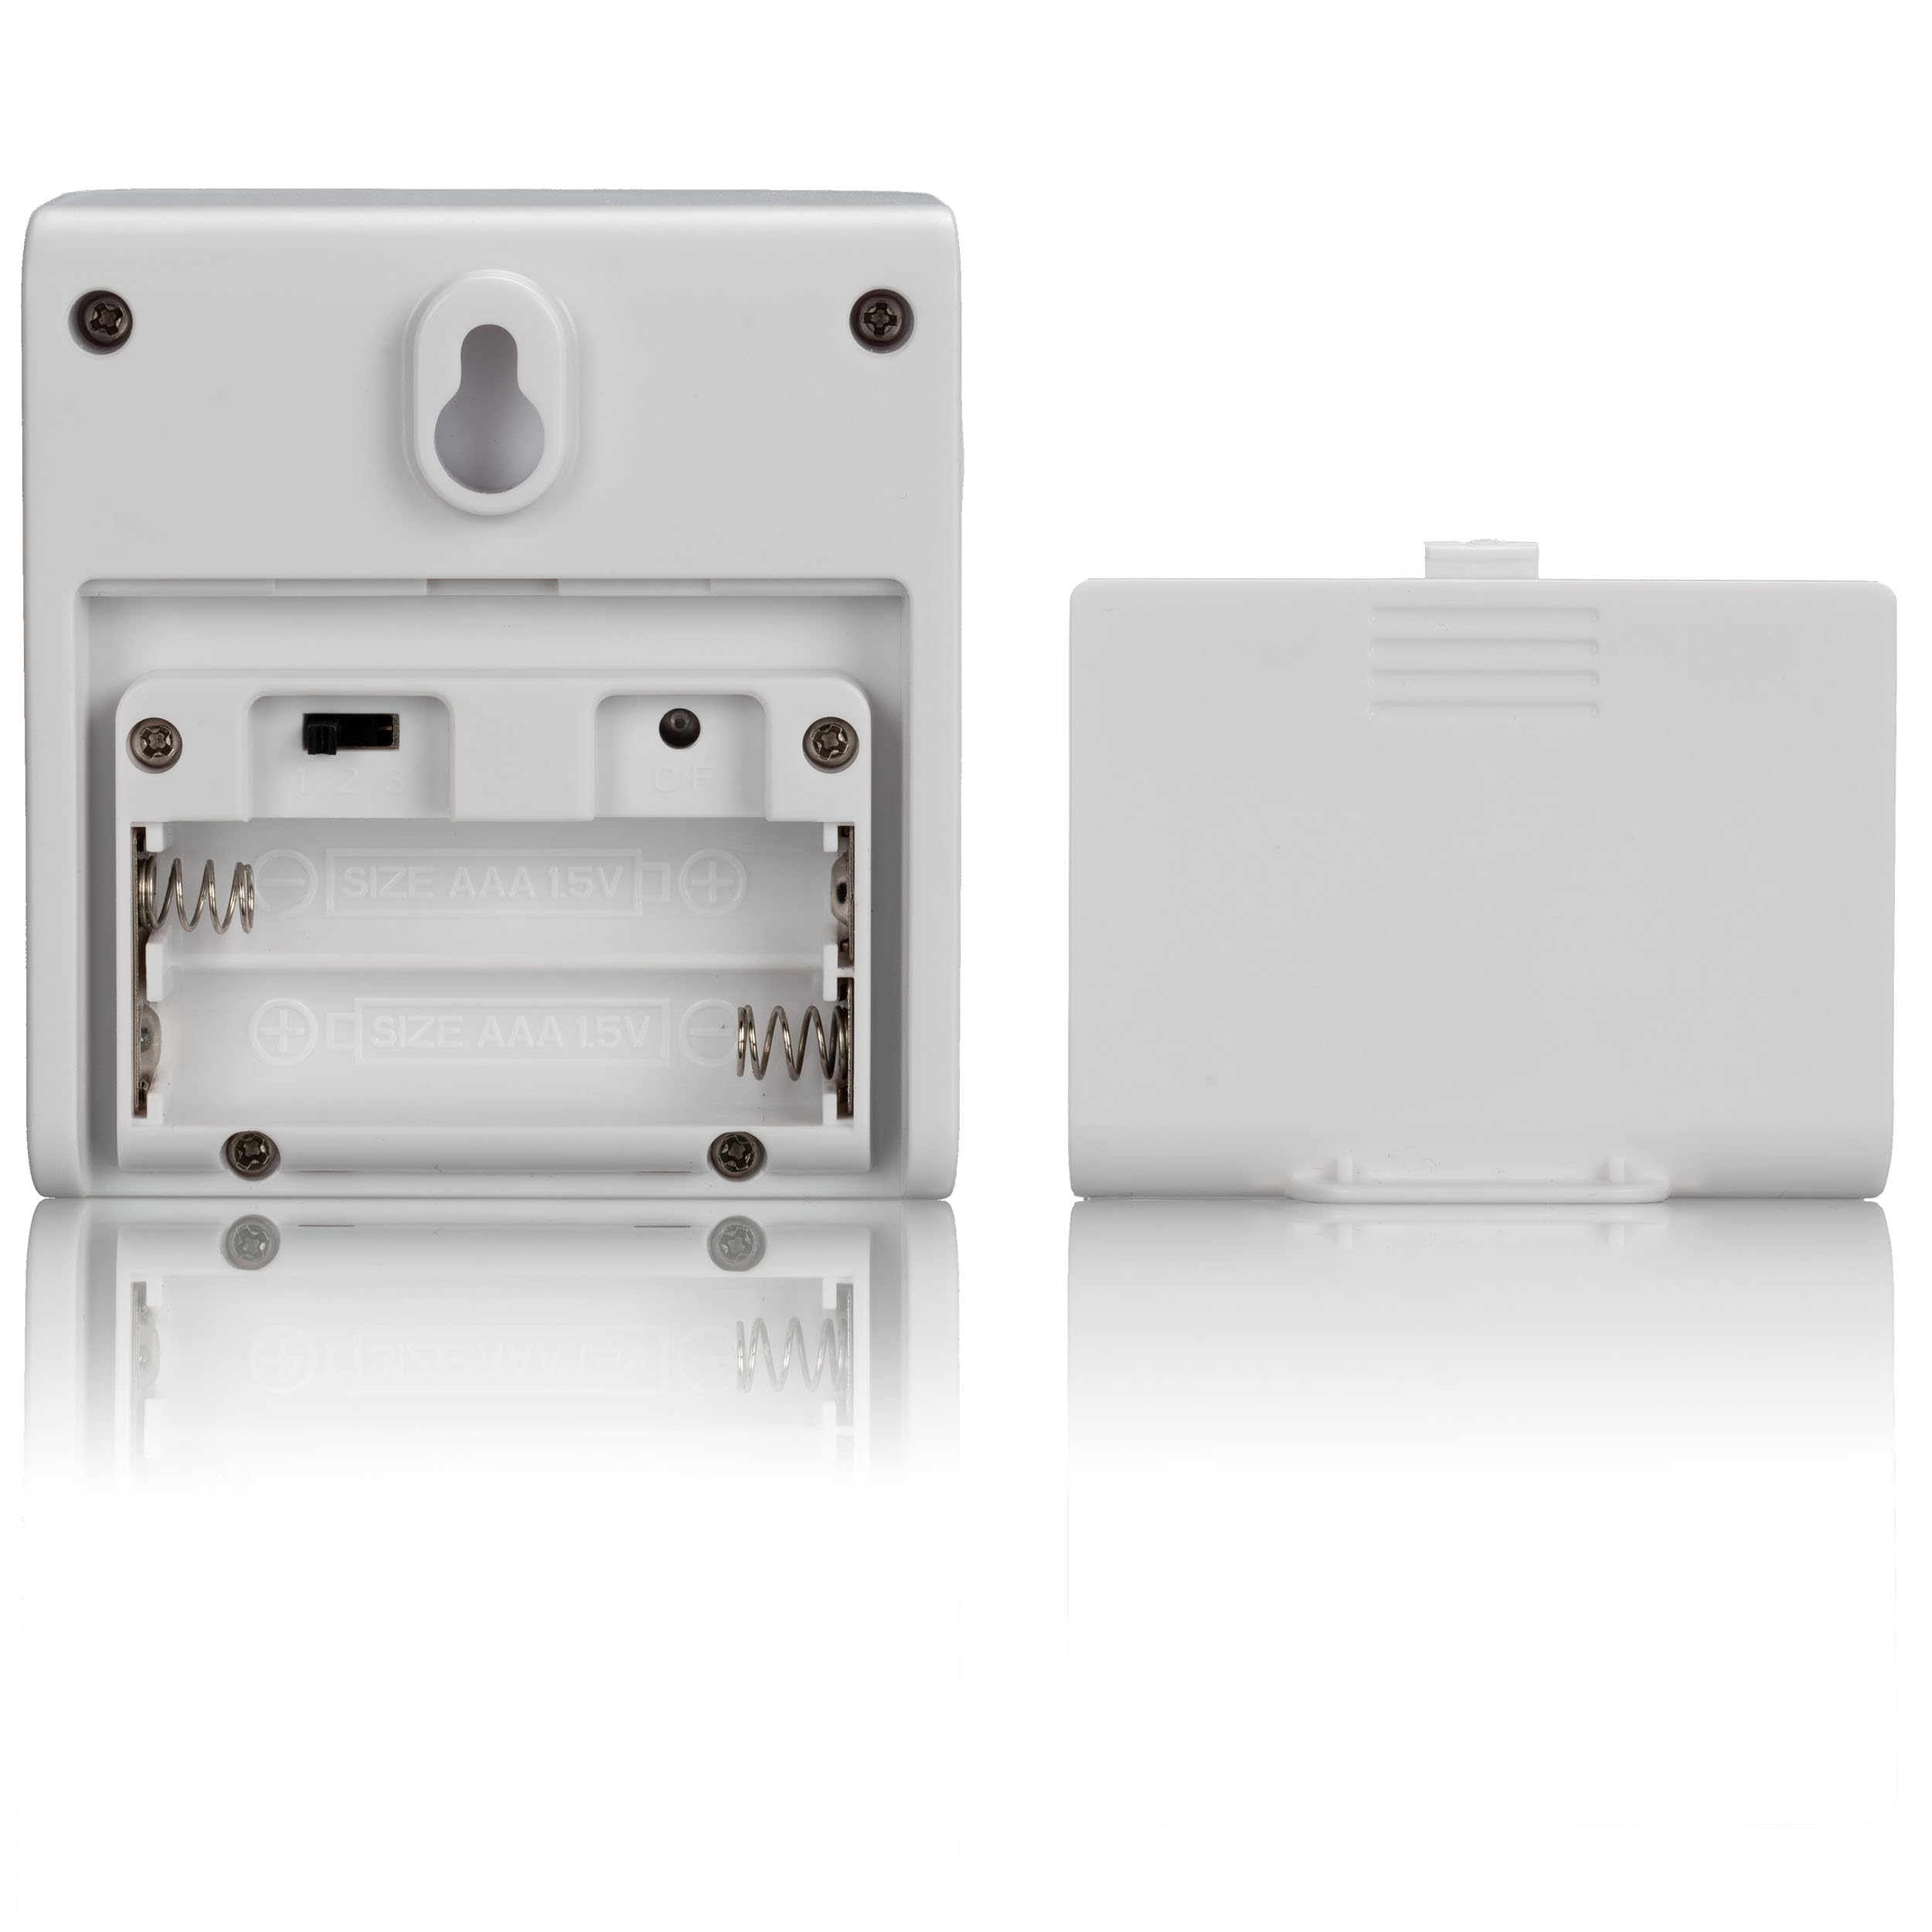
Billede 4.2: The open battery compartment of the BRESSER Meteo Temp outdoor sensor, revealing slots for two AAA 1.5V batteries. The cover is shown detached next to the sensor.
4.3 Sensorplacering
For accurate outdoor temperature readings, place the outdoor sensor in a location that is:
- Shaded: Avoid direct sunlight, which can cause artificially high temperature readings.
- Beskyttet: Shielded from direct rain and snow.
- Godt ventileret: Ensure good airflow around the sensor.
- Inden for rækkevidde: Ensure it is within the wireless transmission range of the main unit (typically up to 30 meters in open air).

Billede 4.3: An illustration showing the BRESSER Meteo Temp outdoor sensor mounted on an exterior wall, wirelessly transmitting data to the main unit placed indoors on a table. This demonstrates ideal placement for the sensor.
4.4 Synkronisering
After installing batteries in both units, the main unit will automatically attempt to connect with the outdoor sensor and receive the DCF radio signal for time and date. This process may take a few minutes. Ensure both units are within range of each other during initial setup.
5. Betjeningsvejledning
5.1 Vis information
Hovedenhedens display er opdelt i flere sektioner:
- Tid og dato: Located at the top, synchronized via DCF radio signal. Supports 12/24-hour format.
- Weather Trend: Graphic icons (e.g., sun, clouds, rain) indicate the predicted weather trend based on atmospheric pressure changes.
- Udendørs temperatur: Displayed prominently, labeled 'OUT'.
- Indendørs temperatur: Displayed prominently, labeled 'IN'.
5.2 Indstilling af klokkeslæt og dato
The device automatically sets the time and date via the DCF radio signal. If the signal is not received or you are outside the reception area, you can manually set the time and date using the buttons on the back of the main unit. Refer to the specific button functions for 'MODE', 'SET', and 'UP/DOWN' in the quick start guide or on the device itself.
5.3 Temperaturenheder
To switch between Celsius (°C) and Fahrenheit (°F), locate the °C/°F button, usually on the back or side of the main unit, and press it. The display will update accordingly.
5.4 Weather Trend Display
The weather trend icons provide a forecast for the next 12-24 hours based on changes in atmospheric pressure. These are predictions and may not always perfectly match actual weather conditions.
6. Vedligeholdelse
6.1 Pleje og rengøring
Rengør hovedenheden og udendørssensoren med en blød, tør klud.amp cloth. Do not use abrasive cleaners or solvents, as these can damage the surfaces and electronic components. Ensure no moisture enters the battery compartments or other openings.
6.2 Udskiftning af batteri
Replace batteries in both the main unit and outdoor sensor when the low battery indicator appears on the display. Always replace all batteries in a unit at the same time with new ones of the same type. Dispose of used batteries responsibly according to local regulations.
7. Fejlfinding
If you encounter issues with your BRESSER Meteo Temp Weather Station, refer to the following common problems and solutions:
| Problem | Mulig årsag | Løsning |
|---|---|---|
| No outdoor temperature reading | Outdoor sensor out of range or low battery. | Move sensor closer to main unit. Replace sensor batteries. Re-synchronize units. |
| Forkert tidspunkt/dato | DCF signal not received or interference. | Relocate main unit to a window or area with better reception. Manually set time/date if necessary. |
| Unøjagtig udetemperatur | Sensor udsat for direkte sollys eller varmekilde. | Relocate sensor to a shaded, well-ventilated area away from heat sources. |
| Skærmen er tom eller svag | Lave batterier i hovedenheden. | Udskift batterierne i hovedenheden. |
8. Specifikationer
Technical details for the BRESSER Meteo Temp Weather Station:
| Feature | Detalje |
|---|---|
| Modelnummer | 7004200QT5000 |
| Produktdimensioner | 3.27 x 6.18 x 0.79 tommer (hovedenhed) |
| Vægt | 7.05 ounce |
| Strømkilde (hovedenhed) | 2 x AAA batterier (medfølger ikke) |
| Strømkilde (udendørs sensor) | 2 x AAA batterier (medfølger ikke) |
| Forbindelsesteknologi | Wireless (WLAN) |
| Særlige funktioner | DCF Radio Signal Time/Date, Graphic Weather Trend, Fold-out Stand, Wall Mount |
| Farve | Grå |
| Materiale | Kunststof (Plastik) |
9. Garanti og support
9.1 Garantioplysninger
BRESSER products are manufactured with high-quality materials and undergo strict quality control. This product is covered by a manufacturer's warranty against defects in materials and workmanship. The specific warranty period and terms may vary by region and retailer. Please retain your proof of purchase for warranty claims.
9.2 Kundesupport
For technical assistance, warranty service, or to purchase replacement parts, please contact BRESSER customer support. Contact details can typically be found on the BRESSER official website or on the product packaging. When contacting support, please have your product model number (7004200QT5000) and proof of purchase readily available.


