1. Introduktion
Thank you for choosing the SITERWELL GS509A Photoelectric Smoke Detector. This manual provides essential information for the proper installation, operation, and maintenance of your smoke alarm. Please read these instructions thoroughly before installation and retain them for future reference. This device is designed to detect smoke and provide an audible warning in residential environments, helping to protect you and your family.
2. Vigtige sikkerhedsoplysninger
ADVARSEL: This smoke alarm is designed for residential use only. It is not intended for industrial or commercial applications.
ADVARSEL: Mal ikke røgalarmen. Maling kan tilstoppe sensorkamrene og forhindre alarmen i at fungere korrekt.
ADVARSEL: Regular testing is crucial. Test your smoke alarm weekly to ensure proper function.
VIGTIG: Smoke alarms cannot prevent fires. They are designed to provide early warning of a fire, giving you time to escape. Ensure all occupants know what to do in case of a fire and have an escape plan.
Placeringsovervejelser:
- Install smoke alarms on every level of your home, inside each sleeping area, and in the hallway outside of every sleeping area.
- Avoid installing in kitchens, bathrooms, or garages where cooking fumes, steam, or exhaust can cause nuisance alarms.
- Keep alarms away from air vents, fans, and other sources of air movement that could prevent smoke from reaching the sensor.
3. Pakkens indhold
Bekræft at alle varer er til stede i din pakke:
- UL 217 Smoke Alarm (GS509A)
- 1 x 9V Carbon Zinc Battery
- Brugervejledning (dette dokument)
- Mounting Hardware (2 plastic plugs, 2 screws)
- Magnetic Fastening Kit

Image: Contents of the SITERWELL GS509A package, including two smoke detectors, a 9V battery, and magnetic mounting pads.
4. Produktet er slutview
The SITERWELL GS509A is a photoelectric smoke alarm designed for reliable smoke detection. It features:
- Fotoelektrisk teknologi: More sensitive to slow smoldering fires that produce light smoke.
- Test/Mute-knap: Allows for easy testing of the alarm and silencing of nuisance alarms.
- Høj lydalarm: Emits a sound exceeding 85dB to alert occupants.
- Advarsel om lavt batteri: Provides an audible chirp to indicate when the battery needs replacement.
- Kompakt design: Measures approximately 3.93 inches (100mm) in diameter and 1.37 inches (35mm) in height.
- UL217-10th Listed: Meets the latest safety standards for smoke alarms.

Image: A hand holding the SITERWELL GS509A smoke detector, demonstrating its compact and stylish design.
5. Opsætning og installation
5.1 Batteriinstallation
- Twist the mounting bracket counter-clockwise to detach it from the alarm unit.
- Find batterirummet på bagsiden af alarmenheden.
- Connect the provided 9V battery to the battery clip, ensuring correct polarity (+ to + and - to -).
- Indsæt batteriet i rummet.
- Reattach the mounting bracket by aligning it and twisting clockwise until secure.

Billede: En intern view of the SITERWELL GS509A smoke detector, highlighting the photoelectric sensor and the 9V battery placement.
5.2 Monteringsmuligheder
The SITERWELL GS509A offers two installation methods:
Option A: Screw Mounting
- Choose a suitable location on a wall or ceiling, away from corners and obstructions.
- Use the mounting bracket as a template to mark the two screw holes. The installation hole spacing is 6.2 cm (2.44 inches).
- Drill two holes at the marked positions. Insert the plastic plugs into the holes.
- Fastgør monteringsbeslaget til væggen eller loftet med de medfølgende skruer.
- Attach the smoke alarm unit to the secured mounting bracket by aligning and twisting clockwise until it clicks into place.
Option B: Magnetic Fastening Kit
- Sørg for, at monteringsfladen er ren, tør og glat.
- Peel the protective backing from one side of the magnetic adhesive pad.
- Firmly press the adhesive side onto the back of the smoke alarm unit.
- Peel the protective backing from the other side of the magnetic adhesive pad.
- Press the smoke alarm firmly onto the desired wall or ceiling location. Hold for at least 30 seconds to ensure strong adhesion.

Image: Illustration of the two installation methods: secure screw mounting and quick magnetic adhesive pad installation.
6. Betjeningsvejledning
6.1 Indledende opstart
Once the battery is installed, the smoke alarm will perform a self-test. A short beep and a flash of the LED indicator confirm it is powered on and functioning.
6.2 Test af alarmen
Press and hold the 'TEST/SILENCE' button located on the front of the alarm for a few seconds. The alarm will sound a loud, pulsating siren, and the LED indicator will flash. Release the button to stop the alarm. This test confirms the alarm's electronics, battery, and horn are working. Test alarmen ugentligt.
6.3 Stilhedsfunktion (Hush-tilstand)
In case of a nuisance alarm (e.g., from cooking fumes), you can temporarily silence the alarm by pressing the 'TEST/SILENCE' button. The alarm will enter a temporary silence mode for approximately 10 minutes. The LED indicator will flash every few seconds to indicate it is in silence mode. After 10 minutes, the alarm will automatically reset to normal operation. If smoke is still present, the alarm will sound again.
6.4 Alarmindikation
When smoke is detected, the alarm will emit a loud, continuous siren (over 85dB) and the red LED indicator will flash rapidly. This indicates a fire emergency. Evacuate the premises immediately.
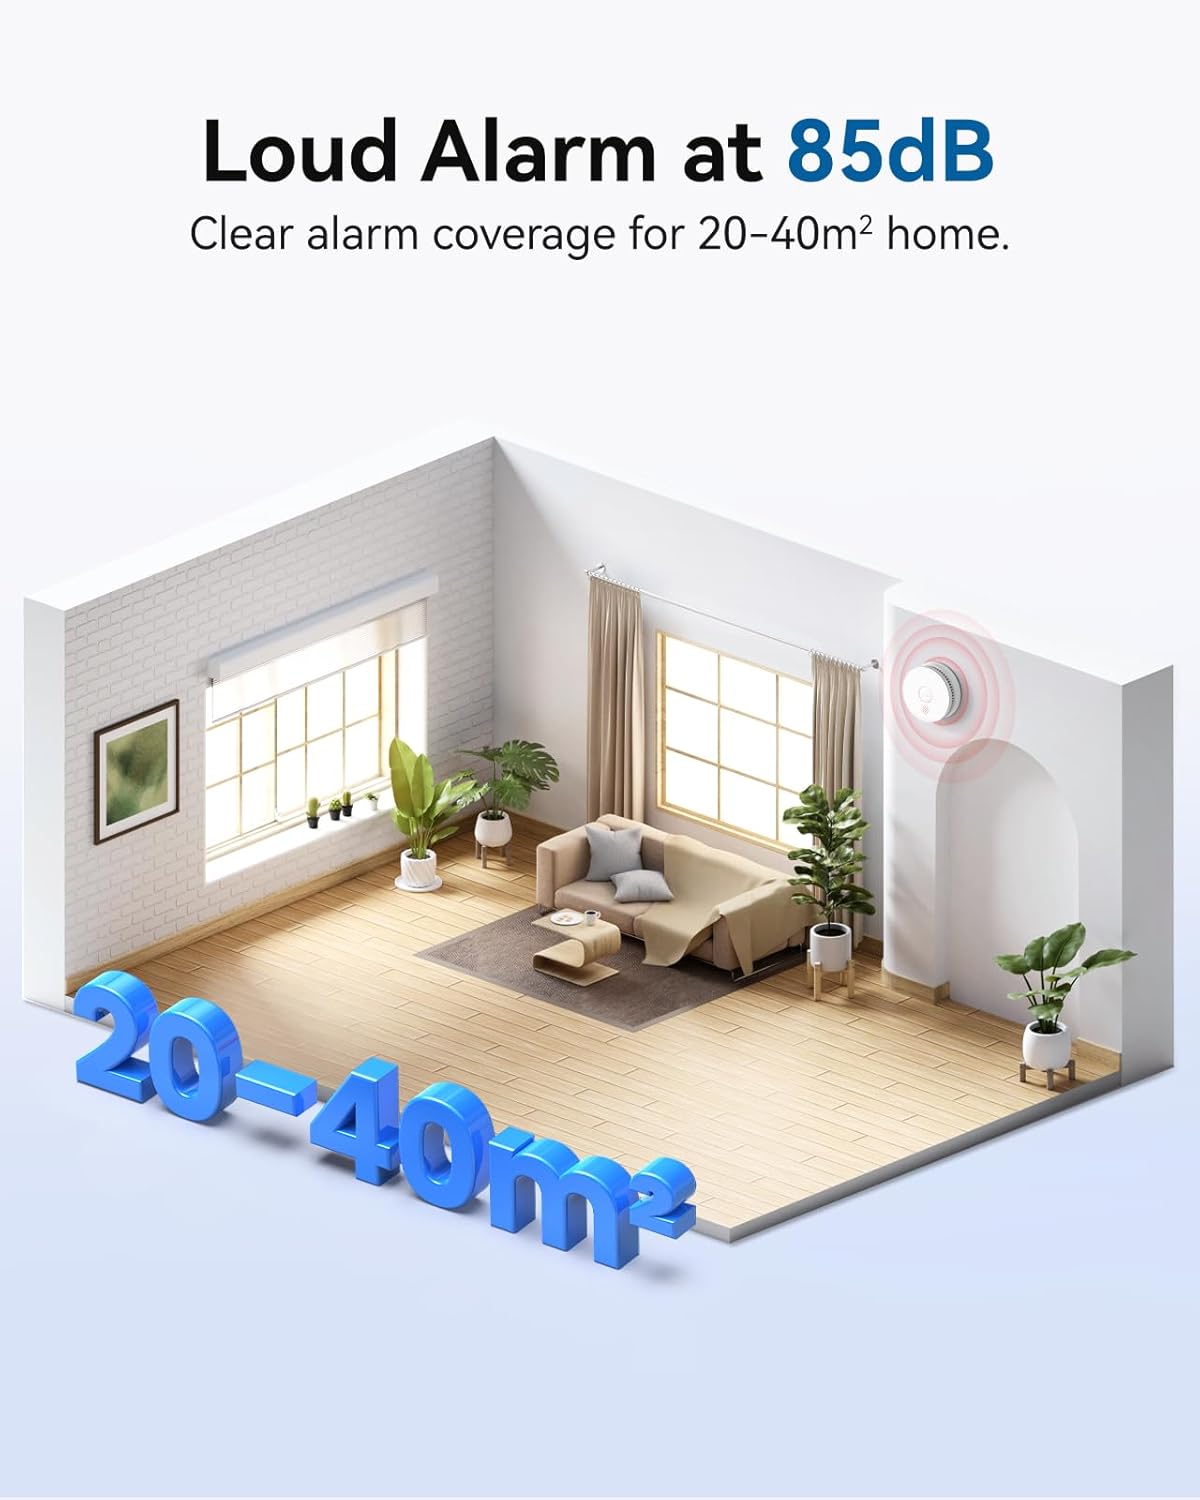
Image: Visual representation of the SITERWELL GS509A smoke detector's loud 85dB alarm covering a 20-40 square meter area.
6.5 Advarsel om lavt batteri
When the 9V battery is low, the alarm will chirp approximately once every 30-40 seconds, and the red LED indicator will flash. This indicates that the battery needs to be replaced immediately. Replace the battery as described in Section 5.1.
7. Vedligeholdelse
7.1 Regelmæssig testning
Test your smoke alarm weekly by pressing the 'TEST/SILENCE' button. If the alarm does not sound, replace the battery or the unit if necessary.
7.2 Udskiftning af batteri
The SITERWELL GS509A uses a replaceable 9V battery. While the product itself has a 10-year operational life, the included 9V carbon zinc battery typically lasts for approximately one year. When the low battery warning sounds (a chirp every 30-40 seconds), replace the battery immediately following the steps in Section 5.1. Use a fresh 9V battery from a reputable manufacturer.

Image: The SITERWELL GS509A smoke detector highlighting its 10-year product life and replaceable 9V battery.
7.3 Rengøring af din røgalarm
Dust and debris can accumulate on the smoke alarm and affect its performance. Clean your smoke alarm at least once a month:
- Gently vacuum the exterior of the alarm using a soft brush attachment.
- Wipe the cover with a clean, damp cloth. Do not use cleaning solvents or sprays.
- Mal aldrig alarmen.
8. Fejlfinding
| Problem | Mulig årsag | Løsning |
|---|---|---|
| Alarmen bipper hvert 30.-40. sekund | Lavt batteri | Udskift 9V-batteriet med det samme. |
| Alarm sounds frequently without smoke | Nuisance alarm (steam, cooking fumes, dust) | Press the 'TEST/SILENCE' button. Clean the alarm. Relocate the alarm if it's too close to kitchens or bathrooms. |
| Alarmen lyder ikke under testen | Dead or improperly installed battery; faulty unit | Check battery installation. Replace battery. If still not working, replace the alarm unit. |
| Alarm LED does not flash | Ingen strøm eller defekt enhed | Ensure battery is correctly installed and charged. If issue persists, replace the alarm unit. |
9. Specifikationer
| Feature | Specifikation |
|---|---|
| Model | GS509A |
| Mærke | SITERWELL |
| Strømkilde | 9V Battery (replaceable) |
| Sensortype | fotoelektrisk |
| Alarmhøjde | >85dB ved 3 meter |
| Produktdimensioner | 100 mm x 100 mm x 35 mm (3.93 cm D x 3.93 cm B x 1.37 cm H) |
| Varens vægt | 7.04 ounces (ca. 200 g) |
| Driftsfugtighed | 10-95% RF ikke-kondenserende |
| Øverste temperaturvurdering | 37.8 grader Celsius |
| Materiale | Polycarbonat |
| Certificeringer | UL217-10th Listed |
10. Garanti og support
The SITERWELL GS509A Photoelectric Smoke Detector is designed for a product life of 10 years. For specific warranty details or technical support, please refer to the official SITERWELL webwebstedet eller kontakt deres kundeservice direkte. Behold din købskvittering som købsbevis.
For yderligere hjælp, besøg venligst SITERWELL Store on Amazon.


