1. Vigtige sikkerhedsoplysninger
Læs venligst alle instruktioner omhyggeligt, inden du bruger dette produkt. Gem denne manual til senere brug.
- Bloker ikke ventilationsåbningerne. Sørg for tilstrækkelig luftgennemstrømning omkring projektoren.
- Udsæt ikke projektoren for regn eller fugt for at forhindre brand eller elektrisk stød.
- Brug kun tilbehør/tilbehør specificeret af producenten.
- Tag stikket ud af projektoren under tordenvejr eller når den ikke bruges i længere perioder.
- Overlad al service til kvalificeret servicepersonale.
2. Pakkens indhold
Bekræft at alle varer er til stede i din pakke:
- WEWATCH S3 4K Portable Projector
- Fjernbetjening
- Strømkabel
- HDMI kabel
- Brugermanual
3. Produktet er slutview
Familiarize yourself with the components and ports of your WEWATCH S3 projector.

Billede: Forside view of the WEWATCH S3 4K Portable Projector, showcasing dens slanke design og linse.
3.1. Porte og forbindelser
The projector features various ports for versatile connectivity:

Billede: Bagside view of the WEWATCH S3 projector, highlighting its various input and output ports including LAN, USB, HDMI, and audio jacks.
- LAN (x1): Til kabelbaseret netværksforbindelse.
- USB (x2): For connecting USB drives or other USB devices.
- HDMI (x2): For connecting external devices like laptops, gaming consoles, or streaming sticks.
- AU (Audio Out x1): Til tilslutning af eksterne lydenheder.
- AX (Audio In x1): Til lydindgang.
4. Opsætning
Follow these steps to set up your projector for the first time:
- Placering: Place the projector on a stable, flat surface or mount it securely. Ensure it is positioned to project onto a suitable screen or wall.
- Strømtilslutning: Tilslut strømkablet til projektorens strømindgang og derefter til en stikkontakt.
- Tænd: Tryk på tænd/sluk-knappen på projektoren eller fjernbetjeningen for at tænde for enheden.

Image: The WEWATCH S3 projector set up in a living room environment, projecting an image onto a screen, demonstrating typical home usage.
5. Betjeningsvejledning
5.1. Android TV-operativsystem
The WEWATCH S3 features an integrated Android TV system, providing direct access to popular streaming applications.

Image: A person using the remote control to navigate the Android TV interface projected onto a large screen, showing various streaming app icons like Prime Video, YouTube, and Netflix.
- Navigation: Use the remote control's directional buttons and OK button to navigate the Android TV interface.
- Appbrug: For optimal experience with certain applications (e.g., Netflix, YouTube), it is recommended to switch the remote control to mouse mode. After using the application, switch back to normal mode.
6. Forbindelse
6.1. Wi-Fi Connection (2.4G + 5G)
Connect your projector to a wireless network for internet access and screen mirroring.
- Navigate to the Wi-Fi settings in the Android TV menu.
- Vælg det ønskede netværk, og indtast adgangskoden.
- The projector supports both 2.4G and 5G Wi-Fi bands for fast and stable connections.
6.2. Bluetooth-forbindelse
Connect external Bluetooth speakers or headphones for enhanced audio, or use the projector as a Bluetooth speaker.

Image: A smartphone wirelessly connected to the WEWATCH S3 projector, demonstrating the 2.4G/5G Wi-Fi and Bluetooth dual-channel capabilities for seamless content streaming.
- Gå til Bluetooth-indstillinger.
- Par med din Bluetooth-enhed.
- The projector can also function as a standalone Bluetooth speaker when connected to a phone.
6.3. HDMI- og USB-forbindelser
Tilslut eksterne enheder via HDMI- eller USB-porte.
- Insert the HDMI cable into one of the projector's HDMI ports and the other end into your device (e.g., laptop, game console).
- Insert a USB drive into a USB port to access media files.
7. Nøglefunktioner
7.1. Electronic Focus
Adjust the image clarity easily using the remote control.

Image: A hand holding the projector's remote control, pointing to the F+/F- buttons used for electronic focus adjustment, with a clear projected image of a tiger cub.
- Brug F+ og F- buttons on the remote control to fine-tune the focus until the image is sharp.
7.2. 4-Point Keystone Correction
Correct distorted images to achieve a perfectly rectangular projection, regardless of the projector's angle.
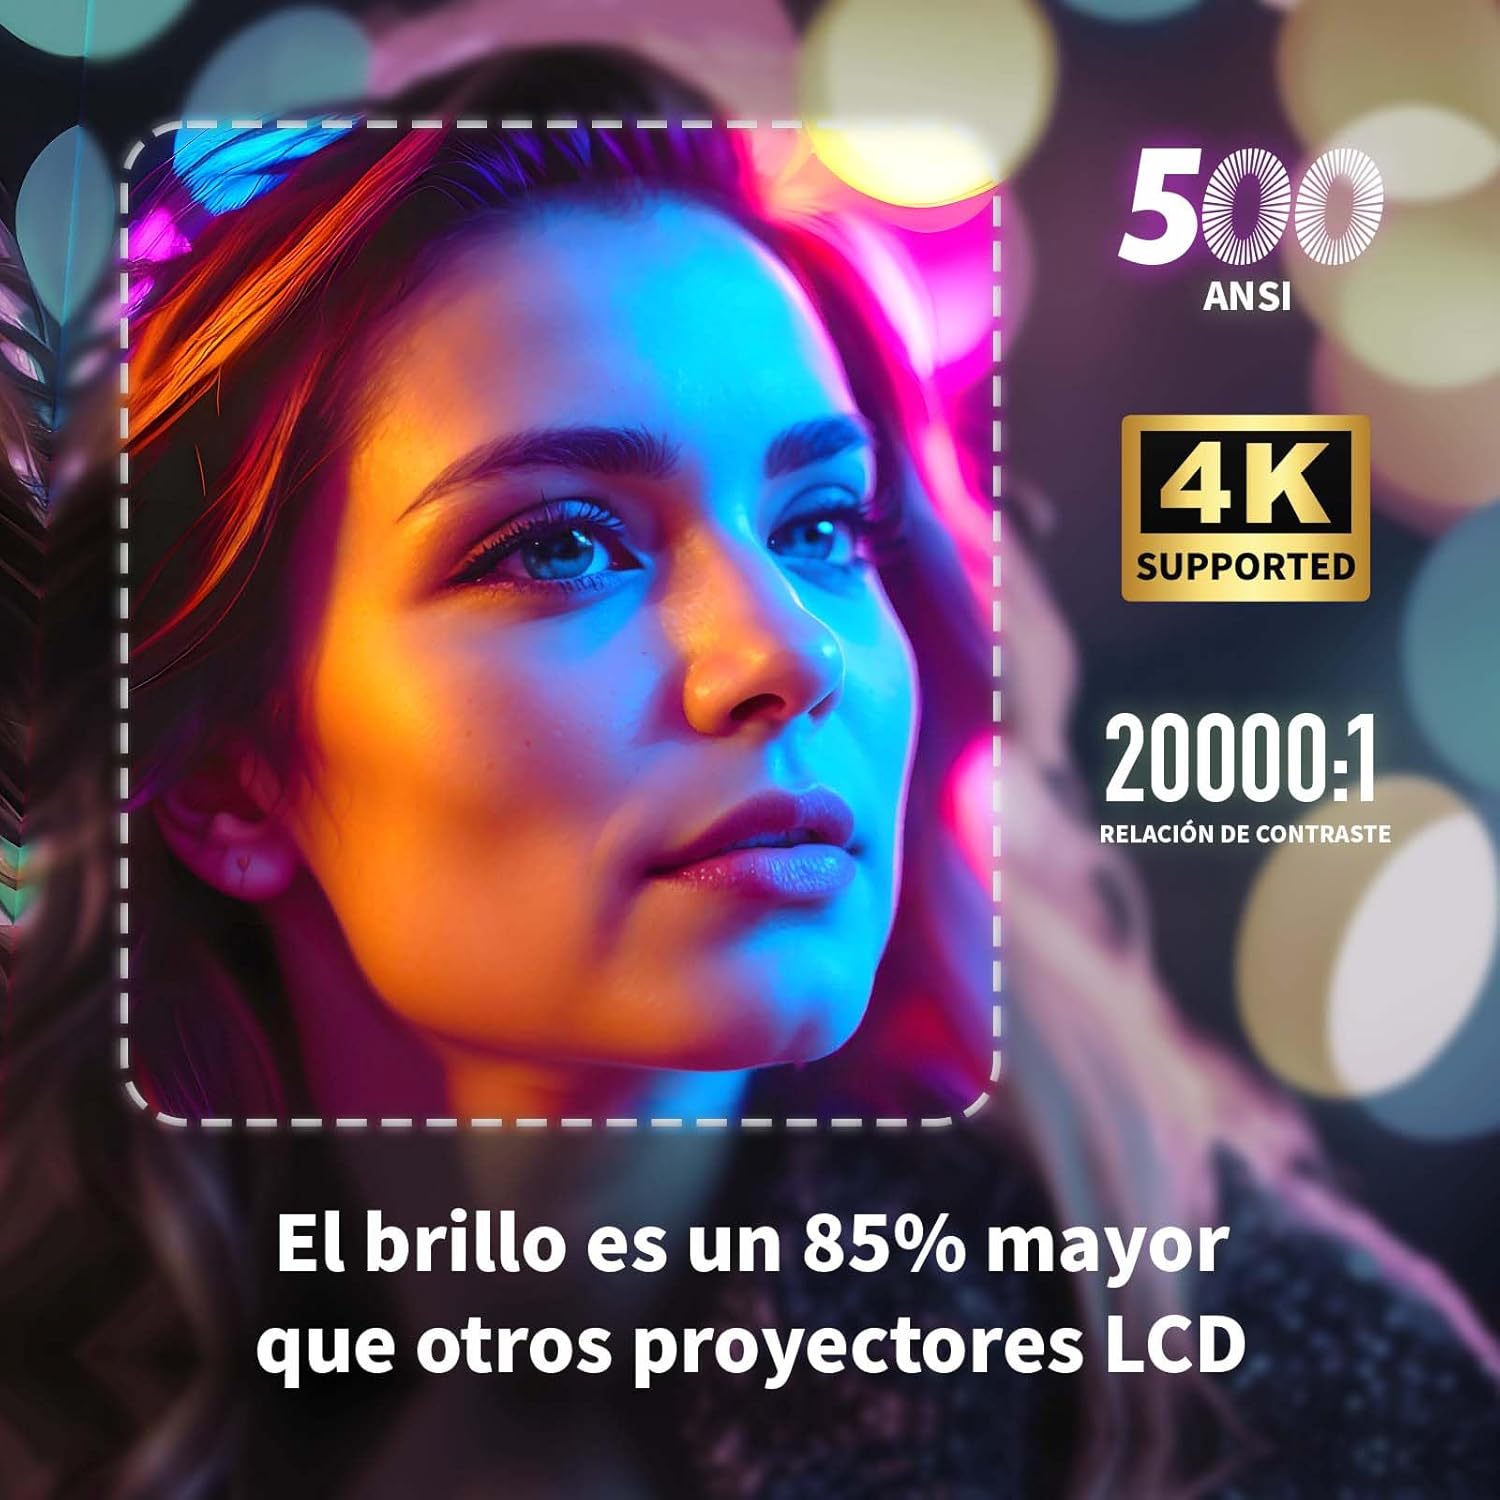
Image: A projected image of a woman's face with a dotted outline demonstrating how 4-point keystone correction adjusts the image to be perfectly rectangular, even when projected at an angle.
- Access the keystone correction settings in the menu to adjust each corner of the image independently.
- The projector also supports automatic vertical keystone correction.
7.3. Zoomfunktion
Juster billedstørrelsen uden at flytte projektoren.

Image: A visual representation of the projector's zoom function, showing how the image size can be reduced from 100% to 50% without physically moving the projector.
- The zoom function allows you to reduce the image size from 100% to 80%.
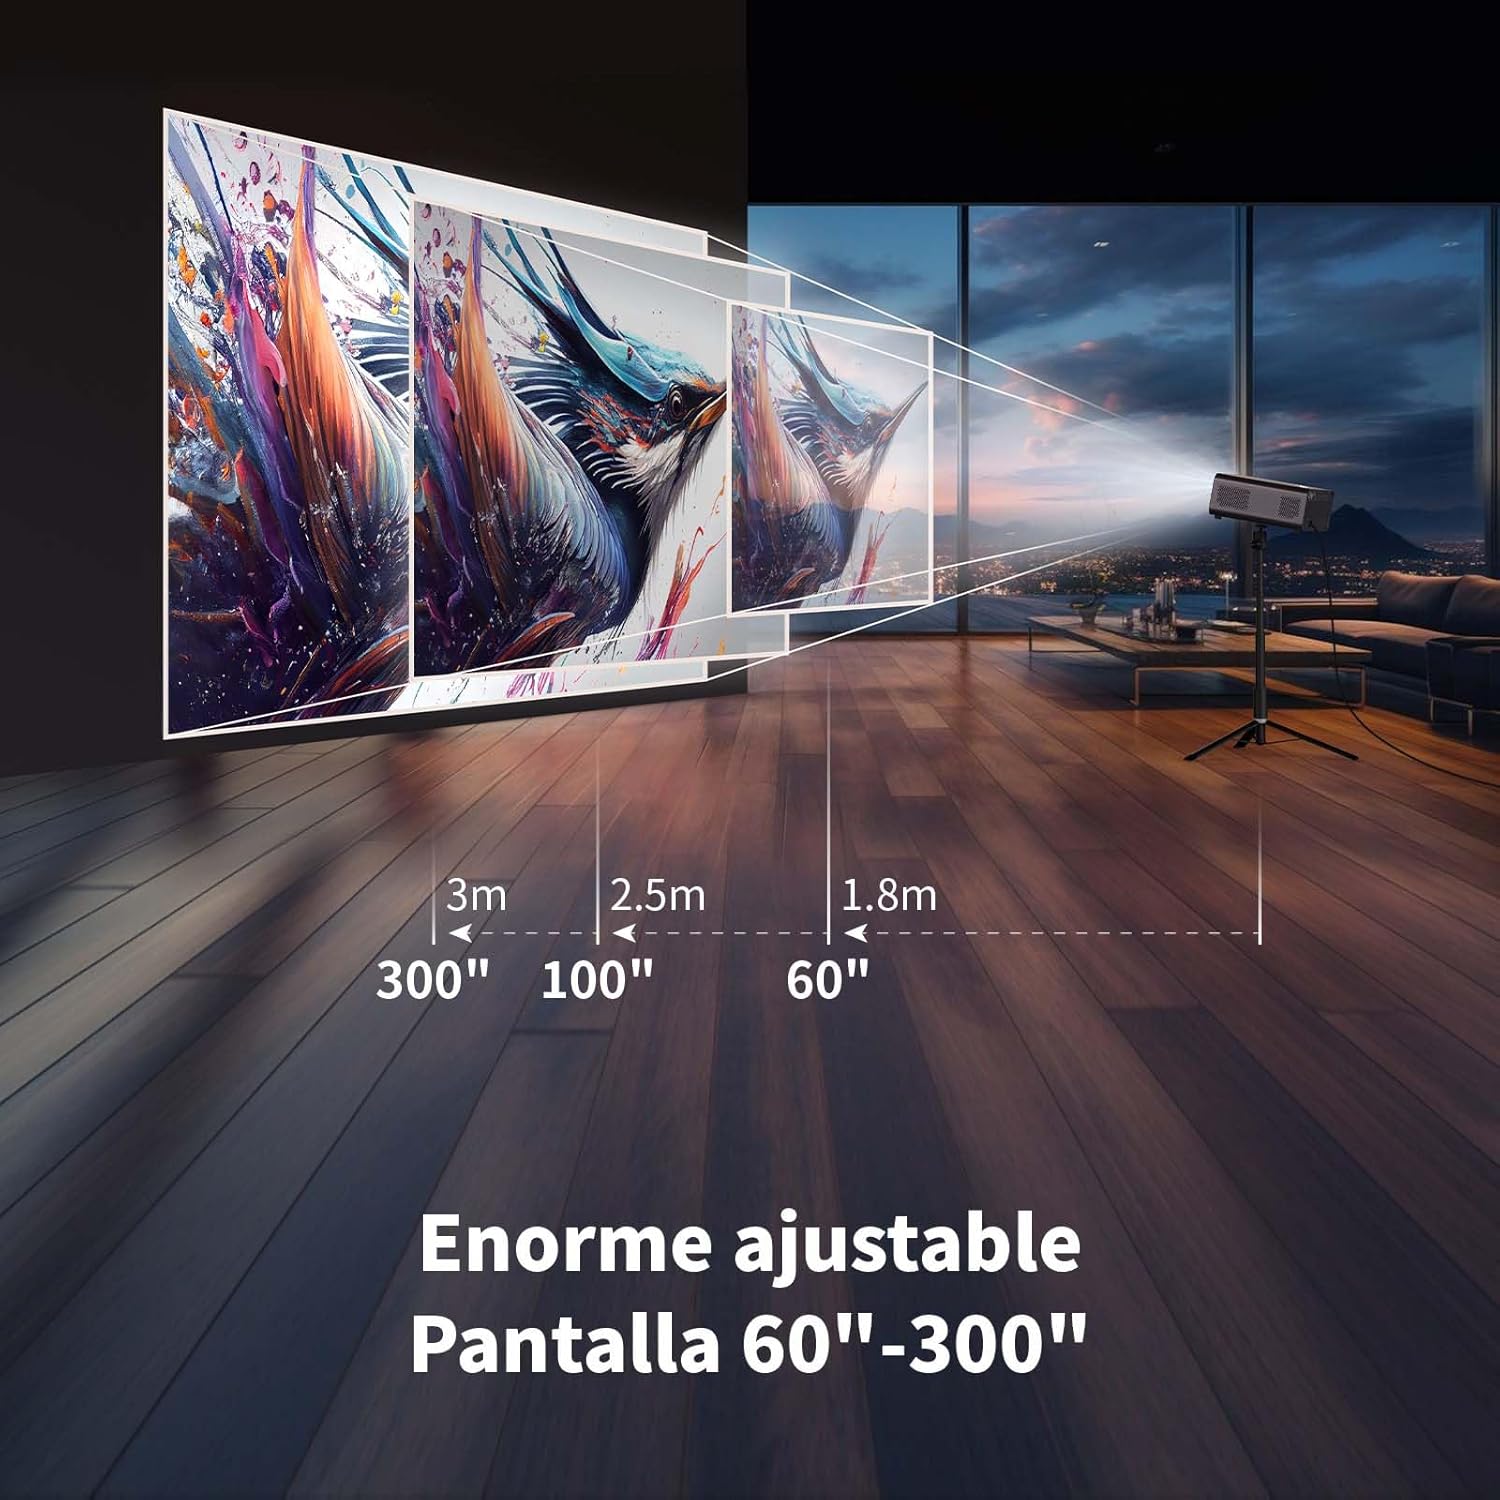
7.4. Large Screen Projection
Oplev fordybende viewing with a large adjustable screen size.

Image: A large projected image of an astronaut on a snowboard, illustrating the 300-inch screen capability of the projector in a home cinema setting.
- The projector can produce an adjustable screen size from 60 inches to 300 inches, suitable for various viewing miljøer.
8. Vedligeholdelse
8.1. Dust-Proof Design and Cleaning
The projector features a dust-proof design with a hidden dust box to prevent dust accumulation.
Billede: Et nærbillede view of the projector's hidden dust box, showing the filter inside, and an illustration of airflow, emphasizing the importance of regular cleaning to prevent dust from entering the device.
- Regularly clean the dust box to maintain optimal performance and prevent dust from affecting the image quality.
- Brug en blød, tør klud til at rengøre projektorens yderside.
- Brug ikke flydende rengøringsmidler eller aerosoler.
9. Fejlfinding
Hvis du støder på problemer med din projektor, kan du se følgende almindelige problemer og løsninger:
| Problem | Mulig løsning |
|---|---|
| Intet billede projiceret | Check power connection. Ensure input source is correctly selected (HDMI, USB, etc.). Verify lens cap is removed. |
| Billedet er sløret | Adjust electronic focus using the F+/F- buttons on the remote. Ensure the projection surface is flat. |
| Billedet er forvrænget (trapezformet) | Use 4-point keystone correction in the settings menu to adjust the image corners. Check for automatic vertical correction. |
| Ingen lyd | Check volume settings on the projector and connected device. Ensure external speakers are properly connected or Bluetooth is paired. |
| Problemer med Wi-Fi-forbindelse | Ensure Wi-Fi is enabled. Re-enter Wi-Fi password. Restart the projector and router. Try connecting to a different Wi-Fi band (2.4G or 5G). |
10. Specifikationer
Key technical specifications for the WEWATCH S3 Projector:
- Mærke: VI SER
- Modelnummer: S3
- Farve: Røget grå
- Produkttype: Bærbar projektor
- Lysstyrke: 500 ANSI Lumens
- Native Display Resolution: 1920 x 1080 (Fuld HD)
- Maksimal skærmopløsning: 3840 x 2160 (4K understøttet)
- Kontrastforhold: 20000:1
- Skærmtype: LED
- Forbindelse teknologi: Bluetooth, Ethernet, HDMI, USB, Wi-Fi (2.4G/5G)
- Særlige funktioner: Wi-Fi Compatible, Digital Keystone Correction, Built-in Speaker, Auto Focus, Portable
- Kompatible enheder: Speaker, Laptop, Smartphone, Tablet
- Produktdimensioner: 24.3L x 24.9W x 10.5H centimeter
- Anbefalede anvendelser: Home Cinema, Video Games, Professional, Education
11. Garanti og support
The WEWATCH S3 Projector comes with a manufacturer's warranty to ensure your peace of mind.
- Producentens garanti: 2 år
- For technical support or warranty claims, please refer to the contact information provided with your purchase documentation or visit the official WEWATCH webwebsted.


