1. Introduktion
This manual provides detailed instructions for the safe and efficient use of your Phomemo A30 Thermal Transfer Label Printer. Please read this manual thoroughly before operating the device and retain it for future reference.
Produkt overview
The Phomemo A30 is a compact, portable thermal transfer label printer designed for various labeling needs. It connects wirelessly via Bluetooth to smartphones and tablets, offering ink-free printing with customizable designs.

Image 1.1: The Phomemo A30 Label Printer, showcasing its design and various label outputs.
Nøglefunktioner
- Thermal Transfer Printing: Utilizes thermal transfer technology for durable, ink-free labels.
- Bluetooth-forbindelse: Seamless wireless connection to compatible smart devices.
- Bærbart design: Compact and lightweight for easy transport and use.
- Genopladeligt batteri: Built-in 1200mAh battery for cordless operation.
- Holdbare etiketter: Labels are resistant to water, oil, and abrasion, suitable for indoor and outdoor use.
- Versatile Label Types: Supports pre-cut, continuous, patterned, magnetic, fabric iron-on, glitter, and luminous labels.
- Smart app-integration: Features the 'Print Master' app with extensive customization options, including fonts, symbols, and templates.
2. Opsætning
2.1 Udpakning og pakkeindhold
Pak forsigtigt alle dele ud af kassen. Sørg for, at følgende komponenter er til stede:
- Phomemo A30 Label Printer
- Roll Paper for Printer (pre-installed or separate)
- Brugervejledning (dette dokument)
- USB-kabel (Type-C)
2.2 Opladning af printeren
Before first use, fully charge the printer. Connect the provided USB Type-C cable to the printer's charging port and a compatible USB power adapter (not included). The indicator light will show charging status.
2.3 Appinstallation
The Phomemo A30 operates via the 'Print Master' application. Download the app from your device's app store (iOS or Android) or scan the QR code provided in the quick start guide (if applicable).
2.4 Bluetooth -parring
- Sørg for, at printeren er tændt.
- Aktiver Bluetooth på din smartphone eller tablet.
- Open the 'Print Master' app.
- Within the app, search for available devices and select 'Phomemo A30' to connect. The app will indicate a successful connection.

Image 2.1: The Phomemo A30 printer demonstrating intelligent connectivity with a smartphone and laptop.
2.5 Loading Label Cartridge
The A30 printer uses label cartridges. Open the printer cover, insert the label cartridge according to the directional indicators, and ensure it clicks into place. Close the cover. The printer automatically recognizes compatible consumables within the supported size of 12mm (0.47 inch) width.
3. Betjeningsvejledning
3.1 Tænd/sluk
- Tænd: Press and hold the power button until the indicator light illuminates.
- Sluk: Tryk på tænd/sluk-knappen, og hold den nede, indtil indikatorlampen slukker.
3.2 Using the 'Print Master' App
The 'Print Master' app is your primary interface for creating and printing labels. It offers a wide range of customization options:
- Tekstinput: Enter desired text for your labels.
- Skrifttyper og stilarter: Choose from over 200 built-in fonts and adjust size, bold, italic, etc.
- Symbols & Icons: Access over 600 symbols to enhance your labels.
- Skabeloner: Utilize 200+ border templates and various pre-designed label templates for quick creation.
- QR Codes & Barcodes: Generate and print QR codes or barcodes directly from the app.
- Images & Timestamps: Insert images or add timestamps til dine etiketter.

Image 3.1: The 'Print Master' app interface, illustrating the extensive customization options available.
3.3 Udskrivningsproces
- Design your label within the 'Print Master' app.
- Ensure the printer is connected via Bluetooth.
- Tap the 'Print' button in the app.
- The printer will feed and print the label.
3.4 Using the Built-in Cutter
After printing, use the integrated paper cutter to cleanly separate the label from the roll. Slide the cutter lever across the label exit slot to achieve a straight edge.
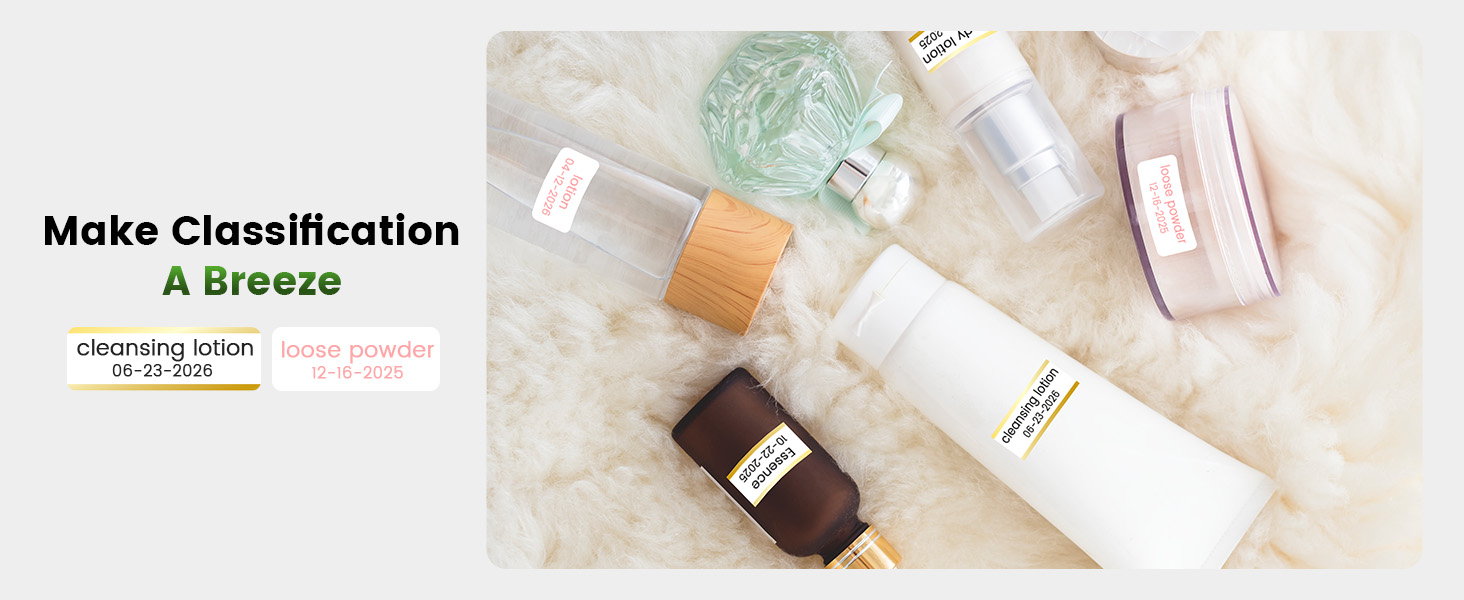
3.5 Understøttede etikettyper og anvendelser
The A30 supports a wide range of label types, expanding its utility:
- Pre-cut/Continuous Labels: Standard labels for general use.
- Patterned Labels: Labels with decorative designs.
- Refrigerator Magnetic Labels: For organizing items on magnetic surfaces.
- Fabric Iron-on Labels: For clothing and textile identification.
- Glitter Labels: For decorative purposes.
- Luminous Labels: Labels that glow in the dark for visibility in low light.

Image 3.2: The Phomemo A30 printer customizing gift ribbons with personalized content.
Billede 3.3: Eks.ample of magnetically sticking labels on a refrigerator for organization.
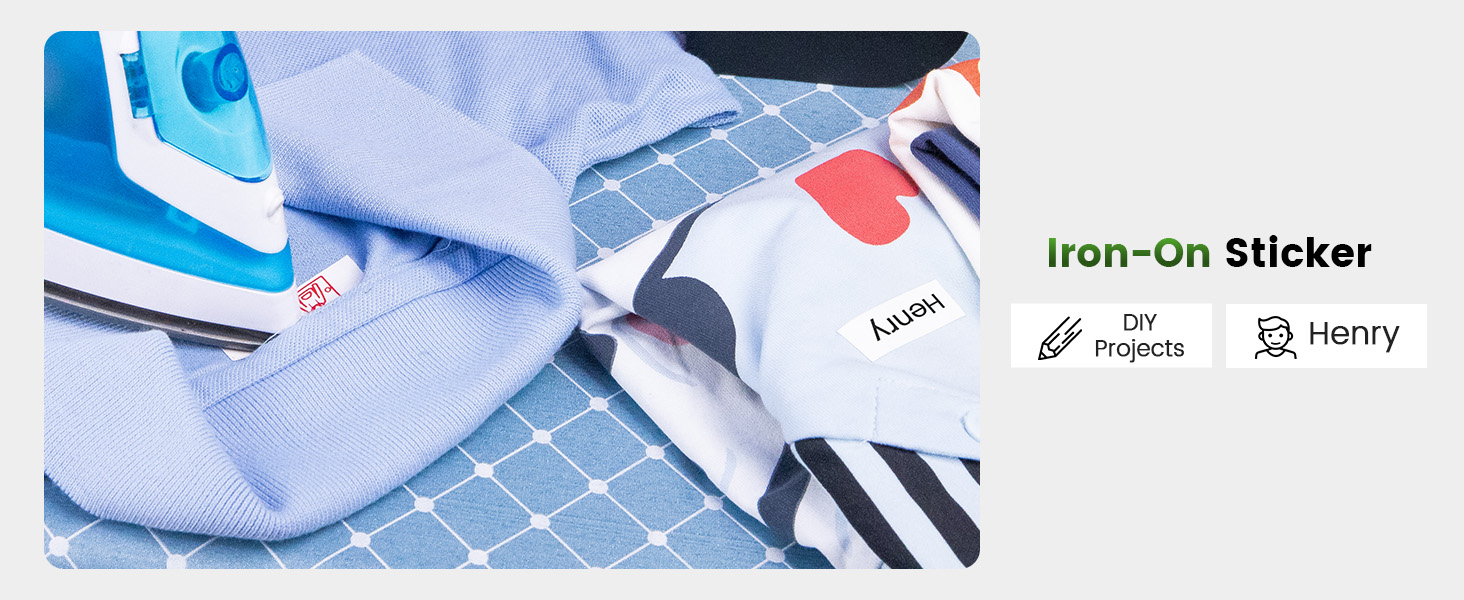
Image 3.4: Luminous labels applied to light switches for easy identification in the dark.

Image 3.5: An iron-on sticker being applied to clothing, demonstrating its use for fabric labeling.
4. Vedligeholdelse
4.1 Rengøring af printerhovedet
For at sikre optimal udskriftskvalitet skal du regelmæssigt rengøre det termiske printhoved. Brug en blød, fnugfri klud, der er let tørret.ampened with isopropyl alcohol. Gently wipe the print head surface. Ensure the printer is off and cool before cleaning.
4.2 Pleje af batterier
- Undgå at aflade batteriet helt ofte.
- Charge the printer regularly, even if not in use, to maintain battery health.
- Do not expose the printer to extreme temperatures, as this can affect battery life.
4.3 Opbevaring
Store the printer in a cool, dry place away from direct sunlight and excessive dust. If storing for an extended period, ensure the battery is partially charged (around 50%) and recharge every few months.
5. Fejlfinding
This section addresses common issues you might encounter with your Phomemo A30 printer.
| Problem | Mulig årsag | Løsning |
|---|---|---|
| Printeren tænder ikke | Lavt batteri; Tænd/sluk-knappen er ikke trykket korrekt ind | Charge the printer; Press and hold the power button firmly. |
| Kan ikke oprette forbindelse via Bluetooth | Bluetooth off on device; Printer not in pairing mode; App issue | Ensure Bluetooth is enabled; Restart printer and app; Try pairing again. |
| Dårlig udskriftskvalitet (svag, sløret) | Snavset printhoved; Forkert etikettype; Lavt batteriniveau | Clean the print head (see Section 4.1); Ensure correct thermal transfer labels are used; Charge the printer. |
| Etiketter fremføres ikke korrekt | Label cartridge improperly installed; Label jam | Reinstall the label cartridge; Open cover and clear any jammed labels. |
| App features require subscription | Some advanced templates/features are premium | Utilize free features or consider purchasing a subscription if desired. |
If the issue persists, please refer to the 'Print Master' app's help section or contact Phomemo customer support.
6. Specifikationer
| Feature | Detalje |
|---|---|
| Mærke | Phomemo |
| Modelnavn | A30 (M836) |
| Udskrivningsteknologi | Termisk overførsel |
| Forbindelsesteknologi | Bluetooth |
| Hardware-interface | USB Type C |
| Printer output | Monokrom |
| Max Print Speed Monokrom | 5 ppm |
| Maksimal sort-hvid udskriftsopløsning | 203 dpi |
| Kompatible enheder | Smartphones, Tablets (Android, iOS) |
| Max mediestørrelse | 15 mm |
| Ark størrelse | 14 millimeter |
| Printerblæktype | No Ink (Thermal Transfer) |
| Batterier | 1 A batteri påkrævet (medfølger) |
| Produktdimensioner | 8.27 x 1.85 x 2.56 tommer |
| Varens vægt | 5.6 ounces (160 gram) |
| Inkluderede komponenter | Label Printer, Roll Paper for Printer, User Manual, USB Cable |
7. Garanti og support
7.1 Garantioplysninger
The Phomemo A30 Thermal Transfer Label Printer comes with a limited warranty. Please refer to the warranty card included in your package or the official Phomemo website for specific terms and conditions regarding warranty coverage and duration.
7.2 Kundesupport
For technical assistance, troubleshooting not covered in this manual, or warranty claims, please contact Phomemo customer support through their official webwebstedet eller de kontaktoplysninger, der følger med din produktdokumentation.


