1. Introduktion
Thank you for choosing the VECYS Bottom Loading Water Dispenser. This manual provides important information regarding the installation, operation, maintenance, and troubleshooting of your new appliance. Please read it thoroughly before use and retain it for future reference.
This water dispenser is designed to provide hot, cold, and room temperature water from 3 or 5-gallon water bottles, featuring a convenient bottom-loading design, child safety lock, and a self-cleaning function.
2. Sikkerhedsoplysninger
WARNING: To reduce the risk of injury and property damage, you must read this entire guide before assembling, installing, and operating the dispenser.
- Always place the dispenser on a level surface.
- Brug ikke dispenseren med en beskadiget netledning eller stik.
- Ensure the dispenser is properly grounded.
- Hold dispenseren væk fra direkte sollys og varmekilder.
- Nedsænk ikke dispenseren, ledningen eller stikket i vand eller andre væsker.
- Tag stikket ud af dispenseren, før du rengør eller udfører vedligeholdelse.
- The hot water faucet is equipped with a child safety lock. Always engage the lock when not in use to prevent accidental hot water dispensing.
- Dette apparat er ikke beregnet til brug af personer (inklusive børn) med nedsatte fysiske, sensoriske eller mentale evner, eller mangel på erfaring og viden, medmindre de er blevet under opsyn eller instruktion i brugen af apparatet af en person, der er ansvarlig for deres sikkerhed. .
3. Produktet er slutview
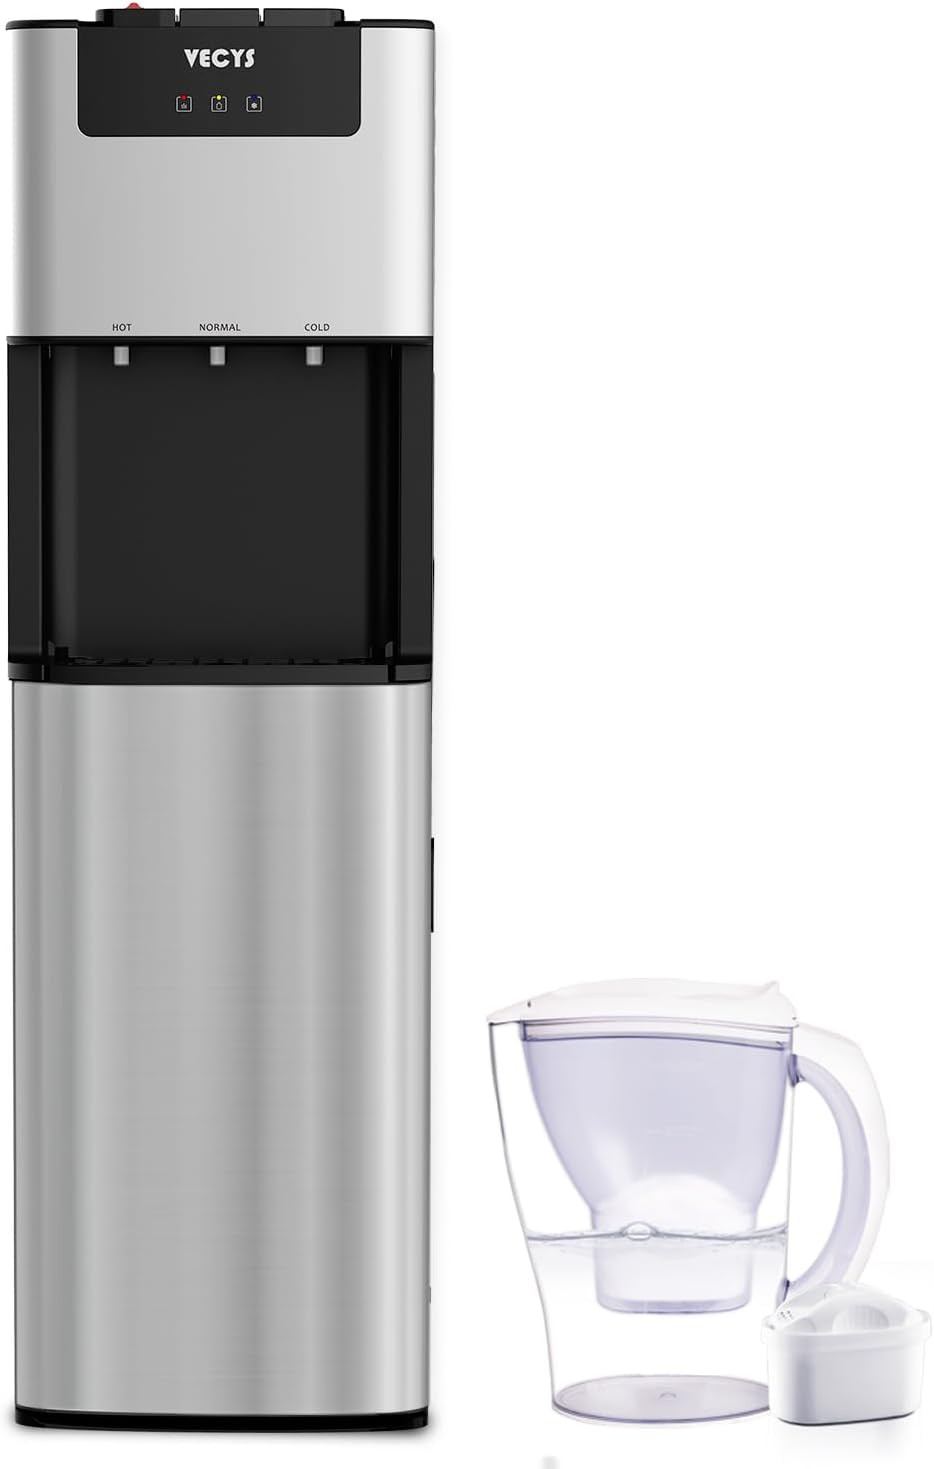
Figur 3.1: Forside view of the VECYS Bottom Loading Water Dispenser.
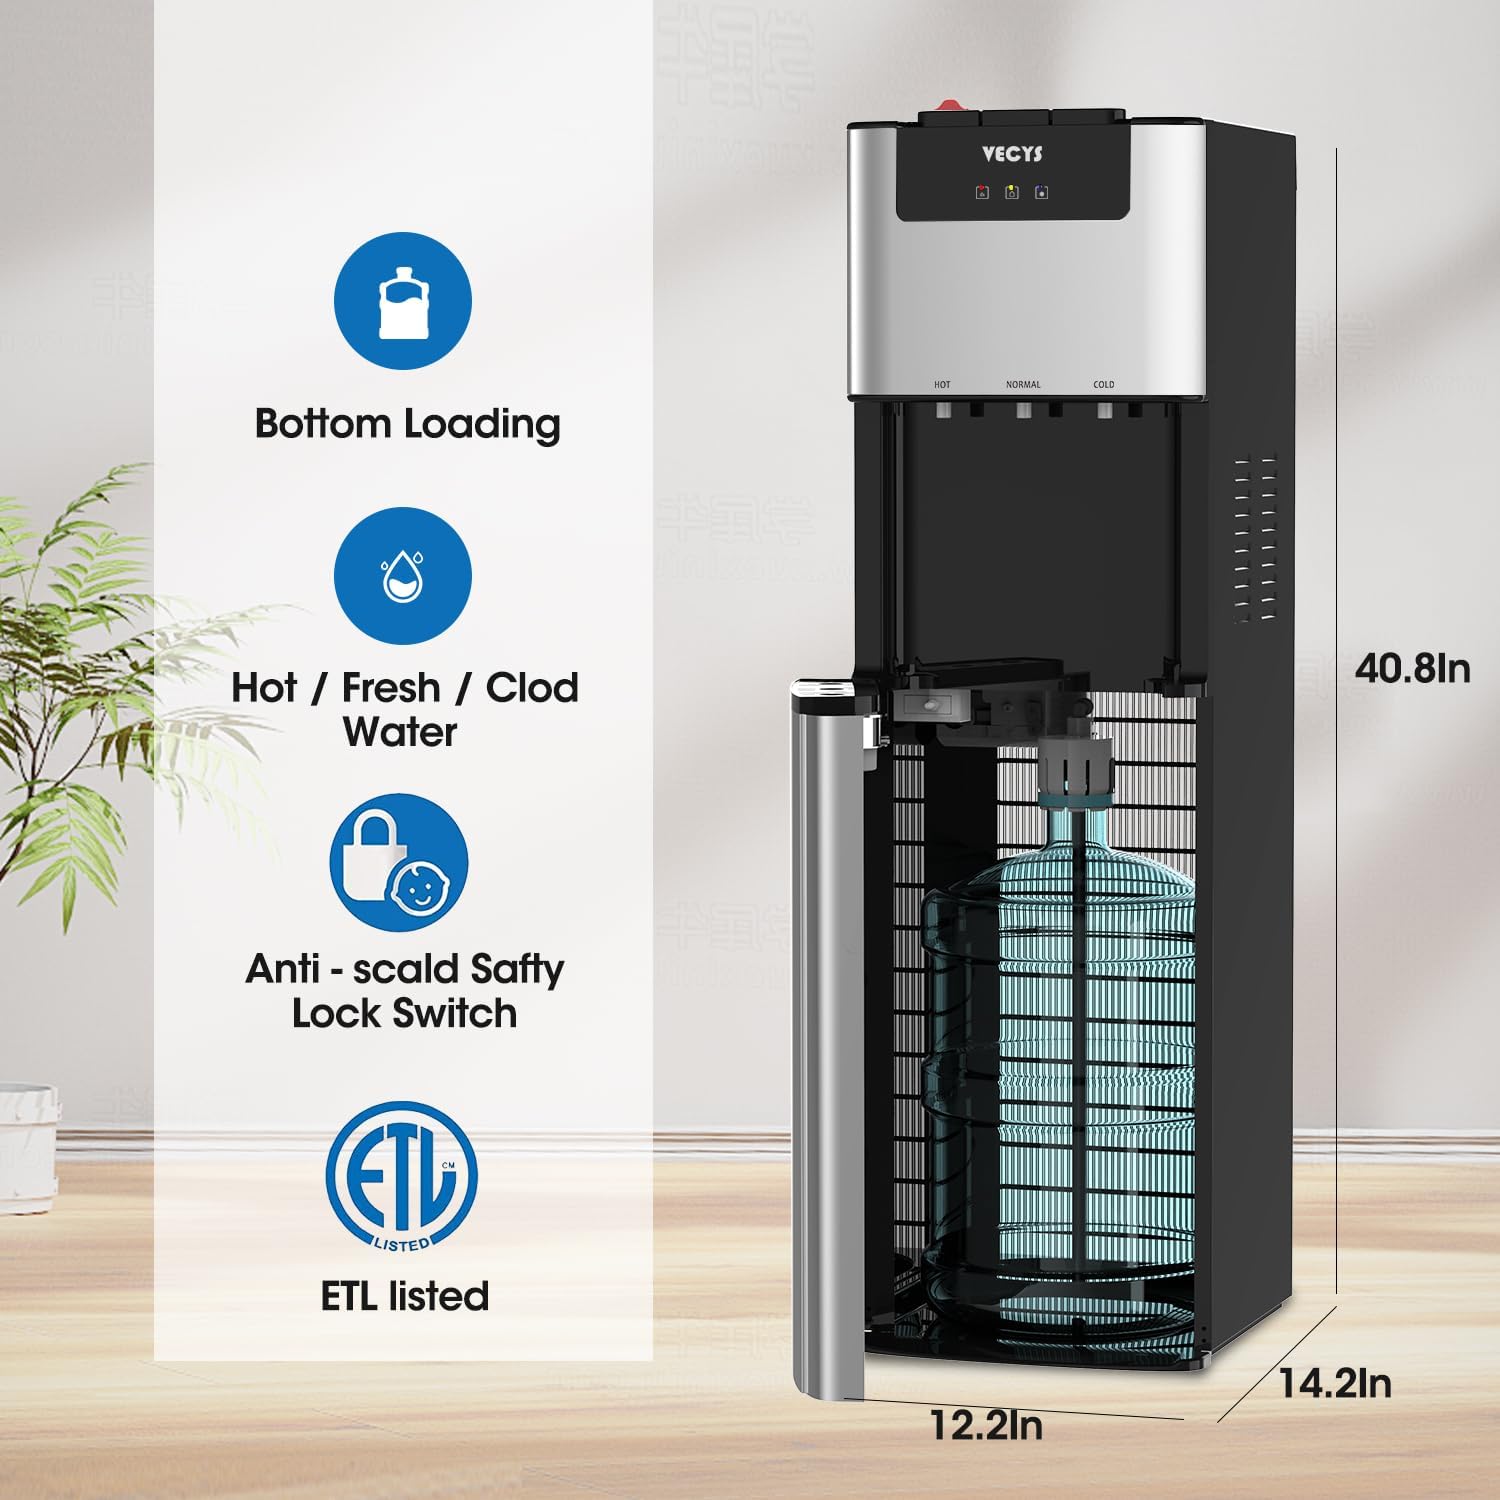
Figur 3.2: Side view of the VECYS Water Dispenser showing key features and dimensions (40.8in H x 14.2in W x 12.2in D).
Nøglekomponenter:
- Kontrolpanel: Features LED indicators for power, heating, and cooling status.
- Dispensing Faucets: Separate faucets for hot, room temperature, and cold water.
- Børnesikringslås: Located on the hot water faucet.
- Drypbakke: Aftagelig for nem rengøring.
- Nederste læsserum: Houses the 3 or 5-gallon water bottle.
- Strømledning: Til elektrisk tilslutning.
4. Opsætning
4.1 Udpakning
- Tag forsigtigt dispenseren ud af emballagen.
- Undersøg enheden for eventuelle forsendelsesskader. Hvis den er beskadiget, må den ikke anvendes, og du skal kontakte kundesupport.
- Fjern alle emballagematerialer, inklusive beskyttelsesfilm eller -tape.
4.2 Placering

Figure 4.1: The water dispenser can be placed in various indoor environments such as offices or homes.
- Place the dispenser on a hard, level surface that can support its weight when full.
- Ensure there is at least 4 inches of clearance from the back and sides of the dispenser to a wall to allow for proper ventilation.
- Undgå at placere dispenseren i direkte sollys eller i nærheden af varmegenererende apparater.
- Do not place the dispenser in an enclosed area or cabinet.
4.3 Water Bottle Installation (Bottom Loading)
- Åbn dispenserens nederste kabinetdør.
- Fjern hætten fra en ny 3- eller 5-gallons vandflaske.
- Insert the water intake tube (probe) into the opening of the water bottle. Ensure the tube reaches the bottom of the bottle.
- Slide the water bottle into the lower cabinet.
- Luk skabslågen forsvarligt.
4.4 Initial Priming and First Use
- After installing the water bottle, plug the dispenser into a grounded electrical outlet.
- Allow the dispenser to sit for at least 5 minutes before turning on the heating or cooling functions. This allows water to fill the internal reservoirs.
- Dispense water from all three faucets (hot, room temperature, cold) until water flows steadily. This purges any air from the lines.
- Turn on the hot and cold water switches located on the back of the unit (if applicable). The corresponding LED indicators on the front panel will illuminate.
- Lad vandet nå optimale varme og kolde temperaturer i cirka 15-20 minutter, før det tages i brug første gang.
5. Betjeningsvejledning
5.1 Vandudlevering
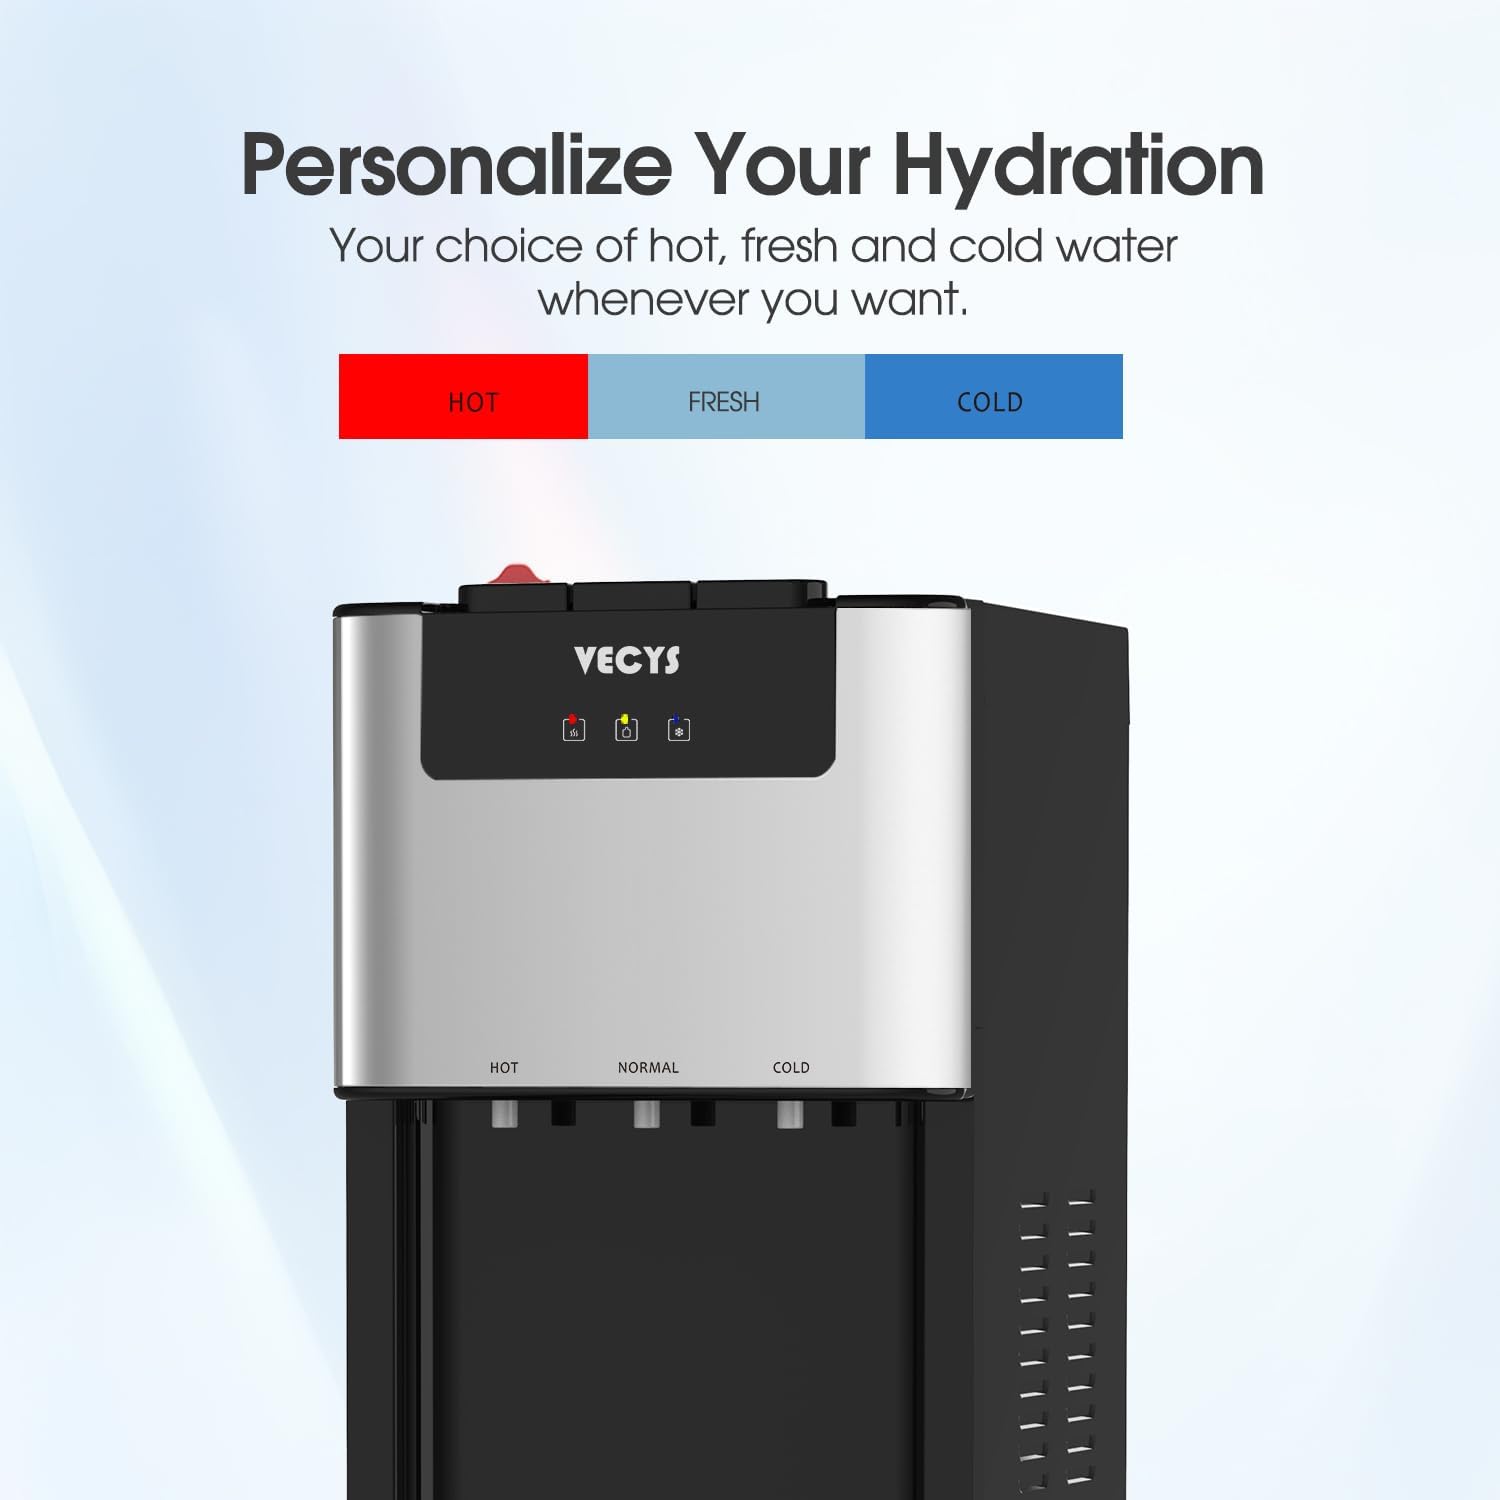
Figure 5.1: The dispenser offers hot, normal (room temperature), and cold water options.

Figure 5.2: Visual representation of hot water for beverages, fresh (room temperature) water, and cold water for refreshment.
- Varmt vand: Push the child safety lock button inward, then press the hot water lever. Release the lever to stop dispensing.
- Rumtemperatur vand: Press the room temperature water lever. Release the lever to stop dispensing.
- Koldt vand: Tryk på koldtvandshåndtaget. Slip håndtaget for at stoppe udløbet.
5.2 Børnesikkerhedslås

Figure 5.3: The child safety lock (red button) and LED indicators for heating and chilling.
The hot water faucet is equipped with a two-step child safety lock. To dispense hot water, you must first push the red safety button inward and then press the hot water lever. This mechanism helps prevent accidental burns.
5.3 LED-indikatorer
The control panel features LED lights that indicate the status of the dispenser:
- Strømindikator: Lyser, når enheden er tændt.
- Opvarmningsindikator: Lyser, når varmtvandsvarmeelementet er aktivt.
- Køleindikator: Illuminates when the cold water cooling system is active.
- Water Bottle Empty Indicator: Illuminates when the water bottle in the bottom compartment is empty and needs replacement.
6. Vedligeholdelse
6.1 Self-Clean Function
This dispenser features an interior UV light for a self-clean function. Refer to the specific instructions provided with your unit for activating this cycle. Regular use of the self-clean function helps maintain water quality and prevent bacterial growth.
6.2 Udvendig rengøring
- Tag stikket til dispenseren ud af stikkontakten før rengøring.
- Tør de udvendige overflader af med en blød, damp klæde. Brug ikke slibende rengøringsmidler eller opløsningsmidler.
- Remove and empty the drip tray regularly. Wash it with mild soap and water, then rinse thoroughly and dry before reinserting.
6.3 Draining the Unit
If the dispenser will not be used for an extended period or needs to be moved, it should be drained:
- Tag stikket ud af dispenseren og fjern vandflasken.
- Place a bucket under the drain plug located at the back of the unit.
- Remove the drain plug to allow all water to empty from the reservoirs.
- Når den er tømt, skal du sætte aftapningsproppen ordentligt på.
7. Fejlfinding
| Problem | Mulig årsag | Løsning |
|---|---|---|
| Ingen vanddispensering | Water bottle empty or not properly installed. Air lock in system. | Replace water bottle. Ensure intake tube is fully inserted. Dispense from all faucets to clear air. |
| Intet varmt vand | Hot water switch off. Heating element malfunction. | Ensure hot water switch on back is ON. Allow time for heating. If problem persists, contact support. |
| Intet koldt vand | Cold water switch off. Cooling system malfunction. | Ensure cold water switch on back is ON. Allow time for cooling. If problem persists, contact support. |
| Vand lækker | Water bottle cracked. Drain plug loose. | Check water bottle for cracks. Tighten drain plug. |
| Usædvanlig støj | Kompressoren kører i cyklusser (normalt). Enheden er ikke i vater. | Ensure unit is on a level surface. If noise is excessive or continuous, contact support. |
8. Specifikationer
| Feature | Specifikation |
|---|---|
| Modelnummer | BY607WP |
| Mærke | VECYS |
| Farve | Hvid |
| Materiale | Plast, rustfrit stål |
| Kapacitet | 3-5 Gallons (water bottle) |
| Produktdimensioner | 17.1" D x 14" B x 46.6" H |
| Wattage | 500 watt |
| Installationstype | Frit stående |
| Få adgang til placering | Bund |
| Antal indstillinger | 3 (Hot, Room Temp, Cold) |
| Øverste temperaturvurdering | 212 Degrees Fahrenheit (Hot) |
| Lavere temperaturvurdering | 42 Degrees Fahrenheit (Cold) |
| Strømkilde | Elektrisk med ledning |
| Varens vægt | 38.9 pund |
| Certificeringer | ETL godkendt |
9. Garanti og support
The VECYS Bottom Loading Water Dispenser (Model BY607WP) is backed by a 1 års garanti from the date of purchase. This warranty covers manufacturing defects and ensures the product's reliability under normal use.
For warranty claims, technical assistance, or any questions regarding your product, please contact VECYS customer support. Please have your model number (BY607WP) and proof of purchase available when contacting support.