1. Introduktion
The Traceable Excursion-Trac Data Logging Thermometer is designed for precise and reliable temperature monitoring and data logging. This device is ideal for applications requiring continuous temperature tracking and historical data retrieval. It features a clear LCD display, alarm functions, and the ability to log a significant number of temperature observations.

Front view of the Traceable Excursion-Trac thermometer, showing the main display, control buttons, connected bottle probe, and a USB flash drive for data transfer.
2. Opsætning
2.1 Udpakning
Carefully unpack all components. The package should contain:
- Traceable Excursion-Trac Data Logging Thermometer unit
- 1 Bottle Probe
- 2 AAA batterier
- Instruktionsmanual (dette dokument)
2.2 Batteriinstallation
- Find batterirummet på bagsiden af termometeret.
- Åbn dækslet til rummet.
- Isæt to (2) AAA-batterier, og sørg for at polerne vender korrekt (+/-).
- Close the battery compartment cover securely. The device will power on automatically.
2.3 Probetilslutning
Connect the bottle probe cable to the designated probe input port (labeled P1 or P2) on the side of the thermometer unit. Ensure the connection is firm.

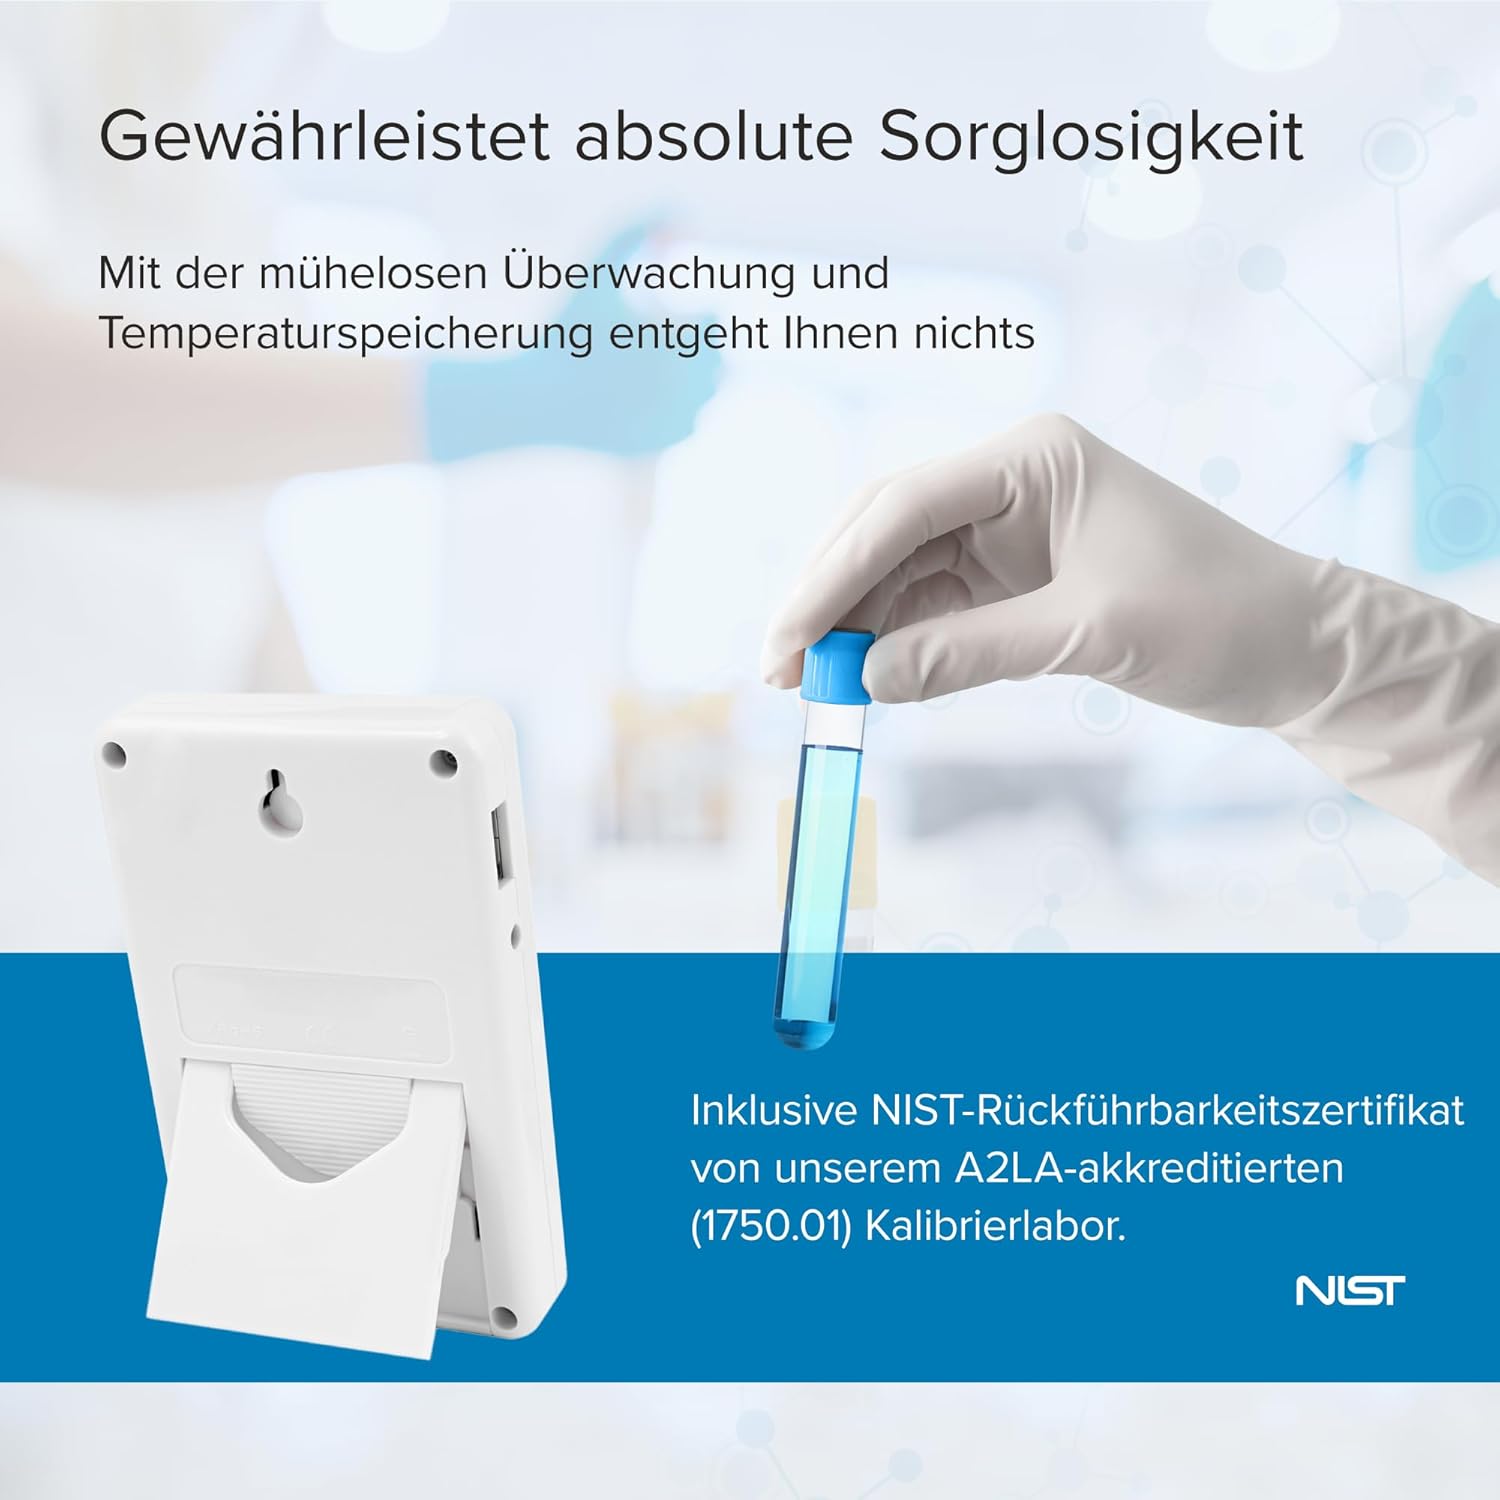
Bag view of the thermometer, illustrating the integrated kickstand for desktop placement and wall-mount slot.
3. Betjeningsvejledning
3.1 Tænd/sluk
The device powers on automatically upon battery installation. To turn off the device, remove the batteries. For temporary power saving, some models may have an ON/OFF switch for the alarm or display backlight, but the main unit remains active for logging.
3.2 Display overview
The LCD display shows various information:
- Aktuel temperatur: The primary reading from the connected probe(s).
- MIN / MAX: Minimum and maximum temperatures recorded since the last reset.
- MEM: Indicates memory status or data logging activity.
- ALARM: Indicates alarm status (active, triggered).
- DATO TID: Current date and time for logged events.

The thermometer display showing the current date and time, indicating its time-keeping functionality for logged data.
3.3 Valg af enhed (°C/°F)
Tryk på ENHEDER button to toggle between Celsius (°C) and Fahrenheit (°F) temperature scales.
3.4 Viewing Min/Max/Date/Time
Tryk på MIN/MAX/ALARM-DATE/TIME button to cycle through the minimum temperature, maximum temperature, and current date/time displays. The display will show the recorded minimum and maximum temperatures since the last reset.
3.5 Alarmfunktion
The thermometer features programmable high and low alarms. When the temperature exceeds or falls below the set limits, an audible and visual alarm will activate.
- Indstilling af alarmer: Brug SELECT/ADVANCE og ALARM DATE SET buttons to navigate and adjust the high and low temperature thresholds. Refer to the on-screen prompts for specific steps.
- Alarm til/fra: Brug ALARM TIL / FRA switch to enable or disable the alarm function.
- Stil alarm: Tryk på STÆND ALARM button to temporarily mute an active alarm.
- Event Display: De EVENT DISPLAY button allows viewing of recorded alarm events. The device can store up to 10 individual alarm events.
3.6 Data Logging and Retrieval
The Excursion-Trac thermometer automatically logs temperature data. It can store up to 525,600 temperature observations. To retrieve logged data:
- Connect the thermometer to a computer using a standard USB cable (not always included, check package contents).
- The device should appear as a removable storage device.
- Access the logged data files (typically in a CSV or similar format) from the device's storage.
- Kopier files to your computer for analysis.

Side view of the thermometer, clearly showing the USB port for data transfer and the power input.
4. Vedligeholdelse
4.1 Udskiftning af batteri
When the low battery indicator appears on the display, replace the two AAA batteries immediately. Ensure new batteries are inserted with correct polarity.
4.2 Rengøring
Wipe the thermometer unit and probes with a soft, damp cloth. Do not use abrasive cleaners or immerse the main unit in liquids. The bottle probe is designed for use in various environments, including freezers.
4.3 Kalibrering
The Traceable Excursion-Trac thermometer is supplied with an individually calibrated and certified NIST-traceable certificate. For continued accuracy and compliance, periodic recalibration is recommended according to your facility's protocols or regulatory requirements.
5. Fejlfinding
- "Battery Low" Message: Replace the two AAA batteries immediately. Ensure new batteries are inserted with correct polarity.
- Upræcise læsninger: Verify that the probe is securely connected to the unit. Ensure the probe is correctly positioned within the environment being monitored. Check for any visible damage to the probe cable or sensor.
- Data Download Issues: Ensure the USB cable is properly connected to both the thermometer and the computer. Try a different USB port or cable. If the device does not appear as a removable drive, consult the manufacturer's support for specific driver or software requirements.
- Ingen visning: Check battery installation and ensure batteries are not depleted. If the issue persists after replacing batteries, contact customer support.
6. Specifikationer
An illustration of the thermometer with its physical dimensions and temperature range.
| Feature | Detalje |
|---|---|
| Modelnummer | AO-94460-07 |
| Nøjagtighed | ±0.25°C |
| Temperaturområde | -50°C til 70°C (-58°F til 158°F) |
| Temperaturopløsning | 0.01° |
| Probtype | 1 Bottle Probe |
| Datalogningskapacitet | Up to 525,600 temperature observations |
| Display Type | LCD, 1/2"H digits |
| Forbindelse | USB |
| Strømkilde | 2 x AAA batterier |
| Materiale | Plast |
| Dimensioner (H x B x D) | 10.79 cm x 6.98 cm x 1.9 cm (ca. 4.25 tommer x 2.75 tommer x 0.75 tommer) |
| Særlige funktioner | High Accuracy, Min/Max Memory, Alarm Function, 3m Micro-Thin Cable, Integrated Stand, Wall Mount, Magnetic Strip |
7. Garanti og support
For technical assistance, warranty claims, or further information regarding your Traceable Excursion-Trac Data Logging Thermometer, please contact your supplier or the manufacturer directly. Refer to your purchase documentation for specific warranty terms and contact details.


