1. Produktet er slutview
The GeekTale Fingerprint Deadbolt (Model RD02) is a smart lock designed for keyless entry, offering multiple unlock methods including fingerprint, Bluetooth app, and traditional backup keys. It features quick fingerprint recognition and app-based user management.
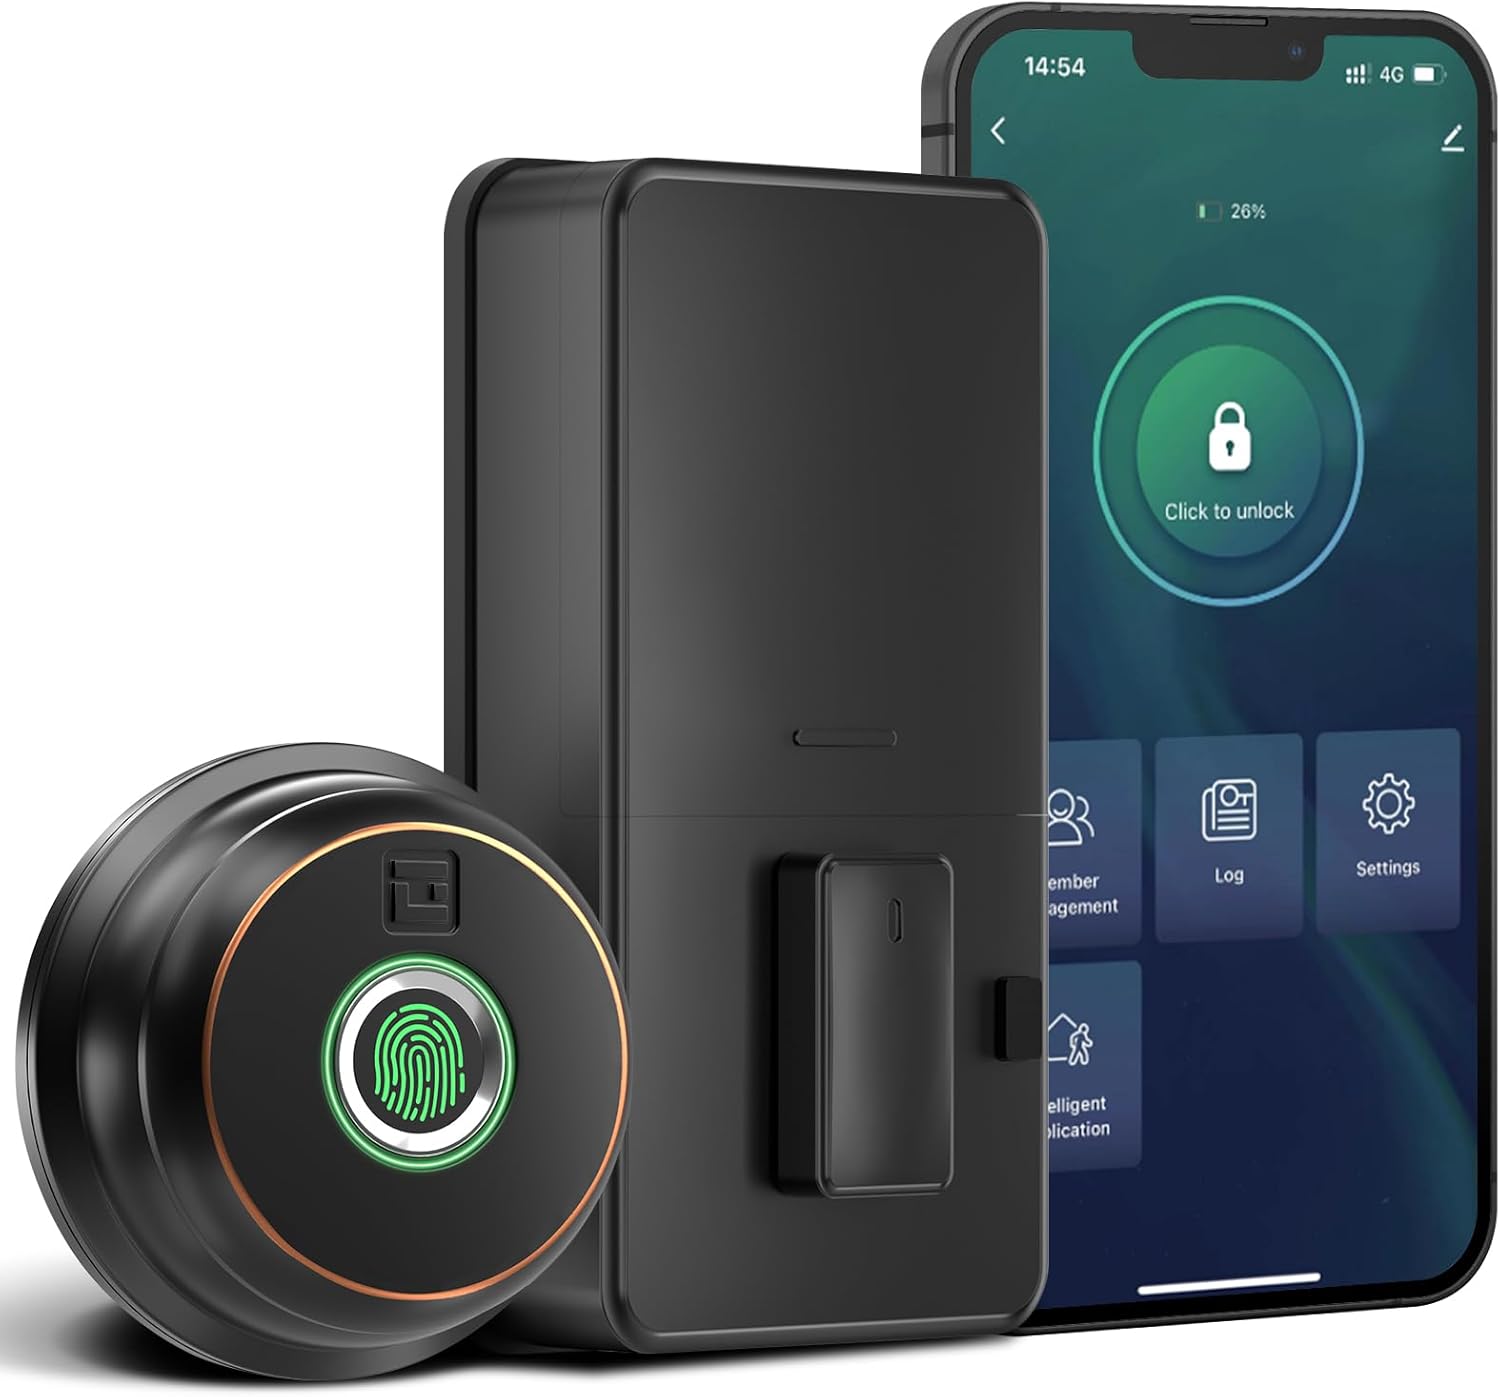
Billede: Overview of the GeekTale Fingerprint Deadbolt, showing the exterior unit with fingerprint sensor, the interior unit, and a smartphone displaying the control app.
Nøglefunktioner:
- 3-in-1 Unlock Ways: Fingerprint, Bluetooth App, and Backup Keys.
- Fast Fingerprint Recognition: 360° Fingerprint ID for 0.3-second unlock.
- Smart App Control: Manage up to 50 users, set auto-lock times (5-60s), view unlock records, and monitor battery level.
- Fjernbetjening (med gateway): Requires separate purchase of a gateway for remote unlock and notifications.
- Holdbar konstruktion: Outdoor lock made of aluminum alloy.
2. Pakkens indhold
Kontroller, at alle komponenter er til stede, før installationen påbegyndes.
- Exterior Fingerprint Unit
- Interior Deadbolt Unit
- Monteringsplade
- Dødbolt lås
- Slagplade
- Skruer (forskellige størrelser)
- Backup nøgler
- Installationsskabelon
3. Installationsvejledning
This section provides step-by-step instructions for installing your GeekTale Fingerprint Deadbolt. A screwdriver is the primary tool required. The lock is designed to fit most standard US doors.
3.1 Kontrol af dørkompatibilitet
Sørg for, at din dør opfylder følgende specifikationer:
- backset: 70 mm eller 60 mm
- Dørhuls diameter: 2-1/8" (54 mm)
- Dørtykkelse: 1-3/8" til 2-1/8" (35 mm til 54 mm)

Image: Diagram illustrating door measurements for backset, door hole diameter, and door thickness, crucial for proper installation.
3.2 Installationstrin
- Forbered døren: If replacing an existing deadbolt, remove it. Use the provided template to mark and drill holes if installing on a new door.
- Installer låsen: Insert the deadbolt latch into the door edge. Ensure the "UP" arrow on the latch is facing upwards. Secure with screws.
- Install Exterior Unit: Route the cable from the exterior unit through the door hole. Align the spindle with the latch mechanism.
- Installer indvendig monteringsplade: Secure the mounting plate to the door using screws, ensuring the cable passes through the plate.
- Tilslut kabler: Tilslut kablet fra den udvendige enhed til den indvendige enhed.
- Installer indvendig enhed: Attach the interior unit to the mounting plate. Ensure the thumb turn operates smoothly.
- Indsæt batterier: Åbn batteridækslet på den indvendige enhed, og isæt 4 AA-batterier (medfølger ikke).
- Test drift: Manually test the deadbolt with the thumb turn.

Billede: Eksploderet view of the deadbolt components, illustrating how the exterior and interior units connect through the door.
3.3 Spindle Orientation for Right/Left Opened Doors
The spindle on the exterior knob should be in the horizontal position for both right-opened and left-opened doors. When installing the interior lock, ensure the knob is oriented correctly:
- For right-opened doors, the interior knob should be in a vertical state.
- For left-opened doors, the interior knob should be in a horizontal state.

Image: Visual guide for correctly orienting the spindle and interior knob based on door opening direction.
4. Betjeningsvejledning
Learn how to use your smart deadbolt effectively.
4.1 Første opsætning og app-parring
- Download appen: Søg efter "GeekTale" in your smartphone's app store and download the official application.
- Opret konto: Opret en ny konto, eller log ind, hvis du allerede har en.
- Tilføj enhed: Follow the in-app instructions to add your new deadbolt. Ensure Bluetooth is enabled on your phone and you are within range of the lock.
- Administrator Fingerprint: The first fingerprint registered will typically be the administrator.
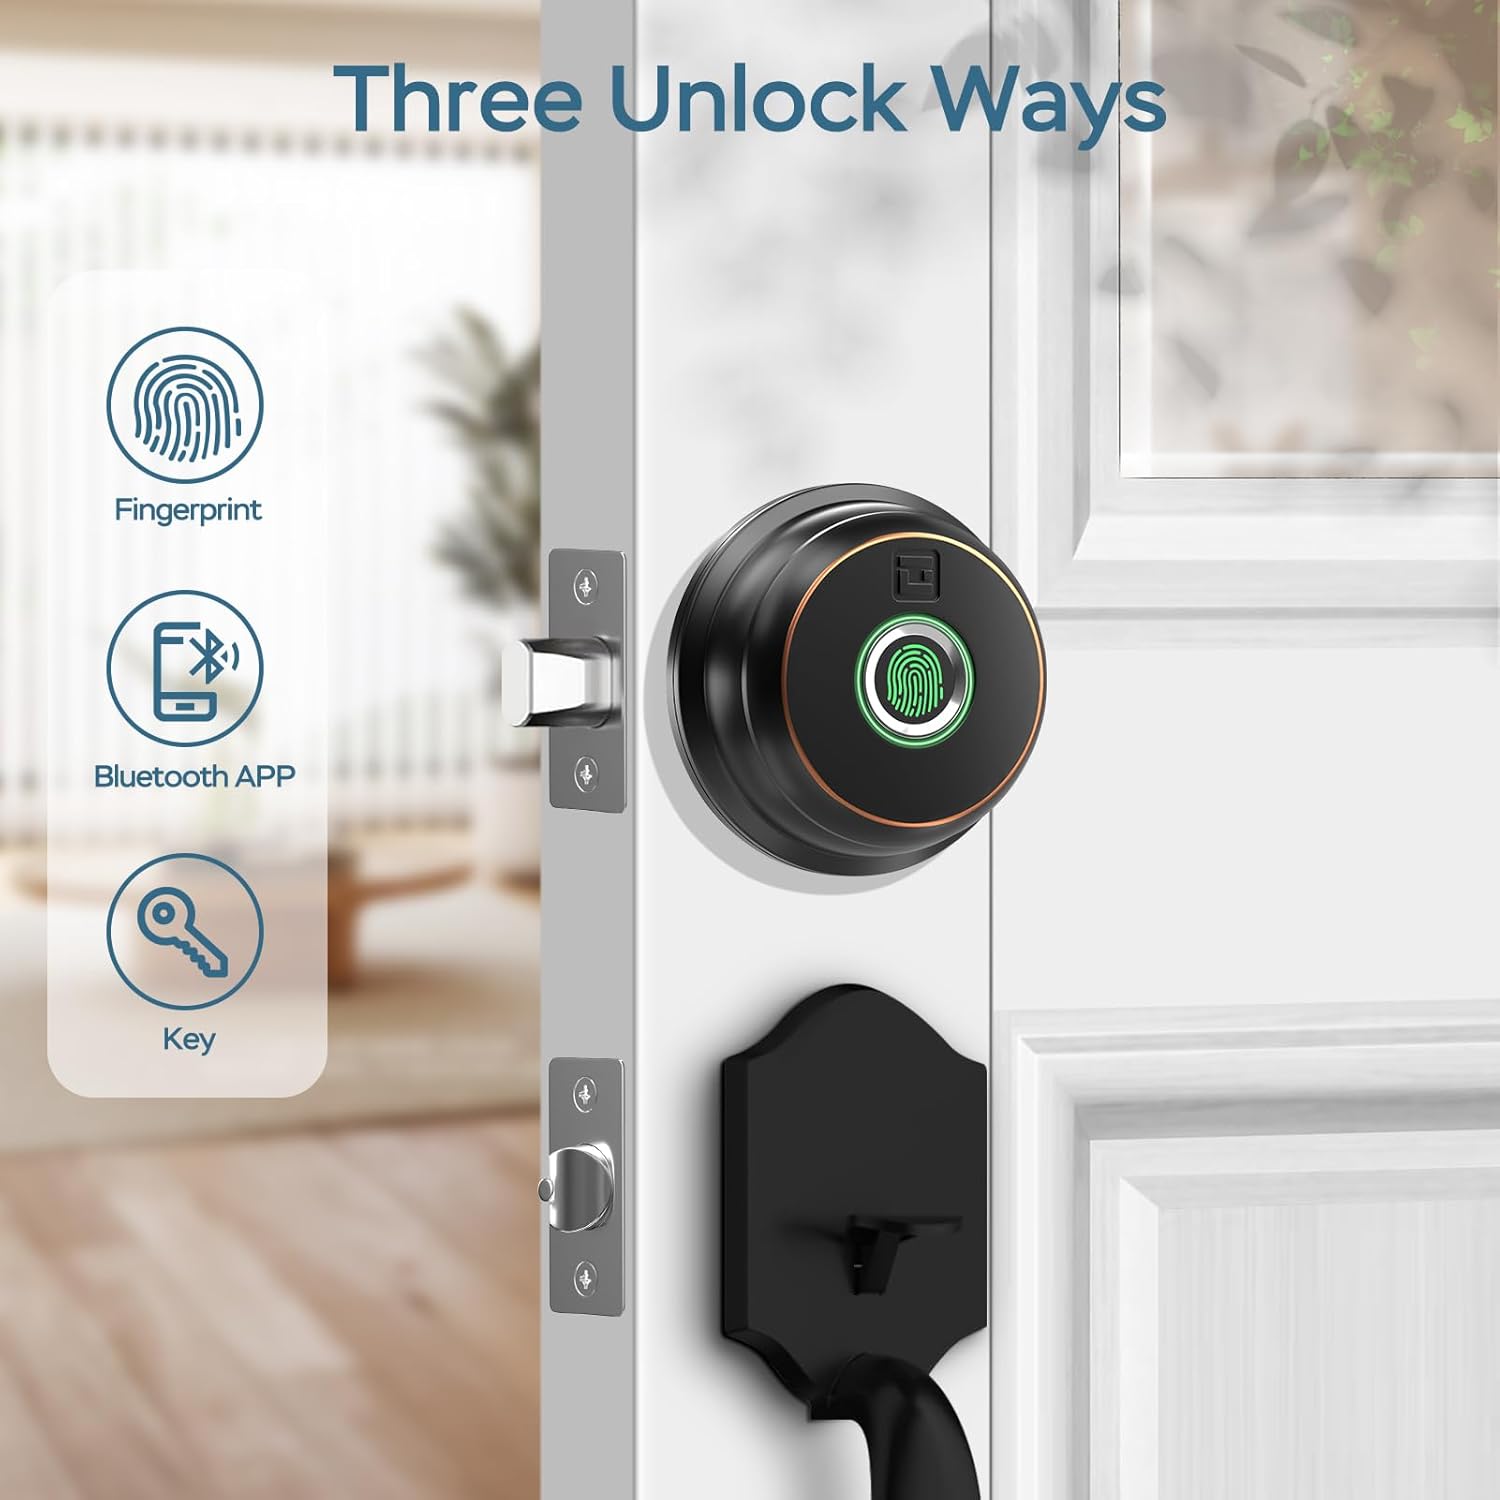
Image: Illustration of the three primary unlock methods: fingerprint, Bluetooth app, and physical key.
4.2 Oplåsning og låsning
- Lås op med fingeraftryk: Placer en registreret finger på fingeraftrykssensoren. Låsen låses op om cirka 0.3 sekunder.
- Applås: Open the GeekTale app, ensure Bluetooth connection, and tap the unlock icon.
- Nøgleoplåsning: Use the provided backup keys in the emergency keyhole.
- Autolås: Configure auto-lock duration (5-60 seconds) via the app. The lock will automatically engage after the set time.
- One-Touch Låsning: Touch the fingerprint sensor with any finger to instantly lock the deadbolt.

Image: A woman carrying groceries, demonstrating the convenience of the auto-lock feature after entering her home.
4.3 App funktioner
- Brugeradministration: Add or delete up to 50 users (fingerprints).
- Adgangslog: Review a history of unlock events, including method and user.
- Auto-Lock Settings: Adjust the automatic locking delay.
- Lydløs tilstand: Silence lock sounds for quiet operation.
- Share E-Key: Grant temporary or permanent access to others via the app.
- Batteristatus: Monitor the current battery level of the lock.

Image: Screenshot of the GeekTale app interface, highlighting options for member management, access logs, and settings.
4.4 Remote Access (Gateway Required)
For remote control and notifications, a GeekTale Gateway (sold separately) is required. This allows you to:
- Unlock/lock the door from anywhere.
- Receive instant notifications when the lock is opened.
- Integrate with voice assistants like Alexa and Google Assistant.

Image: Depiction of the smart deadbolt, a gateway device, and a smartphone, illustrating remote unlock capabilities.
5. Vedligeholdelse
Proper maintenance ensures the longevity and optimal performance of your deadbolt.
- Udskiftning af batteri: The lock requires 4 AA batteries. Replace them when the low battery alert is issued by the app or the lock itself.
- Nødkraft: In case of complete battery depletion, the lock features a USB-C port for emergency power using a power bank.
- Rensning: Wipe the exterior unit and fingerprint sensor with a soft, dry cloth. Avoid abrasive cleaners or solvents.
- Vedligeholdelse af nøglehul: Periodically check the keyhole for obstructions. Do not lubricate with oil-based products; use graphite powder if lubrication is needed.

Image: Illustration of the deadbolt's battery compartment and the USB-C port for emergency power, along with icons for low battery alert and emergency charge.
6. Fejlfinding
Almindelige problemer og deres løsninger.
| Problem | Mulig årsag | Løsning |
|---|---|---|
| Lås reagerer ikke. | Døde batterier. | Udskift batterierne. Brug nødstrøm via USB-C, hvis det er nødvendigt. |
| Fingeraftryk ikke genkendt. | Fingeraftryk ikke registreret, snavset sensor eller forkert placering. | Ensure finger is clean and dry. Re-register fingerprint if necessary. Place finger flat on sensor. |
| Appen kan ikke oprette forbindelse til låsen. | Bluetooth off, out of range, or app issue. | Ensure Bluetooth is on. Move closer to the lock. Restart the app or your phone. |
| Automatisk låsning virker ikke. | Auto-lock feature disabled or incorrect setting. | Check auto-lock settings in the app and ensure it is enabled with a desired delay. |
| Lock is loose after installation. | Screws not tightened sufficiently. | Re-tighten all mounting screws. Ensure the mounting plate is flush against the door. |
7. Specifikationer
| Feature | Detalje |
|---|---|
| Modelnavn | RD02 |
| Mærke | GeekTale |
| Oplåsningsmetoder | Fingerprint, Bluetooth App, Backup Key |
| Fingeraftrykskapacitet | Op til 50 |
| Genkendelseshastighed | 0.3 sekunder |
| Forbindelse | Bluetooth |
| Materiale | Aluminium (udvendig) |
| Strømkilde | 4 x AA batterier (medfølger ikke) |
| Nødstrøm | USB-C-port |
| Dørtykkelse | 1-3/8" til 2-1/8" (35 mm til 54 mm) |
| backset | Adjustable 2-3/8" (60mm) or 2-3/4" (70mm) |
| Dimensioner (L x B x H) | 2.76 x 1.18 x 3.93 inches (Exterior unit) |
| Vægt | 1.63 pund (0.74 kg) |
8. Garanti og support
GeekTale provides localized after-sales customer service. For any product-related issues or inquiries, please contact customer support through the designated after-sales channels. Refer to your purchase documentation for specific warranty terms and contact information.
Kontakt support: Please refer to the contact information provided with your product packaging or visit the official GeekTale webwebsted for supportmuligheder.


