1. Introduktion
The Crenova 9 Inch A4 Thermal Laminator is a versatile machine designed for both hot and cold lamination, providing a reliable solution for preserving important documents, photos, artwork, and more. Its compact design and user-friendly features make it ideal for home, office, and school environments. This manual will guide you through the proper setup, operation, and maintenance of your laminator to ensure optimal performance and longevity.

Image: The Crenova laminator actively processing a document, showcasing its sleek blue design and ease of use.
2. Sikkerhedsinstruktioner
Please read all safety instructions carefully before using the laminator to prevent injury or damage to the device.
- Always connect the laminator to a grounded power outlet.
- Brug ikke lamineringsmaskinen med våde hænder eller i nærheden af vand.
- Hold børn og kæledyr væk fra lamineringsmaskinen under brug.
- Sørg for tilstrækkelig ventilation omkring maskinen for at forhindre overophedning.
- Indsæt ikke andre genstande end lamineringslommer i maskinen.
- Tag stikket ud af laminatoren, når den ikke er i brug eller før rengøring.
- Lad maskinen køle helt af, før den stilles væk.
- Brug kun lamineringslommer, der er anbefalet til termiske lamineringsmaskiner.
3. Produktfunktioner
The Crenova FNL001 laminator is equipped with several features designed for efficiency and ease of use:
- Hot & Cold Modes: Offers versatility for different types of documents and photos. Hot mode is ideal for standard lamination, while Cold mode is suitable for heat-sensitive materials.
- Hurtig opvarmning: Features a rapid 2-minute warm-up time, minimizing waiting periods.
- Hurtig lamineringshastighed: Processes documents at 320mm/min, enhancing productivity.
- 2-Roller System: Ensures smooth, bubble-free, and wrinkle-free lamination results.
- ABS Anti-Jam Button: A quick-release button to easily clear misfed or jammed pouches.
- Kompakt design: Small 9-inch size (A4 compatible) for easy storage and portability.

Billede: En eksploderet view diagram illustrating the internal 2-roller system, highlighting its role in achieving bubble-free and wrinkle-free lamination.

Image: A person holding the laminator, emphasizing its compact dimensions (13.19 x 3.46 x 2.56 inches) and ease of portability.
4. Opsætning
- Pakker ud: Carefully remove the laminator and all packaging materials from the box.
- Placering: Place the laminator on a flat, stable, and heat-resistant surface. Ensure there is enough space behind the machine for laminated documents to exit freely.
- Strømtilslutning: Sæt netledningen i en almindelig stikkontakt.
5. Betjeningsvejledning
Follow these steps for successful lamination:
- Vælg tilstand: Locate the switch on the side of the laminator. Move the switch to either "HOT" for thermal lamination or "COLD" for pressure-sensitive lamination.
- Warm-Up (Hot Mode Only): If you selected "HOT" mode, the laminator will begin to warm up. The mode indicator light will turn green when the machine is ready for use (approximately 2 minutes). Cold mode does not require preheating.
- Forbered dokument: Place your document inside a laminating pouch. Ensure the document is centered and there is an even border around it.
- Indsæt pose: With the sealed edge of the pouch first, carefully and straightly insert the pouch into the inlet slot of the laminator. Do not insert the open end first or at an angle.
- Lamineringsproces: The laminator will automatically feed the pouch through. Do not pull or push the pouch during this process.
- Hent dokument: Once the pouch exits the machine, place it on a flat surface to cool and flatten.
- Sluk: After use, switch the laminator off and unplug it from the power outlet.
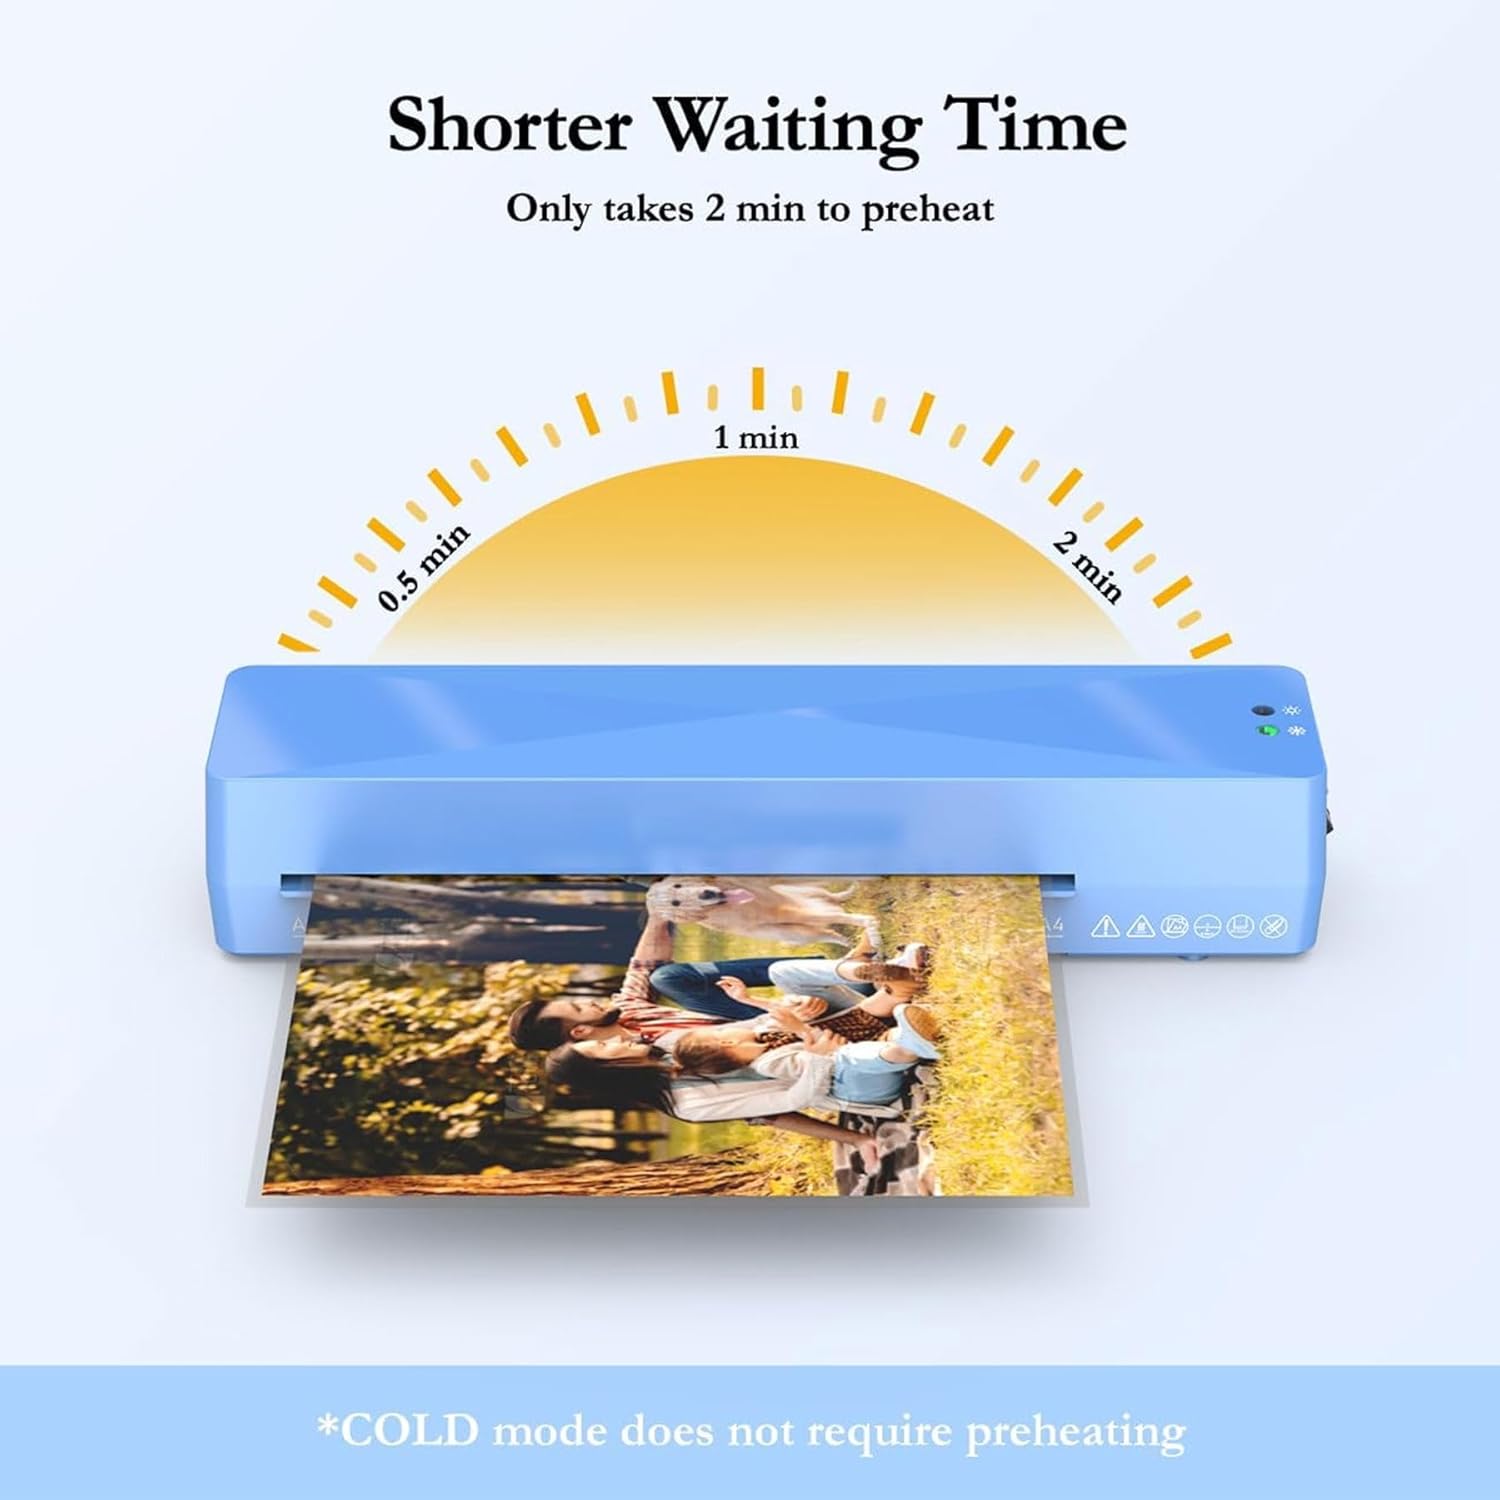
Image: A visual guide demonstrating the simple four-step operation: selecting mode, waiting for indicator, inserting pouch, and powering off.

Image: A graphic illustrating the quick 2-minute preheating time for hot lamination, noting that cold mode requires no preheating.
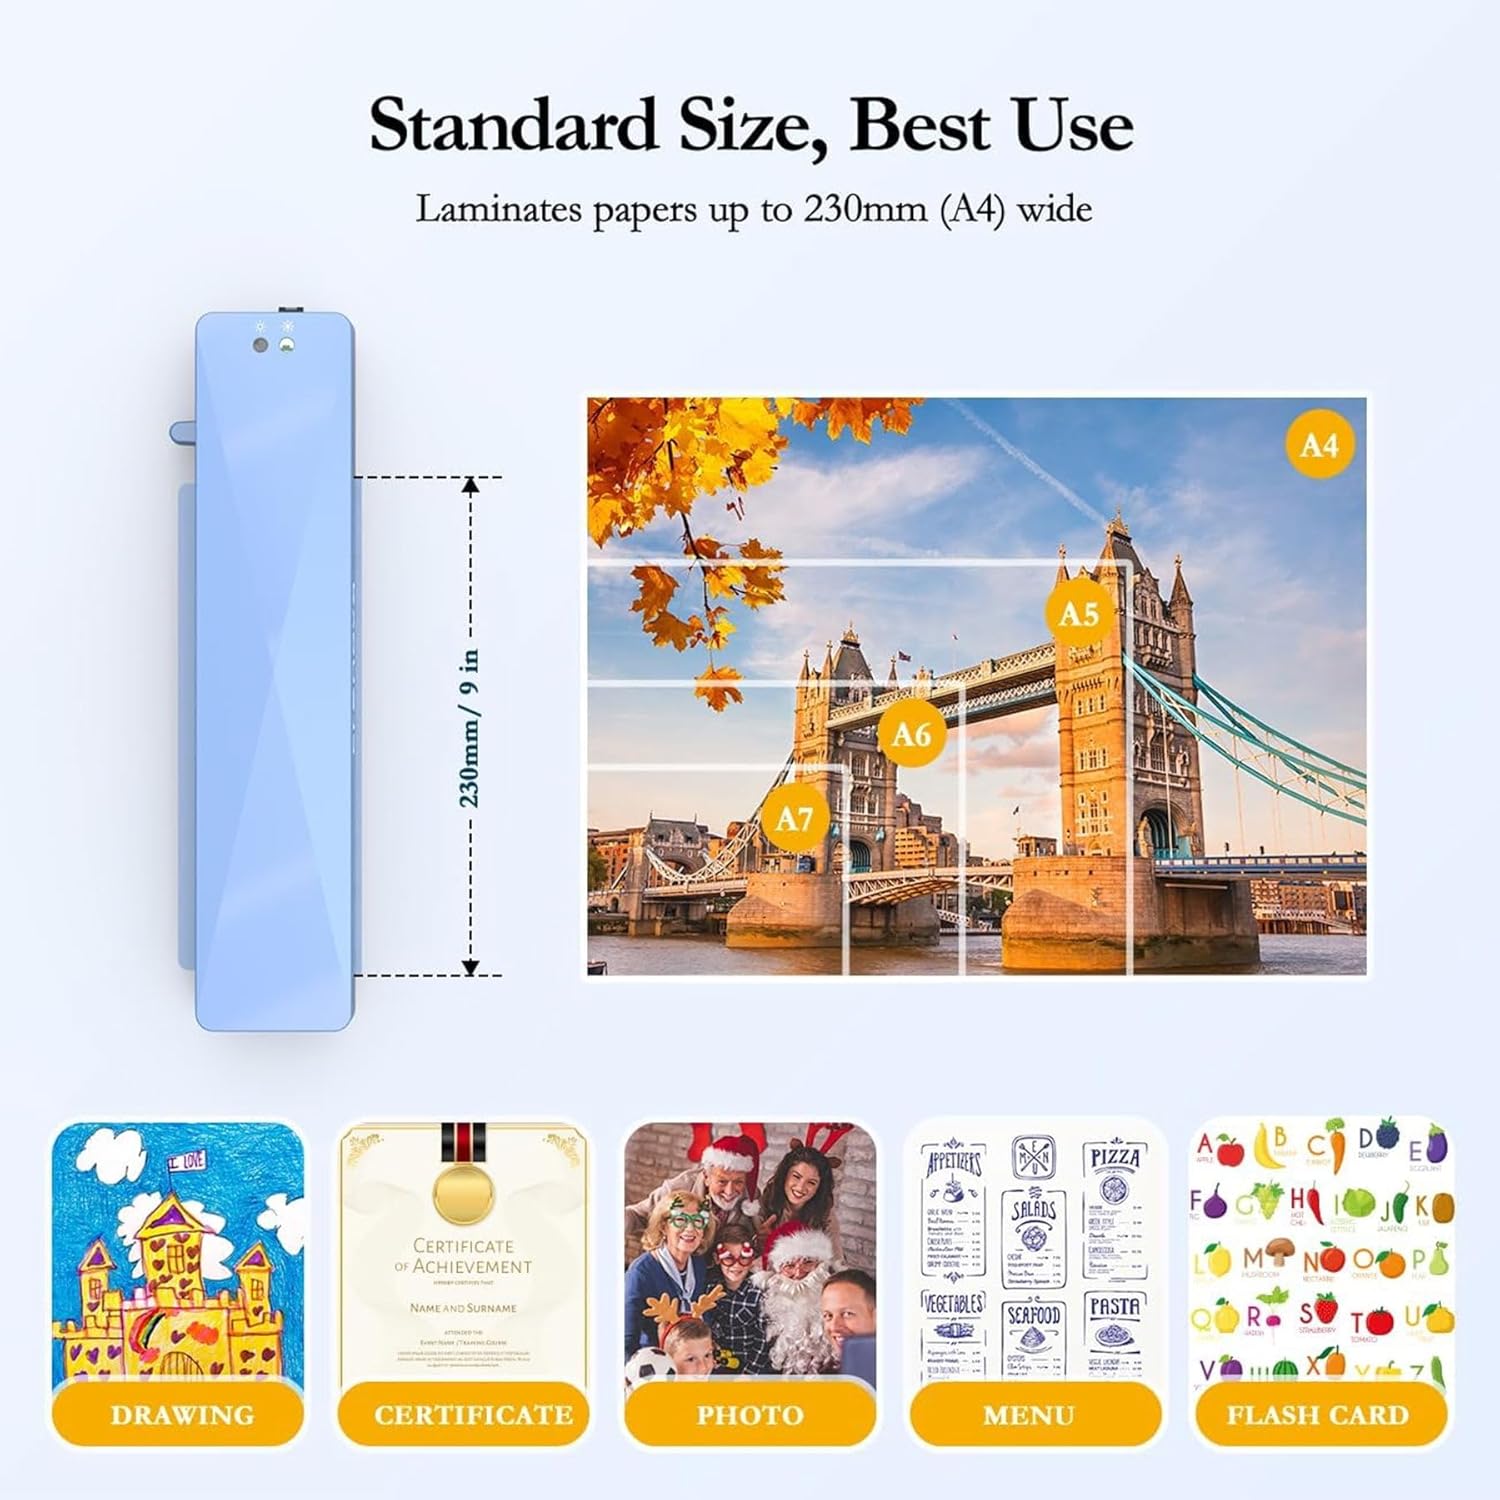
Image: Important notes for plastic sealing, showing correct pouch insertion (sealed end first, straight) and common mistakes to avoid (tilted, too large, curled, too thick, cut, wrinkled, or unintended use).
6. Vedligeholdelse
Regular maintenance helps ensure the longevity and optimal performance of your laminator:
- Rensning: Periodically wipe the exterior of the laminator with a soft, dry cloth. Do not use abrasive cleaners or solvents.
- Rengøring af ruller: To clean the rollers, run a folded piece of paper through the laminator in hot mode without a pouch. This can help remove any adhesive residue.
- Opbevaring: Opbevar lamineringsmaskinen et køligt og tørt sted, når den ikke er i brug.
7. Fejlfinding
Her er løsninger på almindelige problemer, du kan støde på:
| Problem | Løsning |
|---|---|
| Papir i klemme: Pouch gets stuck or misfed. |
Immediately press and hold the "ABS" (Anti-Blocking System) button located on the side of the laminator. This will release the rollers, allowing you to gently pull the pouch out. Ensure you insert pouches straight and sealed-edge first to prevent future jams. 
Image: A three-step visual guide demonstrating how to clear a paper jam: 1. Switch off, 2. Push and hold the ABS lever, 3. Pull the pouch out. |
| Dårlig lamineringskvalitet: Bubbles, wrinkles, or cloudy finish. |
|
| Laminatoren tænder ikke: |
|
8. Specifikationer
| Attribut | Detalje |
|---|---|
| Mærke | Crenova |
| Modelnummer | FNL001 |
| Laminating Modes | Varm & Kold |
| Maksimal lamineringsbredde | 9 inches (A4) |
| Opvarmningstid | Approx. 2 minutes (Hot Mode) |
| Lamineringshastighed | 320 mm/min |
| Farve | Blå |
| Fabrikant | CRENOVA |

Image: A visual representation of the laminator's compatibility with various standard paper sizes up to 230mm (A4) wide, including examples of items that can be laminated like drawings, certificates, photos, menus, and flashcards.
9. Garanti og support
For warranty information, technical support, or customer service inquiries, please refer to the official Crenova website or contact their customer support directly. Specific warranty terms and conditions may vary and are typically provided with your product packaging or on the manufacturer's official channels.
Visit the official Crenova Store: Crenova-butikken på Amazon


