1. Introduktion
The DEPSTECH DS620TL is a professional-grade triple-lens inspection camera designed for detailed visual inspection in hard-to-reach areas. Featuring a 5-inch IPS display, a 50-foot semi-rigid cable, and IP67 waterproofing, this borescope is suitable for inspecting plumbing, automotive engines, wall structures, and HVAC ducts. This manual provides essential information for the safe and effective operation of your device.
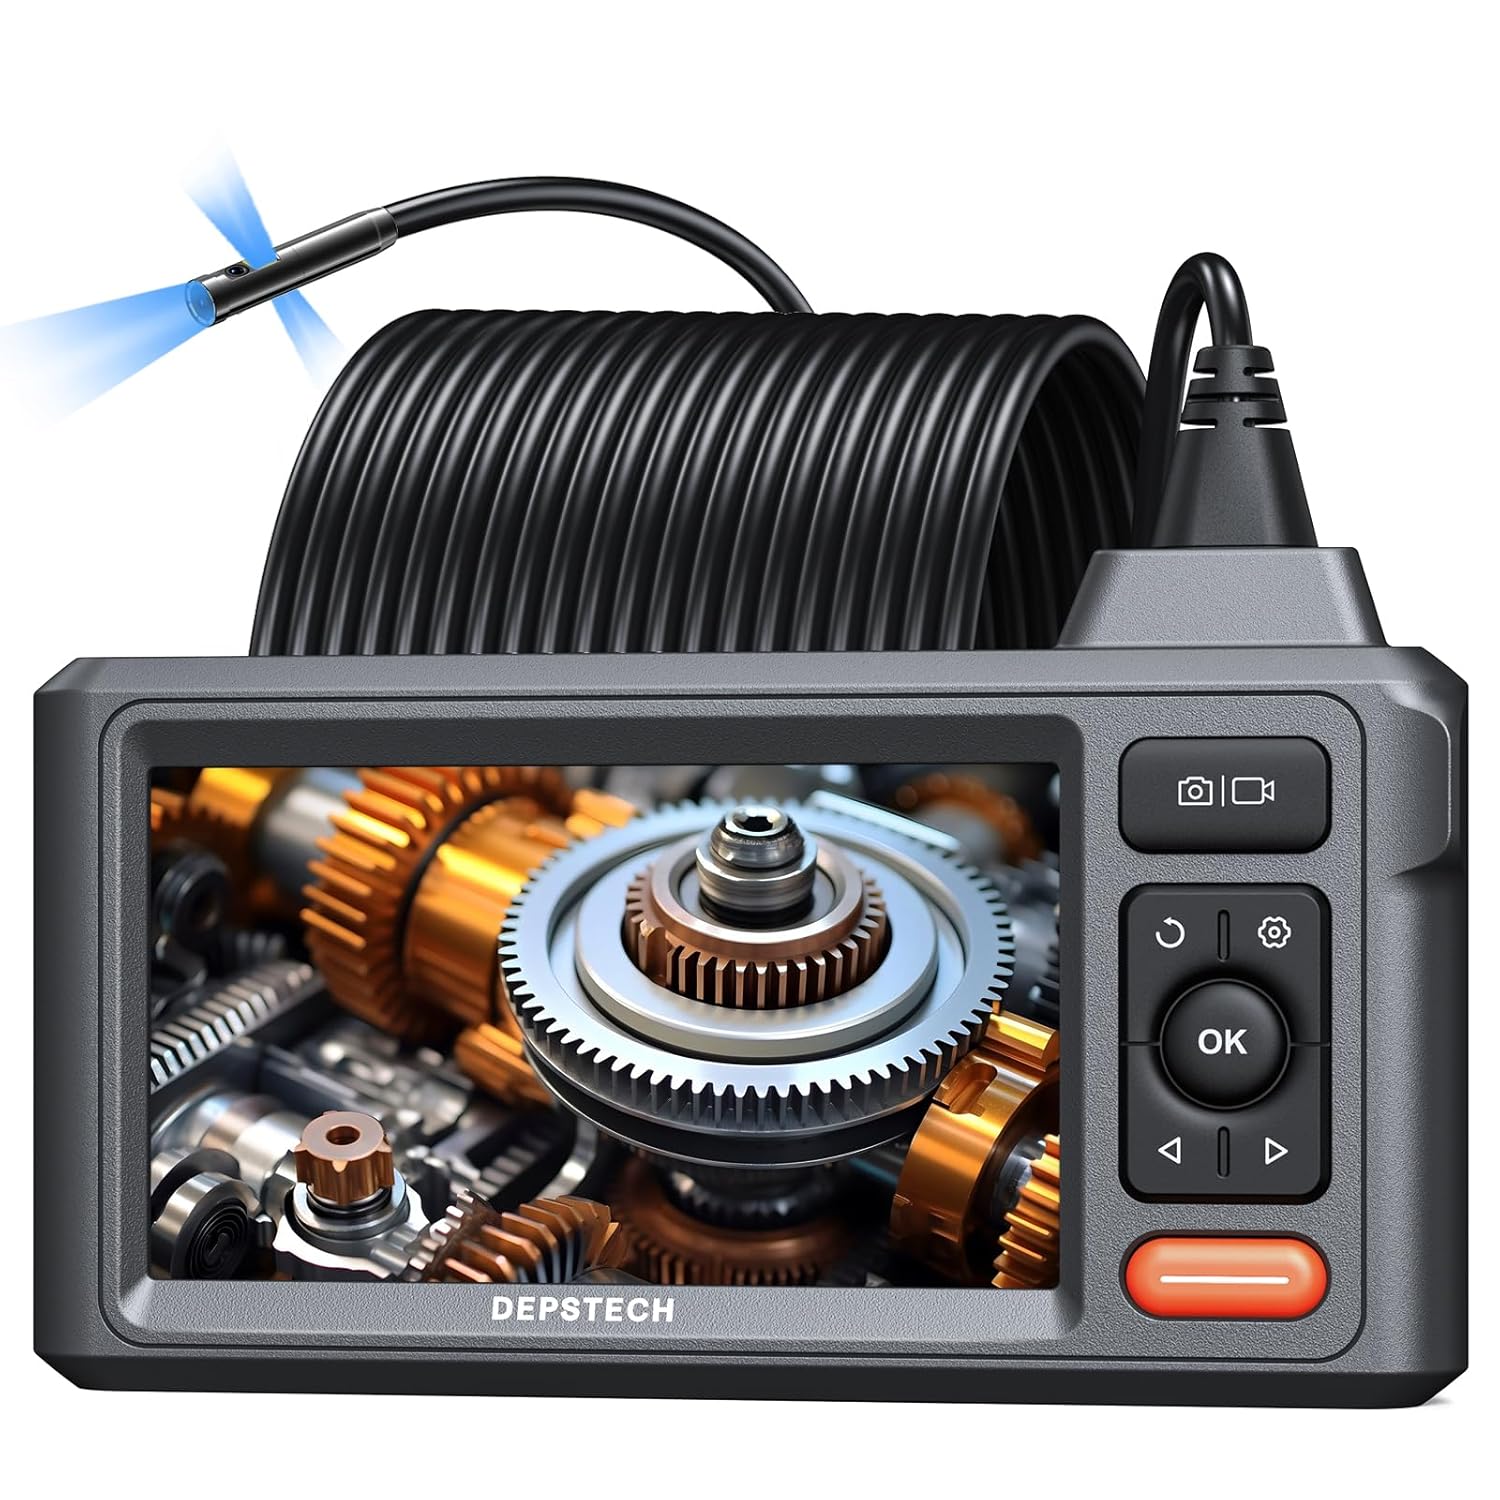
Image 1.1: DEPSTECH DS620TL Triple Lens Sewer Camera. This image shows the main unit with its 5-inch IPS display, control buttons, and the coiled 50-foot inspection cable with the camera head.
2. Sikkerhedsoplysninger
Please read all safety instructions before using the device to prevent injury or damage. Keep this manual for future reference.
- Udsæt ikke enheden for ekstreme temperaturer eller direkte sollys.
- Hold enheden væk fra stærke magnetiske felter.
- Ensure the camera probe is clean before and after each use.
- Forsøg ikke at skille enheden ad eller ændre den. Reparationer bør kun udføres af autoriseret personale.
- The camera probe is IP67 waterproof, but the main display unit is not. Avoid submerging the main unit in liquids.
- Brug kun det medfølgende opladningskabel og adapter.
3. Pakkens indhold
Bekræft at alle varer er til stede i din pakke:
- DS620TL Endoscope Unit
- Bærbar bæretaske
- 32 GB Micro SD-kort
- Krogfastgørelse
- Magnet vedhæftning
- USB opladningskabel
- Brugermanual

Image 3.1: Package Contents. This image displays the DS620TL endoscope unit, its carrying case, a 32GB Micro SD card, hook and magnet attachments, and the USB charging cable.
4. Produktet er slutview
4.1 Hovedenhed og display
The main unit features a 5-inch IPS display for clear viewing af inspektionsfødevarertage. Control buttons are located on the right side of the display for easy access to functions such as power, menu navigation, camera switching, and image/video capture.

Image 4.1: 5-inch IPS Display. This image highlights the vibrant 5-inch IPS screen of the borescope, showing its clarity and wide viewvinkel.
4.2 Triple Lens Camera Probe
The camera probe is equipped with three lenses: one front-facing camera and two side-facing cameras. This triple-lens design allows for comprehensive observation without needing to maneuver the probe excessively. Adjustable LED lights surround each lens to illuminate dark inspection areas.

Image 4.2: Triple Lens Camera Head. This image details the camera probe, showing the front camera and two side cameras, each with integrated LED illumination.
4.3 50-Foot Semi-Rigid Cable
The 50-foot (15-meter) semi-rigid cable provides extended reach and flexibility, allowing the camera to navigate through various pipes and confined spaces. The cable is IP67 waterproof, making it suitable for wet environments.

Image 4.3: 50-Foot Semi-Rigid Cable. This image illustrates the long, coiled cable, emphasizing its length and semi-rigid nature for effective navigation.
5. Opsætning
5.1 Opladning af enheden
Before first use, fully charge the device. Connect the USB charging cable to the main unit's charging port and to a standard USB power adapter (not included). The charging indicator will show the charging status.
5.2 Indsættelse af Micro SD-kortet
Locate the Micro SD card slot on the side of the main unit. Insert the provided 32GB Micro SD card until it clicks into place. The device requires a Micro SD card to save images and videos.

Image 5.1: Micro SD Card Insertion. This image shows the correct way to insert the Micro SD card into the designated slot on the device.
5.3 Montering af tilbehør
The hook and magnet attachments can be screwed onto the tip of the camera probe for retrieving small objects or maneuvering the cable. Ensure they are securely fastened before use.

Image 5.2: Hook and Magnet Attachments. This image displays the hook and magnet accessories, demonstrating how they attach to the camera head for retrieval tasks.
6. Betjeningsvejledning
6.1 Tænd/sluk
Tryk på tænd/sluk-knappen (normalt markeret med et tænd/sluk-symbol) og hold den nede i et par sekunder for at tænde eller slukke enheden.
6.2 Navigering i menuen
Use the directional buttons (up, down, left, right) to navigate through menu options. Press the 'OK' button to confirm selections. The 'Return' or 'Back' button (often a curved arrow) will take you to the previous menu or exit the current function.
6.3 Skift kamera Views
The DS620TL features three cameras. Press the dedicated camera switch button (often labeled '180°' or with a camera icon) to cycle between the front camera, left side camera, and right side camera views. This allows for comprehensive inspection from multiple angles.
6.4 Justering af LED-lysstyrke
Use the LED brightness control button (often a light bulb icon or up/down arrows) to adjust the intensity of the LED lights on the camera probe. This helps optimize visibility in varying light conditions.
6.5 Optagelse af billeder og videoer
- Sådan tager du et billede: Press the 'Photo' button (camera icon) once. The image will be saved to the Micro SD card.
- Sådan optager du en video: Press the 'Video' button (video camera icon) once to start recording. Press it again to stop recording. Videos will be saved to the Micro SD card.
6.6 Viewing and Managing Files
Access the 'Gallery' or 'Playback' menu option to view captured images and videos. You can delete files from this menu if needed.
6.7 Tips for Cable Navigation
For navigating long or complex pipes, consider taping the borescope cable to a fish tape. This can add stiffness and help guide the cable around bends and through obstructions more effectively.

Image 6.1: Cable Navigation Tip. This image demonstrates how to attach a fish tape to the borescope cable to provide additional rigidity and aid in guiding it through pipes.
7. Vedligeholdelse
7.1 Cleaning the Camera Lens and Probe
After each use, especially in dirty or wet environments, gently wipe the camera lens and probe with a soft, damp cloth. For stubborn residue, use a small amount of mild soap and water, then rinse thoroughly and dry. Do not use abrasive cleaners or solvents.
7.2 Opbevaring
Store the device in its portable carrying case in a cool, dry place, away from direct sunlight and extreme temperatures. Ensure the cable is neatly coiled to prevent kinks or damage.
7.3 Pleje af batterier
To prolong battery life, avoid fully discharging the battery frequently. If storing the device for an extended period, charge it to approximately 50% every few months.
8. Fejlfinding
- Enheden tændes ikke: Ensure the battery is charged. If the issue persists, try charging for a longer period.
- Intet billede på skærmen: Check if the camera cable is securely connected to the main unit. Ensure the device is powered on.
- Kan ikke gemme billeder/videoer: Verify that a Micro SD card is inserted and has sufficient free space. Check if the card is properly formatted (FAT32 recommended).
- Image is blurry or dark: Adjust the LED brightness. Clean the camera lens if it appears dirty. Ensure the camera is within its optimal focal range (Front Cam A: 1.18-3.93 in; Side Cam B: 0.79-2.36 in; Side Cam C: 0.79-1.57 in).
- Cable is difficult to maneuver: Consider using a fish tape as described in Section 6.7 to provide additional support and guidance.
9. Specifikationer
| Feature | Specifikation |
|---|---|
| Modelnummer | DS620TL |
| Vise | 5 tommer IPS-skærm |
| Kameraopløsning | 1080p (videooptagelse) |
| Kabellængde | 50 fod (ca. 15 meter) |
| Kamera Diameter | 7.9 mm |
| Vandtæt vurdering | IP67 (Camera Probe Only) |
| Batterilevetid | Op til 4 timer (ved fuld opladning) |
| Opbevaring | Micro SD-kort (32 GB inkluderet) |
| Produktdimensioner | 13.39 x 8.66 x 2.76 tommer; 3.2 pund |
10. Garanti og support
DEPSTECH products typically come with a 24-month warranty. For warranty claims, technical support, or any questions regarding your DS620TL borescope, please contact DEPSTECH customer service directly. Refer to the contact information provided on the official DEPSTECH webwebstedet eller produktemballagen for de mest opdaterede supportkanaler.


