Indledning
The Shark S8201 Steam & Scrub Hard Floor Steam Mop is designed to clean and sanitize sealed hard floors using the power of steam. Its rotating pads and Steam Blaster Technology provide effective cleaning without the need for harsh chemicals. This manual provides essential information for the safe and efficient operation and maintenance of your steam mop.

Figure 1: Shark S8201 Steam & Scrub Mop
Vigtige sikkerhedsinstruktioner
When using your Shark Steam & Scrub Mop, basic safety precautions should always be observed to reduce the risk of fire, electric shock, or injury. Read all instructions before using this appliance.
- Brug kun apparatet til det tilsigtede brug i husholdningen som beskrevet i denne manual.
- Brug ikke apparatet udendørs eller på våde overflader.
- Efterlad ikke apparatet uden opsyn, når det er tilsluttet. Tag stikket ud af stikkontakten, når det ikke er i brug, og før servicering.
- Do not allow children to use the appliance. Close attention is necessary when used near children, pets, or invalids.
- Brug kun destilleret vand i vandtanken for at forhindre mineralophobning og sikre optimal ydeevne.
- Do not add cleaning solutions, scented perfumes, or any other chemicals to the water tank, as this may damage the appliance or cause injury.
- Nedsænk ikke apparatet i vand eller andre væsker.
- Ret ikke damp mod mennesker, dyr eller stikkontakter.
- Always ensure the mop pads are properly attached before use.
- Opbevar apparatet indendørs på et køligt, tørt sted.
Pakkens indhold
Bekræft at alle komponenter er til stede i din pakke:
- Shark S8201 damp- og skrubbeenhed
- Microfiber Dirt Grip Soft Scrub Pads (2 pairs included)
- Påfyldningskolbe
Forsamling
The Shark S8201 Steam & Scrub Mop is designed for quick and easy assembly.
- Sæt håndtaget ind i dampmoppens hoveddel, indtil det klikker sikkert på plads.
- Fastgør moppehovedet til hoveddelen ved at justere forbindelsespunkterne og skubbe, indtil det låser.
- Place the Microfiber Dirt Grip Soft Scrub Pads onto the rotating discs on the mop head. The pads attach easily with a hook-and-loop system.
Operation
1. Fyldning af vandtanken
- Ensure the steam mop is unplugged from the electrical outlet.
- Open the water tank cap located on the main body.
- Use the provided filling flask to pour distilled water into the tank. Do not overfill; observe the MAX fill line.
- Luk vandbeholderens dæksel forsvarligt.
2. Selecting Steam Modes and Cleaning
The Shark S8201 features three steam modes and LED headlights for enhanced cleaning.
- Plug the power cord into a grounded electrical outlet. The LED headlights will illuminate.
- Step on the mop head to release the handle from the upright position.
- Press the MODE button on the main body to select your desired steam level:
- LYS: For quick cleanups and light dirt.
- NORMAL: For everyday cleaning and moderate messes.
- DYB: For tough, stuck-on messes and sanitization.
- Lad moppen varme op og producere damp i cirka 30 sekunder.
- Begin cleaning by moving the mop forward and backward across your sealed hard floors. The rotating pads will scrub the surface while steam is released.
- For at aktivere Steam Blaster Technology for concentrated steam on tough stains, tilt the mop head back and press the Steam Blaster button.

Figure 2: Rotating pads radiate sanitizing steam.

Figure 3: Swivel Steering and LED Headlights for easy maneuverability.
3. Sanering
To sanitize floors, ensure the mop is in DEEP mode. Move the mop slowly and evenly over the area to be sanitized, holding it over the spot for at least 30 seconds. Steam removes 99.9% of common household bacteria, providing a chemical-free cleaning solution.
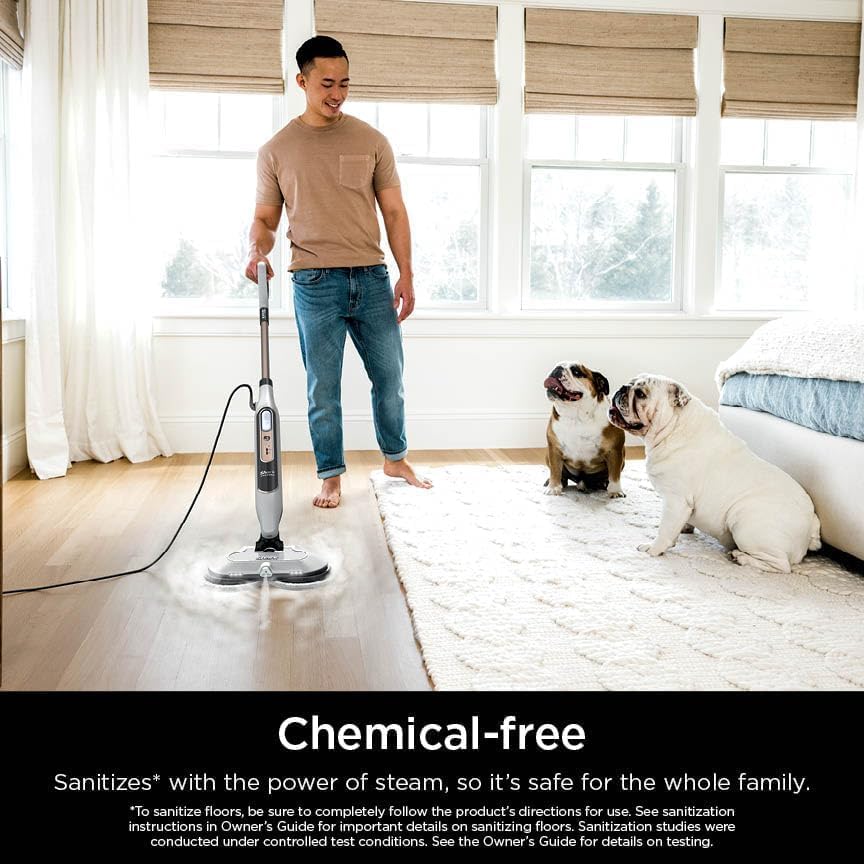
Figure 4: Chemical-free cleaning for a safe home environment.
4. Officiel produktvideo
Video 1: Overståetview of the Shark Steam & Scrub with Steam Blaster Technology Steam Mop, demonstrating its features and cleaning capabilities.
Opretholdelse
1. Cleaning the Microfiber Pads
- After each use, allow the mop to cool down and carefully remove the microfiber pads from the mop head.
- Vask puderne separat i maskine med varmt vand og flydende vaskemiddel. Undgå blegemiddel og skyllemiddel, da disse kan beskadige puderne.
- Tumble dry on low setting or air dry.
- Replace pads when they become worn or lose their scrubbing effectiveness.
2. Storing the Mop
- Ensure the water tank is empty before storing.
- Wrap the power cord around the cord hooks for neat storage.
- Store the mop in an upright position in a cool, dry place.
Fejlfinding
If your Shark S8201 Steam & Scrub Mop is not performing as expected, consult the following common issues:
- Ingen damp: Ensure the water tank is filled with distilled water and the unit is properly plugged in. Allow sufficient time for heating.
- Pads Not Rotating: Check if the mop head is securely attached and the unit is powered on. Ensure no obstructions are preventing rotation.
- Reduced Steam Output: Mineral buildup can affect steam output. Use only distilled water. If buildup is suspected, consult the full user manual for descaling instructions.
- Streaking on Floors: Ensure pads are clean and properly attached. Avoid using excessive steam for prolonged periods on one spot.
For further assistance, refer to the complete user manual or contact Shark customer support.
Specifikationer
- Model: S8201
- Mærke: Haj
- Særlige funktioner: Steam Blaster Technology, 3 Steam Modes (Light, Normal, Deep), LED Headlights, Rotating Pads
- Overfladeanbefaling: Sealed Hard Floors (Hardwood, Marble, Tile, Stone, Laminate, Vinyl)
- Wattage: 1120 watt
- Varens vægt: 6.9 pund
- Tank Volume/Capacity: 11.83 Væske ounces
- Strømkilde: AC/DC
- Voltage: 120V
- Produktdimensioner: 7.48 x 14.88 x 47.4 tommer
- Fabrikant: SharkNinja

Figure 5: Suitable for various sealed hard floor surfaces.
Garanti og support
The Shark S8201 Steam & Scrub Mop is covered by a manufacturer's warranty. Please refer to the warranty card included in your product packaging for specific terms and conditions. For technical support, replacement parts, or further inquiries, please visit the official SharkNinja webwebsted eller kontakt deres kundeserviceafdeling.


