1. Introduktion
This manual provides detailed instructions for the installation, operation, and maintenance of the darkFlash Z4Pro Mist CPU Cooler. Designed for efficient heat dissipation, this single-tower air cooler features a 120mm ARGB PWM fan and four Φ6mm heat pipes. Please read this manual thoroughly before installation to ensure proper setup and optimal performance.

darkFlash Z4Pro Mist CPU Cooler with illuminated ARGB fan.
2. Pakkens indhold
Bekræft, at alle nedenstående komponenter er til stede i din pakke:
- darkFlash Z4Pro Mist CPU Cooler (Heatsink and 120mm ARGB PWM Fan)
- Intel monteringsbeslag
- AMD monteringsbeslag
- Backplate (Universal for Intel, AMD uses original motherboard backplate)
- Monteringsskruer og afstandsstykker
- Termisk pasta
- Fan klip

En eksploderede view of the darkFlash Z4Pro Mist CPU Cooler components.
3. Specifikationer
| Modelnummer | Z4 Pro Mist |
| Produktdimensioner | 72 mm x 120 mm x 155 mm (2.8" L x 4.7" B x 6.1" H) |
| Vægt | 1.41 pund |
| TDP (termisk designeffekt) | 200W |
| Varmerør | 4 x Φ6mm Copper Heat Pipes (HDT Technology) |
| Fin Materiale | Aluminium |
| Fan størrelse | 120 mm |
| Blæserhastighed | 800-1600 ±10% RPM (PWM Controlled) |
| Fan Air Capacity | 54.7 CFM |
| Ventilatortryk | 1.5 MMH2O |
| Støjniveau | 24.3 dBA |
| Strømstik | 4-benet (PWM) |
| Voltage | 12 volt (DC) |
| Afkølingsmetode | Luft |
| Kompatible stikkontakter | Intel: LGA1700/115x/12xx; AMD: AM4/AM5 |

Dimensions of the darkFlash Z4Pro Mist CPU Cooler.
4. Kompatibilitet
The darkFlash Z4Pro Mist CPU Cooler is compatible with a wide range of Intel and AMD CPU sockets. Please ensure your motherboard socket is listed below and that your PC case has sufficient clearance (155mm height) for the cooler.
- Intel-sokler: LGA1700, LGA1200, LGA1150, LGA1151, LGA1155, LGA1156
- AMD-sokler: AM4, AM5
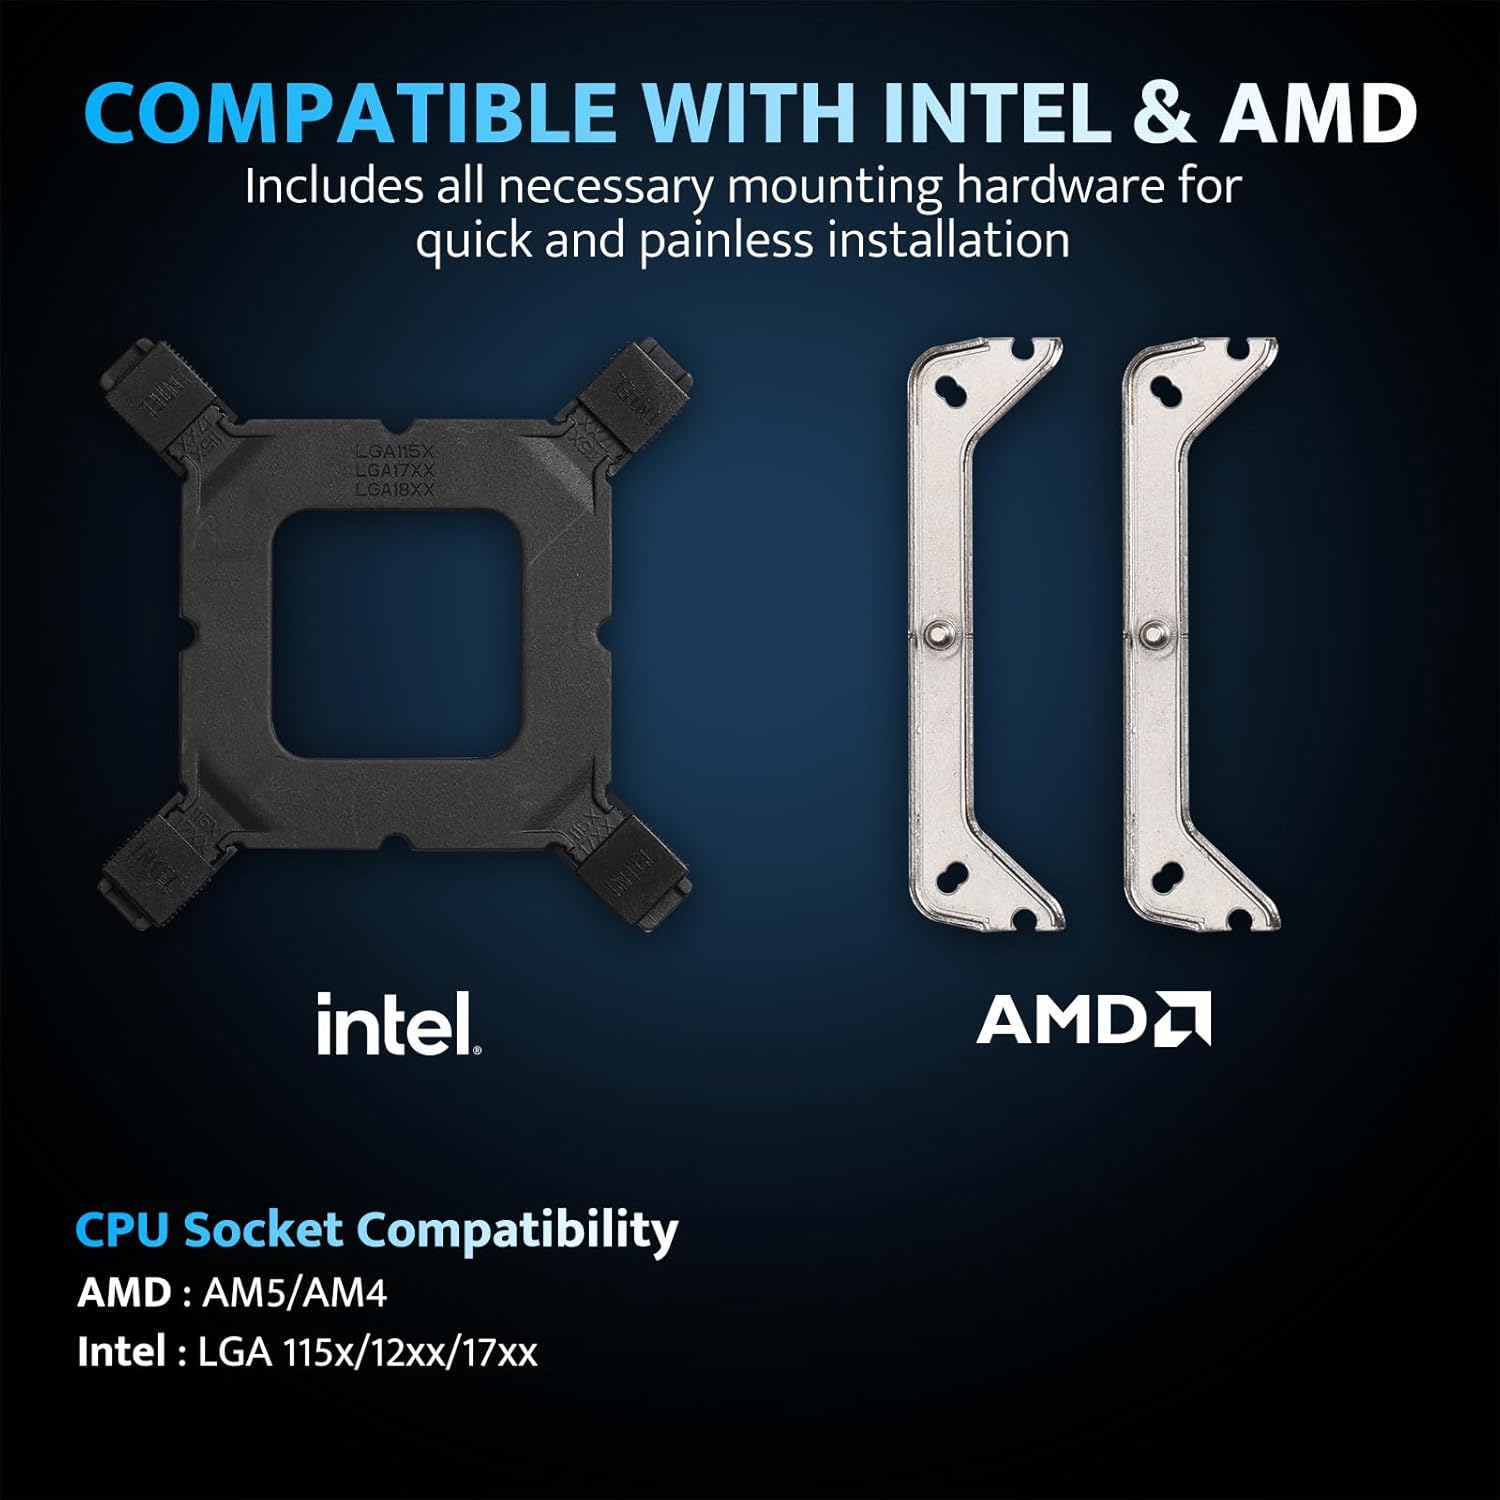
Intel and AMD mounting hardware and socket compatibility.
5. Opsætning og installation
Before beginning installation, ensure your system is powered off and unplugged. Handle components with care to avoid damage.
5.1. Klargøring af bundkortet
- Remove any existing CPU cooler and clean off old thermal paste from the CPU surface using isopropyl alcohol.
- For Intel Sockets: Attach the universal backplate to the rear of the motherboard, aligning the holes with the CPU socket. Secure it with the appropriate standoffs from the front side.
- For AMD Sockets: Retain the original AMD motherboard backplate. Remove the plastic retention clips from the front of the motherboard.
5.2. Påfør termisk pasta
Påfør en lille mængde termisk pasta på størrelse med en ært i midten af CPU'ens integrerede varmefordeler (IHS). Fordel den ikke manuelt; trykket fra køleren vil fordele den jævnt.
5.3. Installer monteringsbeslag
- Attach the correct Intel or AMD mounting brackets to the base of the cooler using the provided screws.
- Carefully place the cooler onto the CPU, aligning the screws on the mounting brackets with the standoffs (Intel) or the original backplate (AMD).
- Spænd skruerne diagonalt, indtil de sidder godt fast. Overspænd ikke.
5.4. Attach the Fan
- Using the included fan clips, secure the 120mm ARGB PWM fan to the heatsink. Ensure the fan is oriented to blow air through the heatsink towards the rear or top of your PC case for optimal airflow.
- Tilslut 4-bens PWM-blæserkablet til CPU_FAN-headeren på dit bundkort.
- Connect the 3-pin ARGB cable to a compatible 5V Addressable RGB header on your motherboard. Ensure it is a 5V header, not a 12V RGB header, to prevent damage.

Example of the cooler installed with ARGB lighting.
6. Betjeningsvejledning
6.1. Fan Control (PWM)
The 120mm fan utilizes Pulse Width Modulation (PWM) technology, allowing your motherboard to automatically adjust fan speed based on CPU temperature. This ensures efficient cooling when needed and quiet operation during lighter loads. You can typically configure fan curves in your motherboard's BIOS/UEFI settings or through manufacturer-provided software.

Fan specifications and intelligent control.
6.2. ARGB Lighting Customization
The cooler features Addressable RGB (ARGB) lighting, which can be synchronized with your motherboard's RGB software. Connect the 3-pin ARGB cable to a compatible 5V ARGB header on your motherboard. Supported software includes:
- ASUS Aura Sync
- MSI Mystic Light Sync
- GIGABYTE RGB Fusion 2.0
- ASRock Polychrome Sync
Use your motherboard's software to customize lighting effects, colors, and synchronization with other ARGB components in your system.
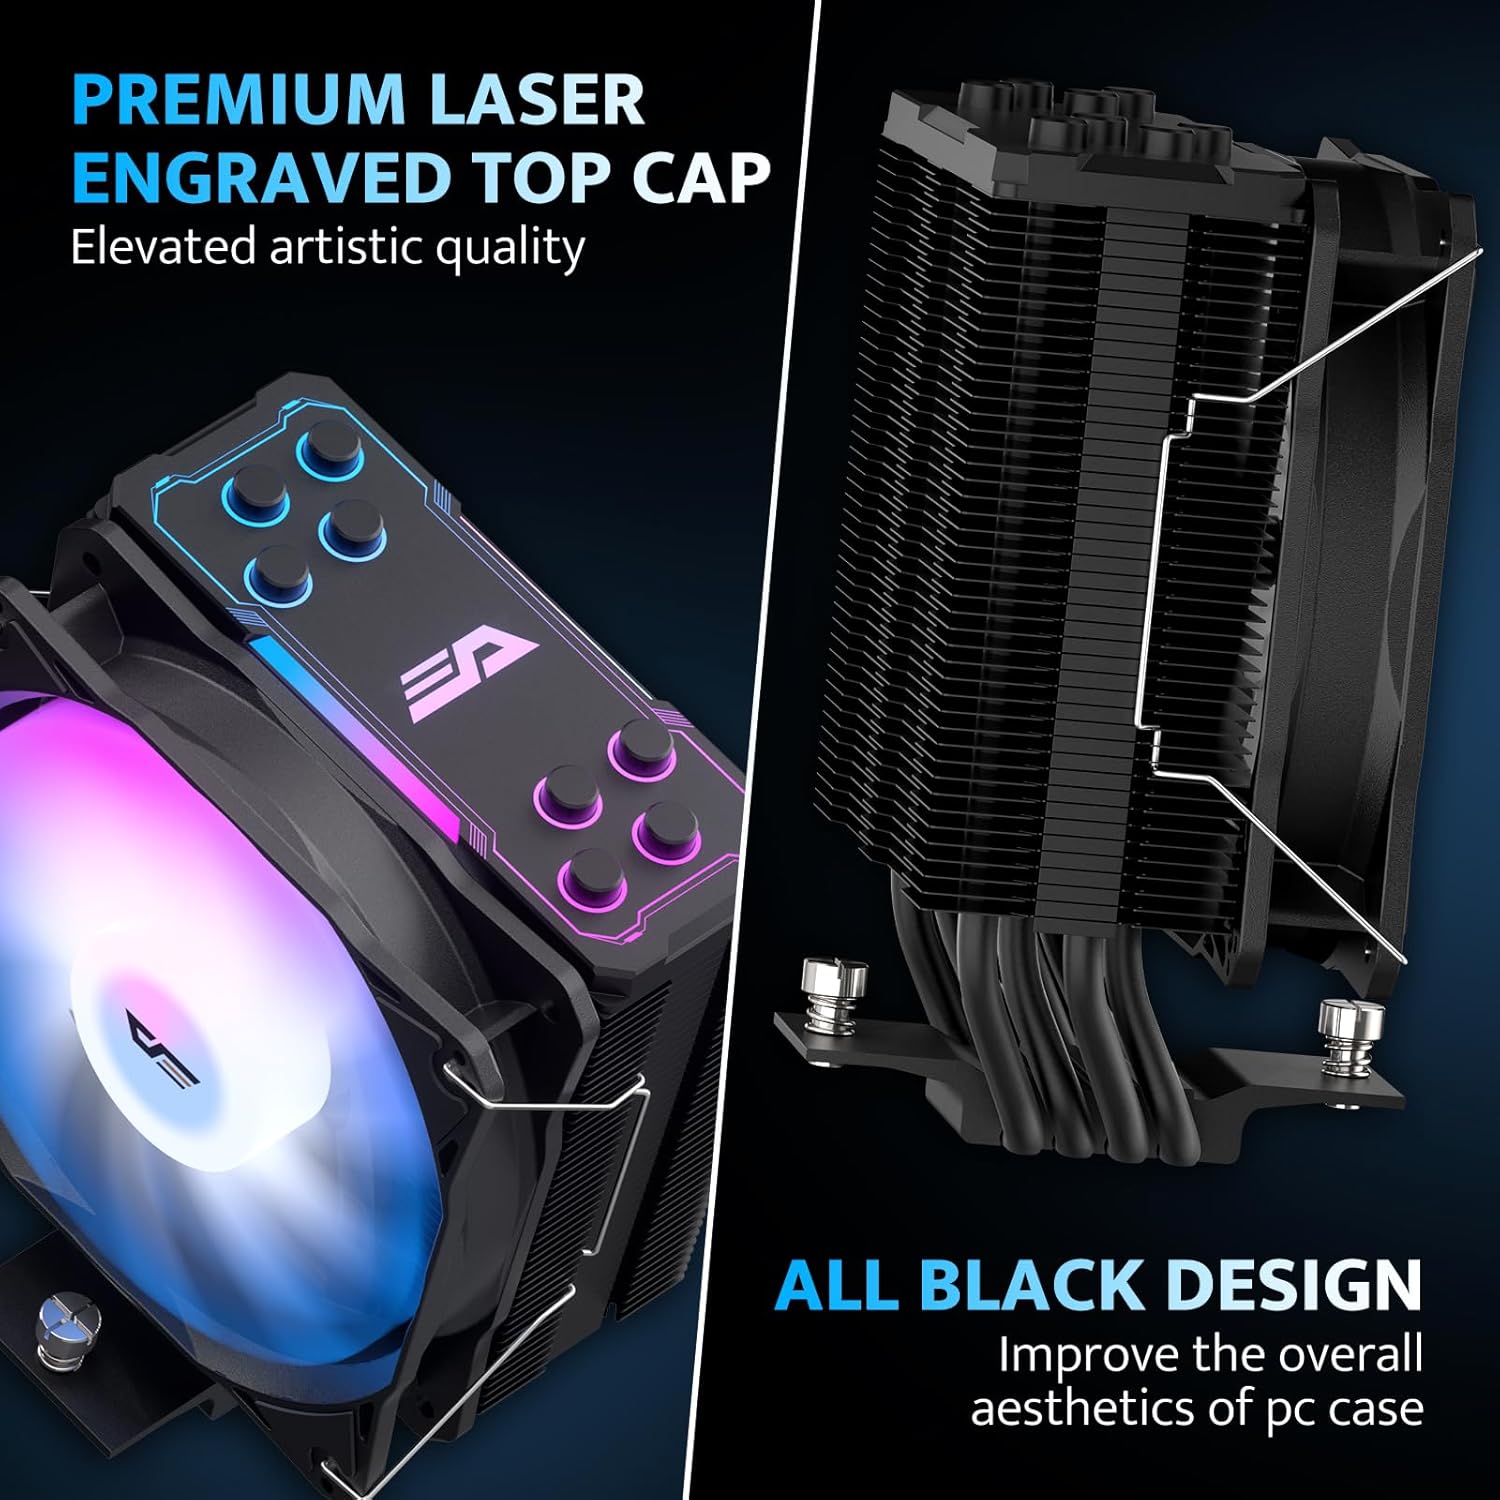
Aesthetic design with laser-engraved top cap and all-black finish.
7. Vedligeholdelse
Regelmæssig vedligeholdelse er med til at sikre din CPU-kølers levetid og optimale ydeevne.
- Fjernelse af støv: Rengør kølepladens finner og ventilatorblade regelmæssigt for støv med trykluft eller en blød børste. Sørg for, at ventilatoren ikke drejer under rengøringen.
- Ventilator inspektion: Check the fan for any obstructions or unusual noises. If the fan is removable, you may detach it for more thorough cleaning.
- Termisk pasta: While not frequently required, if you remove the cooler for any reason, it is recommended to clean off the old thermal paste and apply new thermal paste before reinstallation.
8. Fejlfinding
If you encounter issues with your darkFlash Z4Pro Mist CPU Cooler, refer to the following common problems and solutions:
| Problem | Mulig årsag | Løsning |
| Høje CPU-temperaturer | Improper cooler installation, insufficient thermal paste, poor airflow in case, fan not spinning. | Re-seat the cooler ensuring even pressure. Verify thermal paste application. Check fan connections and rotation. Improve case airflow. |
| Ventilatoren drejer ikke | Fan cable disconnected, faulty fan header, fan failure. | Ensure 4-pin PWM cable is securely connected to the CPU_FAN header. Test fan on another header if available. Contact support if fan is faulty. |
| ARGB-belysning virker ikke | ARGB cable disconnected, incorrect ARGB header (e.g., 12V instead of 5V), software issue. | Verify 3-pin ARGB cable is connected to a 5V Addressable RGB header. Check motherboard software settings. Ensure motherboard ARGB header is enabled in BIOS. |
| Overdreven støj | Loose fan, dust buildup, fan bearing issue. | Check fan clips for secure attachment. Clean fan and heatsink. If noise persists, contact support. |
9. Garanti og support
For warranty information and terms, please refer to the documentation included with your product or visit the official darkFlash website. For technical assistance or further inquiries, please contact darkFlash customer support through their official channels.


