1. Introduktion
This manual provides comprehensive instructions for the installation, operation, and maintenance of your APsystems EZ1D 1800W Micro-inverter. Please read this manual thoroughly before installation and retain it for future reference. Proper installation and adherence to safety guidelines are crucial for optimal performance and longevity of the product.
2. Produktet er slutview
2.1 Nøglefunktioner
- The APsystems EZ1D 1800W is a third-generation micro-inverter designed for balcony and DIY solar systems. It features a maximum output power of 1800W and supports up to four PV modules (2x2 in series) with an input power range of 315-660 Wp.
- The EZ1D includes two input channels with independent Maximum Power Point Tracking (MPPT) to optimize energy yield from solar panels. It achieves an efficiency of up to 96.7%.
- Integrated Wi-Fi and Bluetooth allow for remote monitoring of the solar system's power and status via a mobile application. The unit features compact dimensions and an integrated VDE relay. It is compatible with high-performance PV modules requiring high input current.
- Installation is simplified with Plug & Play functionality and an included connection cable. An integrated relay provides grid and system protection, ensuring safe shutdown during power outages or grid disconnections. The IP67-rated enclosure offers protection against various weather conditions, contributing to product longevity.
- The connection cable facilitates connecting the micro-inverter to a standard protective contact (Schuko) socket. It features a Betteri BC01 connector for the inverter side and a Type F Schuko plug for the grid connection. This 5-meter cable is rated for 300/500 V CE and has a nominal current of 20 A (BC01).
2.2 Pakkens indhold
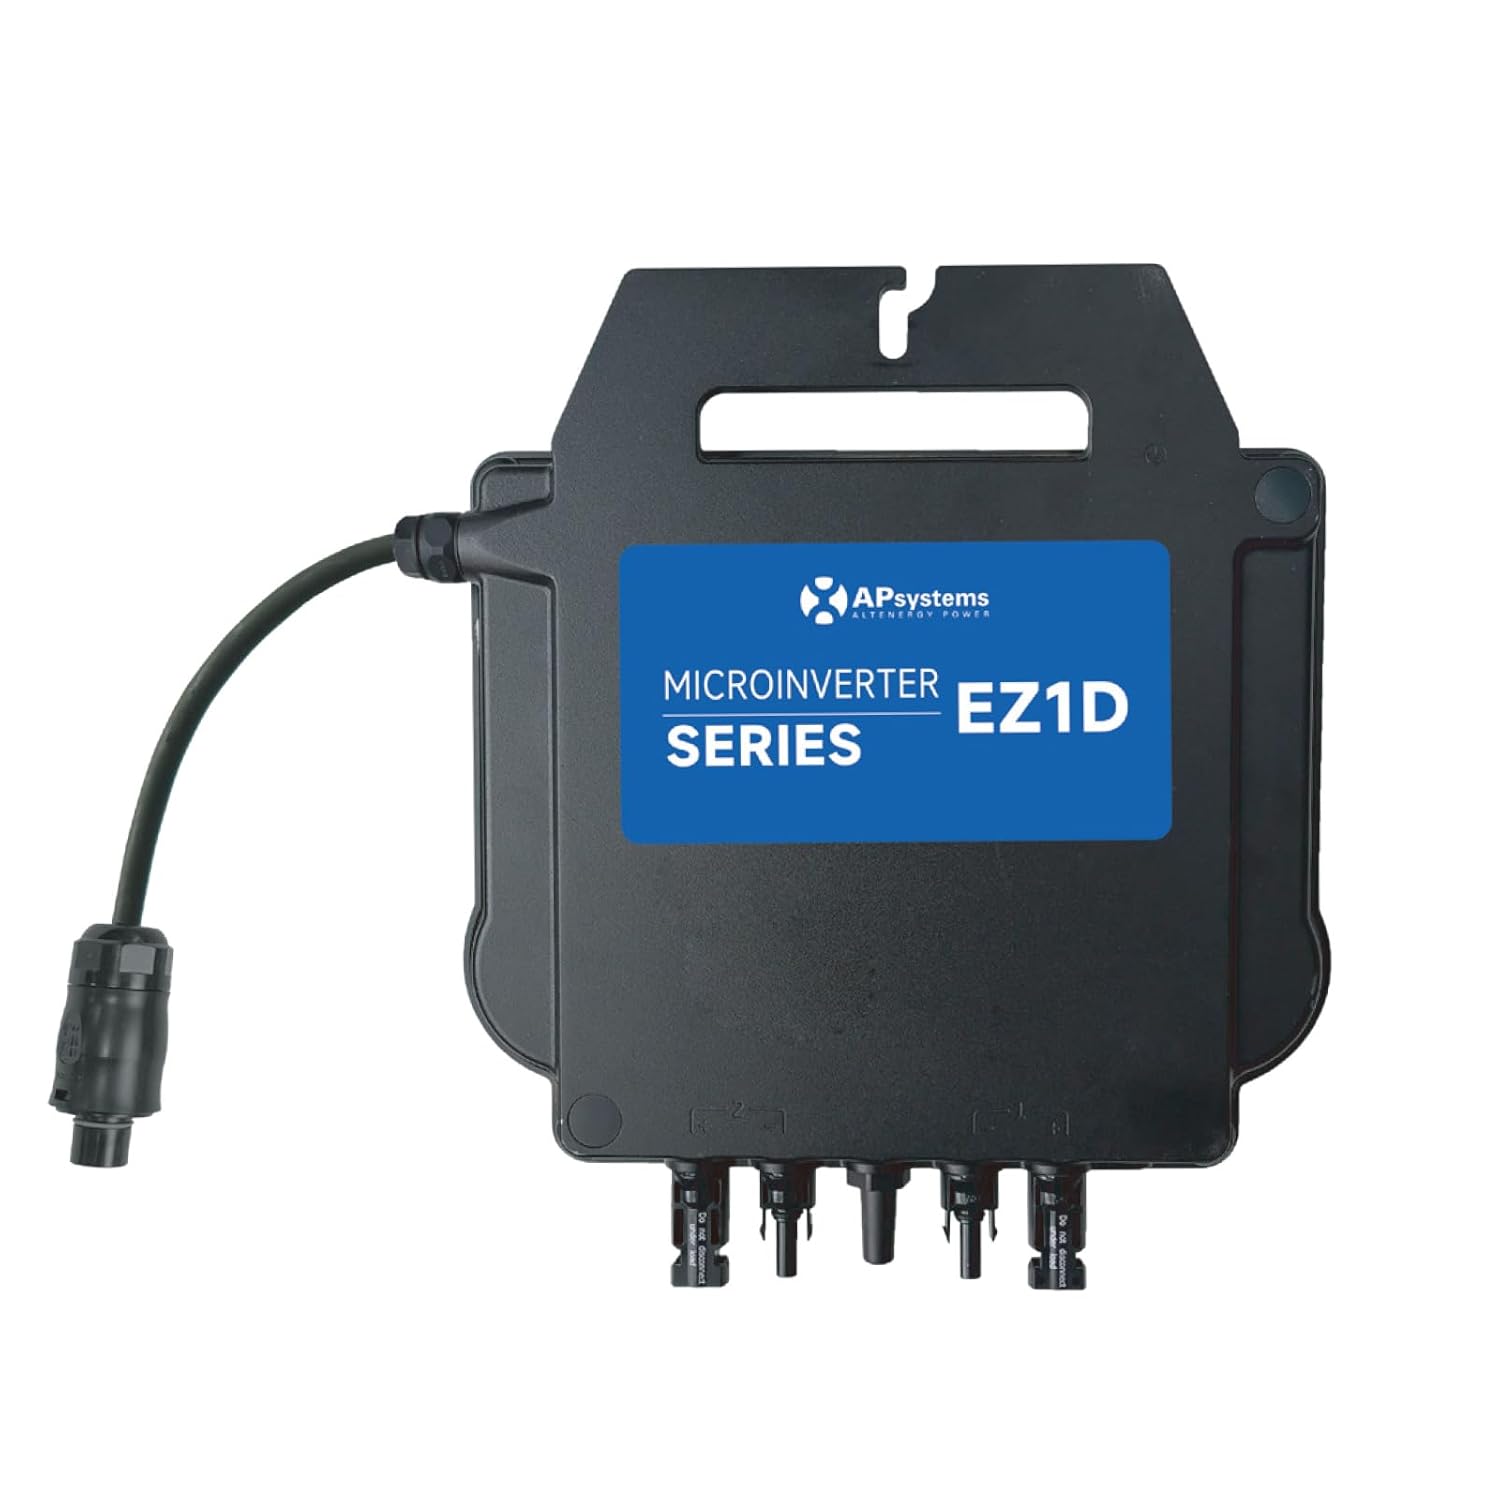
- APsystems® Micro-inverter EZ1D 1800W
- Tilslutningskabel 5m
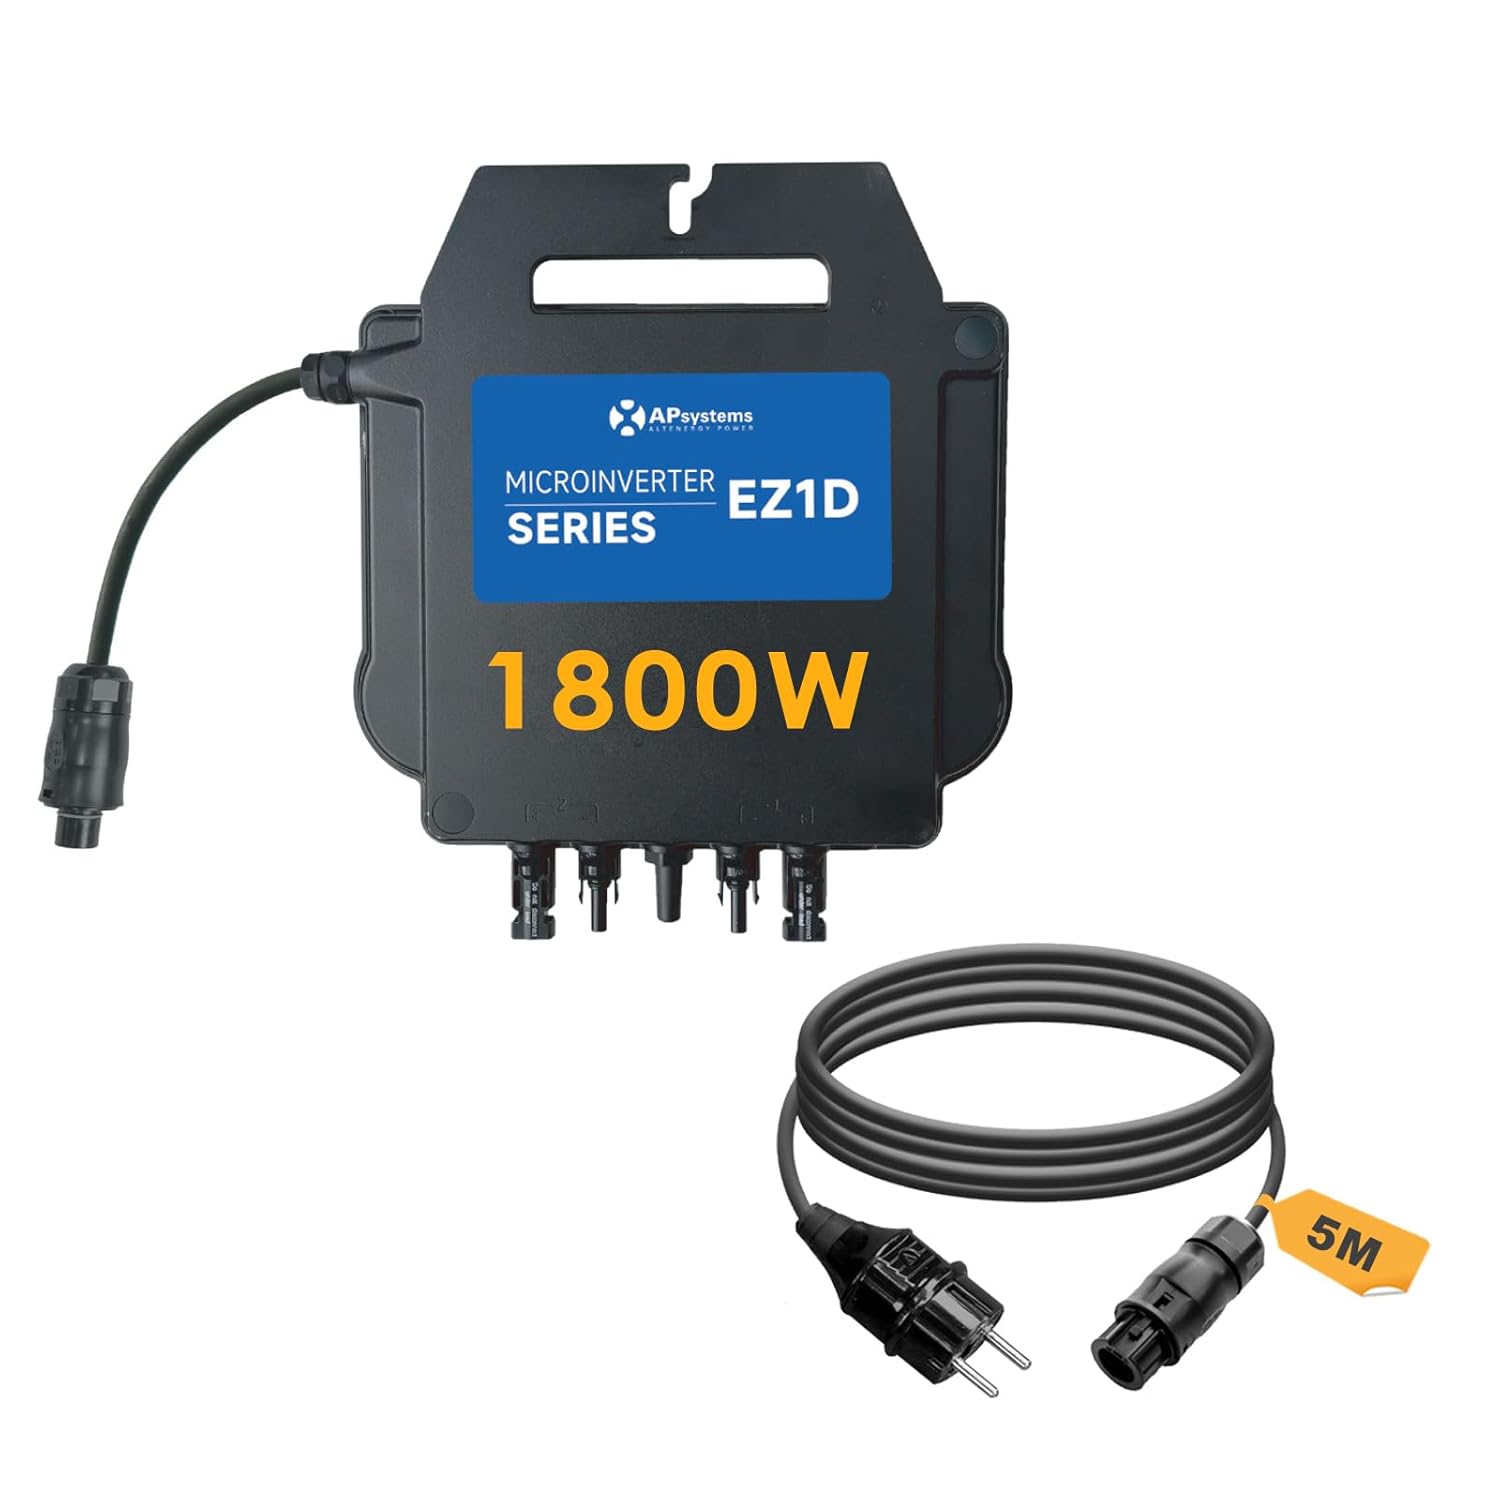
Figur 1: APsystems EZ1D 1800W Micro-inverter with included 5m connection cable.
3. Sikkerhedsinstruktioner
Always observe the following safety precautions during installation, operation, and maintenance of the micro-inverter:
- Installationen skal udføres af kvalificeret personale i overensstemmelse med lokale el-forskrifter og -regler.
- Ensure the micro-inverter is disconnected from all power sources (PV modules and AC grid) before performing any work.
- Do not attempt to repair the micro-inverter. Contact customer support for assistance.
- The integrated VDE relay provides essential grid protection. Do not bypass or tampmed denne sikkerhedsfunktion.
- The product is rated IP67 for outdoor use, providing protection against dust and water ingress. However, avoid submerging the unit or exposing it to extreme physical impact.
- Brug passende personlige værnemidler (PPE) under installationen.
4. Opsætning og installation
4.1 Mounting the Micro-inverter
Mount the micro-inverter in a location that allows for adequate ventilation and is protected from direct sunlight if possible, to ensure optimal operating temperature. Use appropriate fasteners to secure the unit to a stable structure, such as a solar panel frame or a wall.
4.2 Elektriske forbindelser
- PV Module Connection: Connect the DC cables from your solar panels to the input ports of the micro-inverter. Ensure correct polarity (+ to + and - to -). The EZ1D supports up to four PV modules (2x2 in series).
- AC-nettilslutning: Connect the provided 5m connection cable to the AC output port of the micro-inverter. Then, plug the Schuko end of the cable into a standard protective contact socket in your home.
Figur 2: Installation diagram illustrating the connection of solar panels to the EZ1D micro-inverter, then to the home grid, router (for Wi-Fi), and mobile phone (for monitoring).

Figur 3: Connection diagram illustrating how the micro-inverter connects to a standard household socket via the Betteri BC01 connector and Schuko plug.
4.3 App Configuration (Wi-Fi & Bluetooth)
The EZ1D micro-inverter features integrated Wi-Fi and Bluetooth for monitoring and control. Download the official APsystems mobile application from your device's app store. Follow the in-app instructions to connect your micro-inverter via Bluetooth initially, then configure its Wi-Fi connection to your home router. This enables remote monitoring of your system's performance.

Figur 4: Image showing the APsystems EZ1D micro-inverter alongside a smartphone displaying the monitoring application interface, highlighting Wi-Fi and Bluetooth connectivity.
5. Betjeningsvejledning
Once installed and connected, the micro-inverter will automatically begin converting DC power from your solar panels into AC power for your home grid when sufficient sunlight is available. You can monitor the system's performance using the APsystems mobile application.
5.1 Overvågning
The mobile application provides real-time data on power generation, energy yield, and system status. Ensure your micro-inverter has a stable Wi-Fi connection for continuous data transmission to the app.
5.2 Power Output Adjustment
The power output of the micro-inverter can be adjusted via the mobile application or through its local API. This feature allows users to set specific power limits if required by local regulations or personal preference.
6. Vedligeholdelse
The APsystems EZ1D micro-inverter is designed for minimal maintenance due to its robust IP67-rated enclosure. However, periodic checks are recommended:
- Visuel inspektion: Regularly inspect the micro-inverter and all cables for any signs of damage, wear, or corrosion.
- Rensning: If necessary, gently clean the exterior of the unit with a damp klæde. Brug ikke skrappe kemikalier eller slibende materialer.
- Ventilation: Ensure that the area around the micro-inverter remains clear to allow for proper heat dissipation.
7. Fejlfinding
If you encounter issues with your APsystems EZ1D micro-inverter, refer to the following common troubleshooting steps:
- Ingen strømudgang: Check all DC and AC connections to ensure they are secure. Verify that solar panels are receiving sufficient sunlight. Confirm that the AC socket is functional.
- No Data in App: Ensure the micro-inverter has a stable Wi-Fi connection. Check your router and internet connection. Try reconnecting via Bluetooth to reconfigure Wi-Fi if needed.
- Systemnedlukning: The integrated VDE relay will safely shut down the inverter in case of grid instability or power outage. The system should restart automatically once grid conditions normalize.
- Reduced Power Output: This could be due to insufficient sunlight, shading on PV modules, or high ambient temperatures. Check the app for diagnostic messages.
For persistent issues, consult the APsystems support resources or contact your installer.
8. Specifikationer
| Parameter | Værdi |
|---|---|
| Modelnummer | 9101805-APsystems |
| Dimensioner (L x B x H) | 283 mm x 233 mm x 39.5 mm |
| Vægt | 4.2 kg |
| MPPT bindtagRækkevidde | 56-90 V |
| Operation VoltagRækkevidde | 52 V - 118 V |
| Maks. Indgangsstrøm | 20 A x 2 |
| Recommended PV Module Power (STC) | 315 Wp - 660 Wp+ |
| Nominel Output Voltage | 230 V (184 V - 253 V) |
| Nominel udgangsstrøm | 7.8 A |
| Driftstemperaturområde | -40 °C ~ +65 °C |
| Strømudgang | 1800 watt |
| Input bindtage | 73 volt |
| Samlet antal strømudtag | 7 (referring to internal connections, not external sockets) |
| Overholdelsesstandarder | EN 62109-1/-2; EN IEC 61000-6-1/-2/-3/-4; VDE-AR-N 4105 |

Figur 5: Technical drawing displaying the dimensions (length, width, height) of the APsystems EZ1D micro-inverter in millimeters.
9. Garanti og support
9.1 Garantioplysninger
The APsystems EZ1D 1800W Micro-inverter comes with a standard 12 års garantiGem venligst din købsbevis i tilfælde af garantikrav.
9.2 Kundesupport
For technical assistance, warranty claims, or any questions regarding your APsystems product, please contact your authorized dealer or visit the official APsystems webwebsted for supportressourcer.


