1. Produktet er slutview
The Aipas C2 Electric Bike is designed for adults, featuring a powerful 1100W peak motor and a 48V 11AH battery, offering a top speed of 28MPH and a range of up to 68 miles. It is equipped with a robust suspension system and dual 180mm disc brakes for a smooth and safe riding experience across various terrains. The bike also includes a convenient M5 display with a USB charging port.

2. Opsætning og montering
Your Aipas C2 Electric Bike comes 85% pre-assembled. Follow these steps to complete the assembly and prepare your bike for its first ride.
2.1 Udpakning og første inspektion
Carefully open the packaging. The box is secured with metal staples; pull firmly on one side to open. Remove all packing materials and protective foam. Inspect all components for any signs of damage during transit.

For a visual guide on unboxing, please refer to the official unboxing video:
Video 1: C2 Electric Bike Unboxing: Discover Your Next EBike. This video demonstrates the unboxing process and initial component identification.
2.2 Handlebar and Front Wheel Installation
- Carefully remove the front wheel from the packaging.
- Loosen the stem and riser screws on the bike's head tube.
- Turn the riser forward and center it, then tighten all three bolts securely.
- Remove all bolts from the handlebar clamp.
- Attach the handlebar to the stem and reinstall the clamp screws, ensuring they are tightened evenly.
- Remove the fender bolt, nut, and washer from the front fork.
- Install the front fender and headlight by passing the bolt through the headlight, fender, and mounting bar. Center the headlight and adjust the fender height while tightening the nut and bolt.
- Remove the silver front fender screws and attach the fender arms on both sides.
- Carefully align the front wheel rotor between the caliper pads. Ensure the disc is in line with the brake caliper pads.
- Reinstall spacers with the locking pin facing the correct direction and tighten the axle nuts.

2.3 Skærminstallation
- First, remove the two screws and nuts from the display mount to prevent losing them.
- Install the display on the handlebar, ensuring it is centered properly.
- Insert the nuts, then tighten with the screws to secure the display.

2.4 Pedalinstallation
- Identify each pedal by the sticker or marking on the pedal axle (R for Right, L for Left).
- Install the right pedal by turning clockwise into the crank arm.
- Install the left pedal by turning counter-clockwise into the crank arm.
- Ensure both pedals are securely tightened.
2.5 Steering Adjustment and Final Checks
- Loosen the stem screw and align the handlebars and front wheel together so they are perpendicular with the frame.
- Tighten the stem screw securely.
- Check again that all screws, especially on the rear rack and fenders, are tightened properly.
For a comprehensive visual guide on assembly, please watch the installation video:
Video 2: M2 & C2 Installation Steps. This video provides detailed steps for assembling your Aipas electric bike.
3. Operating Your Aipas C2 Electric Bike
3.1 Powering On and Display Functions
To power on the bike, press and hold the power button on the M5 display. The display will show your current speed, battery level, PAS level, and odometer. The M5 display is equipped with a USB port, allowing you to charge your phone or other devices while riding.
3.2 Pedal Assist System (PAS)
The Aipas C2 features 5 levels of Pedal Assist. You can adjust the PAS level using the controls on the handlebar to suit your riding preference and terrain. Higher PAS levels provide more motor assistance.
3.3 Gashåndtagsbetjening
The bike is equipped with a throttle for instant power. Gently twist the throttle to engage the motor without pedaling. Use the throttle responsibly and be aware of your surroundings.
3.4 Lysanlæg
The front headlight provides clear visibility during low-light conditions. The taillight flashes when braking, enhancing your safety on the road. Operate the lights using the dedicated buttons on the handlebar.
4. Vedligeholdelse
Regular maintenance ensures the longevity and optimal performance of your Aipas C2 Electric Bike.
4.1 Pleje af batterier
- The 48V 499WH battery is removable for convenient charging.
- Charge the battery for 4-6 hours for a full charge.
- Batteriet har en vandtæthedsklassificering på IPX6, men undgå at nedsænke det i vand.
- Opbevar batteriet på et køligt, tørt sted, når det ikke er i brug.
- To remove the battery, insert the key into the lock, turn it, and press the safety button while pulling the battery out.
- To reinstall, slide the battery back into the frame until it clicks securely into place, then lock it with the key.

4.2 Bremsesystem
The C2 is equipped with dual 180mm Zoom disc brakes. Regularly check brake pads for wear and ensure proper alignment of the disc with the caliper pads. Adjust brake tension as needed for optimal stopping power.
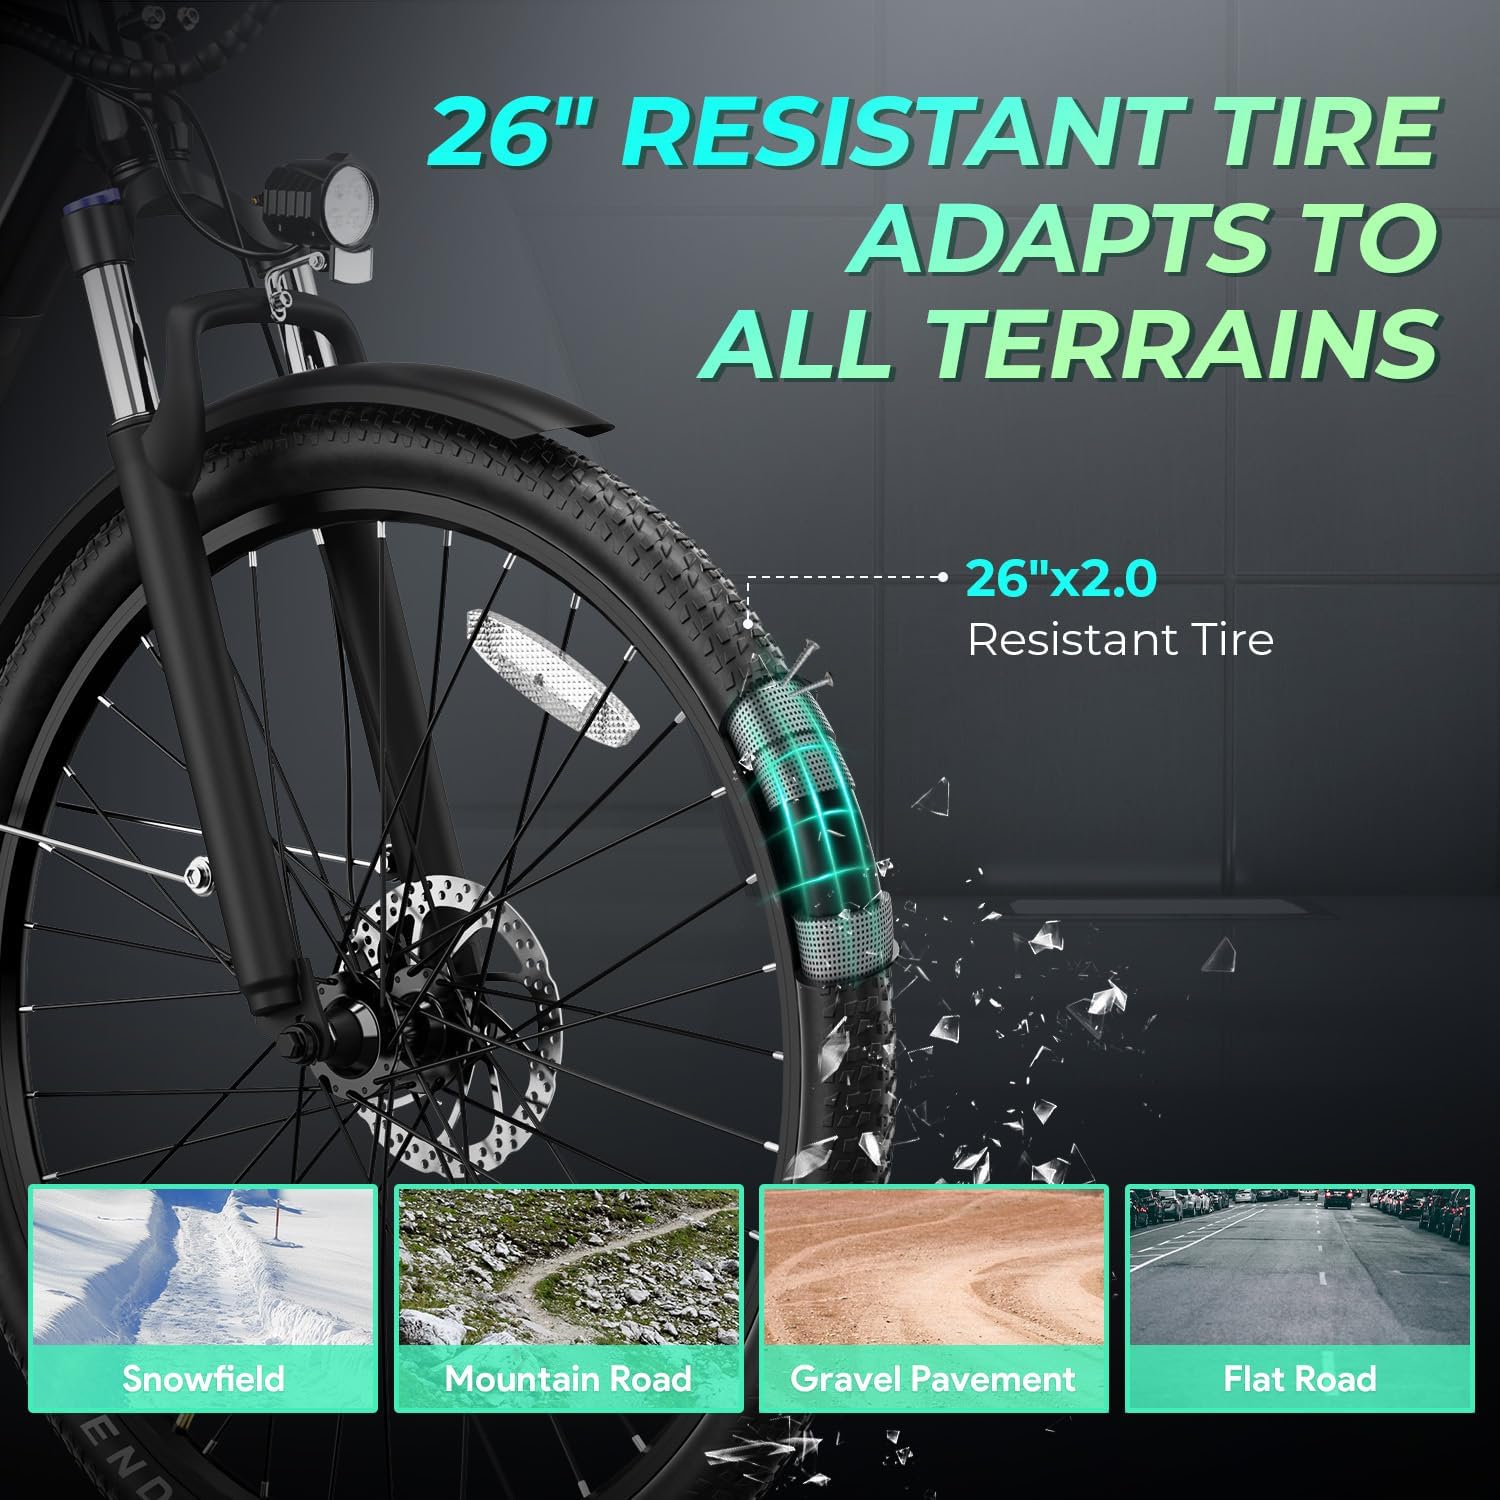
4.3 Dæk
The 26"x 2.0" fat tires provide excellent grip and shock absorption. Maintain recommended tire pressure for best performance and to prevent punctures. Regularly inspect tires for cuts or excessive wear.
4.4 Generel pleje
- Hold cyklen ren, især efter kørsel i vådt eller mudret føre.
- Lubricate the chain regularly to ensure smooth gear changes and prevent rust.
- Kontroller regelmæssigt alle bolte og fastgørelseselementer for tæthed.
5. Fejlfinding
This section provides solutions to common issues you might encounter with your Aipas C2 Electric Bike. For more complex problems, please contact customer support.
| Problem | Mulig årsag | Løsning |
|---|---|---|
| Cyklen tænder ikke. | Batteriet er ikke opladet eller ikke korrekt isat. | Ensure battery is fully charged and securely inserted. Check battery connection. |
| Motoren hjælper ikke. | PAS level too low, throttle not engaged, or motor connection issue. | Increase PAS level. Ensure throttle is fully twisted. Check motor cable connections. |
| Bremserne føles svage eller støjende. | Worn brake pads, misaligned calipers, or loose cables. | Inspect and replace worn brake pads. Adjust caliper alignment. Tighten brake cables. |
| Usædvanlige lyde under kørslen. | Loose components, dry chain, or misaligned parts. | Check all bolts and fasteners. Lubricate chain. Inspect for rubbing parts. |
6. Produktspecifikationer
| Feature | Detalje |
|---|---|
| Type cykel | El-cykel |
| Modelnavn | C2 |
| Mærke | Aipas |
| Motor | 1100W Peak børsteløs motor |
| Batteri | 48V 11AH (499WH) Removable |
| Tophastighed | 28 MPH |
| Max rækkevidde | Op til 68 miles |
| Hjulstørrelse | 26 tommer |
| Dækstørrelse | 26"x 2.0" Fat Tires |
| Antal hastigheder | 7-trins gearsystem |
| Bremse stil | Dobbelte 180 mm skivebremser |
| Ophængstype | Forgaffel affjedring |
| Rammemateriale | Aluminium |
| Varens vægt | 70 pund |
| Maksimal vægtanbefaling | 400 pund |
| Vise | M5 Display with USB Charging Port |
| Vandtæthedsklassificering (batteri) | IPX6 |

7. Garanti og support
7.1 Garantioplysninger
Aipas provides a 1-year quality-issue warranty for the C2 Electric Bike. This warranty covers manufacturing defects and quality-related issues. Please retain your proof of purchase for warranty claims.
7.2 Kundesupport
For technical guidance, troubleshooting assistance, or any inquiries regarding your Aipas C2 Electric Bike, please contact our customer support team:
- Callcenter: 1(833)532-5966 (Mon-Fri: 9:00 AM - 5:30 PM PST)
- E-mail support: service@aipasbike.com (Responses within 24 hours)
You can also refer to the FAQ section on the product page for common questions, such as assembly instructions.


