1. Introduktion
Welcome to the user manual for your new XGODY S200 Flip Phone. This device is designed for ease of use, featuring large buttons, a clear display, and essential functions for reliable communication. Please read this manual carefully to understand how to operate your phone safely and efficiently.
2. Pakkens indhold
Markér venligst feltet for følgende elementer:
- XGODY S200 Flip Phone
- Genopladeligt batteri
- USB Type-C opladerkabel
- Strømadapter
- Brugermanual
3. Enhed overview
Familiarize yourself with the key components of your XGODY S200 Flip Phone.

Figur 3.1: Forside view of the XGODY S200 flip phone in its open position, displaying the screen and large keypad.

Figure 3.2: Detail of the XGODY S200's side, showing the USB Type-C charging port, 3.5mm headphone jack, and a flashlight.
3.1. Keypad Layout
- Navigationstaster: Up, Down, Left, Right, and OK/Confirm button in the center.
- Opkaldsnøgle: Green button to make or answer calls.
- Afslut/Tænd/sluk-knap: Red button to end calls or power the phone on/off.
- SOS nøgle: Dedicated button for emergency calls (often on the back or side).
- Numerisk tastatur: Large, easy-to-read buttons for dialing numbers and text input.
4. Opsætning
4.1. Installation af batteriet
- Open the back cover of the phone by gently prying it from the notch.
- Juster batteriets kontakter med terminalerne inde i telefonen.
- Press the battery down firmly until it is securely in place.
- Sæt bagdækslet på igen, og sørg for, at det klikker på plads.
4.2. Installing the SIM Card(s)
The XGODY S200 supports dual SIM cards.
- Find SIM-kortstikket/-stikkene, når batteriet er fjernet.
- Insert your SIM card(s) into the slot(s) with the gold contacts facing down and the cut corner aligned as indicated.
- Sørg for, at SIM-kortet/-kortene er helt isat.
- Sæt batteriet og bagdækslet på igen.
4.3. Opladning af telefonen
- Connect the USB Type-C cable to the charging port on the side of the phone.
- Plug the other end of the cable into the power adapter, then plug the adapter into a wall outlet.
- Batteriikonet på skærmen viser opladningsstatus.
- Charge the phone fully before first use (approximately 2-3 hours).
5. Betjening af din telefon
5.1. Tænd/sluk
- For at tænde: Press and hold the Red End/Power Key until the screen lights up.
- For at slukke: Press and hold the Red End/Power Key until the power-off options appear, then select 'Power Off'.
5.2. Foretage og modtage opkald
- Foretag et opkald: Enter the phone number using the keypad and press the Green Call Key.
- Besvare et opkald: When the phone rings, press the Green Call Key.
- Afslutning af et opkald: Press the Red End/Power Key.
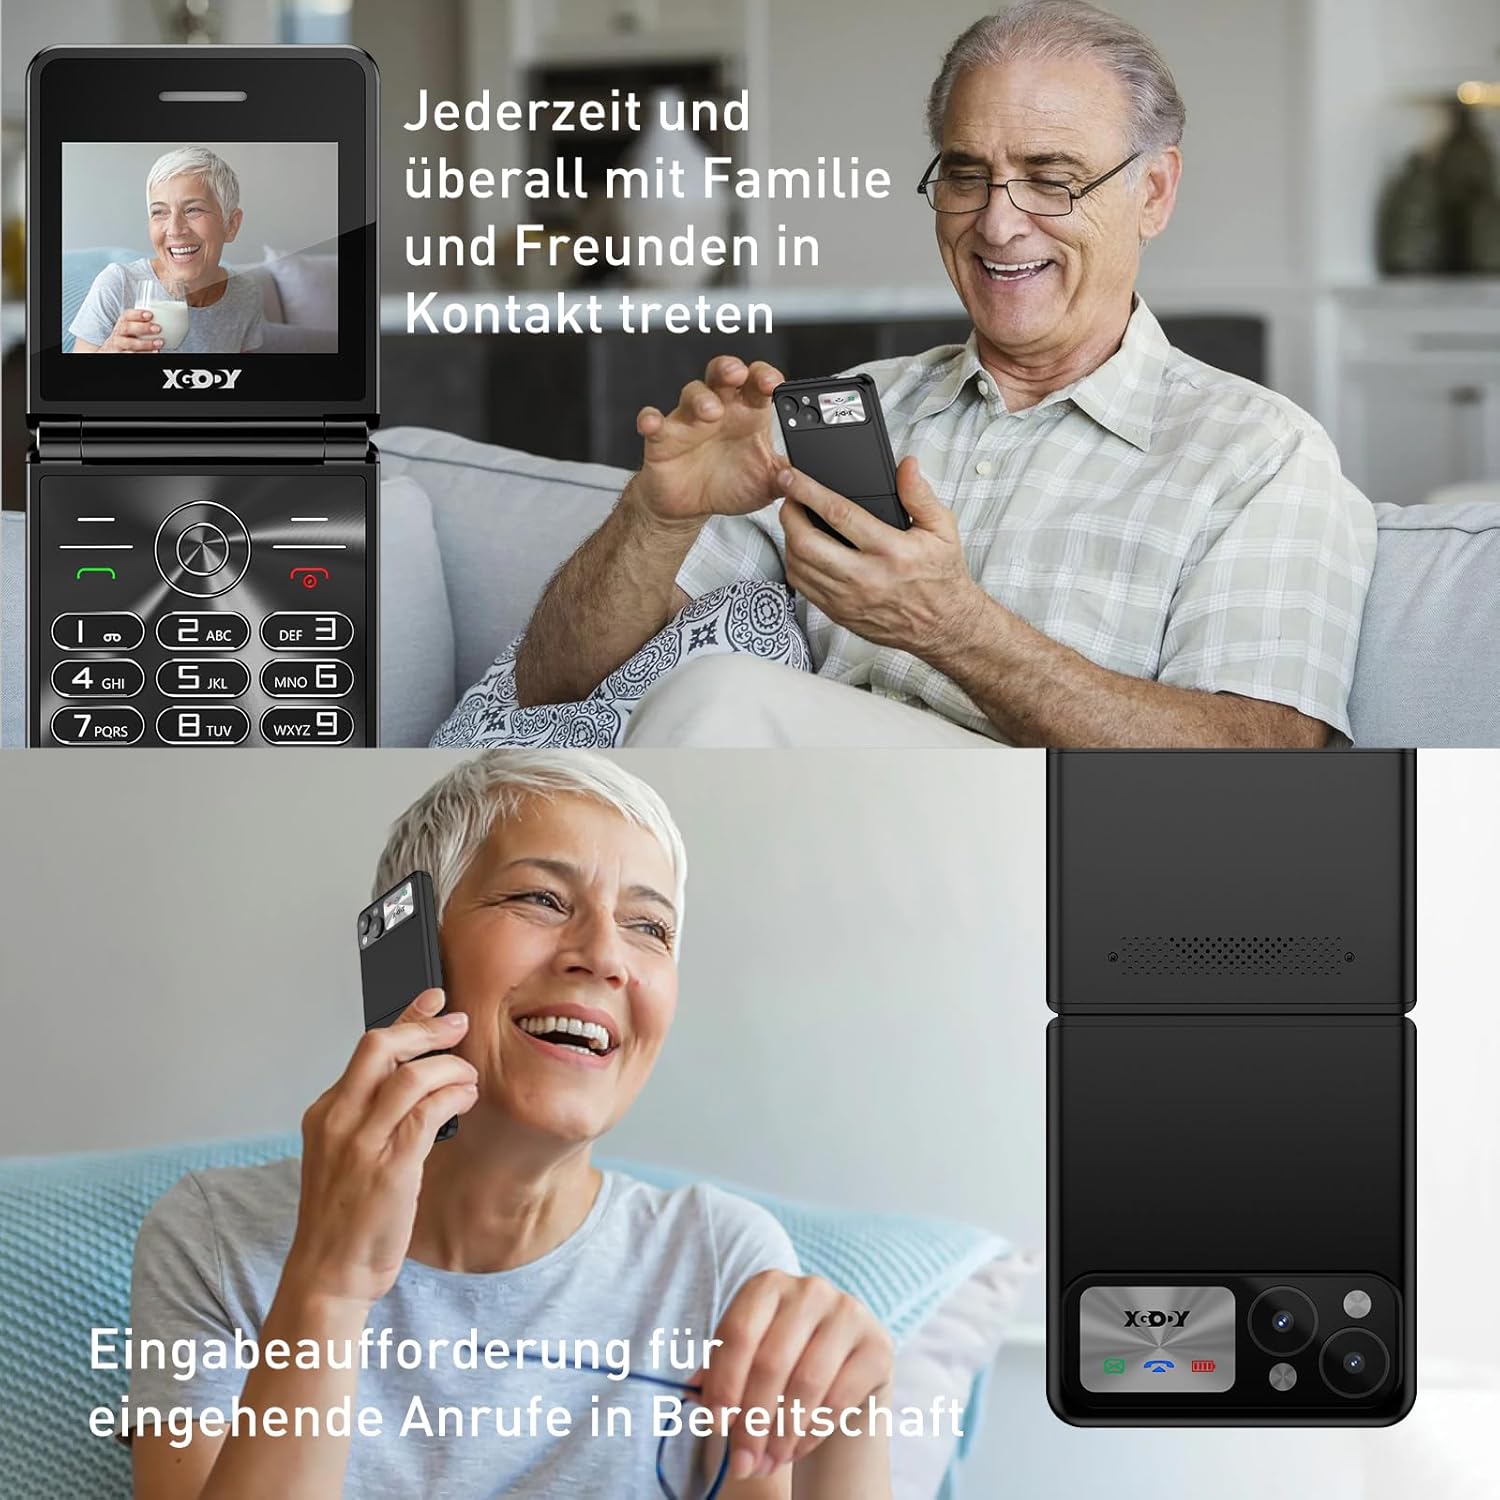
Figure 5.1: The XGODY S200 features loud and clear call volume, beneficial for users with hearing impairments.
5.3. Kontakter (Telefonbog)
- From the main screen, navigate to 'Contacts' or 'Phonebook' using the navigation keys and press the OK key.
- Select 'Add New Contact' to save a number.
- Indtast navn og telefonnummer, og gem derefter.
5.4. SOS-nødfunktion
SOS-funktionen giver dig mulighed for hurtigt at kontakte forudindstillede nødnumre.

Figure 5.2: Illustration of the SOS emergency call feature, allowing users to quickly contact up to five pre-set family members or emergency services.
- Opsætning af SOS-numre: Go to 'Settings' > 'SOS Settings' and add up to 5 emergency contacts.
- Aktivering af SOS: Press and hold the dedicated SOS button (usually on the back or side of the phone) for a few seconds. The phone will automatically dial the pre-set numbers in sequence until one is answered. It may also send an emergency SMS.
5.5. FM Radio
To use the FM Radio, you may need to connect headphones (not always included) as they often act as an antenna.
- Naviger til 'FM-radio' i hovedmenuen.
- Brug navigationstasterne til at søge efter stationer eller indstille manuelt.
5.6. Lommelygte
Telefonen har en indbygget lommelygte for nemheds skyld.

Figure 5.3: An image demonstrating the built-in flashlight feature of the XGODY S200, activated by a long press, providing convenience in low-light conditions.
- Sådan tænder/slukker du: Press and hold the dedicated flashlight button (if available) or a specific key combination as indicated in the phone's quick guide.
6. Vedligeholdelse
- Rensning: Brug en blød, tør klud til at rengøre telefonens skærm og kabinet. Undgå flydende rengøringsmidler.
- Batteripleje: Do not expose the battery to extreme temperatures. If the phone will not be used for an extended period, charge it partially before storing.
- Opbevaring: Opbevar telefonen et køligt, tørt sted væk fra direkte sollys og fugt.
7. Fejlfinding
| Problem | Mulig løsning |
|---|---|
| Telefonen tænder ikke | Sørg for, at batteriet er korrekt installeret og fuldt opladet. Prøv at oplade telefonen i mindst 30 minutter. |
| Kan ikke foretage eller modtage opkald | Kontroller, om SIM-kortet er korrekt isat. Sørg for, at du har netværkssignal. Kontakt din tjenesteudbyder, hvis problemet fortsætter. |
| Dårlig opkaldskvalitet | Flyt til et område med bedre netværksmodtagelse. Sørg for, at mikrofonen og højttaleren ikke er blokeret. |
| Batteriet aflades hurtigt | Reduce screen brightness. Close unused applications. If the battery is old, consider replacing it. |
| SOS-funktionen virker ikke | Verify that emergency numbers are correctly set in the SOS settings. Ensure the phone has network signal. |
8. Specifikationer
| Feature | Detalje |
|---|---|
| Mærke | Xgody |
| Modelnavn | S200 |
| Operativsystem | Basic OS |
| Skærmstørrelse | 2.4 tommer |
| Opløsning | 240 x 320 |
| RAM størrelse | 32 MB |
| Hukommelseslagringskapacitet | 32 MB |
| Trådløs bærer | Alle udbydere (ulåst) |
| Cellulær teknologi | 2G |
| Forbindelsesteknologi | 2G (GSM) |
| Batteri | 1 litiumpolymer (inkluderet) |
| Opladningsport | USB Type-C |
9. Garanti og support
Specific warranty details for the XGODY S200 Flip Phone are not provided within this manual. For warranty information, technical support, or service inquiries, please refer to the documentation included with your purchase or visit the official XGODY webwebsted. Gem din købsbevis i tilfælde af garantikrav.


