1. Introduktion
The BaByliss T812E Multifunction Lithium Power Trimmer is designed for versatile grooming, offering precise trimming for beards, hair, nose, and ears. Featuring lithium-ion technology and super-sharp stainless steel blades, this cordless trimmer provides up to 80 minutes of powerful use. It includes a variety of guide combs to achieve 14 precise cutting lengths, ranging from 0.5mm to 10mm, and is fully waterproof for convenient wet or dry use.
2. Vigtige sikkerhedsoplysninger
Attention: Sharp blades. Do not use the device near water sources. Handle batteries with care.
- Always ensure the trimmer is switched off before cleaning or attaching/detaching accessories.
- Keep the trimmer and its accessories out of reach of children.
- Do not attempt to repair the device yourself. Contact qualified service personnel for any repairs.
- Use only the charging cable supplied with the device.
3. Pakkens indhold
Bekræft at alle varer er til stede i pakken:
- BaByliss T812E Trimmer Unit
- 1 Adjustable Beard Comb (5 positions: 2, 4, 6, 8, 10 mm)
- 5 Short Beard Guide Combs (0.0, 0.2, 0.4, 0.6, 0.8 mm)
- 3 Jawline Guide Combs (3, 5, 7 mm)
- Rotary Nose and Ear Trimmer Attachment
- USB opladningskabel
- Opbevaringspose

This image displays the BaByliss T812E trimmer alongside its complete set of attachments, including multiple guide combs for different cutting lengths and a dedicated nose and ear trimmer.
4. Opsætning
4.1 Opladning af trimmeren
Before first use, fully charge the trimmer for approximately 8 hours. For subsequent uses, a full charge provides up to 80 minutes of cordless operation. Connect the USB charging cable to the trimmer and a standard USB power adapter (not included). The charging indicator light will illuminate during charging.
4.2 Attaching and Detaching Heads/Combs
- To attach a trimming head (main blade or nose/ear trimmer), align the head with the trimmer body and gently push until it clicks into place.
- To detach, hold the trimmer firmly and pull the head away from the body.
- To attach a guide comb, slide it onto the trimming head until it securely locks. Ensure it is properly seated before use.
- To remove a guide comb, gently lift it from the trimming head.

This image displays the two primary attachment heads: the standard trimming blade and the rotary nose and ear trimmer.
5. Betjeningsvejledning
5.1 Generel drift
Press the power button to turn the trimmer ON or OFF. For best results, ensure your hair is clean and dry before trimming.

The trimmer is shown with a nose and ear attachment and a guide comb, emphasizing its lithium battery power and versatility with 14 available cutting lengths.
5.2 Beard and Hair Trimming
Select the appropriate guide comb for your desired length:
- Adjustable Beard Comb: Use the 5-position adjustable comb for lengths from 2mm to 10mm. Adjust the comb by sliding it to the desired setting.
- Short Beard Guide Combs: For very short stubble, use the 5 fixed short beard combs (0.0, 0.2, 0.4, 0.6, 0.8 mm).
- Jawline Guide Combs: Use the 3 fixed jawline combs (3, 5, 7 mm) for precise shaping and detailing.

An adjustable guide comb with five positions is shown, allowing for cutting lengths between 2mm and 10mm.

Five guide combs are presented, suitable for achieving very short stubble lengths ranging from 0.5mm to 1.3mm.

Three guide combs are shown, designed for shaping and maintaining the jawline at lengths of 3mm, 5mm, and 7mm.
Hold the trimmer with the blades facing the desired area and move it against the direction of hair growth. Use slow, controlled movements for an even trim.

En detaljeret view of the trimmer's sharp, durable stainless steel blade, designed for precise and smooth cutting.
5.3 Næse- og øretrimning
Attach the rotary nose and ear trimmer head. Gently insert the trimmer tip into your nostril or ear canal. Move the trimmer in a circular motion to remove unwanted hair. Do not insert the trimmer too deeply.

This image provides a close-up of the rotary attachment specifically designed for safely trimming nose and ear hair.
6. Vedligeholdelse
6.1 Rengøring
The BaByliss T812E trimmer is waterproof, allowing for easy cleaning. After each use:
- Ensure the trimmer is switched OFF.
- Remove the trimming head and any attached guide combs.
- Rinse the trimming head and guide combs under running water to remove hair clippings.
- You may also rinse the trimmer body, but ensure the charging port is dry before recharging.
- Lad alle dele lufttørre helt, før de samles eller opbevares igen.
6.2 Pleje af blade
The stainless steel blades are designed for long-lasting sharpness. For optimal performance, occasionally apply a small amount of lubricating oil (not included) to the blades after cleaning and drying. This helps maintain blade efficiency and prevents corrosion.
7. Fejlfinding
- Trimmer tænder ikke: Ensure the trimmer is fully charged. If the issue persists, check the charging cable and adapter.
- Dårlig skæreevne: Clean the blades and guide combs thoroughly to remove any trapped hair. Ensure the blades are properly lubricated. If blades feel dull, consider replacing the trimming head.
- Trimmer pulls hair: This often indicates dull blades or insufficient charge. Clean, lubricate, or recharge the device.
8. Specifikationer
| Feature | Specifikation |
|---|---|
| Modelnummer | T812E |
| Mærke | BaByliss |
| Strømkilde | Batteridrevet (lithium-ion) |
| Batterilevetid | Op til 80 minutters ledningsfri brug |
| Bladmateriale | Rustfrit stål |
| Skærelængder | 14 (0.5mm - 10mm) |
| Særlige funktioner | Waterproof, Removable Head, Quick Charge, Ergonomic |
| Dimensioner | 15 x 4 x 3.5 cm |
| Vægt | 440 g |
9. Garanti og support
The BaByliss T812E Multifunction Lithium Power Trimmer comes with a 3 års garanti fra købsdatoen. Denne garanti dækker fabrikationsfejl ved normal brug. Gem venligst din købsbevis i tilfælde af garantikrav.
For technical support, service, or warranty inquiries, please refer to the contact information provided on the BaByliss official website or your local retailer.
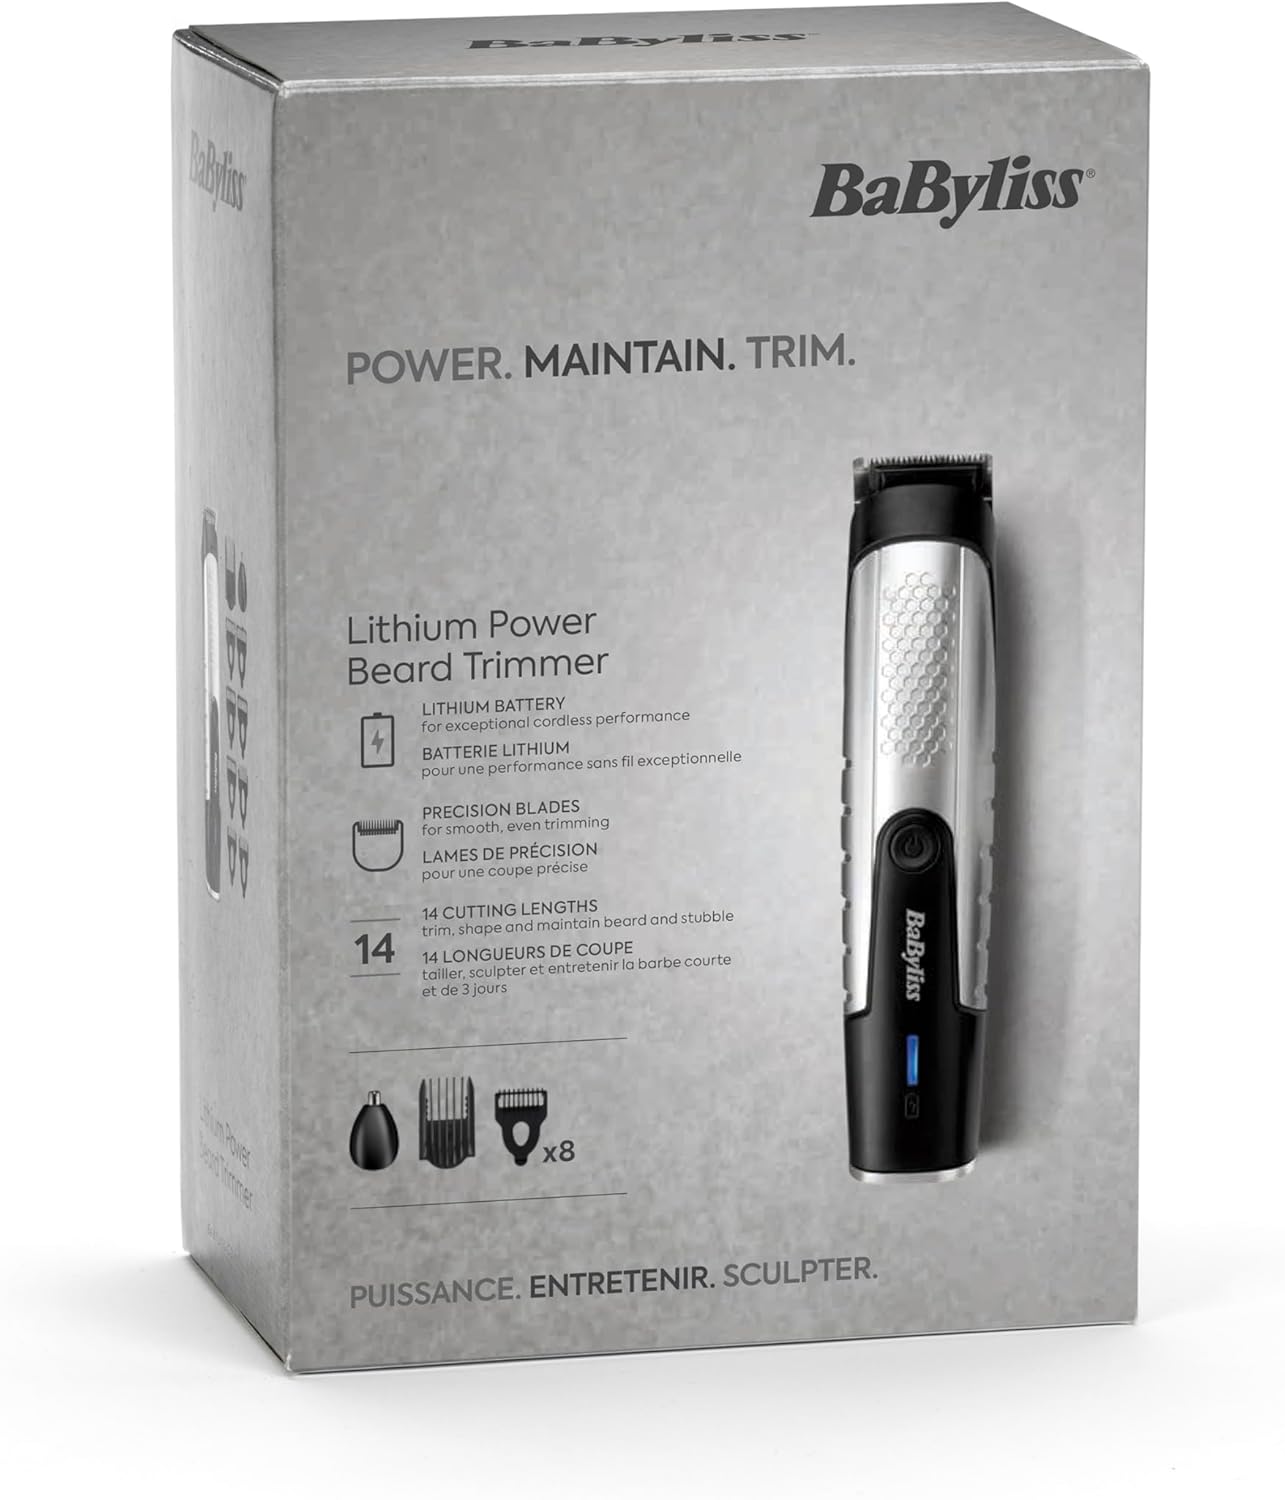
The product box for the BaByliss T812E Lithium Power Beard Trimmer, displaying key features and contents.


