1.Overview
The M5Stack AtomS3 Lite is an ultra-compact programmable controller designed for Internet of Things (IoT) development. It integrates the powerful ESP32-S3FN8 as its main control unit, offering Wi-Fi connectivity and a range of built-in features for various embedded smart device applications.
Nøglefunktioner:
- Ultra-kompakt design: Measuring only 24x24x9.5mm (0.97x0.97x0.37 inches), ideal for space-constrained projects.
- ESP32-S3FN8 Main Control: Features 8MB SPI flash memory for robust application development.
- Integrated Connectivity: Built-in 3D Wi-Fi antenna for reliable wireless communication.
- Strømstyring: Efficient 5V to 3.3V power circuit.
- User Feedback & Control: Includes an infrared LED, RGB LED status indicators, and an integrated button.
- Udvidelige grænseflader: GROVE/HY2.0-4P interfaces and 6 GPIO headers for easy expansion with external modules.
- USB-C grænseflade: On-board Type-C port for convenient reprogramming, downloading, and serial port communication.
- Sikker montering: An M2 screw hole is provided on the back for stable installation.
Hvad er der i æsken:
- 1 x M5Stack AtomS3 Lite ESP32 IoT Development Kit

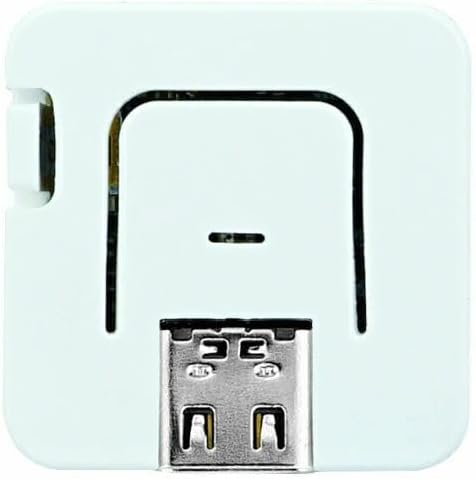
Figur 1: Øverst view of the M5Stack AtomS3 Lite.
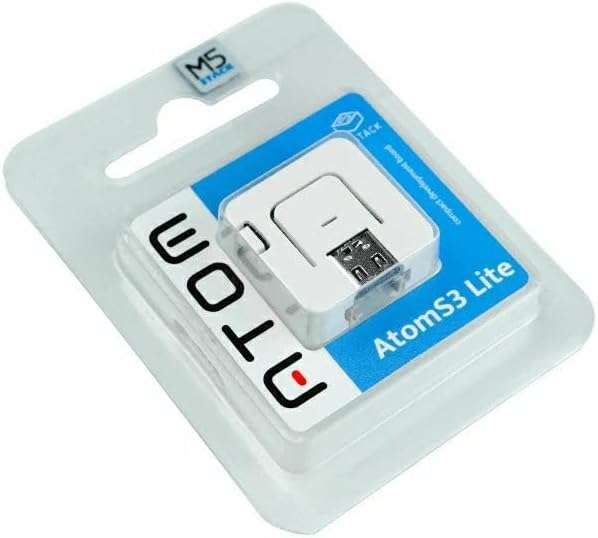
Figure 2: M5Stack AtomS3 Lite in its retail packaging.
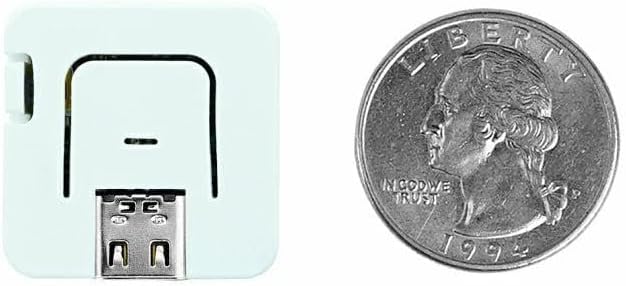
Figure 3: Size comparison of the AtomS3 Lite with a US quarter.
2. Opsætning
2.1 Første tilslutning
Connect the M5Stack AtomS3 Lite to your computer using a USB Type-C cable. The device will typically power on automatically. The on-board RGB LED may illuminate to indicate power status.
2.2 Driverinstallation
Depending on your operating system, you may need to install a USB-to-serial driver for the device to be recognized by your computer. Refer to the official M5Stack documentation for specific driver requirements and installation guides for your OS.
2.3 Entering Download Mode
To upload new firmware or programs to the AtomS3 Lite, you may need to place it into download mode. To do this, press and hold the NULSTIL button on the AtomS3 Lite before connecting it to power (or before turning it on if already connected). Release the button after the device powers on. This procedure allows the device to enter the bootloader for programming.

Figur 4: Side view highlighting the reset button.

Figur 5: Side view highlighting the USB-C port.
3. Betjeningsvejledning
3.1 Tænd/sluk
The AtomS3 Lite powers on automatically when connected to a 5V power source via its USB Type-C port. There is no dedicated power switch. To power off, disconnect the power source.
3.2 Programmering og udvikling
The AtomS3 Lite is designed for custom programming using various development environments compatible with ESP32-S3, such as Arduino IDE, PlatformIO, or ESP-IDF. The USB Type-C interface facilitates code uploading and serial debugging.
3.3 Using Integrated Peripherals
- RGB LED: The on-board RGB LED can be controlled programmatically to indicate status or provide visual feedback.
- Knap: The integrated button can be used as a user input for various functions within your application.
- Infrarød LED: The infrared LED allows for IR transmission, useful for remote control applications.
- GROVE/HY2.0-4P Interfaces: These ports provide convenient connections for M5Stack's extensive range of Grove modules and other compatible sensors/actuators.
- GPIO Headers: The 6 GPIO headers on the bottom of the device offer direct access to additional ESP32-S3 pins for advanced customization and expansion.

Figur 6: Detaljeret view of AtomS3 Lite pinout and interfaces.
Figur 7: Nederst view showing GPIO headers.
3.4 Testing RGB LED and Button Functionality
The following video demonstrates how to test the RGB LED and button on an M5Stack device, which is applicable to the AtomS3 Lite's integrated components.
Video 1: Demonstration of RGB LED and button functionality test on an M5Stack device.
4. Vedligeholdelse
To ensure the longevity and proper functioning of your M5Stack AtomS3 Lite, observe the following maintenance guidelines:
- Miljøforhold: Undgå at udsætte enheden for ekstreme temperaturer, høj luftfugtighed eller direkte sollys.
- Væskekontakt: Keep the device away from water and other liquids to prevent short circuits and damage.
- Fysisk beskyttelse: Handle the device with care to prevent physical impact or dropping.
- Rensning: Use a dry, soft cloth to clean the device. Do not use harsh chemicals or abrasive materials.
- Opbevaring: When not in use, store the device in a dry, dust-free environment.
- Udvidelse: When using the M2 screw hole for fixing, ensure screws are not overtightened to prevent damage to the PCB.
5. Fejlfinding
If you encounter issues with your M5Stack AtomS3 Lite, consider the following troubleshooting steps:
- Enheden reagerer ikke: Ensure the device is properly connected to a stable 5V power source via the USB Type-C cable.
- Programmeringsproblemer: If you are unable to upload code, verify that the correct drivers are installed and that the device is in download mode (refer to Section 2.3). Check your development environment settings for the correct board and port selection.
- Forbindelsesproblemer: For Wi-Fi or Bluetooth issues, ensure your code correctly initializes and configures the wireless modules. Check for environmental interference.
- Uventet adfærd: Review your code for logical errors. If using external modules, ensure they are correctly wired and powered.
- Fysisk skade: Inspect the device for any visible signs of damage. If damage is present, discontinue use.
6. Specifikationer
| Feature | Detalje |
|---|---|
| Modelnummer | C124 |
| Hovedkontrol | ESP32-S3FN8 |
| Flash-hukommelse | 8 MB SPI Flash |
| VÆDDER | 512 KB SRAM |
| Trådløs forbindelse | Wi-Fi (802.11bgn), Bluetooth |
| Operativsystemkompatibilitet | FreeRTOS, Ubuntu, Linux |
| Dimensioner (LxBxH) | 0.95 x 0.95 x 0.37 tommer (24 x 24 x 9.5 mm) |
| Vægt | 0.423 ounce |
| Grænseflader | USB Type-C, GROVE/HY2.0-4P, 6x GPIO Headers |
| Integreret periferiudstyr | Infrared LED, RGB LED, Button |
7. Garanti og support
7.1 Garantioplysninger
Specific warranty details for the M5Stack AtomS3 Lite are typically provided at the point of purchase or on the official M5Stack webwebsted. Gem venligst din købsbevis i tilfælde af garantikrav.
7.2 Teknisk support
For technical assistance, detailed documentation, and community forums, please visit the official M5Stack website. You can find resources for programming, project examples, and further troubleshooting guides.
Official M5Stack Store: Visit M5Stack Store on Amazon


