1. Introduktion
Thank you for choosing the johgee 3-Zone Watering Timer. This device is designed to automate your garden, lawn, or greenhouse irrigation, providing precise and efficient watering. With three independent outlets, you can customize watering schedules for different areas without interference. This manual provides detailed instructions for installation, programming, operation, and maintenance to ensure optimal performance and longevity of your watering timer.
The johgee 3-Zone Watering Timer is ideal for various applications including drip irrigation systems, sprinkler controllers, and pond filling. Its robust design features a brass material interface and IPX5 waterproofing for durability and reliability in outdoor environments.
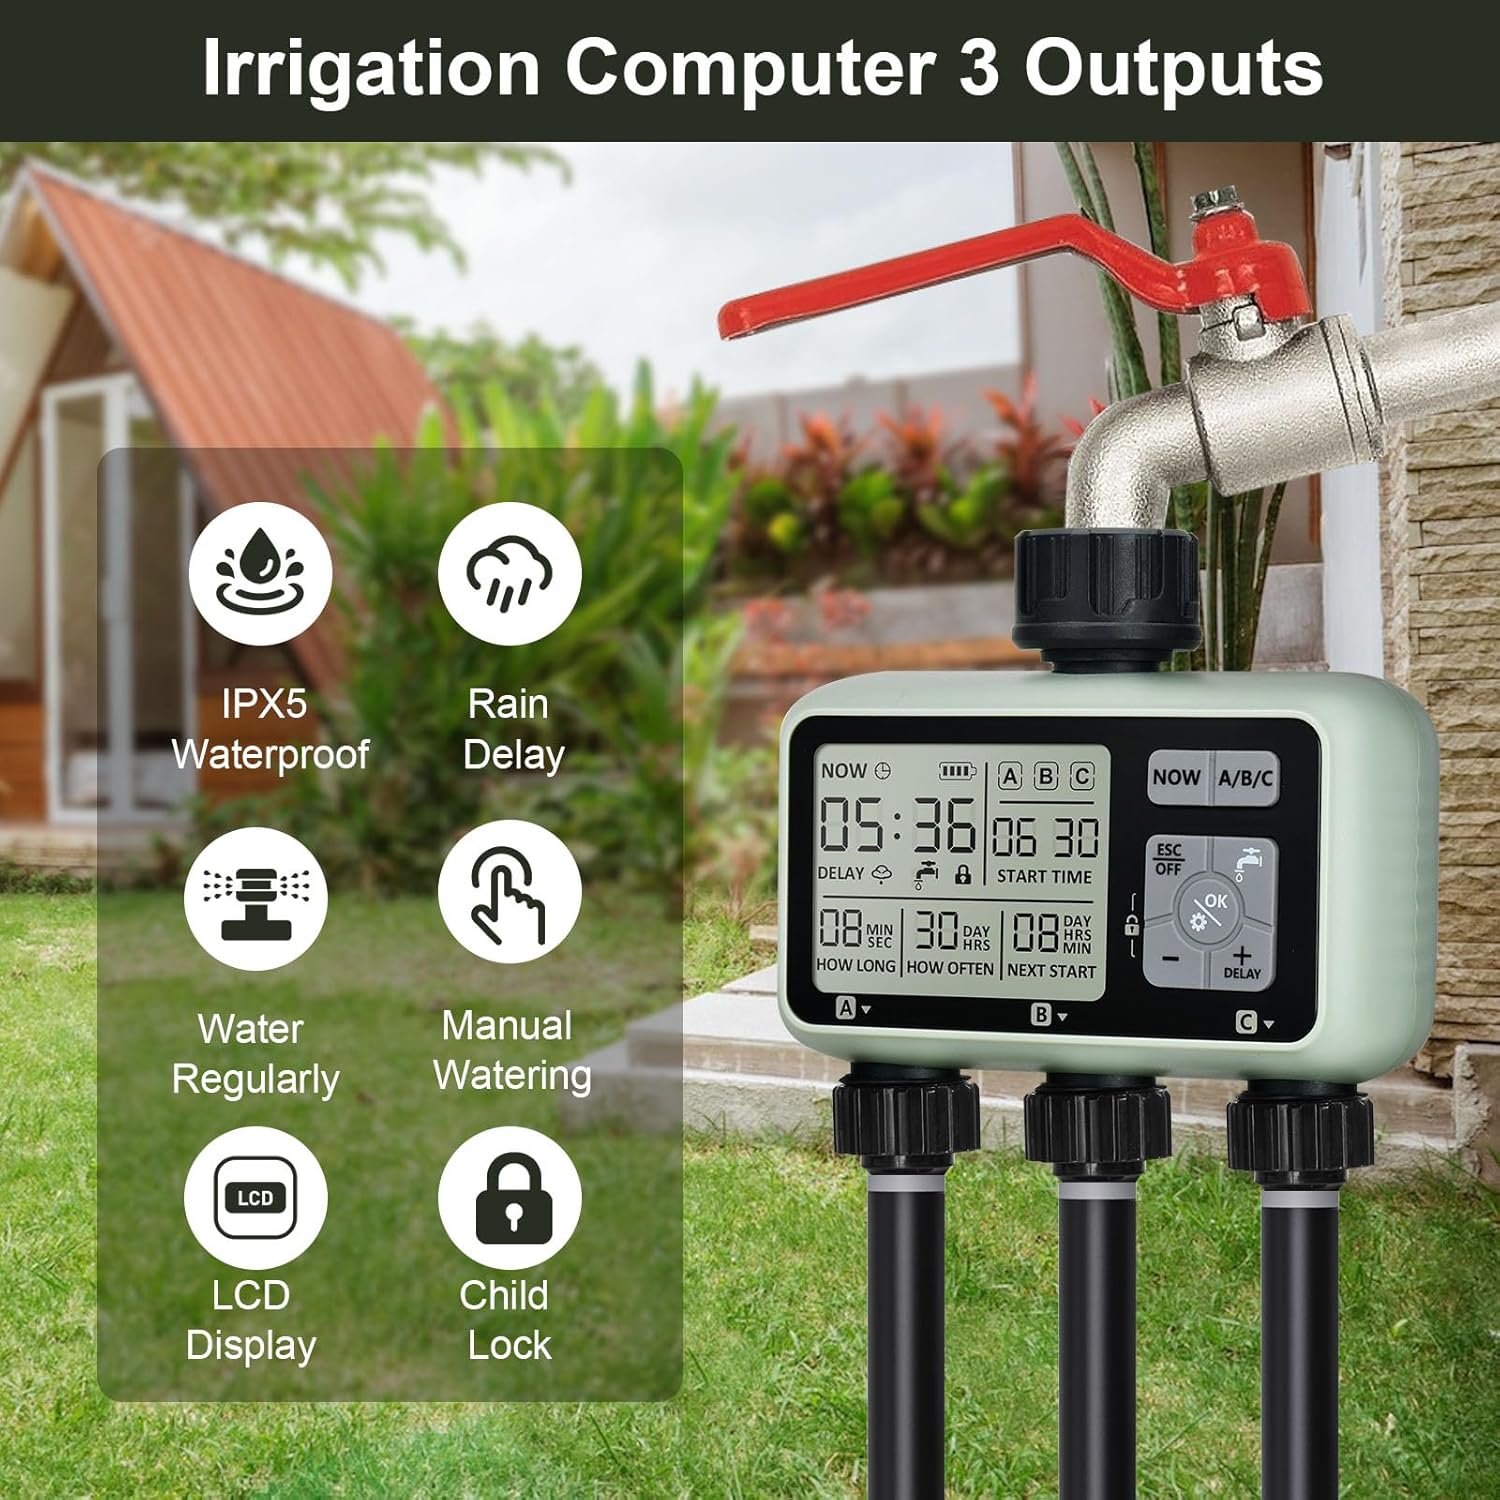
Billede: Overview of the johgee 3-Zone Watering Timer highlighting its key features such as IPX5 waterproofing, rain delay, regular watering, manual watering, LCD display, and child lock function.
2. Sikkerhedsoplysninger
- Batterisikkerhed: Use only two 1.5V alkaline batteries (AA size). Do not use lithium batteries. Ensure correct polarity when inserting batteries. Remove batteries if the timer will not be used for an extended period.
- Vandtryk: The timer is designed to withstand water pressure between 0.05-0.8 Mpa. Do not exceed recommended pressure.
- Temperatur: Do not expose the timer to freezing temperatures. Drain water and store indoors during winter months to prevent damage.
- Børnesikkerhed: The timer includes a child-lock mode to prevent accidental operation. Keep the device out of reach of small children when not in use.
- Installation: Ensure all connections are secure to prevent leaks. Do not overtighten connections.
3. Pakkens indhold
Kontroller venligst pakkens indhold for at sikre, at alle varer er til stede:
- johgee 3-Zone Watering Timer (1 unit)
- Brugervejledning (dette dokument)
Note: 1.5V AA alkaline batteries are not included and must be purchased separately.
4. Produktet er slutview
The johgee 3-Zone Watering Timer features a clear LCD display and intuitive controls for easy programming. Below is a diagram illustrating the main components and display elements.

Image: Labeled diagram of the timer's display, indicating the positions of Current Time, Irrigation Start Time, Irrigation Duration, Irrigation Frequency, Duration to Next Irrigation, and the three independent zones (Zone 1, Zone 2, Zone 3).
Displayelementer:
- NU: Viser det aktuelle klokkeslæt.
- Batteriindikator: Shows remaining battery power.
- A/B/C: Indicates the currently selected watering zone.
- STARTTIDSPUNKT: The programmed time for irrigation to begin.
- HVOR LÆNGE: The duration of each watering cycle (1 second to 360 minutes).
- HVOR OFTE: The frequency of watering (1 hour to 15 days).
- NEXT START: Countdown to the next scheduled watering cycle.
- FORSINKE: Indicates rain delay is active.
- Børnelås-ikon: Indicates child lock mode is active.
Kontrolknapper:
- NU: Bruges til at indstille den aktuelle tid.
- A/B/C: Selects the watering zone (Zone 1, Zone 2, or Zone 3) for programming.
- ESC/OFF: Exits current setting mode or turns off the timer.
- OK/Gear Icon: Bekræfter indstillinger eller går i programmeringstilstand.
- Water Faucet Icon: Activates or deactivates manual watering.
- Minus (-): Decreases values or navigates backward.
- Plus (+)/DELAY: Increases values or activates rain delay.
- Låseikon: Activates or deactivates child lock.
5. Installation
Follow these steps to install your johgee 3-Zone Watering Timer:
- Indsæt batterier: Open the battery compartment cover on the back of the timer. Insert two new 1.5V AA alkaline batteries, ensuring correct polarity. Close the cover securely to maintain the IPX5 waterproof rating.
- Tilslut til vandhane: Screw the timer's inlet connector onto your outdoor hose faucet. The brass material interface ensures a secure and leak-proof connection. The 360-degree rotatable connector allows for flexible positioning.
- Tilslut slanger: Attach your garden hoses or irrigation lines to the three independent outlets at the bottom of the timer. Ensure all connections are tight to prevent leaks.

Image: The battery compartment with two AA batteries inserted, demonstrating the correct battery placement.

Billede: En detaljeret view of the 360-degree rotatable brass connection, emphasizing its durability and ease of installation.

Image: A visual guide showing the three main steps for setting up the watering timer: battery insertion, timer programming, and connecting to the water source and irrigation lines.
6. Opsætning og programmering
The timer allows for individual programming of each of its three zones (A, B, C).
6.1. Indstilling af aktuel tid
- Tryk på NU knappen. Tidsdisplayet blinker.
- Brug + og - knapper for at justere timen.
- Trykke OK for at bekræfte timen og gå til minutter.
- Brug + og - knapper for at justere minutterne.
- Trykke OK for at gemme det aktuelle klokkeslæt.
6.2. Programming Watering Schedules (for each Zone A, B, C)
Each zone can be programmed independently. Repeat these steps for Zone A, Zone B, and Zone C.
- Vælg zone: Tryk på A / B / C button to cycle through and select the desired zone (A, B, or C) you wish to program. The selected zone will be highlighted on the display.
- Gå ind i programmeringstilstand: Tryk på OK button (with the gear icon). The 'START TIME' will begin to flash.
- Indstil starttid: Brug + og - buttons to set the desired start time for watering. Press OK to confirm and move to 'HOW LONG'.
- Indstil vandingsvarighed: Brug + og - buttons to set the duration of watering (from 1 second to 360 minutes). Press OK to confirm and move to 'HOW OFTEN'.
- Indstil vandingsfrekvens: Brug + og - buttons to set how often the watering occurs (from 1 hour to 15 days). Press OK for at bekræfte.
- Gem indstillinger: Trykke ESC to exit the programming mode and save the settings for the selected zone.

Image: The timer's display illustrating how different watering durations and frequencies can be set for each of the three zones independently.
7. Driftstilstande
7.1. Automatic Watering
Once programmed, the timer will automatically activate the selected zones according to their set start times, durations, and frequencies. Ensure the faucet is open for water flow.
7.2. Manuel vanding
Manual mode allows for immediate watering without affecting the programmed schedule. This is useful for quick tasks like filling a bucket or spot watering.
- Tryk på Vandhane ikon knap.
- The display will show 'ON' and water will begin to flow from the currently selected zone.
- To stop manual watering, press the Vandhane ikon button again. The display will show 'OFF'.

Image: A hand interacting with the timer's control panel, specifically pressing the manual watering button, while a hose sprays water, demonstrating the manual watering feature.
7.3. Rain Delay Mode
The rain delay function temporarily suspends the watering schedule to prevent overwatering during rainy periods, conserving water and protecting plants.
- Tryk på + FORSINKELSE knap.
- The 'DELAY' icon will appear on the screen, and the next start time will be updated to reflect the delay.
- To cancel the rain delay, press the + FORSINKELSE button again until the 'DELAY' icon disappears.
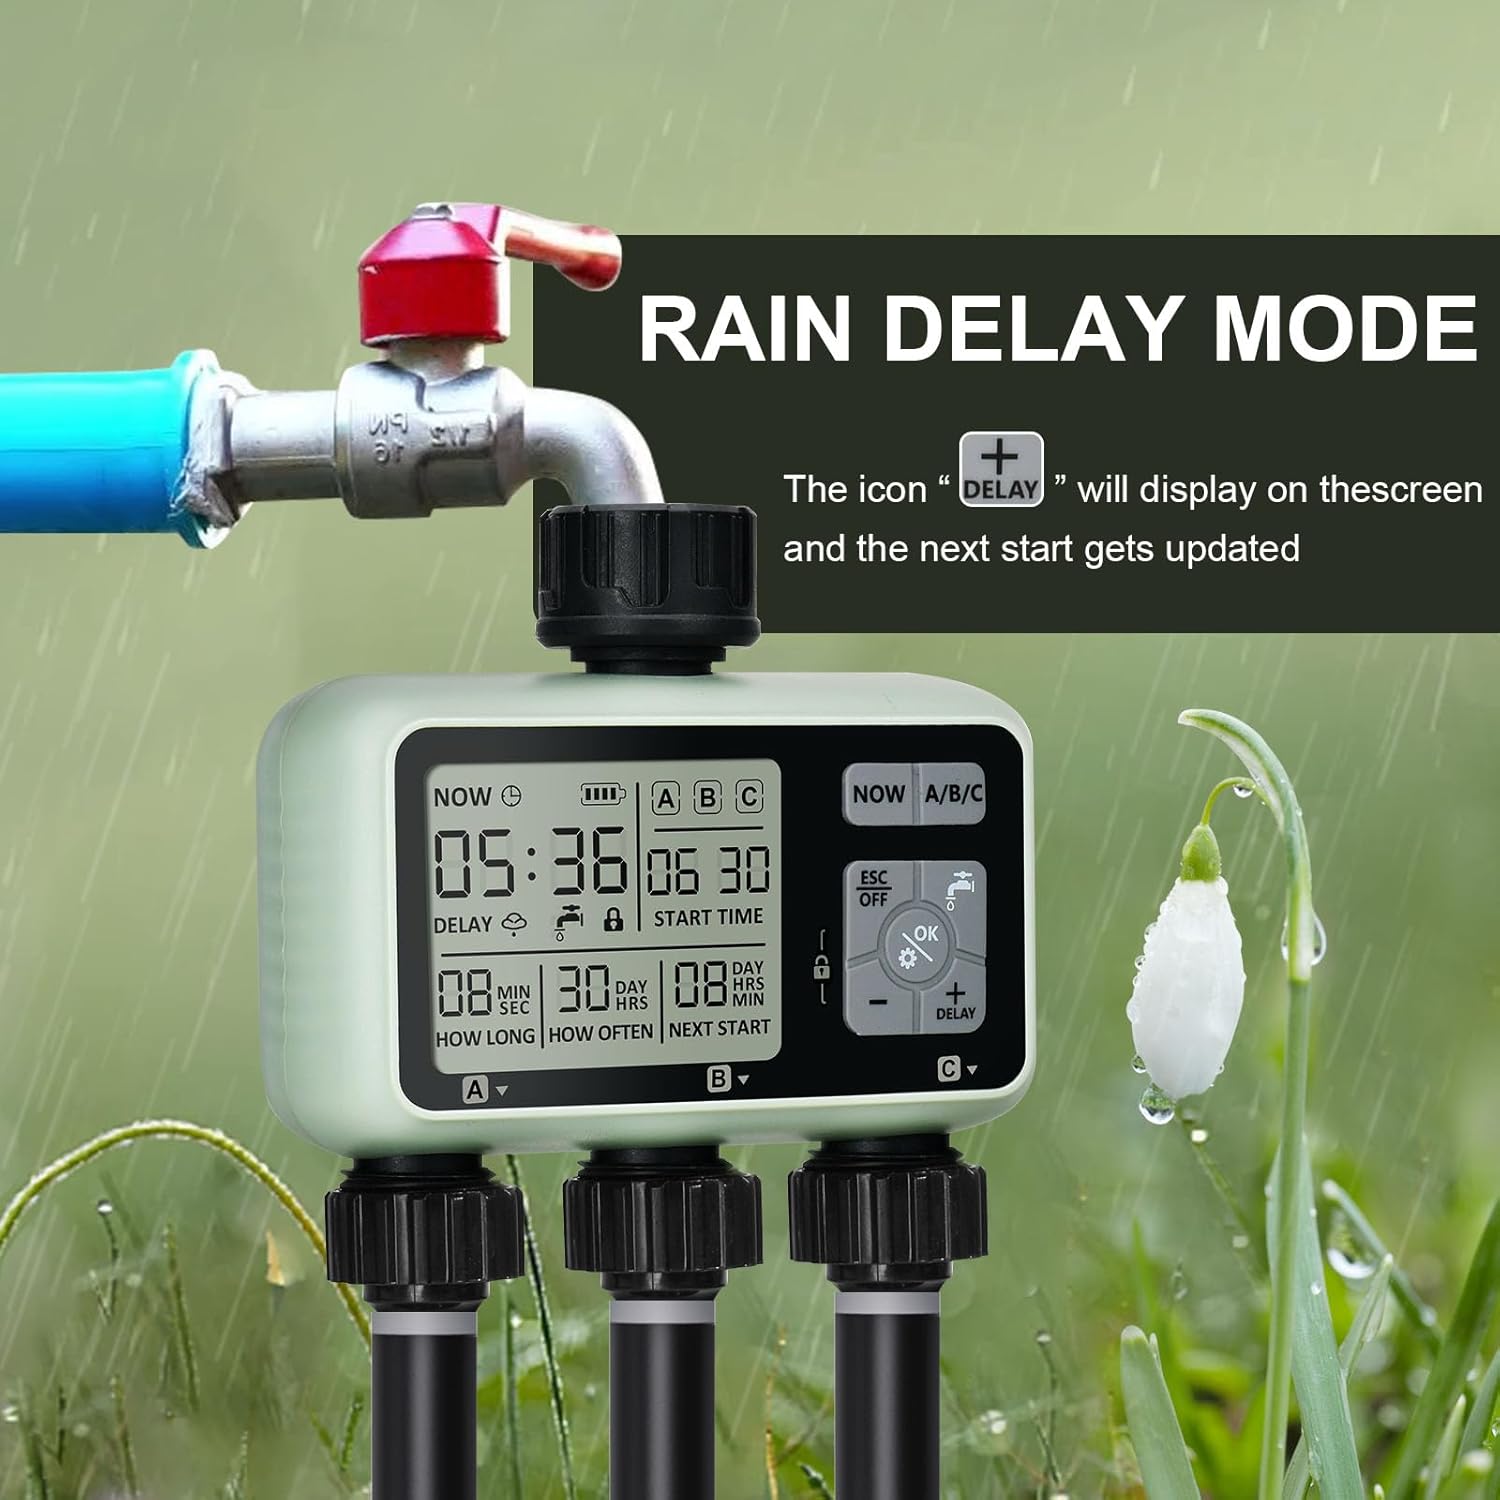
Image: The watering timer connected to a faucet, with the display showing the 'DELAY' icon, signifying that the rain delay function is active and the next watering cycle is postponed.
7.4. Child-Lock Mode
The child-lock mode prevents accidental changes to programming or activation by children or pets.
- Tryk på og hold nede for at aktivere Lås ikon button for 3 seconds. The lock icon will appear on the display.
- For at deaktivere skal du trykke på og holde Lås ikon button for 3 seconds again. The lock icon will disappear.
8. Vedligeholdelse
- Udskiftning af batteri: The intelligent power supply system will detect low battery and turn off the timer before the battery is completely empty. Replace batteries when the battery indicator on the display shows low power. Always use two new 1.5V AA alkaline batteries.
- Rensning: Clean the exterior of the timer with a soft, damp klæde. Brug ikke slibende rengøringsmidler eller opløsningsmidler.
- Filterrensning: Periodically check the aluminum filter inside the inlet connection for debris. Clean if necessary to ensure proper water flow and prevent blockages.
- Vinteropbevaring: Before the first frost, disconnect the timer from the faucet. Drain all water from the timer and store it indoors in a dry, frost-free location. Removing batteries during storage is recommended.

Image: A composite image highlighting the durable construction of the timer, including the brass hose connection, the clear and easy-to-use control panel, and the sealed battery cover designed to isolate moisture.
9. Fejlfinding
| Problem | Mulig årsag | Løsning |
|---|---|---|
| Timeren vander ikke på det planlagte tidspunkt. |
|
|
| Vandlækage fra tilslutninger. |
|
|
| Skærmen er tom eller svag. |
|
|
| Manuel vanding virker ikke. |
|
|
10. Specifikationer
| Mærke | johgee |
| Modelnummer | 378 |
| Farve | 3 Zone |
| Produktdimensioner | 13 x 13.5 x 6.4 cm |
| Varens vægt | 640 g |
| Materiale | Brass (interface), Reinforced Nylon (connector) |
| Vandtæt vurdering | IPX5 |
| Vandtryksområde | 0.05-0.8 MPa |
| Strømkilde | 2 x 1.5V AA Alkaline Batteries (not included) |
| Vandingsvarighed | 1 sekund til 360 minutter |
| Vandingsfrekvens | 1 hour to 15 days |
| Antal indstillinger | 9 |
11. Garanti og support
For warranty information and customer support, please refer to the purchase platform or contact johgee customer service directly. Keep your purchase receipt as proof of purchase for any warranty claims.
Fabrikant: johgee
Forretningssted: johgee
For further assistance, please visit the official johgee store on Amazon or contact their support channels.


