1. Introduktion
This manual provides instructions for the setup, operation, and maintenance of your Peakeep Slim Digital Mirror Alarm Clock, model MHP6030. Please read this manual thoroughly before using the product to ensure proper function and longevity.
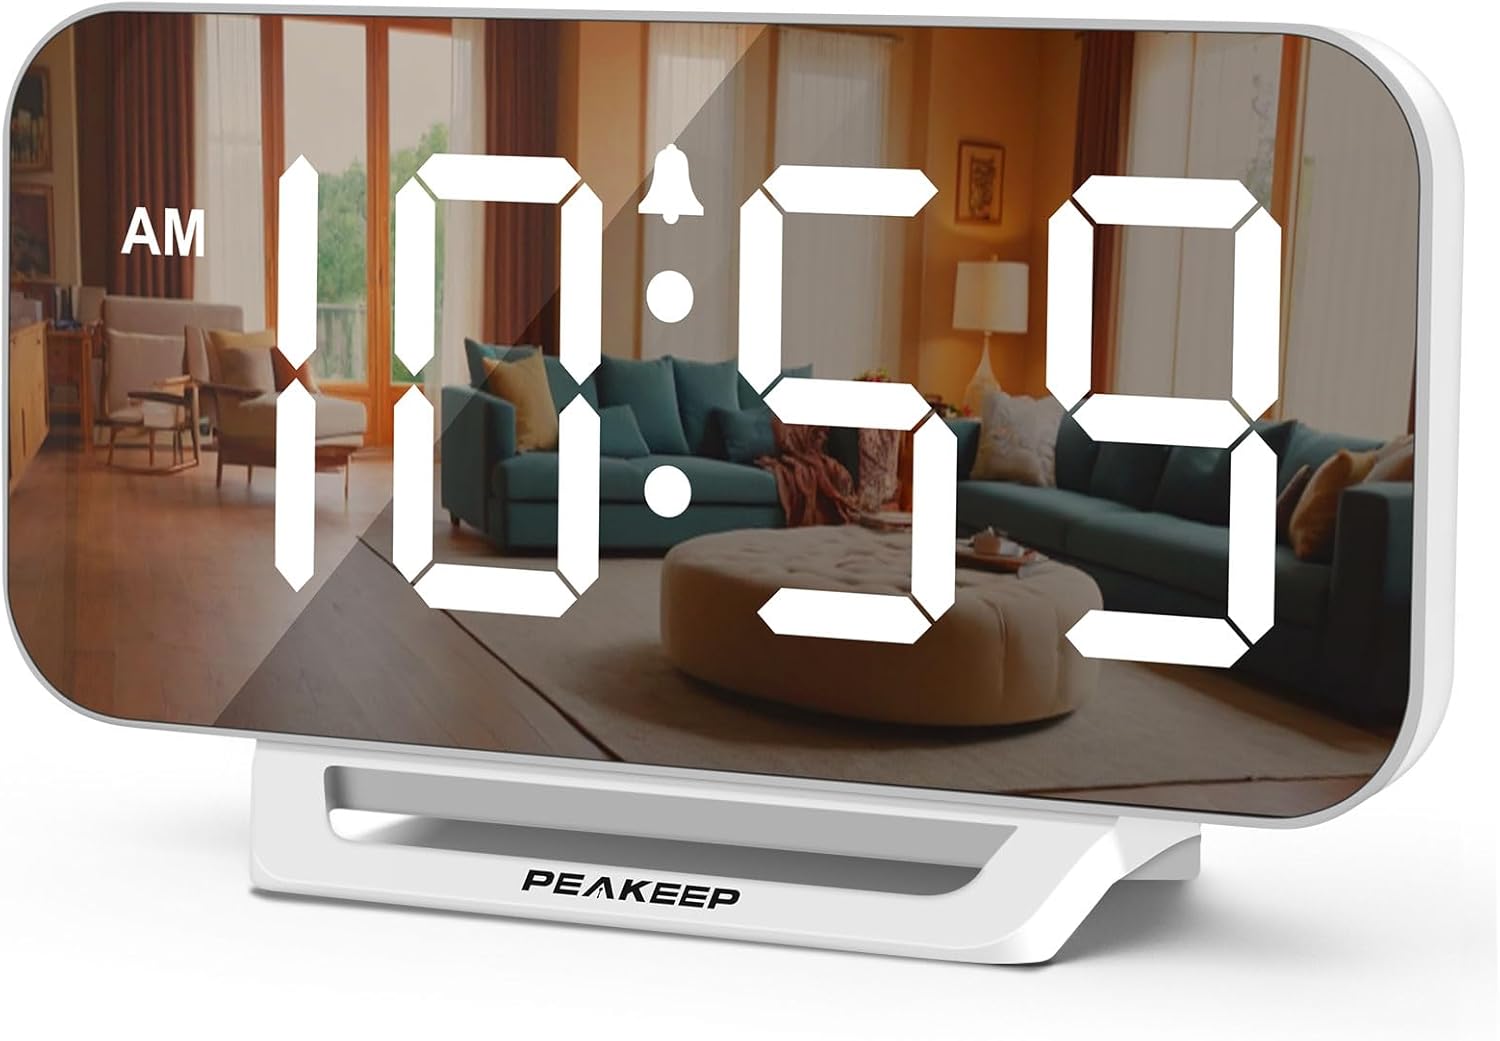
Image 1.1: The Peakeep Slim Digital Mirror Alarm Clock, model MHP6030, showing the time 10:59 AM on its reflective display.
2. Pakkens indhold
Bekræft, at alle nedenstående varer er inkluderet i din pakke:
- Peakeep Slim Digital Mirror Alarm Clock (MHP6030)
- AC/DC Power Adapter (Type-C, 60-inch cord)
- Brugervejledning (dette dokument)

Image 2.1: The alarm clock with its dimensions (6.2 inches wide, 3.5 inches high) and the included Type-C power adapter.
3. Produktet er slutview
Familiarize yourself with the clock's buttons and ports.

Billede 3.1: Bagside view of the clock, highlighting the control buttons and the DC IN port.
Kontrolknapper:
- TID SET: Bruges til at gå ind i tidsindstillingstilstand.
- DIMMER: Justerer skærmens lysstyrke.
- + / ON/OFF: Increases values during setting; turns alarm on/off.
- - / 12/24HR: Decreases values during setting; switches between 12-hour and 24-hour format.
- BIND: Adjusts the alarm volume.
- ALARM SÆT: Bruges til at gå ind i alarmindstillingstilstand.
- SNOOZE/LIGHT (Top Bar): Activates snooze during an alarm; temporarily lights up the screen for 20 seconds when on battery backup.
Porte:
- DC IN: Type-C port for connecting the power adapter.
4. Opsætning
4.1 Strømtilslutning
- Connect the provided Type-C power adapter cable to the 'DC IN' port on the back of the clock.
- Plug the adapter into a standard electrical outlet. The display will illuminate.

Image 4.1: The clock receiving power from a wall outlet using the Type-C adapter.
4.2 Installation af batteribackup
The clock requires 4 AAA batteries (not included) for backup functionality. These batteries preserve time and alarm settings during a power outage and allow the alarm to function.
- Find batterirummet på bagsiden af uret.
- Åbn batterirummets dæksel.
- Insert 4 new AAA batteries, observing the correct polarity (+/-) as indicated inside the compartment.
- Luk batterirummets dæksel forsvarligt.
5. Betjeningsvejledning
5.1 Indstilling af klokkeslæt
- Tryk og hold på TIDSINDSTILLING knappen, indtil timecifrene blinker.
- Brug + or - knapper for at justere timen.
- Trykke TIDSINDSTILLING igen for at bekræfte timetallet og gå videre til minutindstilling. Minuttiffrene vil blinke.
- Brug + or - knapper for at justere minutterne.
- Trykke TIDSINDSTILLING once more to save the time and exit time setting mode.
5.2 12/24 timers format
Sådan skifter du mellem 12-timers og 24-timers visningsformater:
- I normal tidsvisningstilstand skal du trykke på - / 12/24HR button. The display will toggle between 12-hour (with AM/PM indicator) and 24-hour formats.

Image 5.1: The clock displaying time in both 12-hour (top) and 24-hour (bottom) formats.
5.3 Indstilling af alarmen
- Tryk og hold på ALARM SÆT knappen, indtil alarmens timecifre blinker.
- Brug + or - knapper for at justere alarmtiden.
- Trykke ALARM SÆT again to confirm the alarm hour and move to alarm minute setting. The minute digits will flash.
- Brug + or - knapper til at justere alarmens minutter.
- Trykke ALARM SÆT once more to save the alarm time. The alarm indicator icon will appear on the display, indicating the alarm is active.
5.4 Turning Alarm On/Off
- I normal tidsvisningstilstand skal du trykke på + / ON/OFF button to toggle the alarm on or off. The alarm indicator icon will appear when the alarm is active and disappear when it is off.
5.5 Justering af displayets lysstyrke (dæmper)
The clock features 6 levels of display brightness, including an 'OFF' setting.
- In normal time display mode, repeatedly press the DIMMER button to cycle through the 6 brightness levels (L5 to L1) and the 'OFF' setting.

Image 5.2: Visual representation of the six adjustable brightness levels (L5 being brightest, OFF being completely dark).
5.6 Justering af alarmlydstyrke
The alarm has 5 adjustable volume levels, ranging from 55 dB to 100 dB.
- In normal time display mode, repeatedly press the BIND button to cycle through the 5 alarm volume levels (U01 to U05).

Image 5.3: Illustration of the five alarm volume levels, from U01 (55dB) to U05 (100dB).
5.7 Snooze -funktion
Når alarmen lyder:
- Tryk på SNOOZE / LYS bar on the top of the clock to activate the snooze function. The alarm will pause for 9 minutes and then sound again.
- To turn off the alarm completely, press any button on the back of the clock.
6. Batteribackupfunktion
The 4 AAA batteries (not included) serve as a backup power source. In the event of a power outage:
- The clock's display will turn off to conserve battery power.
- All time and alarm settings will be retained.
- The alarm will still sound at the set time.
- Ved at trykke på SNOOZE / LYS bar on top will temporarily illuminate the screen for 20 seconds to check the time.

Image 6.1: The clock illustrating its battery backup feature, showing how settings are saved and the screen can be temporarily lit during a power outage.
7. Vedligeholdelse
- Rengør urets overflade med en blød, tør klud. Brug ikke slibende rengøringsmidler eller opløsningsmidler.
- Undgå at udsætte uret for ekstreme temperaturer, direkte sollys eller høj luftfugtighed.
- If the clock will not be used for an extended period, remove the AAA backup batteries to prevent leakage.
8. Fejlfinding
| Problem | Mulig årsag | Løsning |
|---|---|---|
| Displayet er tomt. | Ingen strømtilslutning eller strømudgangtage. | Ensure the power adapter is securely plugged into the clock and a working outlet. If on battery backup, press the SNOOZE/LIGHT bar to temporarily illuminate. |
| Alarmen lyder ikke. | Alarmen er ikke aktiveret, eller lydstyrken er for lav. | Tryk på + / ON/OFF button to ensure the alarm icon is displayed. Adjust alarm volume using the BIND button. Check backup batteries if operating during a power outage. |
| Tidspunktet er forkert. | Time was not set correctly or power interruption without backup batteries. | Reset the time using the TIDSINDSTILLING button. Ensure backup batteries are installed and functional. |
| Skærmen er for lys/mørket. | Lysstyrkeniveauet skal justeres. | Tryk på DIMMER knappen gentagne gange for at skifte mellem lysstyrkeniveauerne. |
9. Specifikationer
| Feature | Detalje |
|---|---|
| Modelnummer | MHP6030 |
| Display Type | Digital LED |
| Skærmstørrelse | 6 tommer (længde) x 3 tommer (bredde) |
| Produktdimensioner | 6 cm B x 3.5 cm H |
| Strømkilde | Ledningsbaseret elektrisk (AC/DC-adapter medfølger) |
| Batteri backup | 4 x AAA batterier (medfølger ikke) |
| Lysstyrkeniveauer | 6 (L5 to OFF) |
| Alarmlydstyrkeniveauer | 5 (55-100 dB) |
| Snooze-varighed | 9 minutter |
| Tidsformat | 12-timers / 24-timers valgbar |
| Materiale | Plast |
| Varens vægt | 6.4 ounce |
10. Garanti og support
For warranty information or technical support, please refer to the contact details provided with your purchase documentation or visit the official Peakeep webwebstedet. Behold din købskvittering som købsbevis.


