Indledning
This manual provides comprehensive instructions for the installation, operation, maintenance, and troubleshooting of your suevery 24-inch Curved Gaming Monitor (Model: SV240QC). Please read this manual thoroughly before using the product to ensure proper functionality and to maximize your viewoplevelse. Gem denne vejledning til fremtidig reference.
Produktegenskaber
- Fordybende buet skærm: The 24-inch 3000R curved screen is designed to match the natural curvature of the human eye, providing an immersive visual experience. This is complemented by a Full HD (1920x1080) resolution, drawing users into the content.
- Ultra-Smooth Motion: An ultra-high 180Hz refresh rate combined with an ultra-fast 1ms (GTG) gray-to-gray response time, enhanced by FreeSync technology, effectively eliminates screen tearing, stuttering, and ghosting. This ensures seamless transitions in fast-paced games.
- Præcis farvegengivelse: With 100% sRGB color space coverage and precise reproduction of 16.7 million colors, the VA panel delivers excellent contrast and color layering. This results in vivid and realistic visuals for both gaming and multimedia.
- Flexible Connectivity and Installation: Equipped with DisplayPort (DP) and High-Definition Multimedia Interface (HDMI) ports, the monitor can easily connect to PCs, gaming consoles, laptops, and other devices. It supports VESA wall mounting, allowing for flexible placement in various environments.

Image: The suevery 24-inch Curved Gaming Monitor, showcasing its sleek design and curved screen.
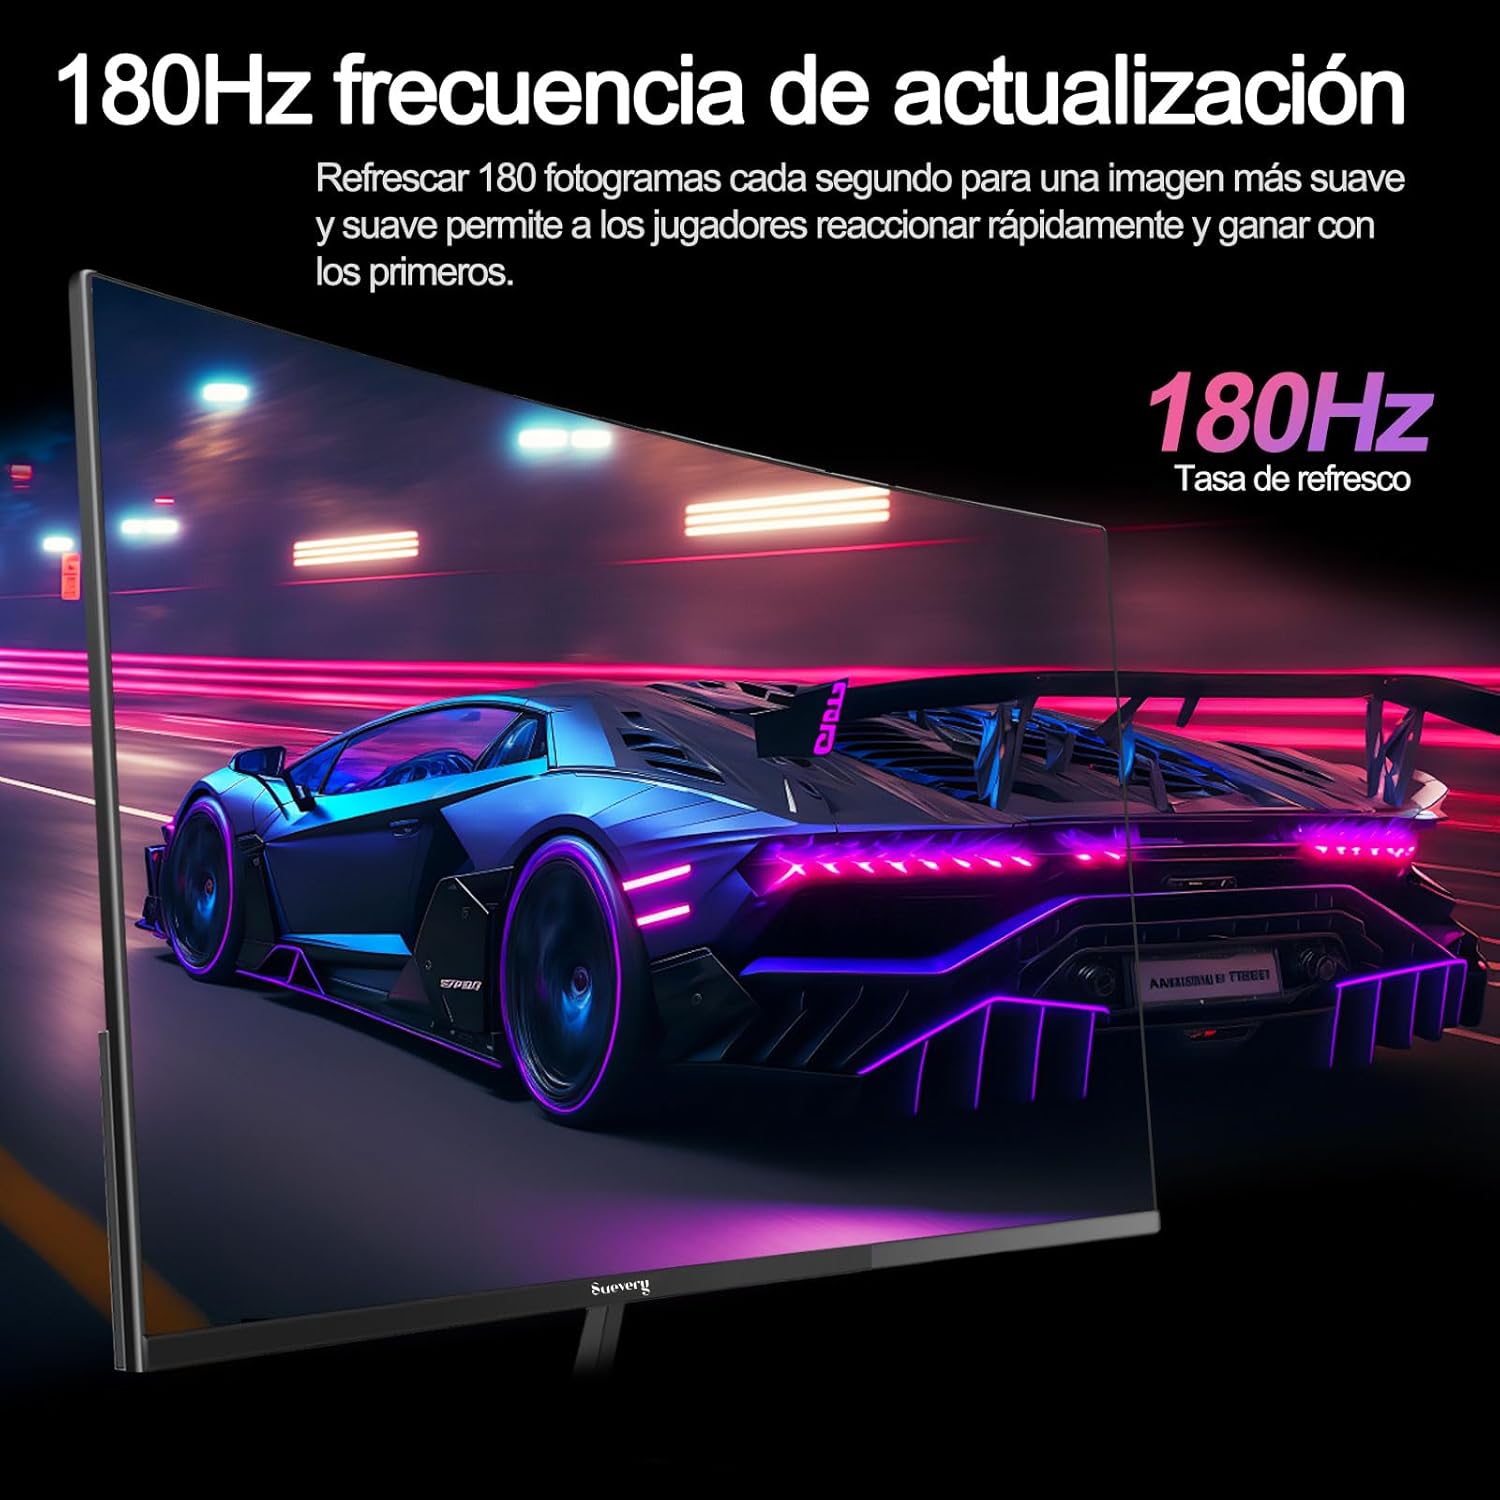
Image: A visual representation highlighting the 180Hz refresh rate, illustrating smooth motion in a racing game scene.

Image: An illustration demonstrating the monitor's wide color gamut (100% sRGB), 3000:1 contrast ratio, and 16.7 million colors for vibrant visuals.

Image: A split-screen comparison showing the visual difference with FreeSync OFF (screen tearing) and FreeSync ON (smooth image) during gameplay.
Opsætningsinstruktioner
1. Udpakning og montering
- Fjern forsigtigt alle komponenter fra emballagen.
- Placer skærmpanelet med forsiden nedad på en blød, ren overflade for at forhindre ridser.
- Attach the stand base to the stand neck, securing it with the provided screws.
- Attach the assembled stand to the back of the monitor panel. Ensure it clicks securely into place or is fastened with screws as per the design.
- Alternatively, for VESA mounting, remove the stand and attach a VESA-compatible mount (75x75mm) to the monitor's rear panel.
2. Tilslutningskabler
Refer to the diagram below for port locations.

Image: A diagram illustrating the monitor's rear panel, showing the HDMI, DisplayPort (DP), USB (if applicable), and power input ports, along with VESA mount dimensions (75x75mm).
- Strømtilslutning: Connect the power adapter to the monitor's power input port, then plug the power cable into a wall outlet.
- Videoforbindelse: Connect one end of an HDMI or DisplayPort cable to the corresponding port on your monitor and the other end to your computer's graphics card or other video source. For optimal performance, especially at 180Hz, a DisplayPort connection is recommended.
- Audio (if applicable): If your monitor has a 3.5mm audio output, you can connect external speakers or headphones.
3. Første opstart
- Press the power button on the monitor. The power indicator light should illuminate.
- Turn on your connected computer or video source.
- Skærmen burde automatisk registrere indgangssignalet. Hvis ikke, skal du muligvis manuelt vælge indgangskilden ved hjælp af OSD-menuen (On-Screen Display).
Betjeningsvejledning
1. Tænd/sluk
Tryk på tænd/sluk-knappen, som normalt er placeret på bagsiden eller undersiden af skærmen, for at tænde eller slukke skærmen.
2. On-Screen Display (OSD) menu
The OSD menu allows you to adjust various monitor settings. Access the OSD menu using the joystick or buttons typically found on the back or bottom of the monitor.
- Navigation: Use the joystick or directional buttons to navigate through the menu options.
- Udvælgelse: Press the joystick or a dedicated button to select an option or confirm a setting.
- Udgang: Use the designated 'Exit' button or move the joystick in a specific direction to close the OSD menu.
3. Justering af indstillinger
Vigtige indstillinger, du kan justere, inkluderer:
- Lysstyrke/kontrast: Juster disse, så de passer til dine viewmiljø.
- Farveindstillinger: Rediger farvetemperatur, gamma og individuelle RGB-værdier.
- Inputkilde: Manually select between HDMI and DisplayPort inputs.
- Opdateringshastighed: Ensure your operating system and graphics card settings are configured to utilize the monitor's 180Hz refresh rate.
- FreeSync: Enable FreeSync in the OSD menu and in your graphics card control panel for tear-free gaming.
- Billedtilstand: Select from preset modes (e.g., Standard, Game, Movie) or customize your own.
Opretholdelse
1. Rengøring af skærmen
- Sluk for skærmen, og tag netledningen ud.
- Tør forsigtigt skærmen af med en blød, fnugfri klud.
- For genstridige mærker, gnid letampRengør kluden med vand eller en specialiseret skærmrens (spray ikke direkte på skærmen).
- Undgå at bruge skrappe kemikalier, slibende rengøringsmidler eller alkoholbaserede opløsninger.
2. Almen pleje
- Hold skærmen væk fra direkte sollys, overdreven varme og fugtighed.
- Sørg for tilstrækkelig ventilation omkring skærmen.
- Undgå at placere tunge genstande på skærmen eller dens kabler.
Fejlfinding
Hvis du støder på problemer med din skærm, kan du se følgende almindelige problemer og løsninger:
| Problem | Mulig løsning |
|---|---|
| Intet billede på skærmen | Ensure the power cable is securely connected and the monitor is turned on. Verify the video cable (HDMI/DP) is properly connected to both the monitor and the computer. Check if the correct input source is selected in the OSD menu. |
| Billedet flimrer eller er ustabilt | Check the video cable connection. Ensure your graphics card drivers are up to date. Verify the refresh rate setting in your operating system is set correctly (e.g., 180Hz). Enable FreeSync if supported by your graphics card. |
| Farverne ser forkerte ud | Adjust color settings (brightness, contrast, color temperature) in the OSD menu. Reset the monitor to factory default settings. |
| Skærmen tænder ikke | Check the power cable and adapter connections. Try plugging the monitor into a different power outlet. |
Hvis problemet fortsætter efter at have prøvet disse løsninger, bedes du kontakte kundesupport.
Specifikationer
| Feature | Specifikation |
|---|---|
| Mærke | sagsøge |
| Modelnummer | SV240QC |
| Skærmstørrelse | 24 tommer |
| Skærmopløsning | 1920 x 1080 (Fuld HD) |
| Opdateringshastighed | 180 Hz |
| Svartid | 1 ms (GTG) |
| Krumning | 3000R |
| Farveskala | 100 % sRGB |
| Paneltype | VA |
| Aspektforhold | 16:9 |
| Forbindelse | 1x HDMI, 1x DisplayPort (DP) |
| VESA Mount Kompatibilitet | 75x75 mm |
| Produktdimensioner | 59 x 39 x 11 cm (med stativ) |
| Vægt | 3.5 kg |
Garanti og support
Garantioplysninger
suevery provides a 12 måneders garanti for this monitor, covering manufacturing defects and malfunctions under normal use. Please retain your proof of purchase for warranty claims.
Kundesupport
If you encounter any damage, failure, or missing parts, or require technical assistance, please do not hesitate to contact suevery customer service. Our support team is available to assist you with any product-related inquiries.
For support, please refer to the contact information provided on the suevery official webwebsted eller din købsplatform.