Indledning
Tak for købetasing the KMJSA SW39-Astronaut Starry Projector. This device is designed to transform any room into a captivating galaxy, featuring adjustable nebula and star projections. Please read this manual carefully before operating the projector to ensure proper use, optimal performance, and longevity of the product. Keep this manual for future reference.
Pakkens indhold
Kontroller venligst, at alle nedenstående varer er inkluderet i din pakke:
- 1 x SW39-Astronaut Starry Projector
- 1 x fjernbetjening
- 1 x USB-strømkabel
- 1 x brugermanual

Image: The package includes the astronaut projector, a remote control, a USB power cable, and a printed user manual.
Sikkerhedsoplysninger
For at forhindre skader på produktet eller personskade på dig selv eller andre, bedes du overholde følgende sikkerhedsforanstaltninger:
- Do not look directly into the projection lens. The light source is bright and may cause eye discomfort.
- Hold enheden væk fra vand, fugt og miljøer med høj luftfugtighed.
- Udsæt ikke enheden for ekstreme temperaturer eller direkte sollys.
- Use only the provided USB power cable.
- Do not attempt to disassemble or modify the projector. This will void the warranty and may cause damage.
- Opbevares utilgængeligt for små børn for at forhindre utilsigtet indtagelse af små dele eller misbrug.
- Ensure the projector is placed on a stable, flat surface to prevent it from falling.
Opsætning
1. Udpakning og placering
Carefully remove the projector and all accessories from the packaging. Place the projector on a stable surface in the desired projection area. For best results, place it in a dark room.
2. Strømtilslutning
Connect the provided USB power cable to the projector's power input port. Plug the other end of the USB cable into a compatible USB power adapter (not included) or a USB port on a computer/power bank.
3. Justering af projektionsvinkel
The astronaut's head is magnetically attached and can be rotated 360 degrees to adjust the projection angle. The arms are also adjustable. The base can be detached if desired for alternative placement.

Image: The astronaut projector features a magnetically attached head for 360-degree rotation and a detachable base, allowing for flexible projection angles and placement.
Betjeningsvejledning
The projector is controlled via the included remote control. Ensure the remote has working batteries (not included, typically AAA).
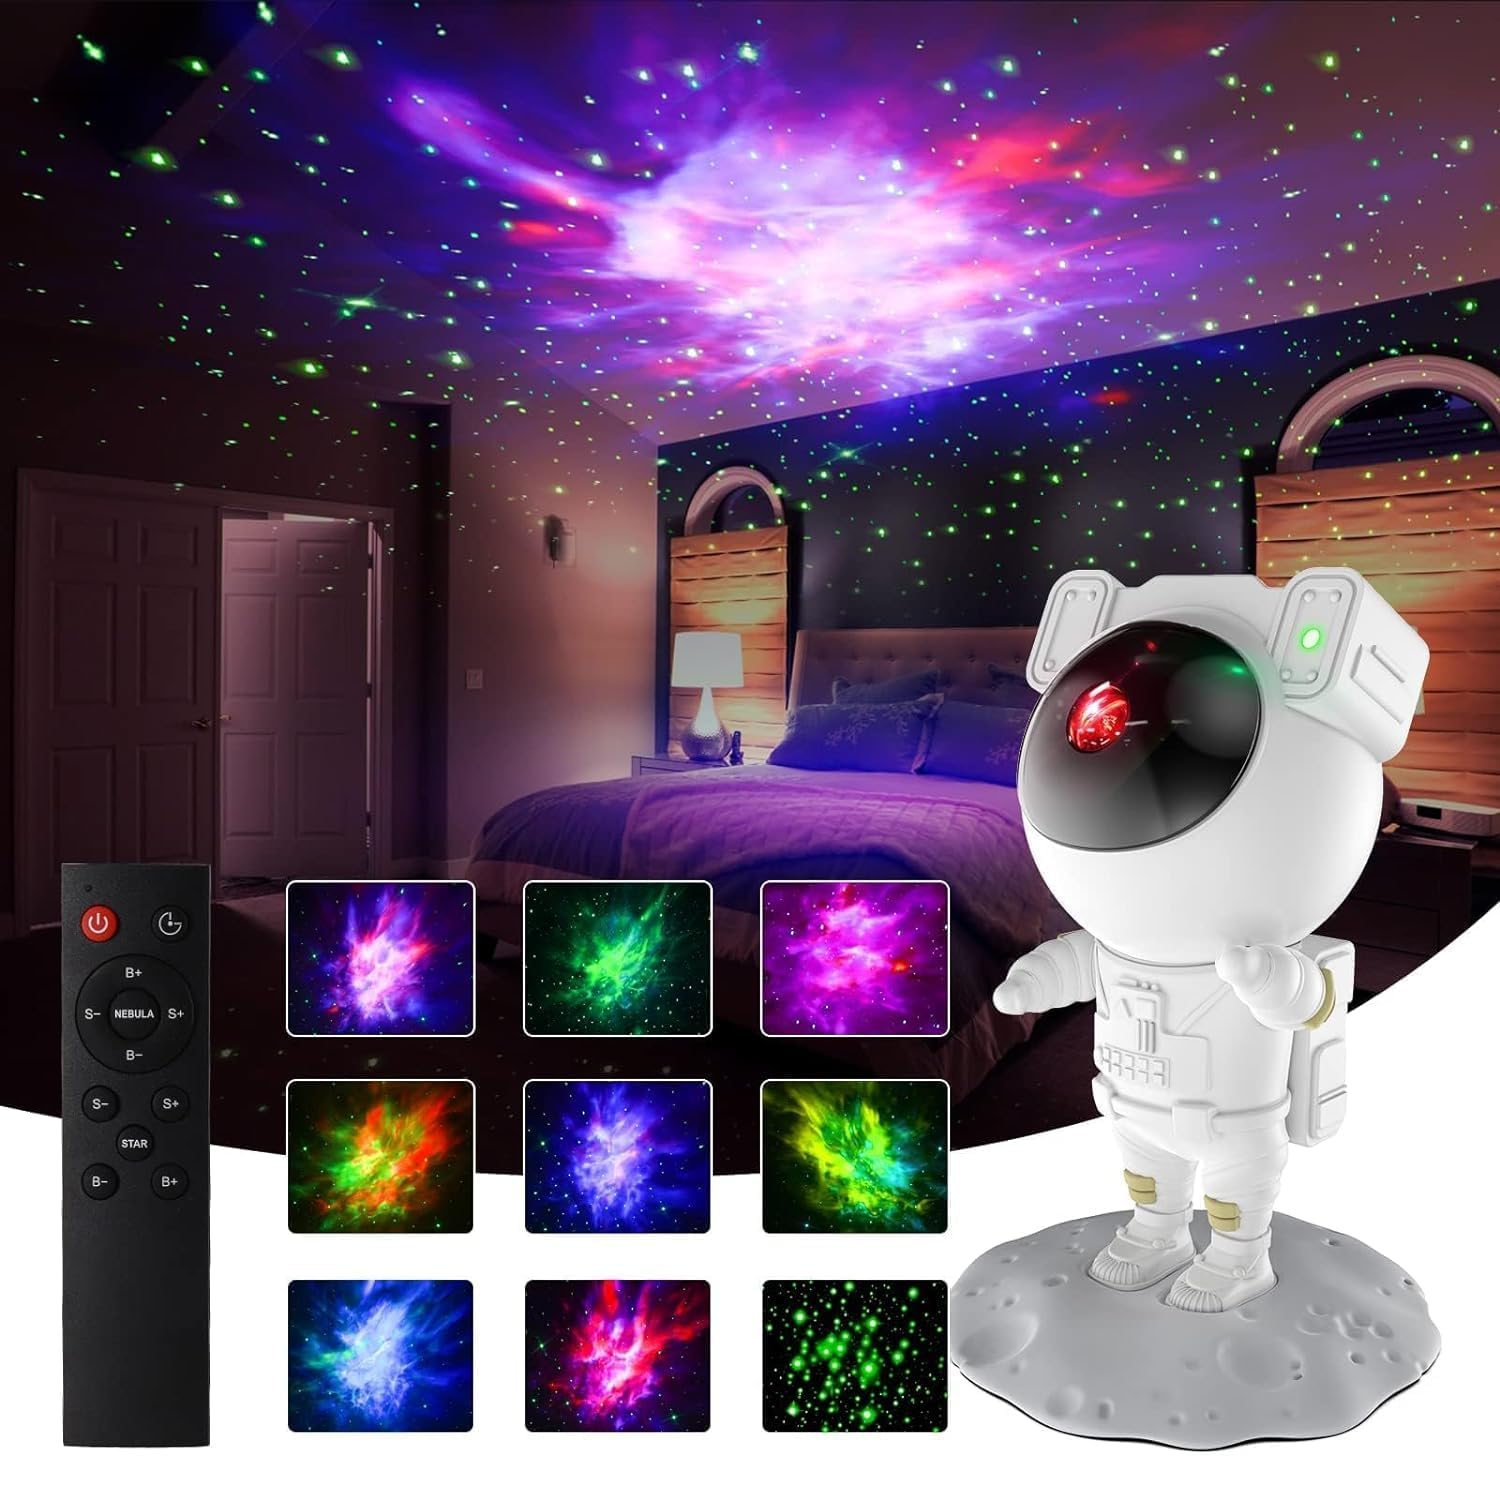
Image: The astronaut projector displaying multiple nebula and star patterns, alongside its remote control for easy operation.
Fjernbetjeningsfunktioner:
| Knap | Fungere |
|---|---|
| Power knap (⏻) | Turns the projector ON or OFF. |
| B+ / B- | Adjusts the brightness of the nebula projection. B+ increases, B- decreases. |
| S+ / S- | Adjusts the brightness of the star projection. S+ increases, S- decreases. |
| STJERNE | Turns the star projection ON or OFF. |
| Nebula | Turns the nebula projection ON or OFF. |
| TIMER (⏱) | Activates the automatic shutdown timer. Press once for 45 minutes, press again for 90 minutes, press a third time to cancel. |
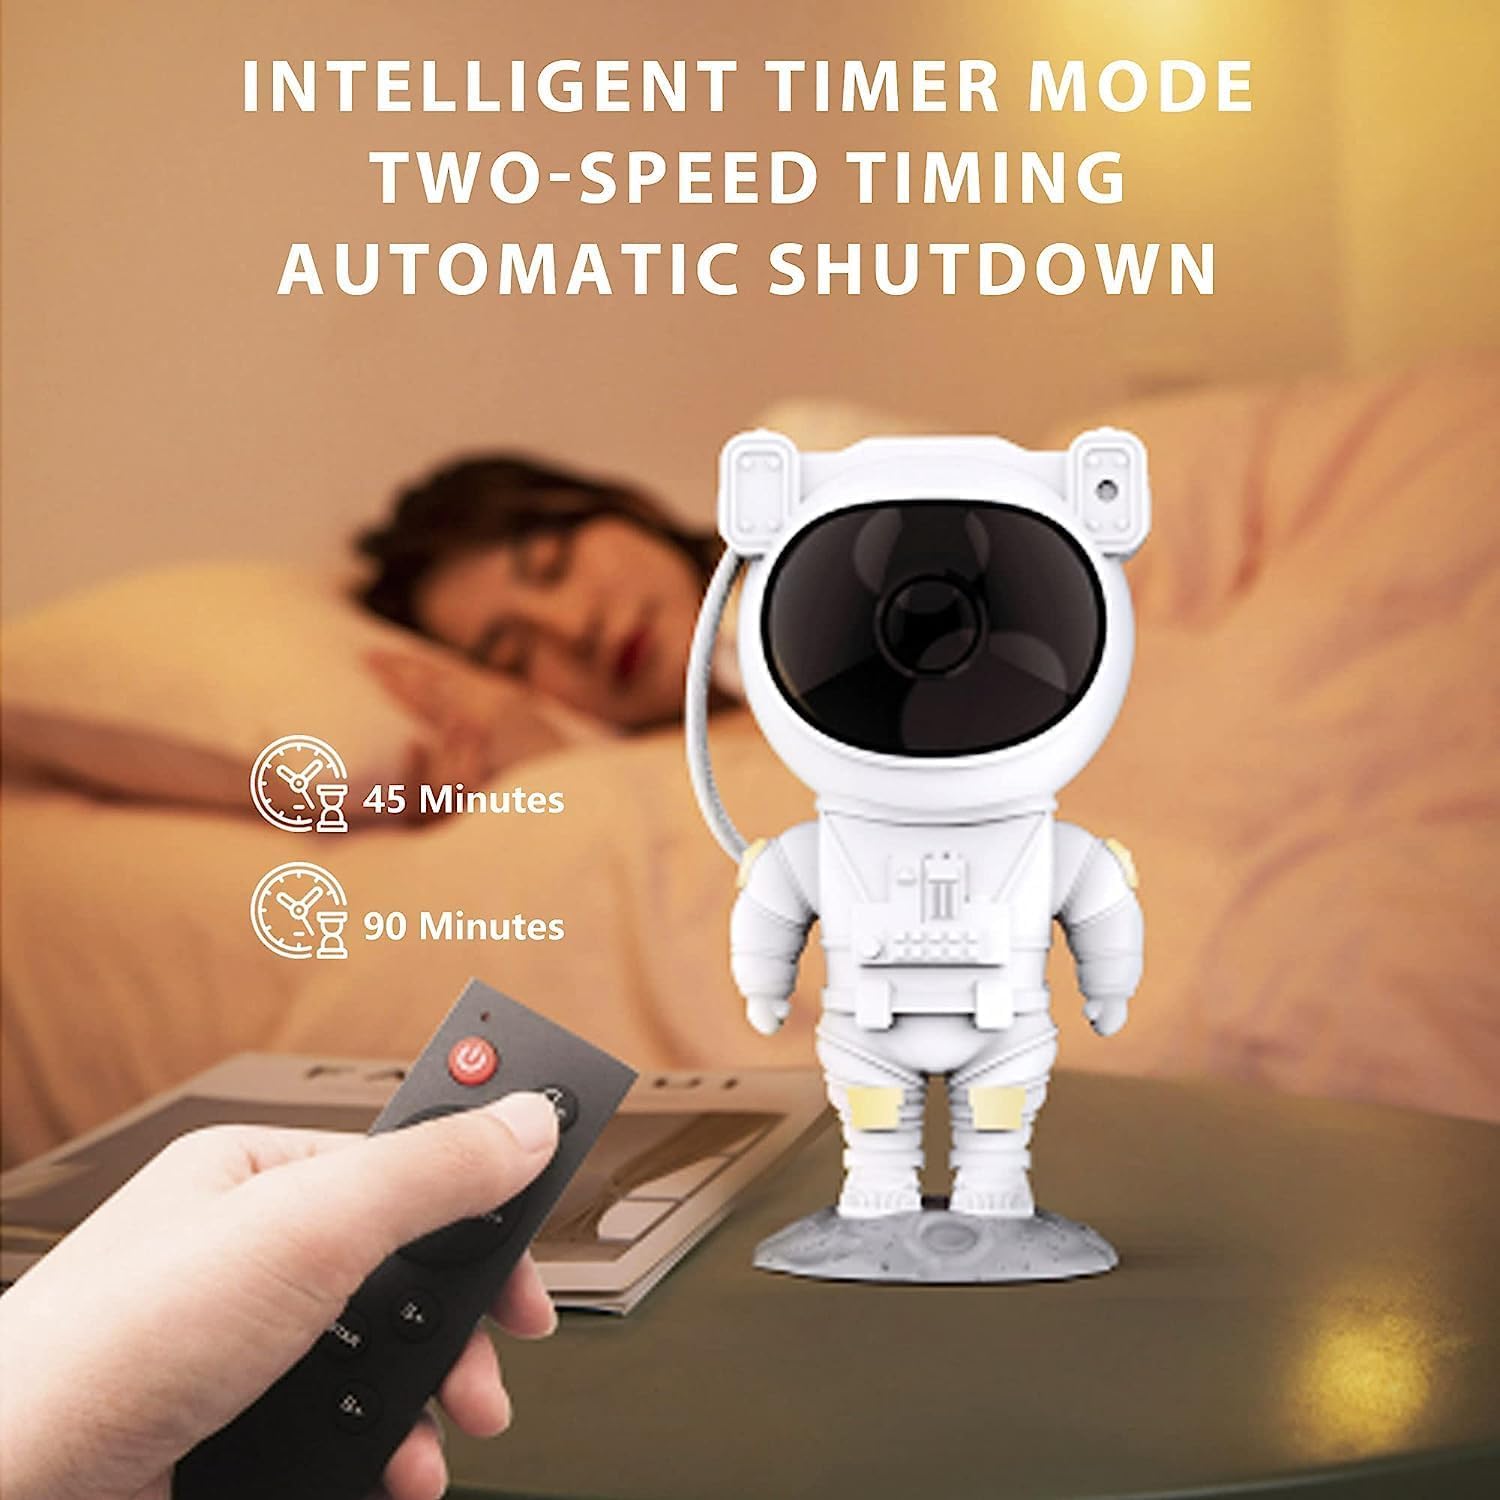
Image: The projector features an intelligent timer mode, allowing users to set automatic shutdown after 45 or 90 minutes, controlled by the remote.
Nebula Effects:
The projector offers various nebula color combinations. Use the remote control to cycle through different nebula effects and adjust their brightness to create your desired ambiance.

Image: The projector can produce a variety of colorful nebula effects, offering adjustable brightness and remote control functionality for a customizable experience.
Opretholdelse
1. Rensning
To clean the projector, gently wipe the exterior with a soft, dry cloth. Do not use abrasive cleaners, solvents, or chemical sprays, as these may damage the surface or internal components. Ensure the lens is free of dust for clear projection.
2. Opbevaring
Når projektoren ikke er i brug, skal den opbevares køligt og tørt, væk fra direkte sollys og ekstreme temperaturer. Det anbefales at opbevare den i originalemballagen for at beskytte den mod støv og fysisk skade.
Fejlfinding
If you encounter any issues with your SW39-Astronaut Starry Projector, please refer to the following common problems and solutions:
| Problem | Mulig årsag | Løsning |
|---|---|---|
| Projektoren tænder ikke. | Ingen strømforsyning eller løs forbindelse. | Ensure the USB cable is securely connected to both the projector and a working power source. Try a different USB adapter or port. |
| Fjernbetjeningen virker ikke. | Afbrudte batterier eller blokering. | Replace the remote control batteries (AAA). Ensure there is no obstruction between the remote and the projector's sensor. Point the remote directly at the projector. |
| Projektionen er svag eller uklar. | Linsen er snavset, eller rummet er for lyst. | Clean the projection lens with a soft, dry cloth. Ensure the room is sufficiently dark for optimal projection. Adjust brightness settings using the remote. |
| Stars or Nebula not appearing. | Feature turned off. | Press the "STAR" or "NEBULA" button on the remote to activate the respective projection. Adjust brightness if necessary. |
Specifikationer
| Feature | Detalje |
|---|---|
| Modelnummer | SW39-Astronaut |
| Mærke | KMJSA |
| ASIN | B0D2Q3W2VN |
| Lyskilde | LED |
| Materiale | Plast |
| Strømindgang | USB (5V, 1A recommended) |
| Projektionsdækning | Up to 360° adjustable |
| Timer funktion | 45 minutter, 90 minutter |
| Fjernbetjening | Infrarød (IR) |
| Netto mængde | 1.00 Grams (Product weight, approximate) |
Garanti og support
This product comes with a standard manufacturer's warranty. For specific warranty terms and conditions, please refer to the documentation provided with your purchase or contact the seller directly. If you require technical support or have any questions not covered in this manual, please reach out to KMJSA customer service through the retailer's platform or their official webwebsted.
For mere information, besøg KMJSA Store on Amazon.


