1. Introduktion
The db-tronic Raspberry Pi 5 8GB Kit provides a powerful and versatile single-board computer solution, ideal for a wide range of projects from home automation and media centers to retro gaming and server applications. This comprehensive kit includes the Raspberry Pi 5 with 8GB RAM, a 27W USB-C power supply, a black case with an active cooling fan, a 64GB memory card, and a 1-meter 4K Micro HDMI cable, ensuring you have everything needed to get started.

Billede: Overview of the db-tronic Raspberry Pi 5 8GB Kit, showing the main board, case, power supply, memory card, and cables.
Nøglefunktioner:
- Kraftig ydeevne: Equipped with 8GB RAM, the Raspberry Pi 5 delivers robust performance for demanding applications.
- Effektiv køling: The included case with an active fan ensures optimal temperature control, preventing overheating during intensive use.
- Pålidelig strøm: The 27W USB-C power supply provides stable and efficient energy for maximum performance and safe operation.
- 4K Ready: Connect to high-resolution monitors and TVs with the included 1-meter 4K Micro HDMI cable.
- Komplet sæt: Everything you need to start your projects, including a 64GB memory card and USB reader.
2. Hvad er inkluderet
Your db-tronic Raspberry Pi 5 8GB Kit comes with all the essential components to begin your projects immediately. Please verify that all items listed below are present in your package.

Image: A visual representation of all components included in the db-tronic Raspberry Pi 5 8GB Kit.
- Raspberry Pi 5 8GB RAM: The core single-board computer with 8GB of high-speed RAM for demanding tasks.
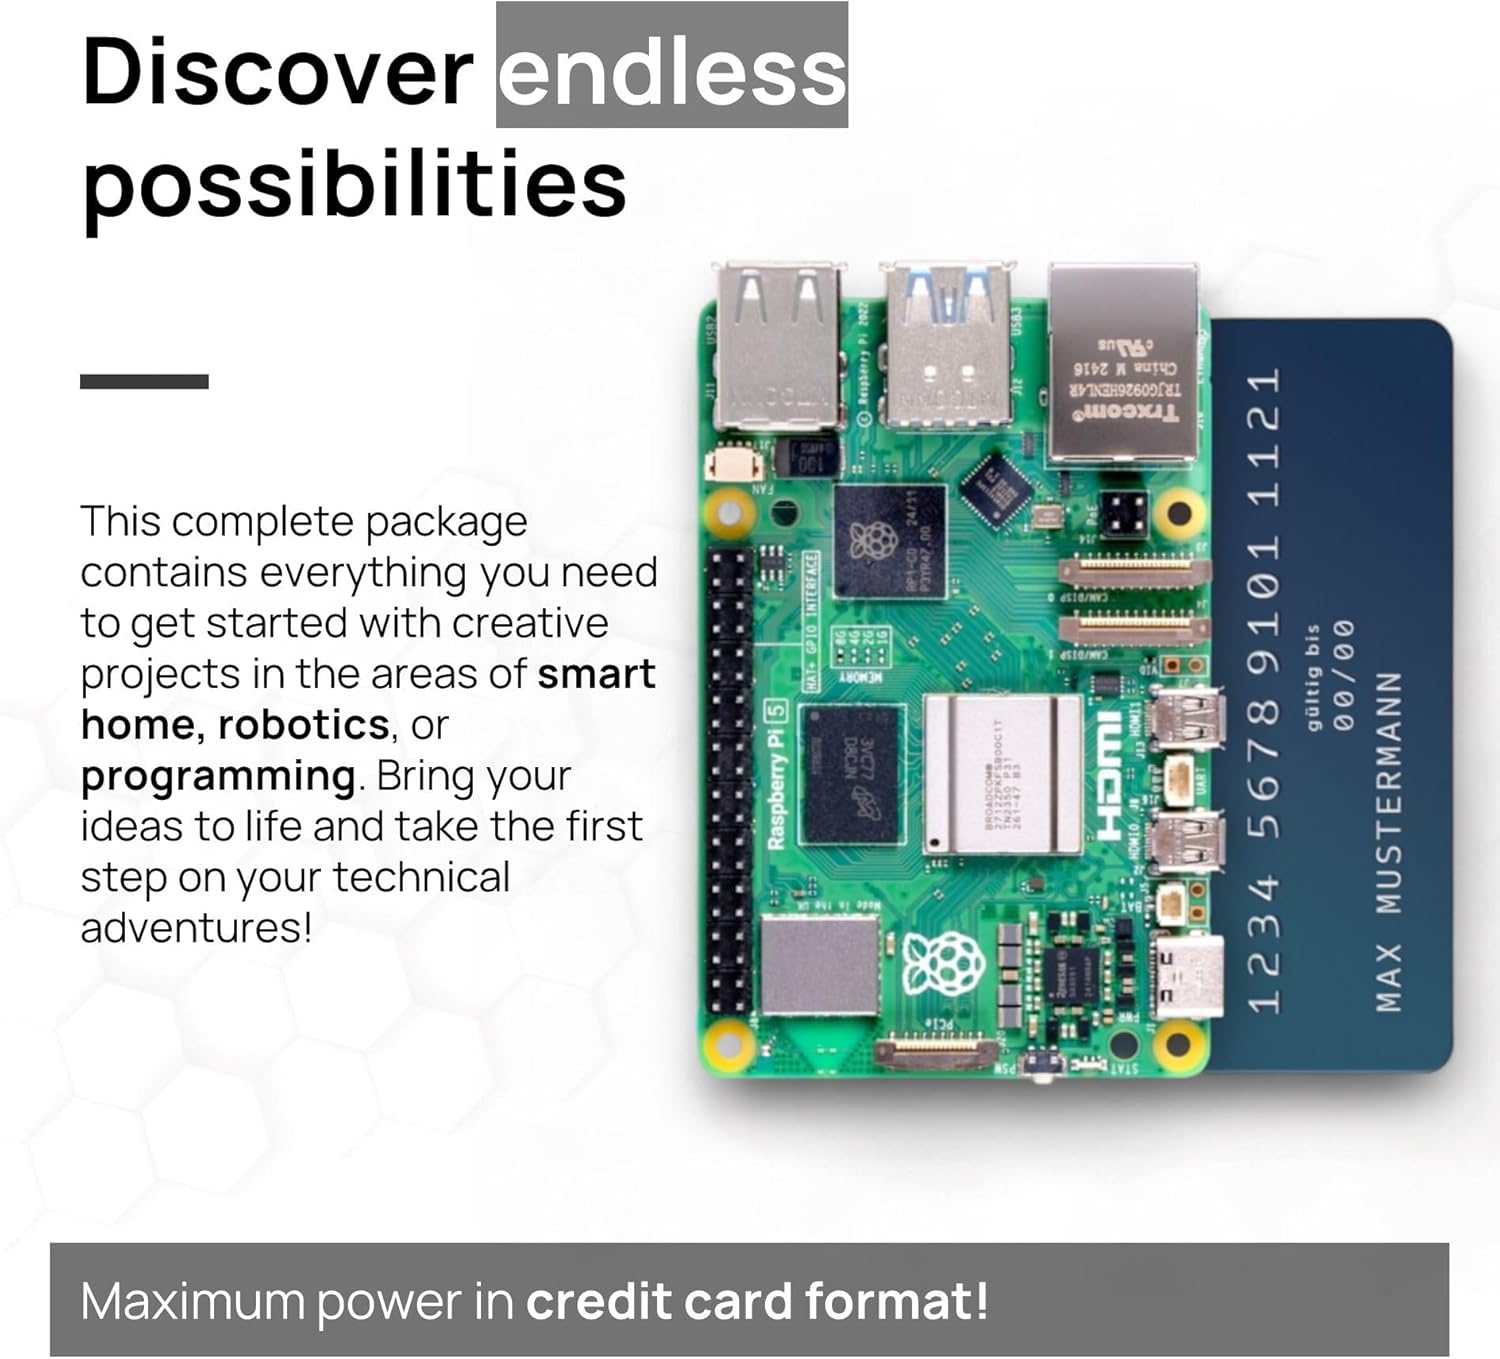
Image: The Raspberry Pi 5 board, highlighting its ports and components.
- Official Case with Active Fan: A durable black enclosure designed to protect your Raspberry Pi 5, featuring an integrated active cooling fan to maintain optimal operating temperatures.

Image: The official Raspberry Pi 5 case, shown with its active cooling fan.
- Official 27W USB-C Power Supply: A dedicated power adapter providing stable 5.1V / 5.0A output, essential for the Raspberry Pi 5's performance.

Image: The 27W USB-C power supply with its cable.
- 64 GB hukommelseskort: A high-speed 64GB MicroSD card, pre-formatted and ready for operating system installation.

Image: The 64GB MicroSD memory card alongside its USB reader.
- USB-læser: A convenient USB adapter for easily flashing operating systems onto the MicroSD card from your computer.
- 1-meter 4K Micro HDMI Cable: A high-quality cable for connecting your Raspberry Pi 5 to a display, supporting 4K resolution.

Image: The 1-meter 4K Micro HDMI to HDMI cable.
3. Opsætningsvejledning
Follow these steps to set up your Raspberry Pi 5 kit.
- Klargør MicroSD-kortet:
- Insert the 64GB MicroSD card into the provided USB reader, then connect the reader to your computer.
- Download the official Raspberry Pi Imager software from the Raspberry Pi webwebsted (www.raspberrypi.com/software/).
- Use Raspberry Pi Imager to select your desired operating system (e.g., Raspberry Pi OS) and flash it onto the 64GB MicroSD card. Ensure the correct drive is selected to avoid data loss on other storage devices.
- Once the flashing process is complete, safely eject the MicroSD card from your computer.
- Assemble the Case and Fan:
- Carefully insert the prepared MicroSD card into the MicroSD card slot on the Raspberry Pi 5 board.
- Place the Raspberry Pi 5 board into the bottom part of the black case. Ensure it aligns correctly with the mounting points and ports.
- Connect the active cooling fan's power cable to the designated fan header on the Raspberry Pi 5 board (usually a small 2-pin or 4-pin connector near the GPIO pins). Refer to the Raspberry Pi 5 documentation for exact pinout.
- Attach the top part of the case, ensuring it snaps securely into place.
- Tilslut ydre enheder:
- Connect one end of the 1-meter 4K Micro HDMI cable to the Micro HDMI port on your Raspberry Pi 5 and the other end to an HDMI input on your monitor or TV.
- Connect your USB keyboard and mouse to the USB 2.0 or USB 3.0 ports on the Raspberry Pi 5.
- If using a wired network, connect an Ethernet cable to the Ethernet port.
- Tænd:
- Connect the 27W USB-C power supply to the USB-C power input port on the Raspberry Pi 5.
- Plug the power supply into a wall outlet. The Raspberry Pi 5 should automatically power on and begin the boot process.
- Follow the on-screen instructions for the initial setup of your chosen operating system.
4. Betjeningsvejledning
Once your Raspberry Pi 5 is set up, you can begin using it for various applications.
First Boot and Initial Configuration:
- Upon first boot, the Raspberry Pi OS will guide you through a setup wizard. This includes setting your country, language, timezone, creating a user password, and connecting to a Wi-Fi network.
- It is recommended to update your system after the initial setup. Open a terminal and run:
sudo apt updateogsudo apt full-upgrade -y.
Netværksforbindelse:
- Wi-Fi: If you skipped Wi-Fi setup during the first boot, you can connect via the network icon in the top right corner of the desktop.
- Ethernet: For a wired connection, simply plug an Ethernet cable into the Raspberry Pi 5's Ethernet port. It should automatically obtain an IP address.
Software installation:
Most software can be installed via the command line using the APT package manager:
- To install a package:
sudo apt install [package-name] - To remove a package:
sudo apt remove [package-name]
Alternatively, you can use the 'Recommended Software' application found in the 'Preferences' menu for a graphical way to install common applications.
5. Vedligeholdelse
Regular maintenance ensures the longevity and optimal performance of your Raspberry Pi 5.
Rengøring af ventilator:
- Over time, dust can accumulate on the active cooling fan, reducing its efficiency.
- Periodically, with the Raspberry Pi 5 powered off and unplugged, use a can of compressed air or a soft brush to gently clean dust from the fan blades and vents of the case.
- Avoid touching the fan blades directly with your fingers or applying excessive force.
Softwareopdateringer:
- Regularly update your operating system and installed software to ensure security, stability, and access to the latest features.
- Åbn en terminal og kør:
sudo apt updateefterfulgt afsudo apt full-upgrade -y.
Sikker nedlukning:
- Always shut down your Raspberry Pi 5 properly before disconnecting power to prevent data corruption on the MicroSD card.
- From the desktop, go to the Raspberry Pi icon (top-left corner) > Shutdown > Shutdown.
- Alternatively, in the terminal, use:
sudo shutdown -h now.
6. Fejlfinding
Her er løsninger på almindelige problemer, du kan støde på.
Ingen strøm / Ingen opstart:
- Tjek strømforsyningen: Ensure the 27W USB-C power supply is correctly plugged into the Raspberry Pi 5 and a working wall outlet. The power LED on the Pi should illuminate.
- MicroSD-kort: Verify the MicroSD card is properly inserted and has a valid operating system flashed onto it. Try re-flashing the OS if unsure.
- Forbindelser: Double-check all internal connections, especially the fan cable if the Pi is not booting at all.
Ingen skærmoutput:
- HDMI-kabel: Ensure the 4K Micro HDMI cable is securely connected to both the Raspberry Pi 5 and your monitor/TV. Try a different HDMI port on your display.
- Monitorinput: Confirm your monitor/TV is set to the correct HDMI input source.
- Power Cycle: Try powering off both the Raspberry Pi and the display, then power them back on.
Overophedning:
- Ventilatorforbindelse: Ensure the active cooling fan is correctly connected to the Raspberry Pi 5's fan header and is spinning.
- Luftstrøm: Make sure the case vents are not obstructed and the Raspberry Pi is in a well-ventilated area.
- Arbejdsbyrde: Reduce the workload on the Raspberry Pi if it's consistently running hot.
Problemer med netværksforbindelse:
- Wi-Fi: Re-enter your Wi-Fi password. Ensure your Wi-Fi network is broadcasting and within range.
- Ethernet: Check the Ethernet cable for damage and ensure it's securely plugged into both the Pi and your router/switch. Verify router settings.
- Drivere: Ensure your operating system is up to date, as network drivers are included in OS updates.
7. Specifikationer
Detailed technical specifications for the Raspberry Pi 5 8GB Kit components.
| Feature | Specifikation |
|---|---|
| Mærke | db-tronic |
| Modelnummer | RP5-8GB-BLACK |
| Operativsystem | Linux (User-installed) |
| RAM størrelse | 8 GB |
| Hukommelseslagringskapacitet | 64 GB (MicroSD Card) |
| CPU model | Cortex (Quad-Core) |
| CPU hastighed | 2.4 GHz |
| Forbindelsesteknologi | Ethernet, Wi-Fi (2.4 GHz & 5 GHz), Bluetooth 5.0 BLE |
| USB-porte | 4 (2x USB 3.0, 2x USB 2.0) |
| HDMI udgang | Micro HDMI (4K support) |
| Strømforsyning | 27W USB-C (5.1V / 5.0A) |
| Kompatible enheder | TV, Monitor, Game Console, Camera, Smartphone (as peripherals) |
8. Garanti og support
For warranty information and technical support regarding your db-tronic Raspberry Pi 5 8GB Kit, please refer to the official db-tronic webwebstedet eller kontakt deres kundeservice direkte. Gem din købsbevis til eventuelle garantikrav.
Fabrikant: db-tronic
Kontakte: Please visit the db-tronic official webwebsted for supportmuligheder.


