1. Produktet er slutview
The Milerong A25+64Card Dash Cam is a comprehensive vehicle recording system designed to enhance driving safety and provide evidence in case of incidents. It features a 1080P Full HD front camera and a 720P waterproof rear camera, ensuring wide coverage and clear video capture. The integrated 3-inch IPS screen allows for real-time monitoring and easy playback. Key functionalities include super night vision, G-sensor for emergency locking, automatic loop recording, and a 24-hour parking monitor.
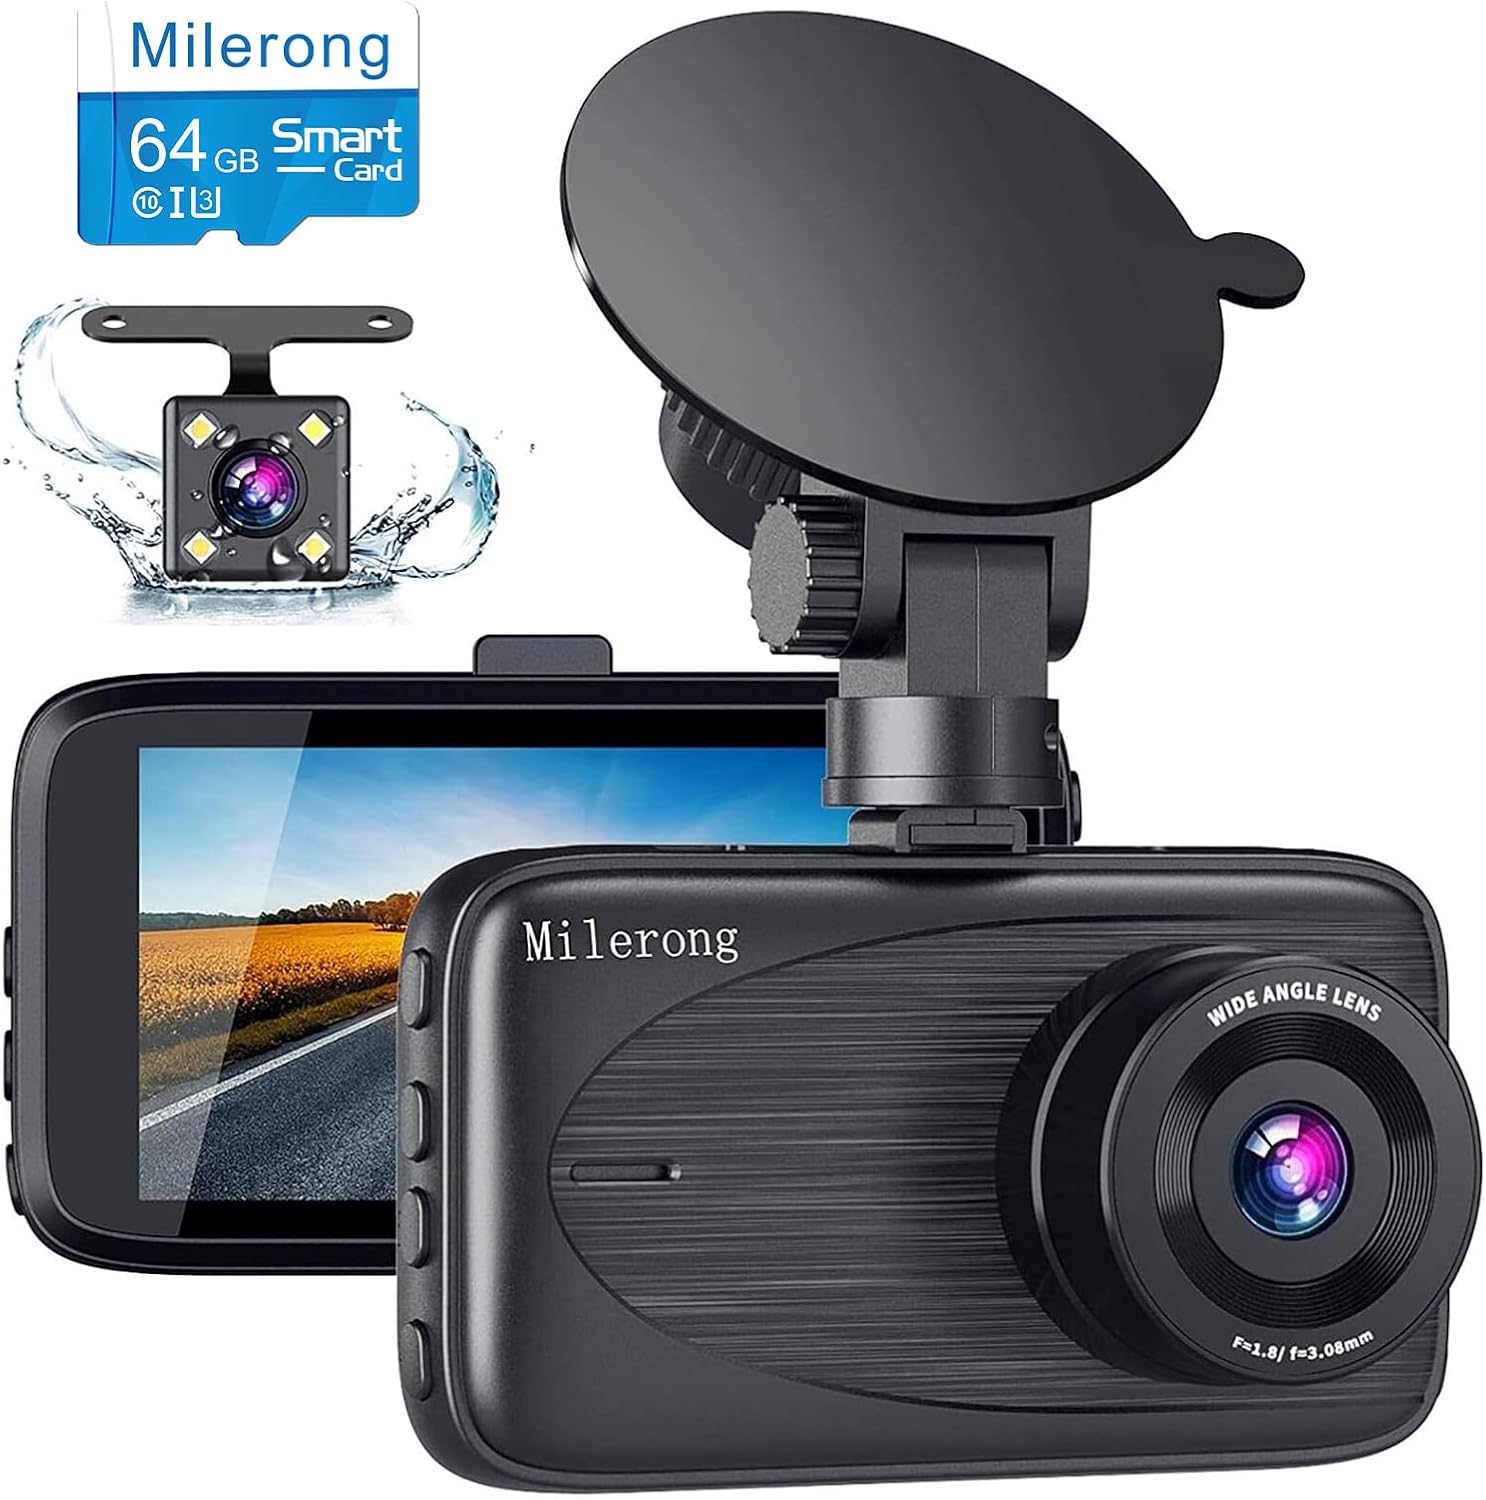
Image 1.1: Milerong A25+64Card Dash Cam, showing the main unit, rear camera, and included 64GB memory card.
2. Pakkens indhold
Bekræft, at alle nedenstående varer er inkluderet i din pakke. Hvis der mangler eller er beskadigede varer, bedes du kontakte kundesupport.
- Dash Cam (hovedenhed)
- Rear Cam & Rear Cam Cable
- Sugekopmontering
- USB-læser
- Bil oplader
- 64GB Card (Pre-installed or separate)
- Brugermanual
- 5 Cable Hiding Clips
- Rengøringsklud
- Wire Trim Tool
- Rear Cam Install Tool

Image 2.1: All components included in the Milerong Dash Cam A25+64Card package.
3. Opsætning
3.1 Memory Card Insertion and Formatting
Before first use, insert the included 64GB Class 10 Micro SD card into the dash cam's card slot. It is crucial to format the memory card directly on the dash cam for optimal performance and to prevent 'card full' errors. Refer to the 'Settings' menu on the device to find the 'Format' option.
3.2 Montering af frontkamera
- Rengør forruden, hvor du har til hensigt at montere dashcam'et. Sørg for, at det er fri for støv og fedt.
- Fastgør sugekopbeslaget til dashcam'et.
- Tryk sugekoppen fast mod forruden, og vip håndtaget for at fastgøre den. Placer kameraet for at sikre et klart billede. view af vejen uden at blokere dit udsyn under kørslen.
- Connect the car charger to the dash cam's power port and plug the other end into your vehicle's cigarette lighter socket. Route the cable neatly along the windshield edge and dashboard using the provided cable hiding clips.
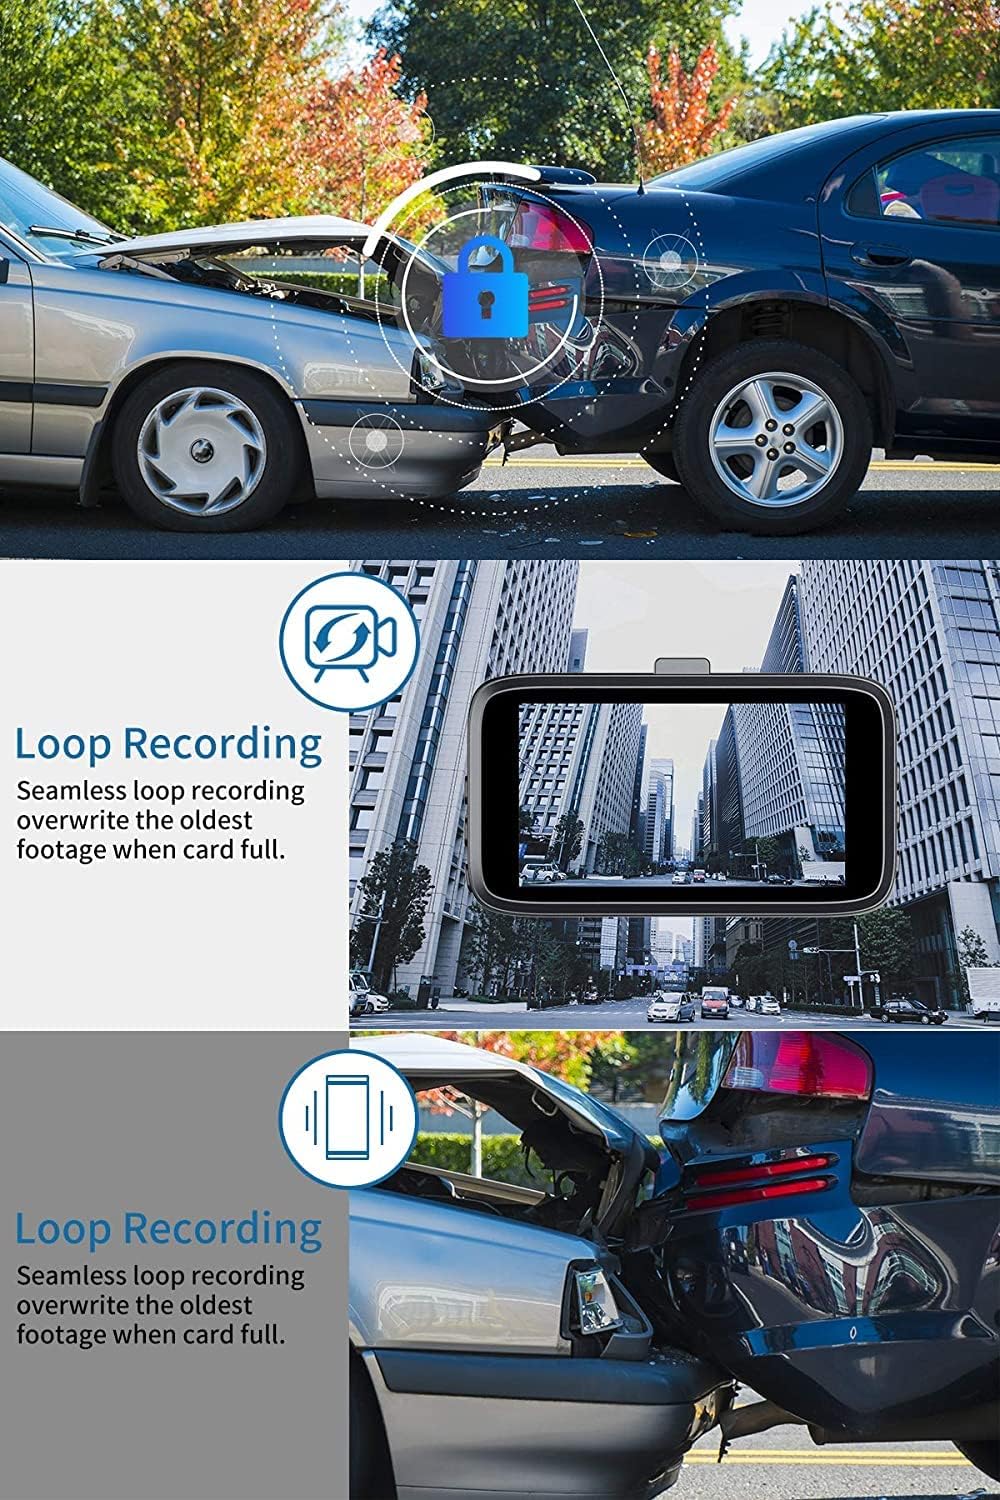
Image 3.1: Front dash cam mounted on the windshield, providing a clear view af vejen.

Image 3.2: Steps for attaching the suction cup mount and securing the dash cam.

Image 3.3: Recommended cable routing for the front dash cam power cable.
3.3 Installation af bagkamera
- Determine the optimal mounting location for the rear camera. It can be installed inside the rear window or externally near the license plate (if applicable to your vehicle and desired setup).
- Tilslut bagkamerakablet til den primære dashcam-enhed.
- Route the rear camera cable from the front unit to the rear of the vehicle. Use the wire trim tool to tuck the cable neatly under the headliner and trim panels.
- Hvis der tilsluttes til den omvendte lamp for parking assistance, connect the red wire from the rear camera cable to the positive lead of your vehicle's reversing lamp.

Image 3.4: Milerong waterproof rear camera.

Image 3.5: Rear camera wiring diagram.

Image 3.6: Cable routing options for the rear camera.
4. Betjeningsvejledning
4.1 Grundlæggende betjening
The dash cam will automatically power on and begin recording when connected to power and the vehicle's ignition is turned on. It will power off automatically when the ignition is turned off.
4.2 Optagelsestilstande og -funktioner
- Samtidig optagelse: The front camera records in 1080P FHD and the rear camera in 720P, capturing both views samtidigt.
- Loop-optagelse: This feature ensures continuous recording by overwriting the oldest unlocked footage when the memory card is full. Emergency locked videos are protected from being overwritten.
- G-sensor (nødlås): The built-in G-sensor detects sudden impacts or collisions. When triggered, it automatically locks the current video segment (typically 10 seconds before and 10 seconds after the event) to prevent it from being overwritten by loop recording.
- Parkeringsmonitor: When enabled, the dash cam will automatically start recording if motion or impact is detected while the vehicle is parked and the engine is off. This provides surveillance even when you are away from your car.
- Super nattesyn: Equipped with F1.8 aperture, HDR, and WDR technology, the dash cam enhances video clarity and detail in low-light conditions, ensuring brighter and more detailed night recordings.

Image 4.1: Simultaneous recording capability of the Milerong Dash Cam.

Billede 4.2: Overview of Milerong Dash Cam features.

Image 4.3: Loop recording and G-sensor emergency lock in action.

Image 4.4: Super Night Vision capability for clear recordings in the dark.

Image 4.5: 24-hour parking monitoring in effect.
4.3 Justering af indstillinger
- G-sensor følsomhed: If you frequently encounter 'card full' messages despite loop recording, adjust the G-sensor sensitivity to 'Low' or turn it off. This prevents minor bumps or vibrations from triggering emergency locks unnecessarily.
- Motion Detection & Parking Monitor: For seamless continuous recording while driving, it is recommended to turn off 'Motion Detection' and 'Parking Monitor' functions. These features are primarily for when the vehicle is stationary.
- Pauseskærm: To have the screen turn off while the dash cam continues recording, enable the 'Screen Saver' option in the settings.
5. Pleje og vedligeholdelse
- Rensning: Use the provided cleaning cloth or a soft, dry cloth to wipe the camera lens and screen. Avoid using abrasive cleaners or solvents.
- Temperatur: Do not expose the dash cam to extreme temperatures (e.g., direct sunlight for prolonged periods in hot climates) as this may affect battery life and component integrity.
- Hukommelseskort: Periodically format the memory card (once a month is recommended) to maintain optimal recording performance and prevent data corruption. Back up any important footage før formatering.
6. Fejlfindingsvejledning
| Problem | Mulig årsag | Løsning |
|---|---|---|
| "Card Full" error message | G-sensor sensitivity too high; too many locked files. | Adjust G-sensor sensitivity to 'Low' or 'Off' in settings. Format the memory card. |
| Dash cam stops recording while driving | Motion Detection or Parking Monitor enabled. | Turn off 'Motion Detection' and 'Parking Monitor' functions while driving. |
| Suction mount does not stick firmly | Windshield surface is dirty or greasy; suction cup is dirty. | Clean the windshield and the suction cup thoroughly. Ensure the surface is dry before re-attaching. |
| Dårlig nattesynskvalitet | Lens is dirty; extreme low light conditions. | Clean the camera lens. Ensure HDR/WDR is enabled in settings. |
| Bakkamera viser ikke | Kablet er ikke korrekt tilsluttet. | Check all cable connections between the rear camera and the main unit. |
7. Produktspecifikationer
| Feature | Detalje |
|---|---|
| Modelnavn | A25 Dash Cam Front and Rear with 64GB |
| Produktdimensioner | 3.54 x 0.59 x 1.8 tommer |
| Varens vægt | 13.4 ounce |
| Forreste kameraopløsning | 1080P FHD (1920*1080P) |
| Bagkameraopløsning | 720P |
| Skærmstørrelse | 3" IPS-skærm |
| Frontkameravinkel | 170° vidvinkel |
| Vinkel på bagkameraet | 140° Waterproof |
| Support til opbevaring | Max 64GB Class 10 Micro SD Card (64GB included) |
| Særlige funktioner | Night Vision (HDR & WDR), G-Sensor, Loop Recording, Parking Monitor |
| Forbindelse | Connects through cigarette lighter |
| Strømkilde | 1 Lithium Polymer batteri (medfølger) |
8. Garanti og kundesupport
Milerong is committed to providing high-quality products and excellent customer service. Your satisfaction is our priority.
- 24-timers service: We offer prompt responses with professional assistance around the clock.
- 30-dages returpolitik: You have the right to return or exchange the product for any reason within 30 days of purchase.
- 365-dages garanti: Replacement of the product and availability of accessories are guaranteed within one year from the date of purchase.
- Livstids eftersalgsservice: We provide lifetime after-sales support to every customer.

Image 8.1: Milerong Warranty and Service Commitments.
For eventuelle forespørgsler eller support, kontakt os venligst på:

Image 8.2: Milerong Customer Service Contact.


