1. Introduktion
This manual provides essential information for the safe and efficient operation of your Displays2go 43-inch Touch Screen Digital Kiosk. Please read this manual thoroughly before installation and use, and retain it for future reference. This interactive kiosk is designed for various public and commercial environments, offering a user-friendly interface powered by Android 11 OS.
2. Sikkerhedsoplysninger
Observe the following safety precautions to prevent damage to the device or injury to yourself and others:
- Ensure the kiosk is placed on a stable, level surface to prevent tipping.
- Udsæt ikke enheden for vand, fugt eller ekstreme temperaturer.
- Brug kun den medfølgende strømadapter og det medfølgende kabel.
- Undgå at blokere ventilationsåbningerne for at forhindre overophedning.
- Forsøg ikke at åbne eller reparere enheden selv. Overlad al service til kvalificeret personale.
- Keep children away from the device during operation and maintenance.
- Disconnect power before cleaning or moving the unit.
3. Pakkens indhold
Carefully unpack the box and ensure all items listed below are present and undamaged. If any items are missing or damaged, contact Displays2go customer support immediately.
- 43-inch Touch Screen Digital Kiosk Unit
- Strømkabel
- Fjernbetjening
- Rengøringsklud
- Beskyttelseshandsker
- Brugervejledning (dette dokument)
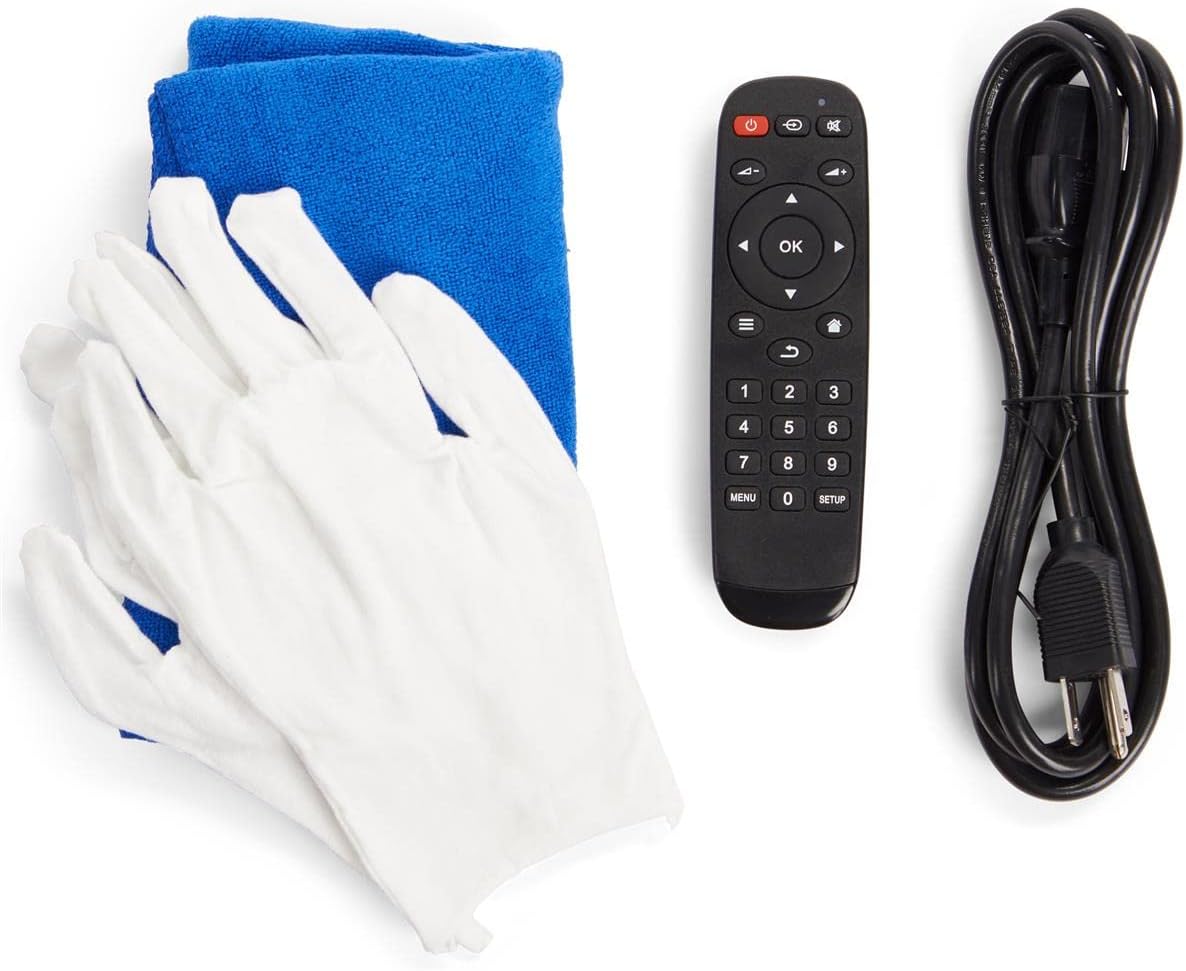
Figure 3.1: Included accessories for the digital kiosk.
4. Produktet er slutview
The Displays2go 43-inch Touch Screen Digital Kiosk features a robust design and an intuitive interface for interactive digital signage applications.

Figur 4.1: Forside view of the 43-inch Touch Screen Digital Kiosk.
4.1. Nøglekomponenter
- 43-inch LCD Panel: High-quality display with 20-point IR touch technology.
- Android 11 OS: Pre-installed operating system for versatile application support.
- Robust aluminiumsramme: Durable construction for high-traffic environments.
- Integrerede højttalere: For dynamic audio content.
- Forbindelsesporte: USB, Ethernet, Wi-Fi, Bluetooth.
- Floor Levelers: Adjustable feet for enhanced stability.

Figure 4.2: Connectivity ports located on the rear panel.

Figur 4.3: Side view illustrating the screen's ergonomic tilt.
5. Opsætning
5.1. Udpakning og placering
- Carefully remove the kiosk from its packaging. It is recommended to have two people for safe handling due to its weight.
- Place the kiosk in your desired location, ensuring it is on a stable, level surface.
- Adjust the four floor levelers at the base of the unit to ensure maximum stability and prevent wobbling.
5.2. Tilslutning af strøm
- Locate the power input port on the rear panel of the kiosk (refer to Figure 4.2).
- Connect the provided power cable to the kiosk's power input.
- Route the power cable through the integrated cable management system in the base for a tidy appearance (see Figure 5.1).
- Sæt den anden ende af strømkablet i en jordet stikkontakt.

Figure 5.1: Integrated cable management system.
5.3. Første opstart
- Locate the power switch on the rear panel (refer to Figure 4.2).
- Flip the power switch to the 'ON' position. The kiosk will begin to boot up.
- The initial boot process may take a few moments. The Android 11 OS home screen will appear once complete.
6. Betjeningsvejledning
6.1. Android 11 OS Navigation
The kiosk operates on Android 11, providing a familiar and intuitive user experience. You can navigate using the touch screen or the provided remote control.
- Berøringsskærm: Interact directly with the display using gestures similar to a tablet or smartphone.
- Fjernbetjening: Use the remote for basic navigation, volume control, and power functions.
6.2. Netværksforbindelse
The kiosk supports multiple network connection methods:
- Wi-Fi: Access Wi-Fi settings from the Android system menu to connect to available wireless networks.
- Ethernet (LAN): Connect an Ethernet cable to the LAN port on the rear panel for a wired network connection.
- Bluetooth: Pair Bluetooth-enabled devices (e.g., speakers, keyboards) through the Android settings.
6.3. Brug af USB-porte
The kiosk is equipped with two USB ports (refer to Figure 4.2) for connecting external devices such as:
- USB flash drives for content transfer.
- External keyboards or mice.
- Other compatible USB peripherals.
6.4. DiViEx Slideshow Software
The kiosk comes with DiViEx slideshow software pre-installed. This application allows for easy creation and management of multimedia presentations. Refer to the DiViEx software's in-app help or online documentation for detailed usage instructions.
6.5. Content Management
Content can be uploaded and managed through various methods:
- USB-overførsel: Kopi files directly from a USB drive to the kiosk's internal storage.
- Network Transfer: Utilize network shares or cloud services accessible via the Android OS.
- Google Play Butik: Download and install compatible content management applications from the Google Play Store.
7. Vedligeholdelse
7.1. Cleaning the Kiosk
To maintain the appearance and functionality of your kiosk:
- Afbryd altid strømmen før rengøring.
- Use the provided soft cleaning cloth (or a similar lint-free cloth) to gently wipe the screen and frame.
- For genstridige mærker på skærmen, dræn letampen the cloth with a screen-safe cleaning solution. Do not spray liquid directly onto the screen.
- Avoid abrasive cleaners, solvents, or harsh chemicals, as these can damage the display and finish.
7.2. Firmwareopdateringer
Displays2go provides regular firmware updates to enhance performance and add new features. Check the Displays2go support website or contact customer service for information on available updates and installation instructions.
8. Fejlfinding
This section addresses common issues you might encounter. For problems not listed here, contact Displays2go customer support.
| Problem | Mulig årsag | Løsning |
|---|---|---|
| Kiosk does not power on. | Power cable not connected; Power switch off; Faulty outlet. | Ensure power cable is securely connected. Check power switch position. Test outlet with another device. |
| Berøringsskærmen reagerer ikke. | Screen is dirty; Software glitch; External interference. | Clean the screen thoroughly. Restart the kiosk. Ensure no strong light sources are directly hitting the IR sensors. |
| Ingen Wi-Fi-forbindelse. | Wi-Fi is off; Incorrect password; Router issue; Out of range. | Check Wi-Fi settings in Android. Verify password. Restart router. Move kiosk closer to router. |
| Display shows no image. | Kiosk is off; Input source issue; Display settings. | Ensure kiosk is powered on. Check if the display is in standby mode. Restart the kiosk. |
9. Specifikationer
Detailed technical specifications for the Displays2go 43-inch Touch Screen Digital Kiosk:
| Feature | Specifikation |
|---|---|
| Modelnummer | 00840844186788 |
| Skærmstørrelse | 43 tommer |
| Opløsning | 1920 x 1080 (FHD 1080p) |
| Aspektforhold | 16:9 |
| Touch-teknologi | 20-point IR Display |
| Operativsystem | Android 11 OS |
| Forbindelse | Wi-Fi, Bluetooth, Ethernet (LAN), 2x USB Ports, Type-C, TF Card Slot |
| Skærmoverflade | Blank |
| Varens vægt | 90.4 pund |
| Fabrikant | Viser 2go |
| Dato først tilgængelig | 1. marts 2024 |
10. Garanti og support
Displays2go is a trusted US-based brand committed to customer satisfaction. While specific warranty details are not provided in this manual, the product typically includes a manufacturer's warranty against defects in materials and workmanship. Please refer to your purchase documentation or the official Displays2go webhjemmeside for detaljerede garantivilkår.
For technical assistance, troubleshooting, or any inquiries regarding your 43-inch Touch Screen Digital Kiosk, please contact Displays2go expert technical support. Information regarding returns is generally available for 30 days from the purchase date.
Besøg Displays2go Store on Amazon for mere information eller for at kontakte support.


