1. Introduktion
This manual provides essential information for the safe and efficient operation, maintenance, and care of your Toro 60V MAX 21-inch Stripe Push Lawn Mower, Model 21611T. Please read this manual thoroughly before operating the mower to ensure proper use and to prevent injury or damage. Keep this manual for future reference.

Image 1.1: The Toro 60V MAX 21-inch Stripe Push Lawn Mower.
2. Sikkerhedsoplysninger
Prioritér altid sikkerhed ved betjening af elektrisk udstyr. Manglende overholdelse af sikkerhedsinstruktionerne kan resultere i alvorlig personskade eller materielle skader.
Generelle sikkerhedsforanstaltninger:
- Read and understand all instructions in this manual before operating the mower.
- Bær passende personlige værnemidler (PPE), herunder øjenbeskyttelse, høreværn og robust fodtøj.
- Hold børn, kæledyr og tilskuere væk fra driftsområdet.
- Inspect the area for objects that could be thrown by the blade before mowing. Remove any debris.
- Brug aldrig plæneklipperen i vådt græs eller regn.
- Ensure the battery is removed before performing any maintenance, cleaning, or when the mower is unattended.
- Do not modify the mower or use it for purposes other than those intended.
3. Pakkens indhold
Verify that all items are present upon unpacking. If any parts are missing or damaged, contact Toro customer service.
- Toro 60V MAX 21-inch Stripe Push Lawn Mower (Model 21611T)
- Brugermanual
Note: Battery and charger are sold separately and are not included with this mower model.
4. Opsætning
4.1 Montering
This mower is designed for minimal assembly. Typically, the handle will need to be unfolded and secured into the operating position. Refer to the quick start guide or specific diagrams for detailed handle assembly instructions.
4.2 Batteriinstallation
The Toro 60V MAX Stripe Mower operates with a Toro 60V MAX Flex-Force battery. Recommended battery capacities include 4.0Ah, 5.0Ah, 6.0Ah, and 7.5Ah. Ensure the battery is fully charged before first use.
- Open the battery compartment cover, usually located on top of the mower deck.
- Align the battery with the battery port and slide it in until it clicks securely into place.
- Luk batterirummets dæksel.

Image 4.2: Proper installation of the 60V MAX Flex-Force battery.
5. Betjeningsvejledning
5.1 Start af plæneklipperen
To start the mower, ensure a charged battery is installed. Press and hold the safety bail or button, then pull the operator presence control (OPC) lever towards the handle. The blade will begin to rotate.
5.2 Justering af klippehøjde
The mower features a 2-point height of cut adjustment system, allowing for quick changes to the deck height. Locate the height adjustment levers on the mower deck and move them to the desired position. Ensure both sides are set to the same height for an even cut.

Image 5.2: The 21-inch cutting deck of the push lawn mower.
5.3 Hastighedskontrol
Customize your mowing speed using the adjustable speed control knob located on the handle. For increased power in dense grass, activate the max power mode with the push of a dedicated button.

Image 5.3: Speed control knob and max power button on the handle.
5.4 Mowing Techniques and Striping
For optimal striping results, mow in straight, overlapping lines. The mower's design facilitates a clean grass lay down, contributing to a striped appearance. Overlap each pass slightly to ensure complete coverage and a uniform finish.
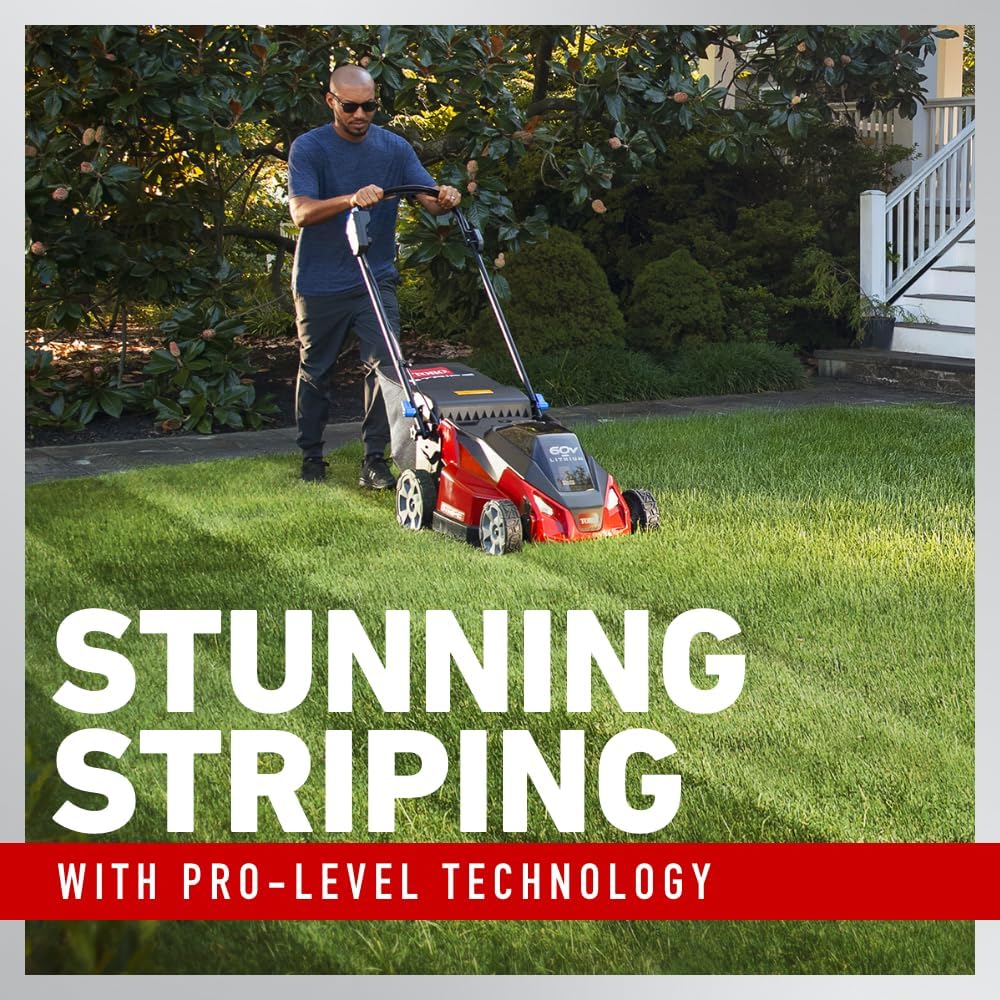
Image 5.4: Mower creating a striped pattern on a lawn.
5.5 Mulching and Side Discharge
The mower is capable of both mulching and side discharge. The Recycler cutting system processes clippings into fine particles, returning nutrients to the lawn. For side discharge, an accessory is available upon product registration.

Image 5.5: The mower's mulching capability, returning clippings to the lawn.
6. Vedligeholdelse
6.1 Rengøring
After each use, disconnect the battery and clean the mower deck and exterior. Remove any grass clippings, dirt, or debris. Do not use a pressure washer directly on electrical components.
6.2 Opbevaring
The SmartStow feature allows for vertical storage, saving up to 70% of garage space. To engage SmartStow, fold the handle, lock it in place, and position the mower vertically. Ensure the battery is removed before storing.

Image 6.2: The mower in its vertical SmartStow storage position.
7. Fejlfinding
This section provides solutions to common issues. For problems not listed here, contact Toro customer service.
| Problem | Mulig årsag | Løsning |
|---|---|---|
| Plæneklipper starter ikke | Battery not charged or improperly installed; Safety bail/OPC not engaged. | Ensure battery is fully charged and correctly seated. Engage safety bail and OPC lever. |
| Reduceret skæreydelse | Dull blade; Excessive grass height; Clogged deck. | Sharpen or replace blade. Adjust cutting height. Clean underside of deck. |
| Plæneklipperen stopper under drift | Battery depleted; Overload protection activated. | Recharge battery. Reduce mowing speed or cutting width in dense areas. |
8. Specifikationer
| Feature | Specifikation |
|---|---|
| Mærke | Toro |
| Modelnummer | 21611T |
| Strømkilde | Battery Powered (60V MAX Flex-Force) |
| Skærebredde | 21 tommer |
| Minimum justerbar klippehøjde | 2.5 Centimeters (approx. 1 inch) |
| Maksimal justerbar klippehøjde | 10.2 centimeter (ca. 4 tommer) |
| Materiale | Polymer Composite |
| Farve | Sort/rød |
| Varens vægt | 59 pund |
| Produktmål (D x B x H) | 24.5 cm x 24.5 cm x 17.25 cm |
| Montering påkrævet | No (Minimal handle setup) |
| UPC | 021038986531 |
9. Garanti og support
9.1 Garantioplysninger
The Toro 60V MAX 21-inch Stripe Push Lawn Mower is backed by a 2-year tool limited warranty. For specific terms and conditions, please refer to the warranty documentation included with your product or visit the official Toro webwebsted.
9.2 Kundesupport
For additional product resources, including manuals, how-to guides, and service reminders, download the MyToro App from your mobile device's app store. You can also visit the Toro webwebsted for support og kontaktoplysninger.


