1. Introduktion
This manual provides detailed instructions for the safe and efficient operation, setup, and maintenance of your SINGER SC220 Sewing Machine. The SC220 is a versatile computerized sewing machine featuring 200 stitch applications, built-in lettering, a one-step buttonhole, and a built-in needle threader, designed to enhance your sewing projects.
2. Sikkerhedsinstruktioner
- Always unplug the machine from the electrical outlet immediately after using, before cleaning, or when making any user servicing adjustments mentioned in this instruction manual.
- Hold fingrene væk fra alle bevægelige dele. Der kræves særlig forsigtighed omkring symaskinens nål.
- Brug den korrekte stingplade. Den forkerte plade kan få nålen til at knække.
- Træk eller skub ikke i stoffet under syning. Dette kan afbøje nålen og få den til at knække.
- Always use genuine SINGER accessories and parts to ensure optimal performance and safety.
- Never operate the machine with any air openings blocked. Keep ventilation openings of the sewing machine and foot controller free from lint, dust, and loose cloth.
3. Identifikation af dele
Familiarize yourself with the main components of your SINGER SC220 sewing machine.
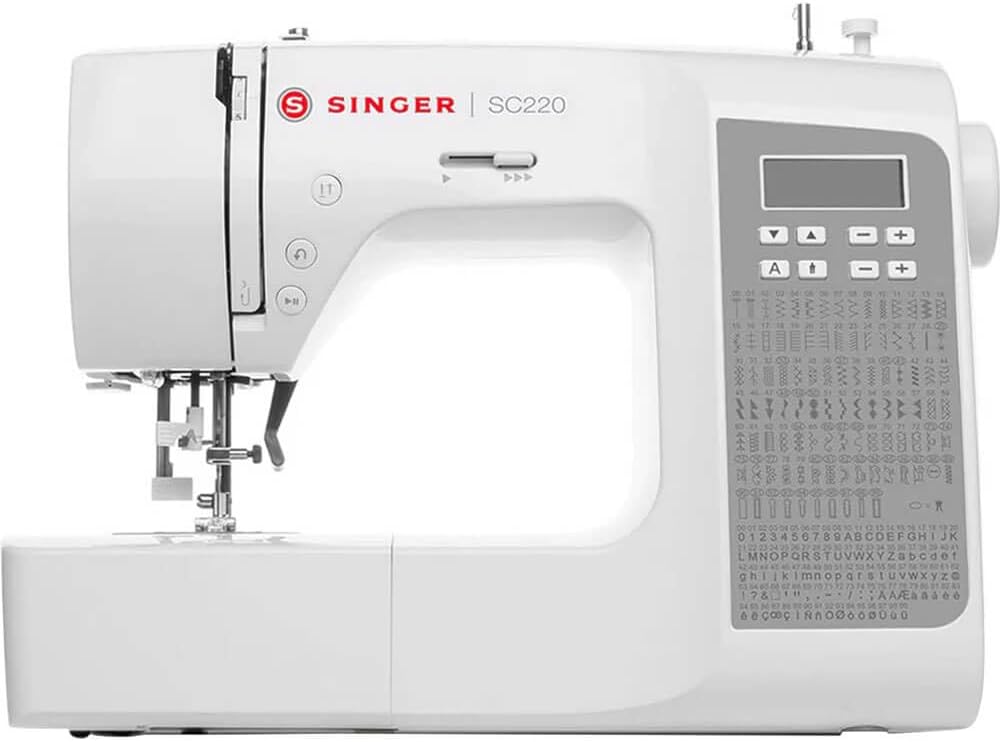
Figur 3.1: Front view of the SINGER SC220 Sewing Machine, showing the main body, needle area, control panel, and extension table.
- Spoleholdere: Holder trådspolen.
- Trådføringer: Directs the thread path.
- Spændingsskive: Adjusts upper thread tension.
- Nål Clamp: Fastgør nålen.
- Trykfod: Holds fabric against the feed dogs.
- Nåleplade: Metal plate under the needle, with seam guidelines.
- Foderhunde: Moves fabric under the presser foot.
- Spoledæksel: Transparent cover for the top drop-in bobbin.
- Kontrolpanel: Digital display and buttons for stitch selection and adjustments.
- Håndhjul: Hæver og sænker nålen manuelt.
- Afbryderen: Tænder/slukker maskinen.
- Fodpedalstik: Connects the foot controller.
4. Opsætning
4.1 Udpakning og placering
Carefully remove the machine from its packaging. Place the machine on a stable, level surface. Ensure there is adequate space around the machine for comfortable operation.
4.2 Strømtilslutning
Insert the machine plug into the machine's power socket and then into a suitable electrical outlet. Connect the foot controller plug into the foot controller jack on the machine.
4.3 Montering af tilbehør
Your SINGER SC220 comes with various accessories to enhance your sewing experience. These include different presser feet, bobbins, needles, and tools.

Figur 4.1: Various accessories included with the SINGER SC220, such as different presser feet, bobbins, needles, and a seam ripper.
To attach a presser foot, align the pin on the foot with the groove on the presser foot holder and lower the presser foot lever until it snaps into place.
5. Betjeningsvejledning
5.1 Spolning af spolen
- Placer en tom spole på spolevinderens spindel.
- Læg en trådrulle på trådrulleholderen.
- Guide the thread through the bobbin winding thread guide.
- Vikl tråden med uret rundt om spolen et par gange.
- Skub spolevinderen til højre.
- Press the foot controller or start/stop button to begin winding. The machine will stop automatically when the bobbin is full.
- Klip tråden over, og skub spoleapparatets spindel tilbage til venstre.
5.2 Inserting the Top Drop-In Bobbin

Figur 5.1: Nærbillede view of the top drop-in bobbin area, showing the transparent cover and the bobbin in place.
- Remove the transparent bobbin cover plate.
- Insert the full bobbin into the bobbin case with the thread running counter-clockwise.
- Før tråden gennem spændingsfjederen og ind i trådføringskanalen.
- Udskift spolens dækplade.
5.3 Trådning af overtråden
The SINGER SC220 features a built-in needle threader for convenience.

Figur 5.2: Close-up of the needle and presser foot area, highlighting the needle threader mechanism.
- Løft trykfodshåndtaget.
- Læg en trådrulle på trådrulleholderen.
- Follow the numbered thread path guides on the machine, ensuring the thread is securely seated in each guide.
- Før tråden gennem optagehåndtaget fra højre mod venstre.
- Thread the needle using the built-in needle threader. If threading manually, thread from front to back.
- Træk undertråden op gennem åbningen i stingpladen ved at dreje håndhjulet mod dig selv for at sænke og hæve nålen.
5.4 Stitch Selection and Adjustments
The SC220 offers 200 stitch applications, including utility, decorative, and lettering stitches. Use the control panel to select your desired stitch.

Figur 5.3: Detaljeret view of the control panel with digital display and stitch selection buttons, alongside the comprehensive stitch chart.
- Stingvalg: Use the arrow buttons on the control panel to navigate through the stitch options displayed on the LCD screen. Refer to the stitch chart on the machine for available patterns.
- Stitch Length/Width: Adjust stitch length and width using the dedicated buttons on the control panel. The maximum adjustable stitch width is 7mm.
- Built-In Lettering: Select the lettering function from the stitch menu to sew letters and numbers.
- Knaphul i ét trin: Attach the buttonhole foot and select the buttonhole stitch. The machine will automatically size and sew the buttonhole.
5.5 Syning

Figur 5.4: A user sewing fabric on the SINGER SC220, demonstrating the machine in active use.
- Hastighedskontrol: Use the speed control slider to adjust the sewing speed.
- Start/stop -knap: Press to start or stop sewing without the foot controller.
- Omvendt knap: Press to sew in reverse, useful for securing stitches.
- Tie-Off Button: Automatically ties off stitches at the beginning or end of a seam.
- Dropfoder: Engage the drop feed lever for free-motion sewing or darning.
- Extra High Pressure Foot Lifter: Provides additional clearance for thicker fabrics or multiple layers.
- Variable nålepositioner: Adjust the needle position for precise topstitching or zipper insertion.
- Twin-Needle Function: Use a twin needle for decorative stitching or hemming. Ensure to select the appropriate stitch and reduce stitch width to prevent needle breakage.
6. Vedligeholdelse
6.1 Rengøring
- Fjernelse af fnug: Regularly remove lint and dust from the bobbin area and feed dogs using the brush provided. Unplug the machine before cleaning.
- Maskinoverflade: Tør maskinens yderside af med en blød, tør klud. Brug ikke skrappe kemikalier eller slibende rengøringsmidler.
6.2 Udskiftning af nål
Replace the needle regularly, especially after sewing thick fabrics or if it becomes bent or dull. Use only SINGER brand needles suitable for your machine.
- Sluk for maskinen, og tag stikket ud.
- Løsn nålen clamp skrue.
- Fjern den gamle nål.
- Sæt en ny nål i med den flade side mod maskinens bagside, og skub den så langt op som muligt.
- Spænd nålen clamp skrue sikkert.
7. Fejlfinding
Dette afsnit omhandler almindelige problemer, du kan støde på under drift.
| Problem | Mulig årsag | Løsning |
|---|---|---|
| Springet sting over | Forkert nål, bøjet nål, forkert trådning. | Replace needle with correct type/size. Re-thread machine correctly. |
| Thread Breakage (Upper) | Incorrect threading, too much upper tension, damaged needle, poor quality thread. | Check threading path. Adjust tension. Replace needle. Use good quality thread. |
| Trådbrud (spole) | Forkert opviklet spole, spole isat forkert, fnug i spolekapslen. | Re-wind bobbin evenly. Re-insert bobbin correctly. Clean bobbin area. |
| Stof fodres ikke | Presser foot not lowered, feed dogs lowered, lint under needle plate. | Lower presser foot. Raise feed dogs. Clean under needle plate. |
| Maskine starter ikke | Netledningen er ikke sat i, fodpedalen er ikke tilsluttet, tænd/sluk-knappen er slukket. | Check all power connections. Ensure power switch is ON. |
8. Specifikationer
- Model: SC220
- Mærke: SANGER
- Stingapplikationer: 200
- Stingbredde: Adjustable, up to 7mm
- Spoletype: Top Drop-In
- Nåletråder: Indbygget
- Knaphulstype: Et-trins
- Fodersystem: Drop Feed capability
- Hastighedskontrol: Skyder
- Vægt: Cirka 15.15 pund
- Farve: Hvid
- Fabrikant: SANGER
- UPC: 840163302159
9. Garanti og support
For garantioplysninger og kundesupport henvises til garantikortet, der følger med dit produkt, eller besøg den officielle SINGER-side. website. You can also find additional resources, FAQs, and contact information for technical assistance there.
SINGER Officiel Webwebsted: www.singer.com


