Indledning
The MAXHUB WIB10A Display Top Rack is designed to provide a stable and convenient mounting solution for various devices, including soundbars, webcams, and microphones, on top of your display. Its simple design ensures compatibility with a wide range of display types, offering a secure fit for your peripherals.
Sikkerhedsoplysninger
- Ensure the rack is securely placed on a stable display surface before attaching any devices.
- Do not overload the rack beyond its intended weight capacity.
- Opbevares utilgængeligt for børn.
- Undgå at udsætte produktet for ekstreme temperaturer eller direkte sollys.
- Do not attempt to modify or disassemble the rack.
Pakkens indhold
Kontroller venligst, at alle varer er til stede i pakken:
- MAXHUB WIB10A Display Top Rack (1 unit)
- Instruction Manual (English, Chinese) (1 copy)
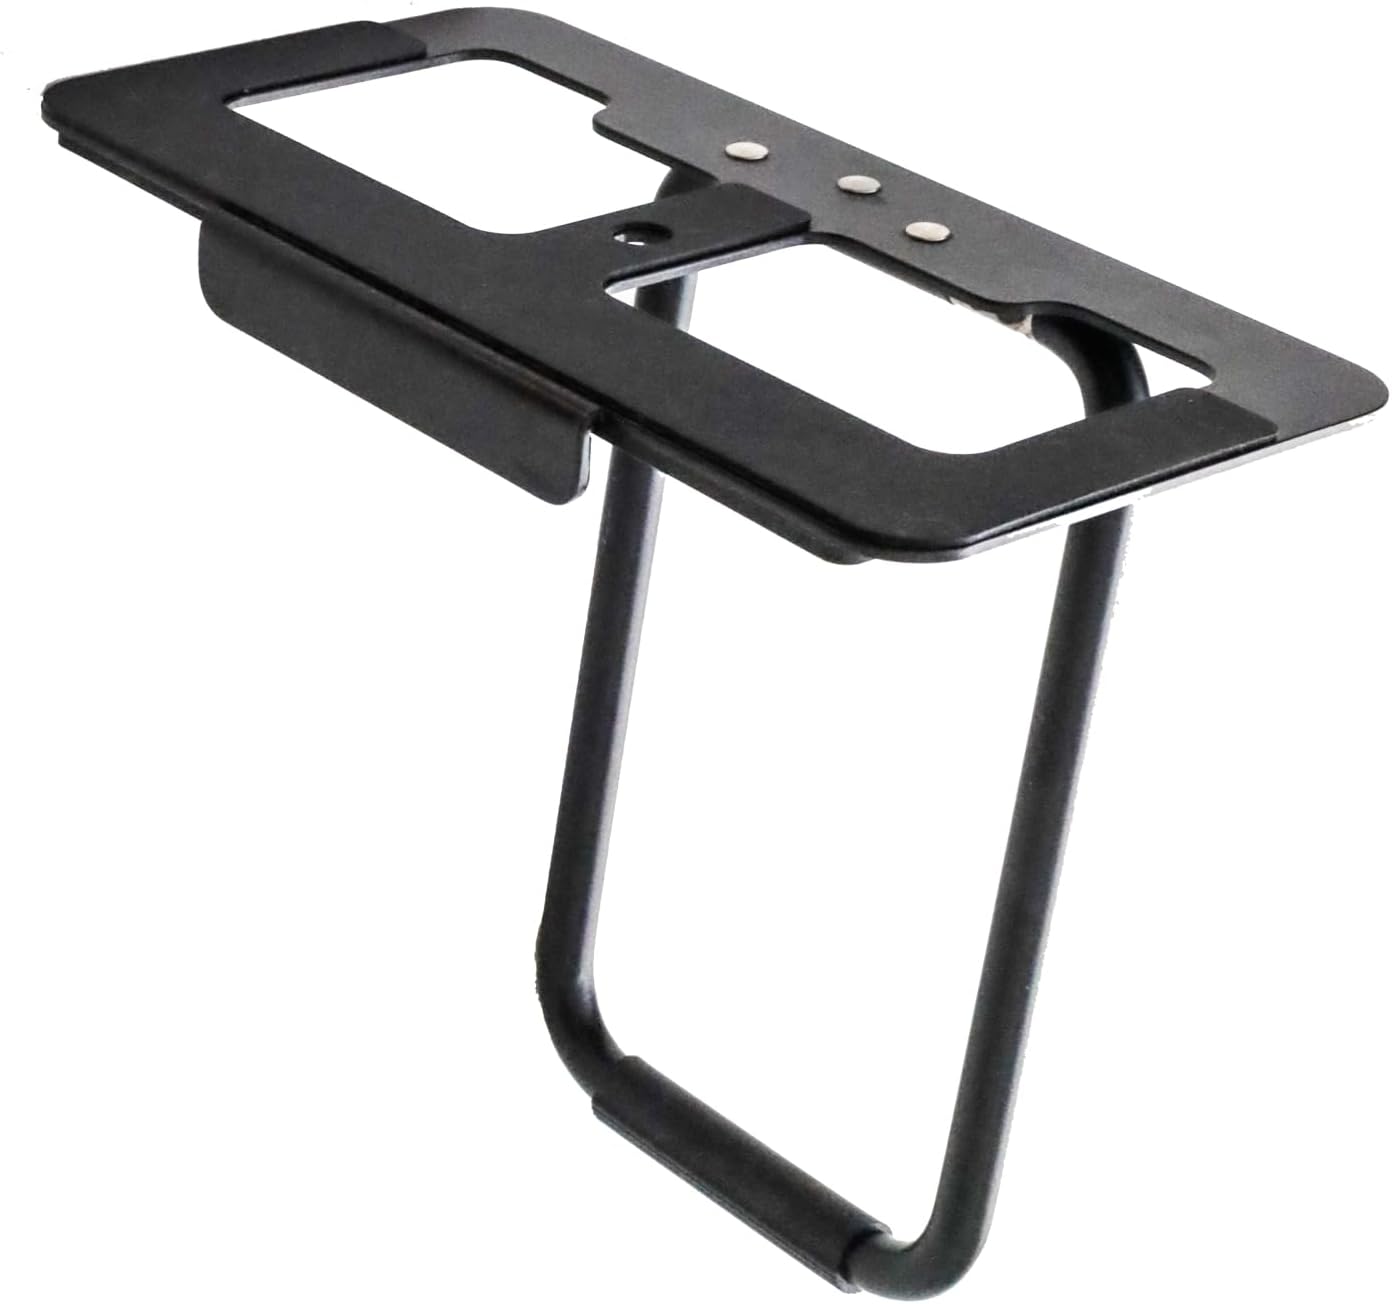
Image: The MAXHUB WIB10A Display Top Rack, a black metal frame designed to sit on top of a monitor, providing a stable platform for accessories. It features a flat top surface with cutouts and a U-shaped support leg.
Opsætning og installation
Follow these steps to properly set up your MAXHUB WIB10A Display Top Rack:
- Positioning the Rack: Carefully place the MAXHUB WIB10A Display Top Rack on the top edge of your display. Ensure the front lip of the rack rests securely against the front bezel of the display, and the adjustable rear support leg is extended to provide stability against the back of the display.
- Justering for stabilitet: The rack features anti-slip processing on all contact surfaces to ensure a firm grip. Adjust the rear support leg as needed to achieve a level and stable position on your specific display model.
- Tilslutning af enheder: The rack is equipped with a standard 1/4-inch screw. Align the 1/4-inch screw hole on your device (e.g., soundbar, webcam, microphone) with the screw on the rack. Tighten the screw clockwise until the device is securely fastened.

Image: A MAXHUB soundbar mounted on the display top rack. The image shows both a front view, where the soundbar sits neatly on top of the monitor, and a rear view, illustrating how the rack's support leg rests against the back of the display for stability.

Billede: Et nærbillede view demonstrating the 1/4-inch screw mechanism on the MAXHUB display top rack. A hand is shown tightening a device onto the rack using the screw, highlighting the secure attachment method.
Betjeningsvejledning
Once installed, the MAXHUB WIB10A Display Top Rack operates passively as a stable platform. Ensure any attached devices are powered on and connected according to their respective manuals.
- Enhedsplacering: Place your soundbar, webcam, or microphone on the rack's platform.
- Sikker vedhæftning: Use the integrated 1/4-inch screw to firmly secure compatible devices. This prevents accidental dislodgement.
- Kabelstyring: Route any cables from your attached devices neatly to avoid clutter and ensure they do not interfere with the display or other equipment.
Opretholdelse
To ensure the longevity and proper function of your display top rack, follow these simple maintenance guidelines:
- Rensning: Wipe the rack with a soft, dry cloth to remove dust. For stubborn marks, a slightly damp cloth can be used, followed by immediate drying. Do not use abrasive cleaners or solvents.
- Inspektion: Periodically check the rack for any signs of wear or damage. Ensure the anti-slip surfaces are clean and intact.
- Opbevaring: If not in use, store the rack in a cool, dry place away from direct sunlight and extreme temperatures.
Fejlfinding
If you encounter any issues with your MAXHUB WIB10A Display Top Rack, refer to the following common problems and solutions:
| Problem | Mulig årsag | Løsning |
|---|---|---|
| Rack is unstable on the display. | Rear support leg not properly adjusted or display surface is uneven. | Adjust the rear support leg to ensure it firmly presses against the back of the display. Ensure the display is on a flat surface. |
| Device attached to the rack is loose. | 1/4-inch screw not tightened sufficiently or device is not fully compatible. | Ensure the 1/4-inch screw is fully tightened. Verify your device has a compatible 1/4-inch screw hole. |
| Anti-slip pads are not effective. | Pads are dirty or worn. | Rengør de skridsikre puder med snavsamp cloth. If pads are worn, contact customer support for assistance. |
Specifikationer
| Feature | Detalje |
|---|---|
| Modelnummer | WIB10A |
| Dimensions (Width x Depth) | 160 mm x 80 mm (6.3 tommer x 3.15 tommer) |
| Produktets vægt | 320 g (0.71 lbs) |
| Farve | Sort |
| Monteringsskrue | 1/4-inch standard screw |
| Materiale | Metal with anti-slip processing |
Garanti og support
This product comes with a standard manufacturer's warranty. For specific warranty terms and conditions, please refer to the documentation provided with your purchase or visit the official MAXHUB webwebsted.
For technical support, troubleshooting assistance, or inquiries regarding replacement parts, please contact MAXHUB customer service through their official channels. Contact information can typically be found on the manufacturer's website or in the included instruction manual.
Note: The included instruction manual is available in English and Chinese.


